

Running out of time, but still want to make Handmade Holiday Cards this year?? I have a ton of tips to share to help you on your way!
I am back with another Same But Different Christmas Series 2024 set of cards, and today I am sharing 2 Ideas to Smash Out 6 Different Cards real QUICK, and I have a video walking you through these techniques. For MORE Holiday inspiration check out my first video sharing how to use BASIC SHAPES to make Christmas Cards, Click HERE, and to see how to use 1 STAMP SET 5 WAYS Click HERE and sooo much MORE, click on my PLAYLIST HERE (after you have seen today’s cards 😉).
Now let’s get to it… would you like to see today’s cards?


You can watch the video here or in HD on YouTube right HERE.

I use affiliate links, this means that if you click on a product that is linked to an affiliate shop then I receive a small commission at no extra cost to you).
This is a great way to support me as well as the shops that we love 🥰!
#MAKEITQUICK
Do you feel like you have you run out of time, but still want to give some handmade Chrismtas cards this year? Today I’m sharing some QUICK tips to get you there, and you can use whichever supplies you have already at home!
TOP TIPS!
- Use a Repeat design. This way you are not having to rethink each card layout.
- Choose design paper from one pack or one with similar colours.
- Batch it out, make all the backgrounds together, do all the colouring at the same time…
- Keep your colour palette the same throughout the designs.
- If you have them, choose images that you have co-ordinating dies for. Or, die cut images that are quick to layer up.
- If using die cut images, use ALL white cardstock to cut them out and quickly add colour with alcohol markers (this is faster than cutting out multiple colours).
- Die cut base layers, even multiples at once!
- Keep dimension to a minimum… this also helps keep postage costs down!
- If you are using a stamp set, use the sentiments from the set itself… you know they will match. Put your hand up if you are like me and can spend hours searching for the ‘perfect’ sentiment 👋?
- Choose an image that you have coloured before, this can also make the process faster.
- Keep colouring simple. Use a medium you are comfortable with and either don’t shade or keep shading to a minimum.
- OR colour only a part of the image and leave the rest (or ALL) of it as line art.
- Use a stamp positioning tool for things like sentiments or multiples of images.
- PRO TIP: Stamp multiple images at the same time, colour them using the same markers and die them out in one pass through your machine. GREAT time saver!
- AND yes, I said multiples, it is totally okay to remake the same card or one that is very similar… I know I usually like to keep it the ‘Same but Different’ but if you are sending to different families or friends, they will never know, and I promise not to tell them either 😉.
- If you want to add some quick and easy ‘extras’, keep them simple, use a sparkle pen, splatters, sequins, enamel dots. Something that does not have a long application or drying time.
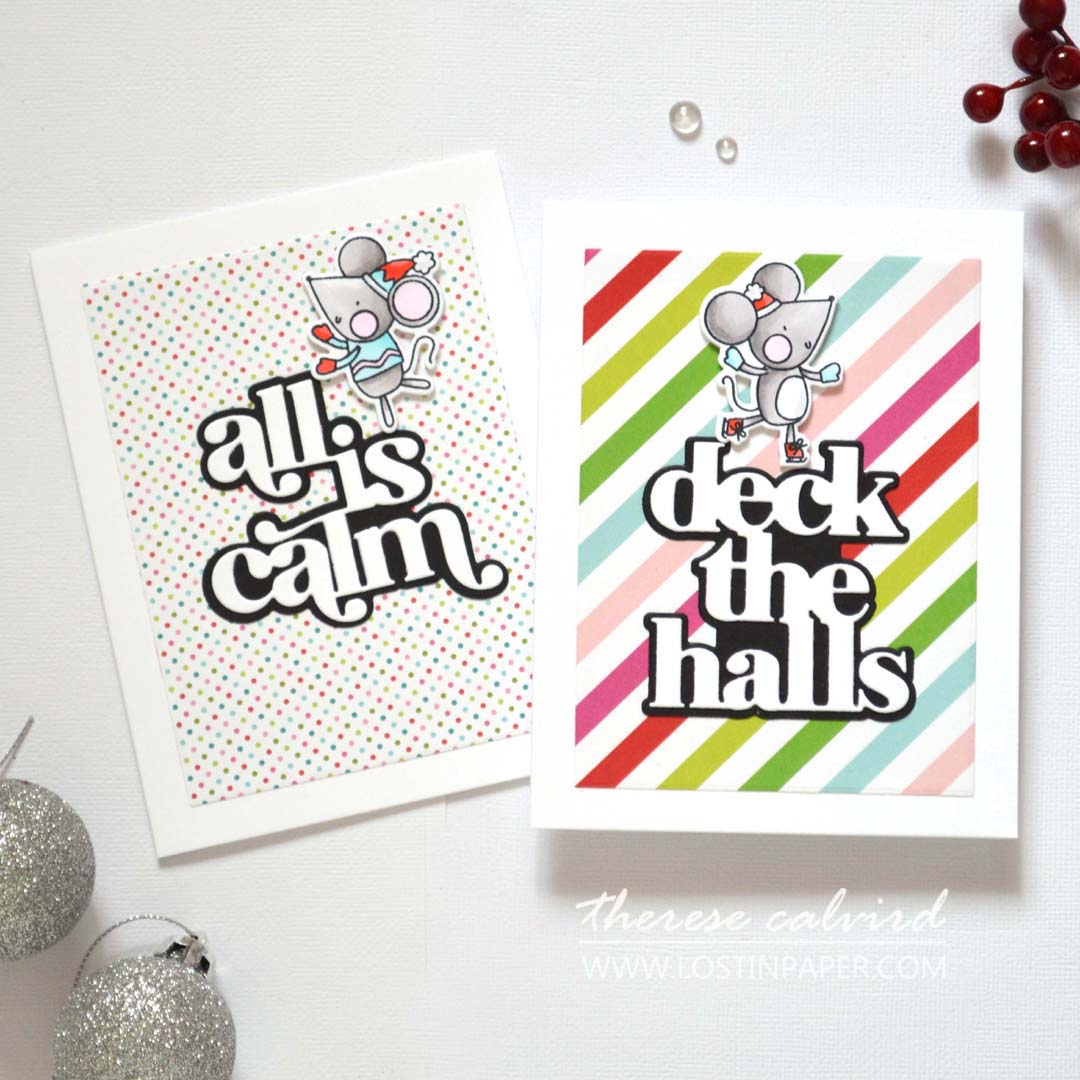
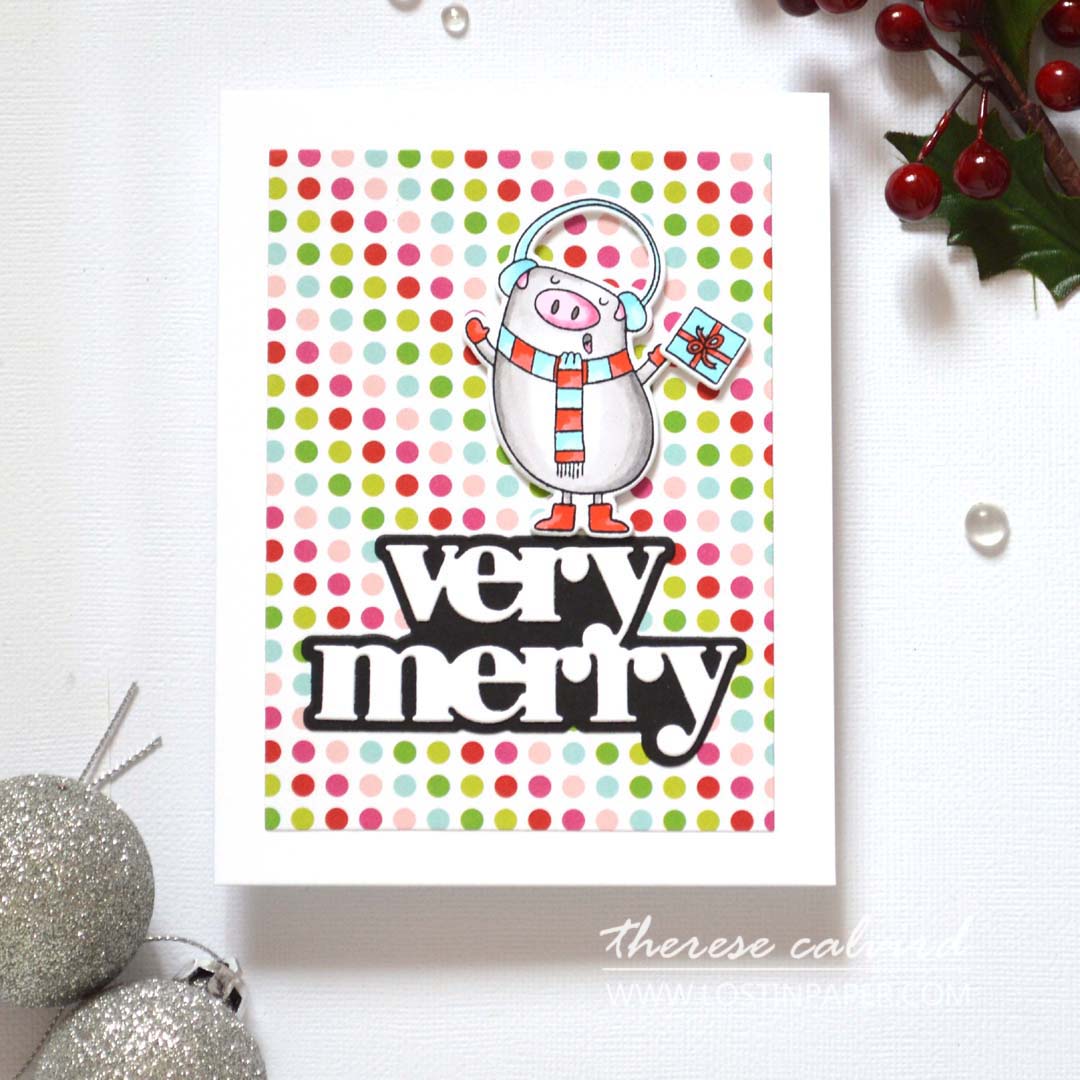
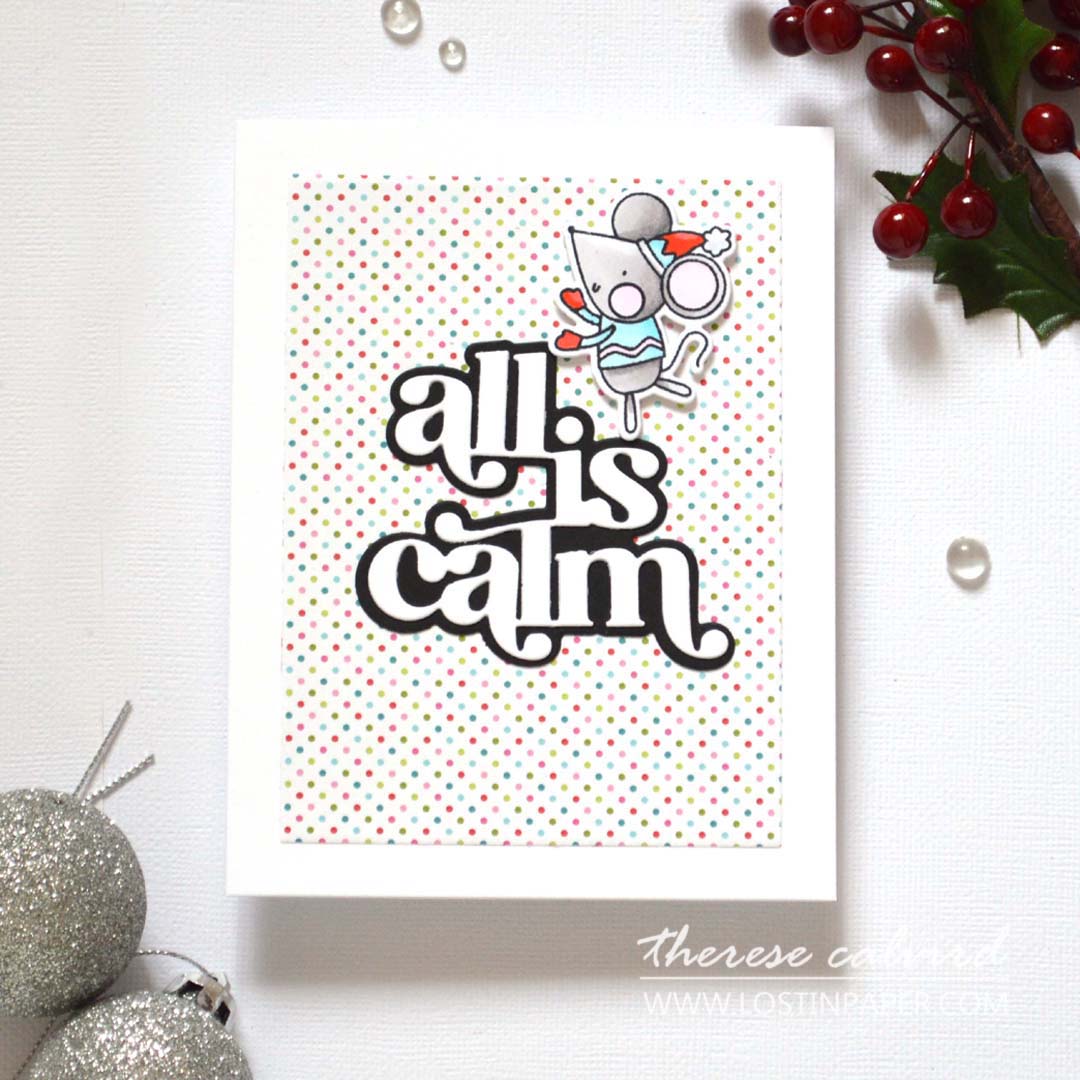
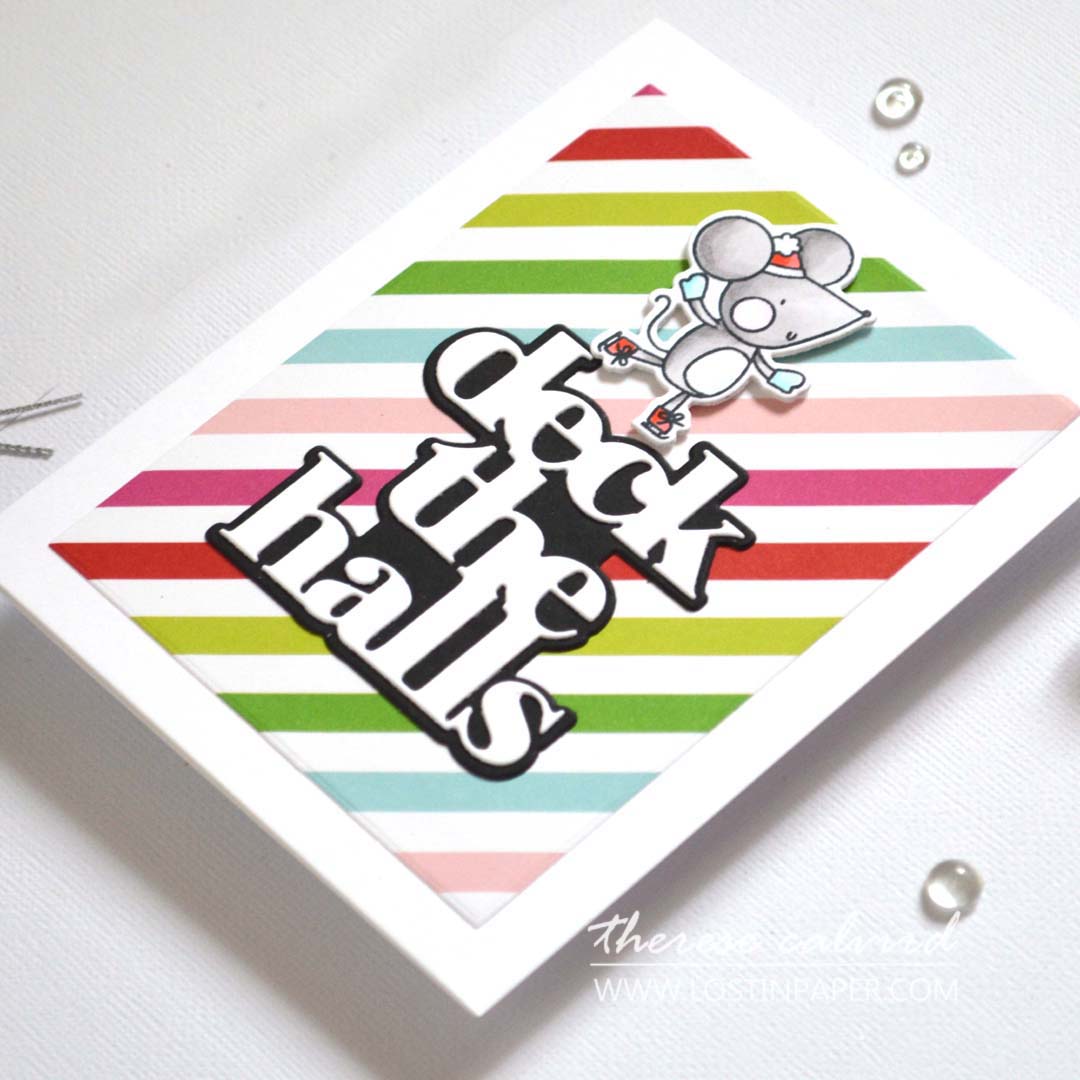
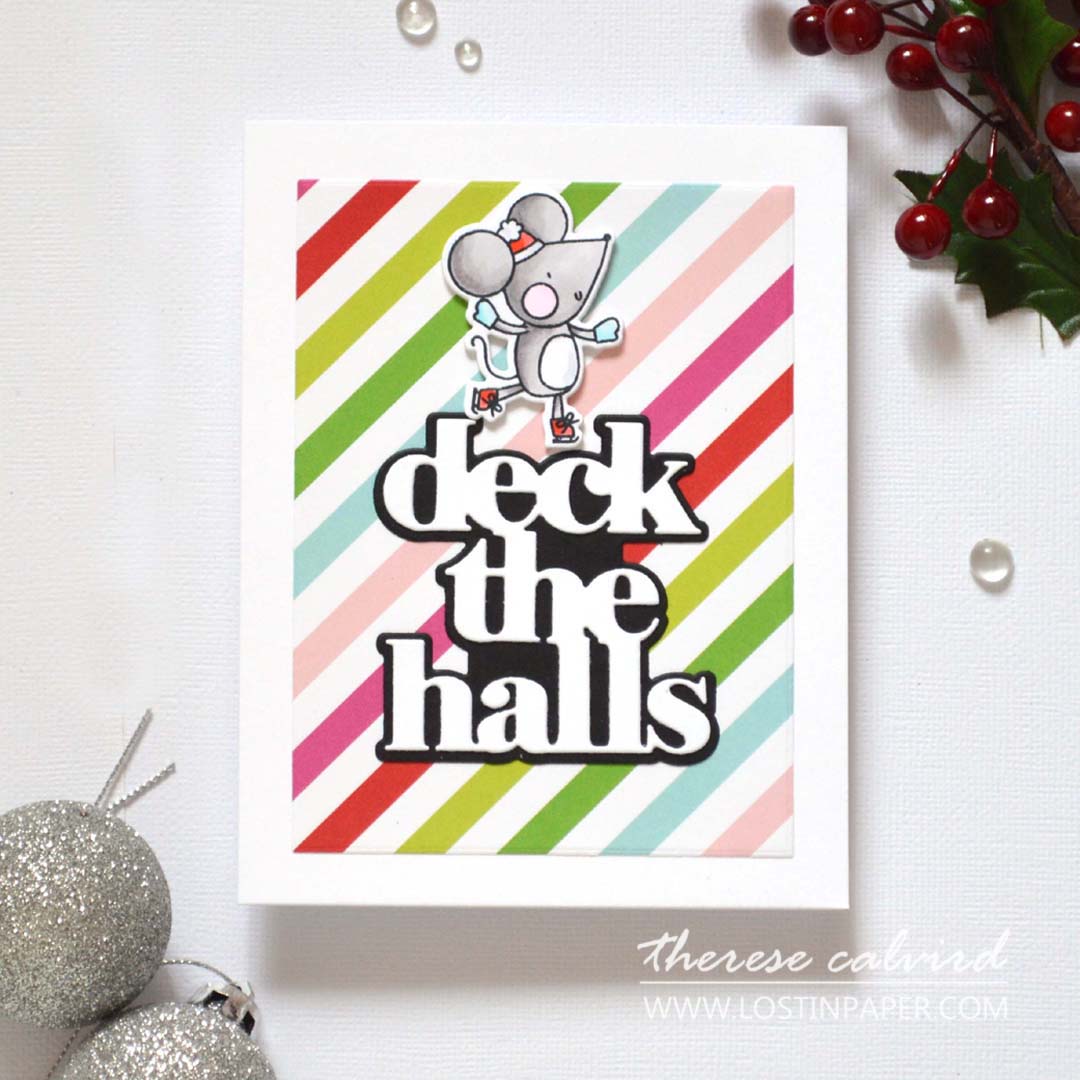
Idea #1 – On Repeat!
Check out the first 4 cards. They ALL have the same basic design, but each has a different design paper in the background.
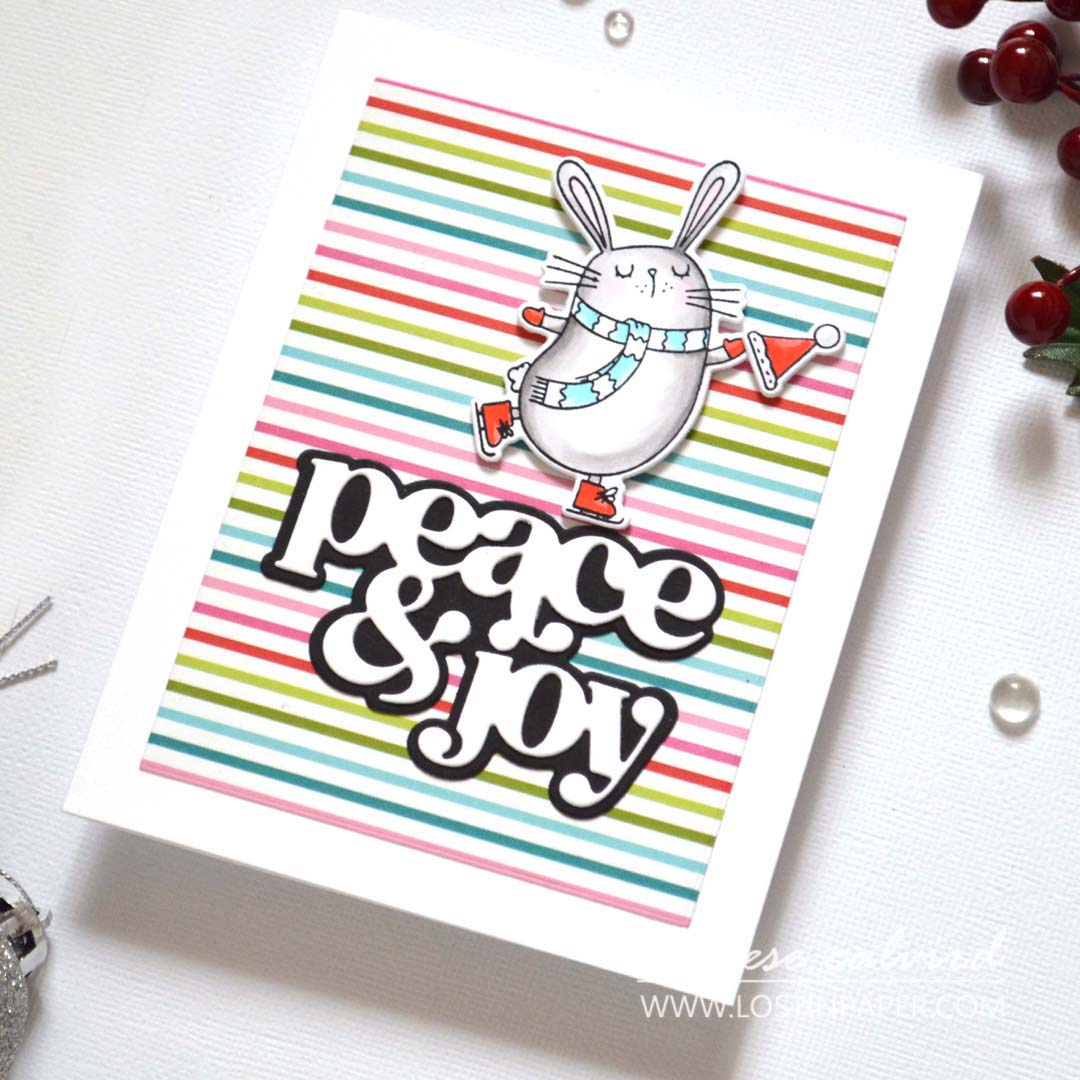
And different images….
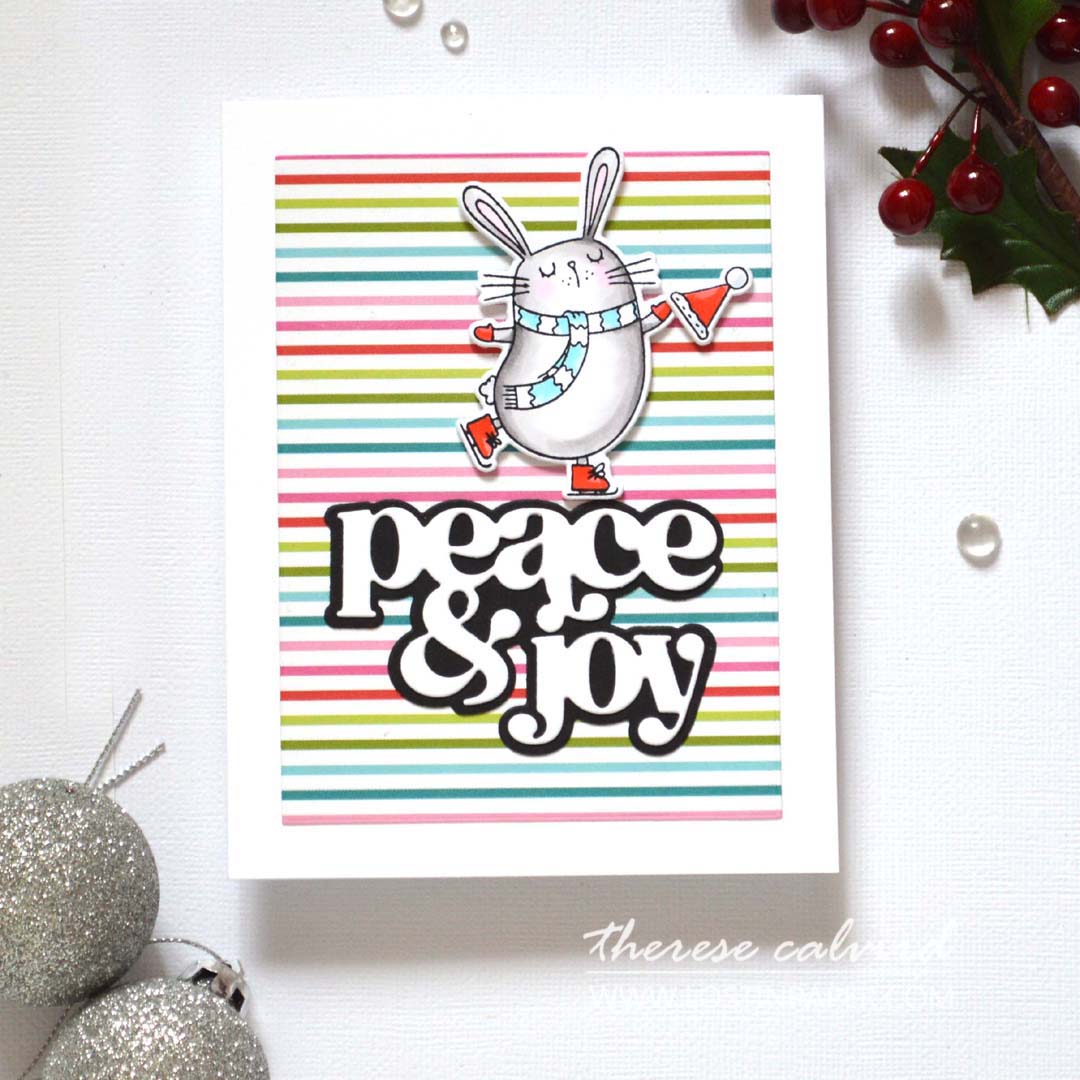
And different sentiments…

Because I used different images and sentiments I was able to cut out multiples in one pass of my die cutting machine.
TOP TIP: When laying out stamps in a stamp positioner, be sure to allow enough space between each stamp to add all the dies at once.

Idea #2 – Line Art
Some stamps look amazing without being coloured at all. This is a real FAST way to add something to a card, but did you know that you can also partially colour an image? These big stamp scenes can often be overlooked when you are trying for a quick card design!
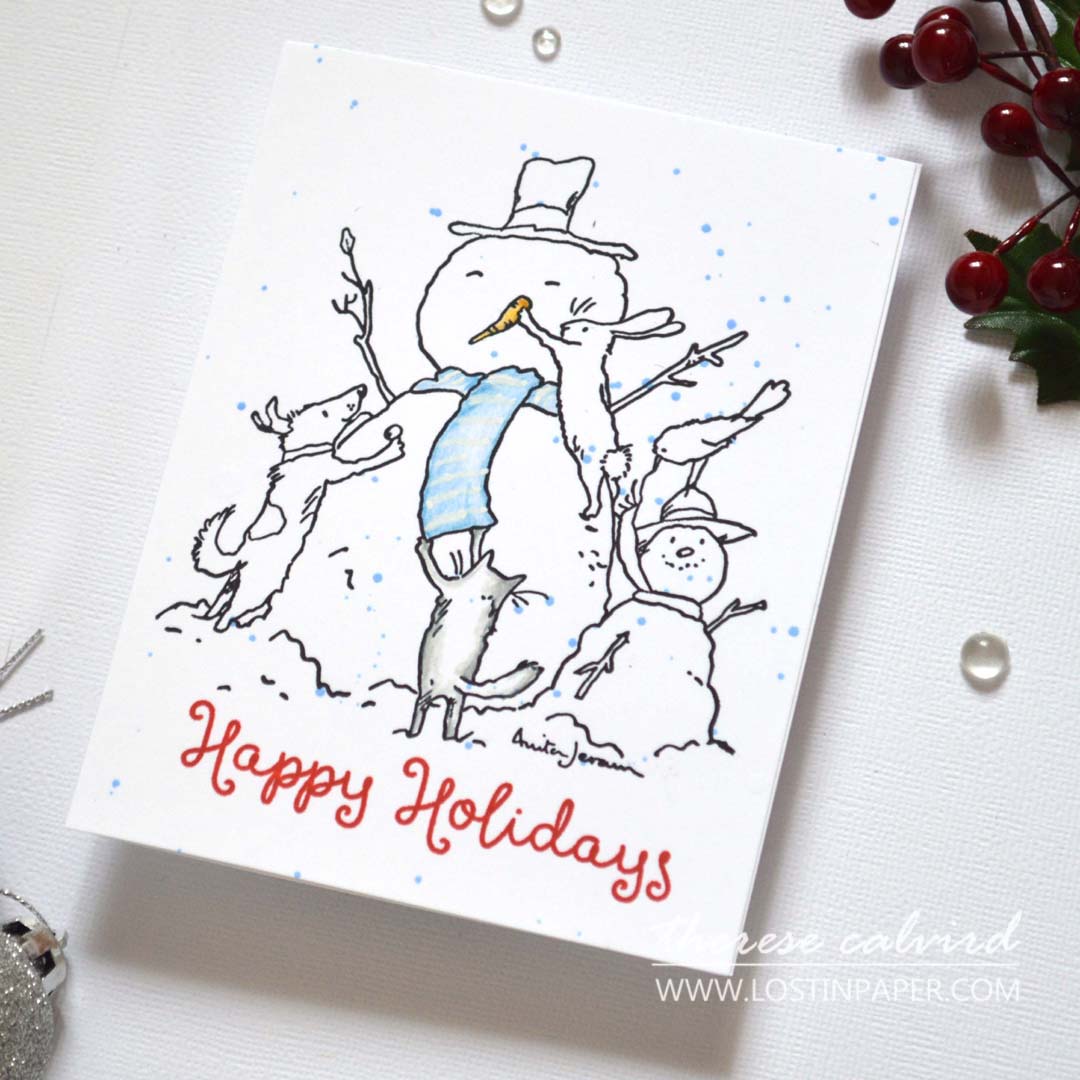
It’s as simple as stamping the image, it’s already large enough to hold it’s own on a card, but adding just a little colouring to highlight an area makes it funner!

I took these images a step further and added some quick ink splattering. This is simple to do and dries very quickly.

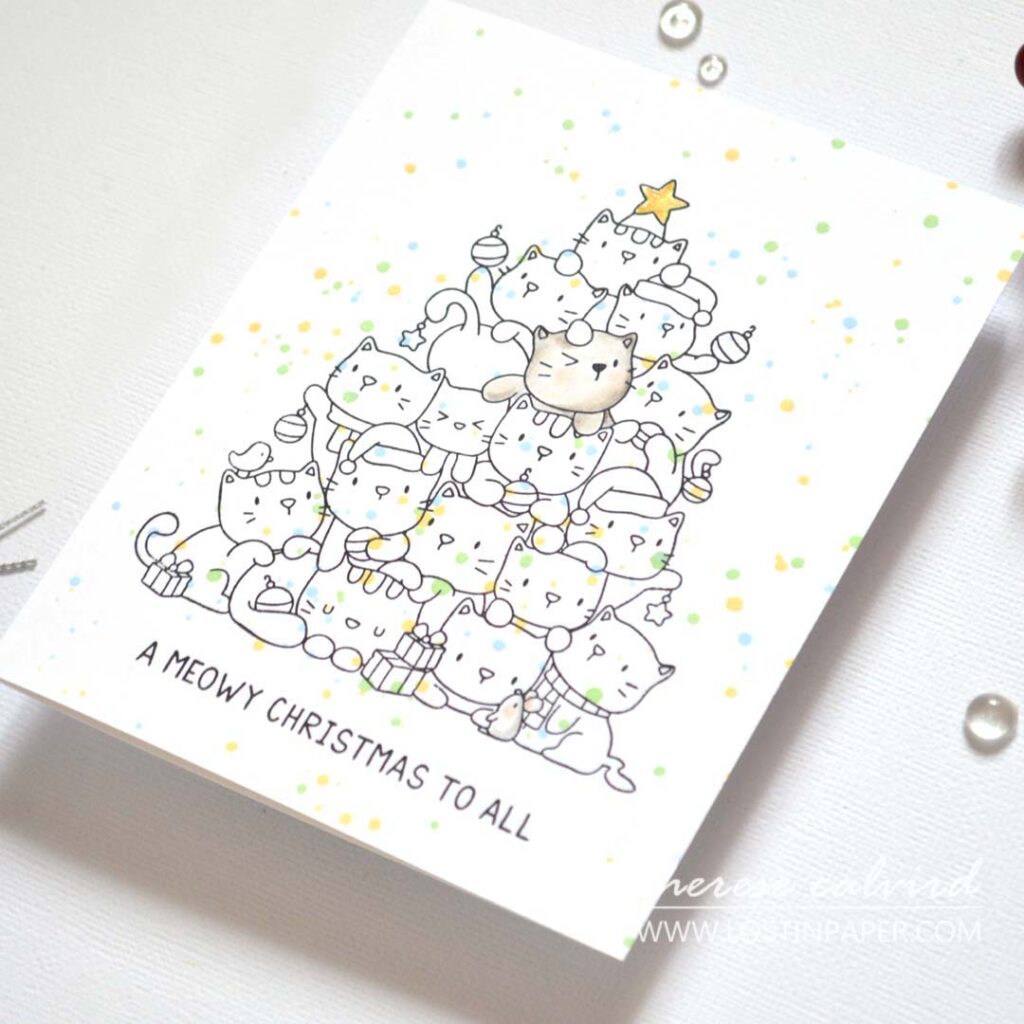
You may notice that I used the sentiments included in the stamp set for both cards… this makes the decision quicker, for me especially!

Let me know if you need to MAKE IT QUICK, or did you have your Holiday cards ready in July 😲?
And, if YOU have a favourite card today, let me know in the comments below. Don’t forget to share your creations with me on Social Media if you are inspired, it would be fabulous to see what you make!
Thank you for spending your time with me today, sending crafty hugs your way!

Also, just in case you want to do a little shopping I’ve added the links below (some of them are affiliate links which means that I receive a small commission at no extra cost to you). I truly appreciate your support of me and the stores that we love 🥰!
Other Supplies:
Altenew Ink: Eastern Sky
Stamps & DIes: Waffle Flower Crafts – Cold Hands | Mama Elephant – Oh Kitty Tree | Colorado Craft Co. – Teamwork
Cardstock: My Favorite Things – Candyland Paper Pad (retired) This is similar – Feelin Festive
*Certain content that appears on this site comes from Amazon, this content is provided ‘as is’ and is subject to change or removal at any time.
 A2 Layers Die SSS |
 Falala Friends Dies SSS | OTH |
 Falala Friends SSS | OTH |
 Holiday Sayings SSS | OTH |
 Timeless Sentiments 3 Dies ALT | SSS |
 Neenah Solar 80 AMZ | SSS |
Neenah Solar 110 AMZ | SSS |
 Jet Black ALT |
 Lapis Lazuli ALT |
 Lettuce Celebrate ALT | SSS |
 Lemonade Stand ALT | SSS |
 Copic Markers SSS |
 Prismacolor Pencils AMZ | SSS |
 Copic Multiliner SSS |
 Spectrum Noir – Crystal Clear SSS |
 Tweezers ALT | SSS |
 Perfect Picker ALT | SSS |
 Scissors SSS |
 Bone Folder Altenew ALT |
 Stampwheel 2.0 ALT |
 Perfect Align Tool OTH |
 Mini MISTI SSS |
 Tool") Chuckie (pressure) Tool OTH |
9″ Fiskars Paper Trimmer AMZ | SSS |
 Bigshot SSS |
Thin Foam Squares AMZ | SSS |
 Thin Foam Dots OTH |
Bearly Art Glue AMZ | SSS |
 Glue Tape ALT | SSS |
 Satin Masking Tape ALT |


