
Do you love the look of beautifully coloured flowers but are not confident to colour them yourself? Then today I may just have the answer for YOU!
Maybe it’s the confidence that you lack, perhaps it could just be a time thing, or maybe it’s the ‘look’ that you are going for… but, whatever your reason, using coordinating stamps and stencils is a perfect match. For me, it’s the fact that I now have the choice to either colour an image just how I want to, or if I don’t have the time I can get a fabulous result very quickly by Ink Blending through a stencil.
I decided that a LIVE video would be a fun way to share my tips and tricks so that you could see the ink blending in real-time. The flower I used on today’s cards is from Altenew’s Magnificent Branch Set and the sentiment from the Sweet Sentiments Set (scroll down for more pics and to see the video).
My TOP TIPS For Ink Blending With Stencils on Cards.
- Be gentle, some stencils have very intricate designs. Try not to bend the plastic when using brushes or when wiping or washing them clean.
- Drying Time. After stamping your image allow a few minutes for your ink to dry (espceially if you are using a pigment ink) before stencilling, this prevents smudging of you image.
- Use a light touch. You can always come in and add more colour, or a second layer or darker shade, but you can’t take it away (be aware that dye inks dry lighter so before you panic allow a little drying time to see what it will ‘really’ look like).
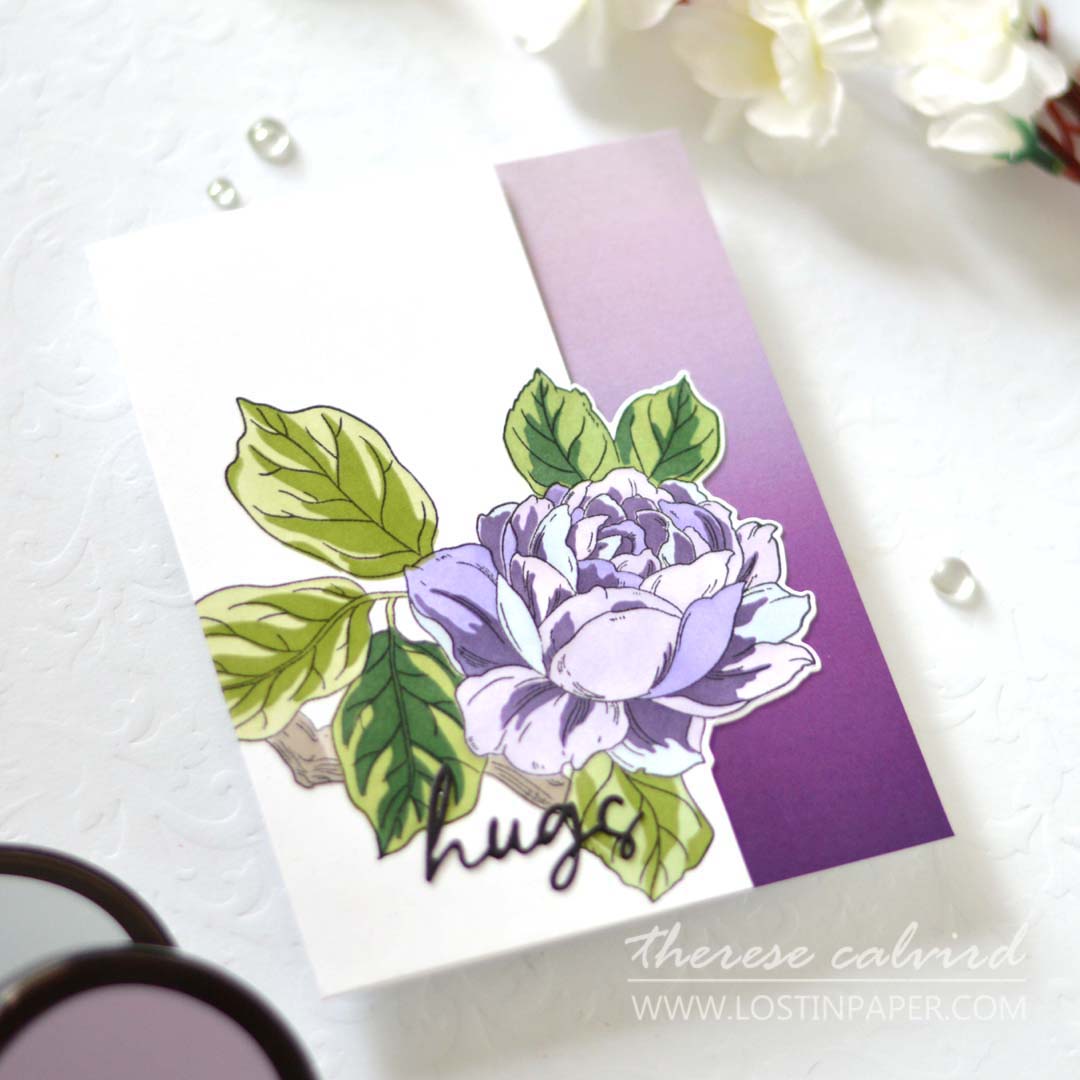
- Use preset colour combos, especially if you don’t have the confidence to mix and match your own colours. Many companies sell their inks in colour groups so there is no guess work and they will always work well together. The combination that I used today is called Shades of Purple.
- You don’t need a blending tool for each ink. Typically I use 4 different tools for each of the colour families. Though, if you are doing a LOT of blending you may prefer to have a second set for pastel colours.
- Don’t mix blending tools for dye inks and pigment inks (or Distress Oxide Inks).
- Follow the guides if you are not sure then often the packaging may help, some stencils are numbered, or head to the manufacturer’s shop where there are often downloadable guides available.
- Troubleshooting Tips – Cardstock! If you are not getting good results, I suggest trying a different cardstock. I always had the best results with Bristol and Distress Inks until I got the Altenew Brushes, and out of all the styles they seemed to suit me best. This leads me to my next tip…
- Troubleshooting Tips – Blending Tools, find which brush is best for you. Practice with the blending tools that you have. The more you use them the better you will become, but if you are still struggling there are many different styles available. You could buy just one to try, or maybe try a friend’s (or pop round here, and I’ll put the kettle on and you could try mine).
- Troubleshooting Tips – Inks. Not all inks are created equal and each will blend differently, so test out what works best for you by combining different brands of ink on a variety cardstock you are bound to find something that suits you. My faves are Altenew / Catherine Pooler / Distress Inks.
- Stencils are not always perfectly cut to size. To prevent a ‘halo’ of ink surrounding your image you can shift the stencil to the inked edges of your image as you are blending (I would use a smaller brush to do this for greater control).
- You can add some easy dimension by shading the ink through stencils as I shared in this VIDEO HERE using the same image.
- You can also add extra dimension with this fun idea from this VIDEO HERE.
- Play with Colour. When you start feeling a little more adventurous why not start mixing up some of your very own FUN alternative colour combinations.
- BONUS TIP: Roberta says that she uses Ink Refills to blend with. She adds a drop to a work surface which she can then pick up her brush and add colour through the stencil. What a brilliant idea!

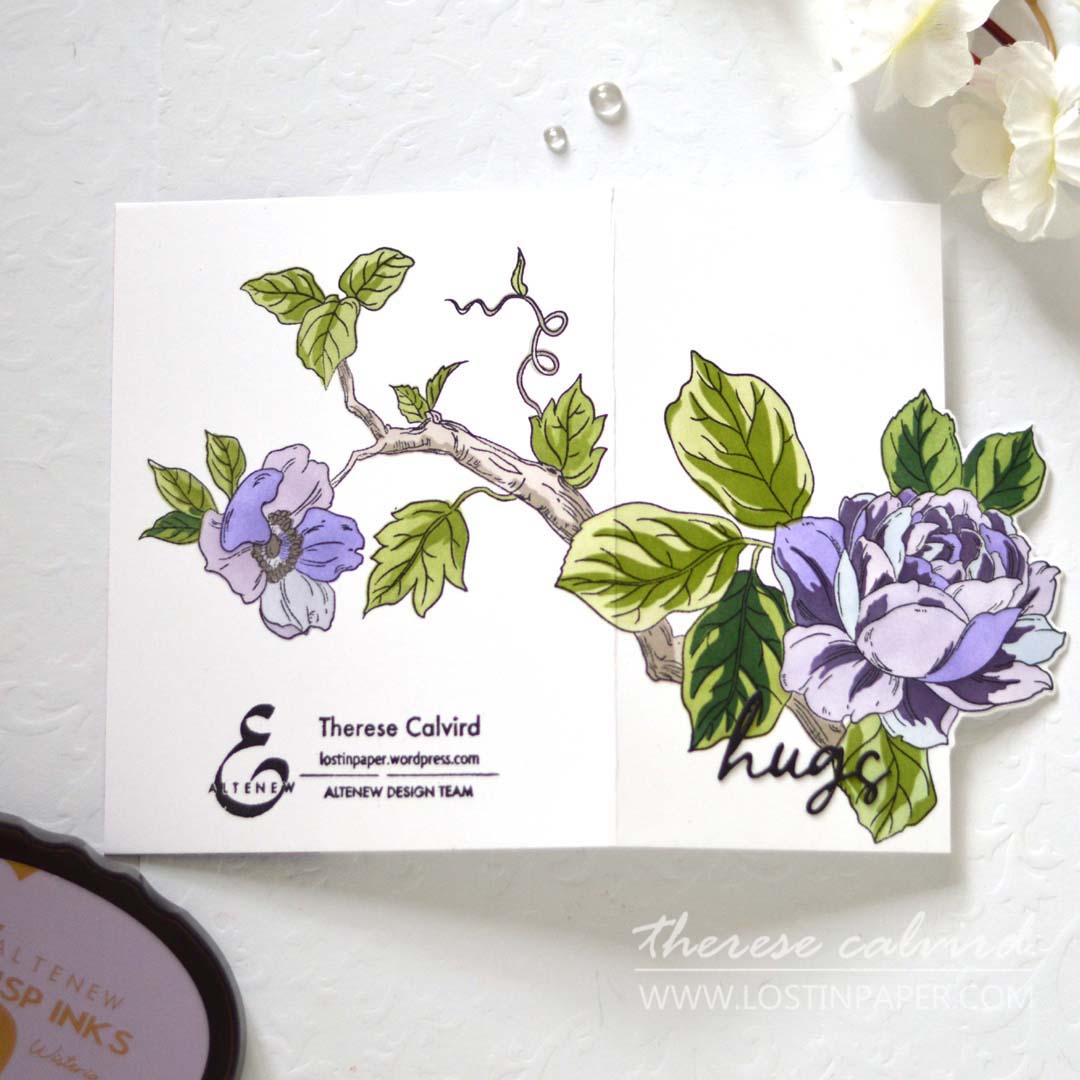
Having a co-ordinating die allowed me to partially cut the image to give the front of the card a unique shape. But you could re-create this technique with a little fussy cutting, just as easily, if you don’t have a die.
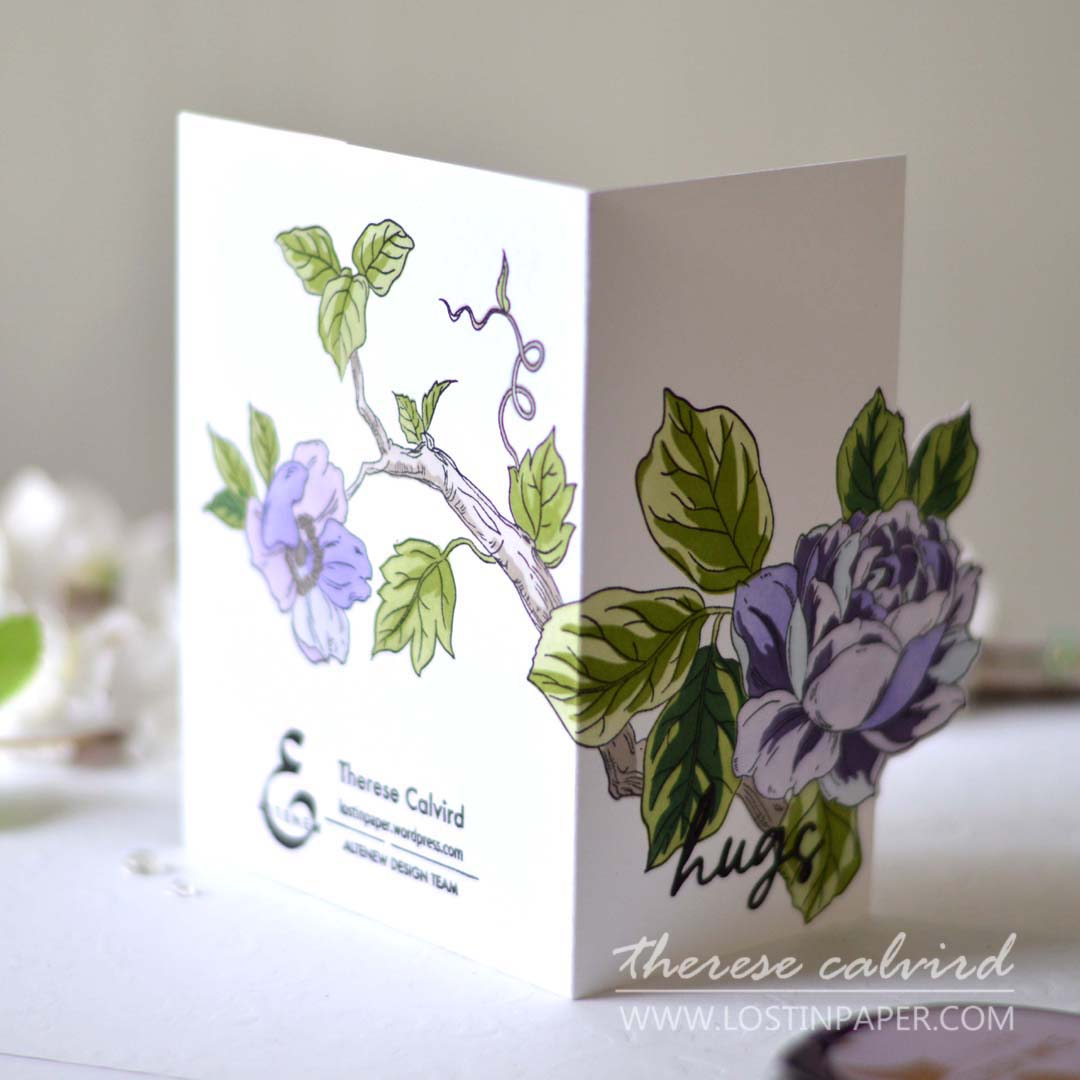
This stamp is huge and I was inspired by my friend Michele from I Card Everyone to create a design that flowed onto the back of the card.
I love that stencils allow me to change up the look of an image and take me out of my comfort zone. I would NEVER have coloured this flower in multiple colours, and the result is so much fun!

You can see my LIVE video here or Watch it in HD at YouTube.
I hope this has been helpful and if you are inspired to try a little Ink Blending, I’d love you to share them with me on Social Media, I always love to see what you are creating. Hugs,

Other Supplies: Altenew Blends Paper Pack
Affiliate links are used Neenah Solar 110 SSS | AUZ | EH |  Neenah Solar 80 SSS | AUZ | EH |  BAG Magnificent Branch Bundle ALT |  BAG Magnificent Branch ALT | SSS | AUZ |
 BAG Magnificent Branch Die ALT | SSS | AUZ |  Sweet Sentiments Bundle ALT |  Sweet Sentiments Hot Foil Plate ALT | SSS | AUZ | EH |  Sweet Sentiments Die ALT | SSS | AUZ | EH |
 Forest Glades ALT |  Evergreen ALT |  Wisteria ALT |  Hydrangea ALT |
 Ultraviolet ALT |  Andromeda ALT |  Green Fields ALT | SSS | AUZ |  Shades of Purple ALT | AUZ |
 Ink Blending Tool ALT | SSS | AUZ | EH |  Detailed Blending Brush ALT | SSS | AUZ | EH |  Mini Blending Brush Set ALT | SSS | AUZ | EH |  Scissors SSS | AUZ | EH |
 Magnets OTH |  Bone Folder Altenew ALT | SSS | AUZ | EH |  Score Board ALT | SSS | AUZ |  Mini Score Board SSS | AUZ | EH |
 Cutting Mat ALT | SSS |  MISTI SSS | AUZ | EH |  Bigshot SSS |
Fabulous tips, truly gorgeous results, my friend!!
=]
So happy you like it Michele, and thanks again for the fabulous idea!!!
Amazing cards and such great tips!
Thank you Lisa x
Stunning! Love how you partial cut images and going round the back of the card! Off to watch the video I’m sure you won’t dispoint 🙂
hahaha the video got off to a slow start lol but the company and the card was fun!
Once again thank you for your top tips especially the first one as I have bent many a stencil with my heavy hand.Fabulous card and I love have you have continued the image to the back.Simply stunning
Marie.
Stunning Therese! I love the idea of wrapping the flowers around the card!! Great idea for larger images. 🙂
Yes, it was Michele’s idea and I just had to do it!
[…] I used a piece of gradient coloured paper for this one and after arranging my flowers added some liquid pearls. I was inspired by Therese’s card here […]