
Have you ever made any alcohol ink backgrounds? How about adding some fun foil highlights? It’s really easy to do and I have a video showing you how to do it!
But first… Did you know that this video is part of my Take 2 With Therese series of videos that I create for Altenew? You can check out the full playlist right HERE for more inspiration.

I started by creating my alcohol ink backgrounds, check out the video below to see how I added the foil details.
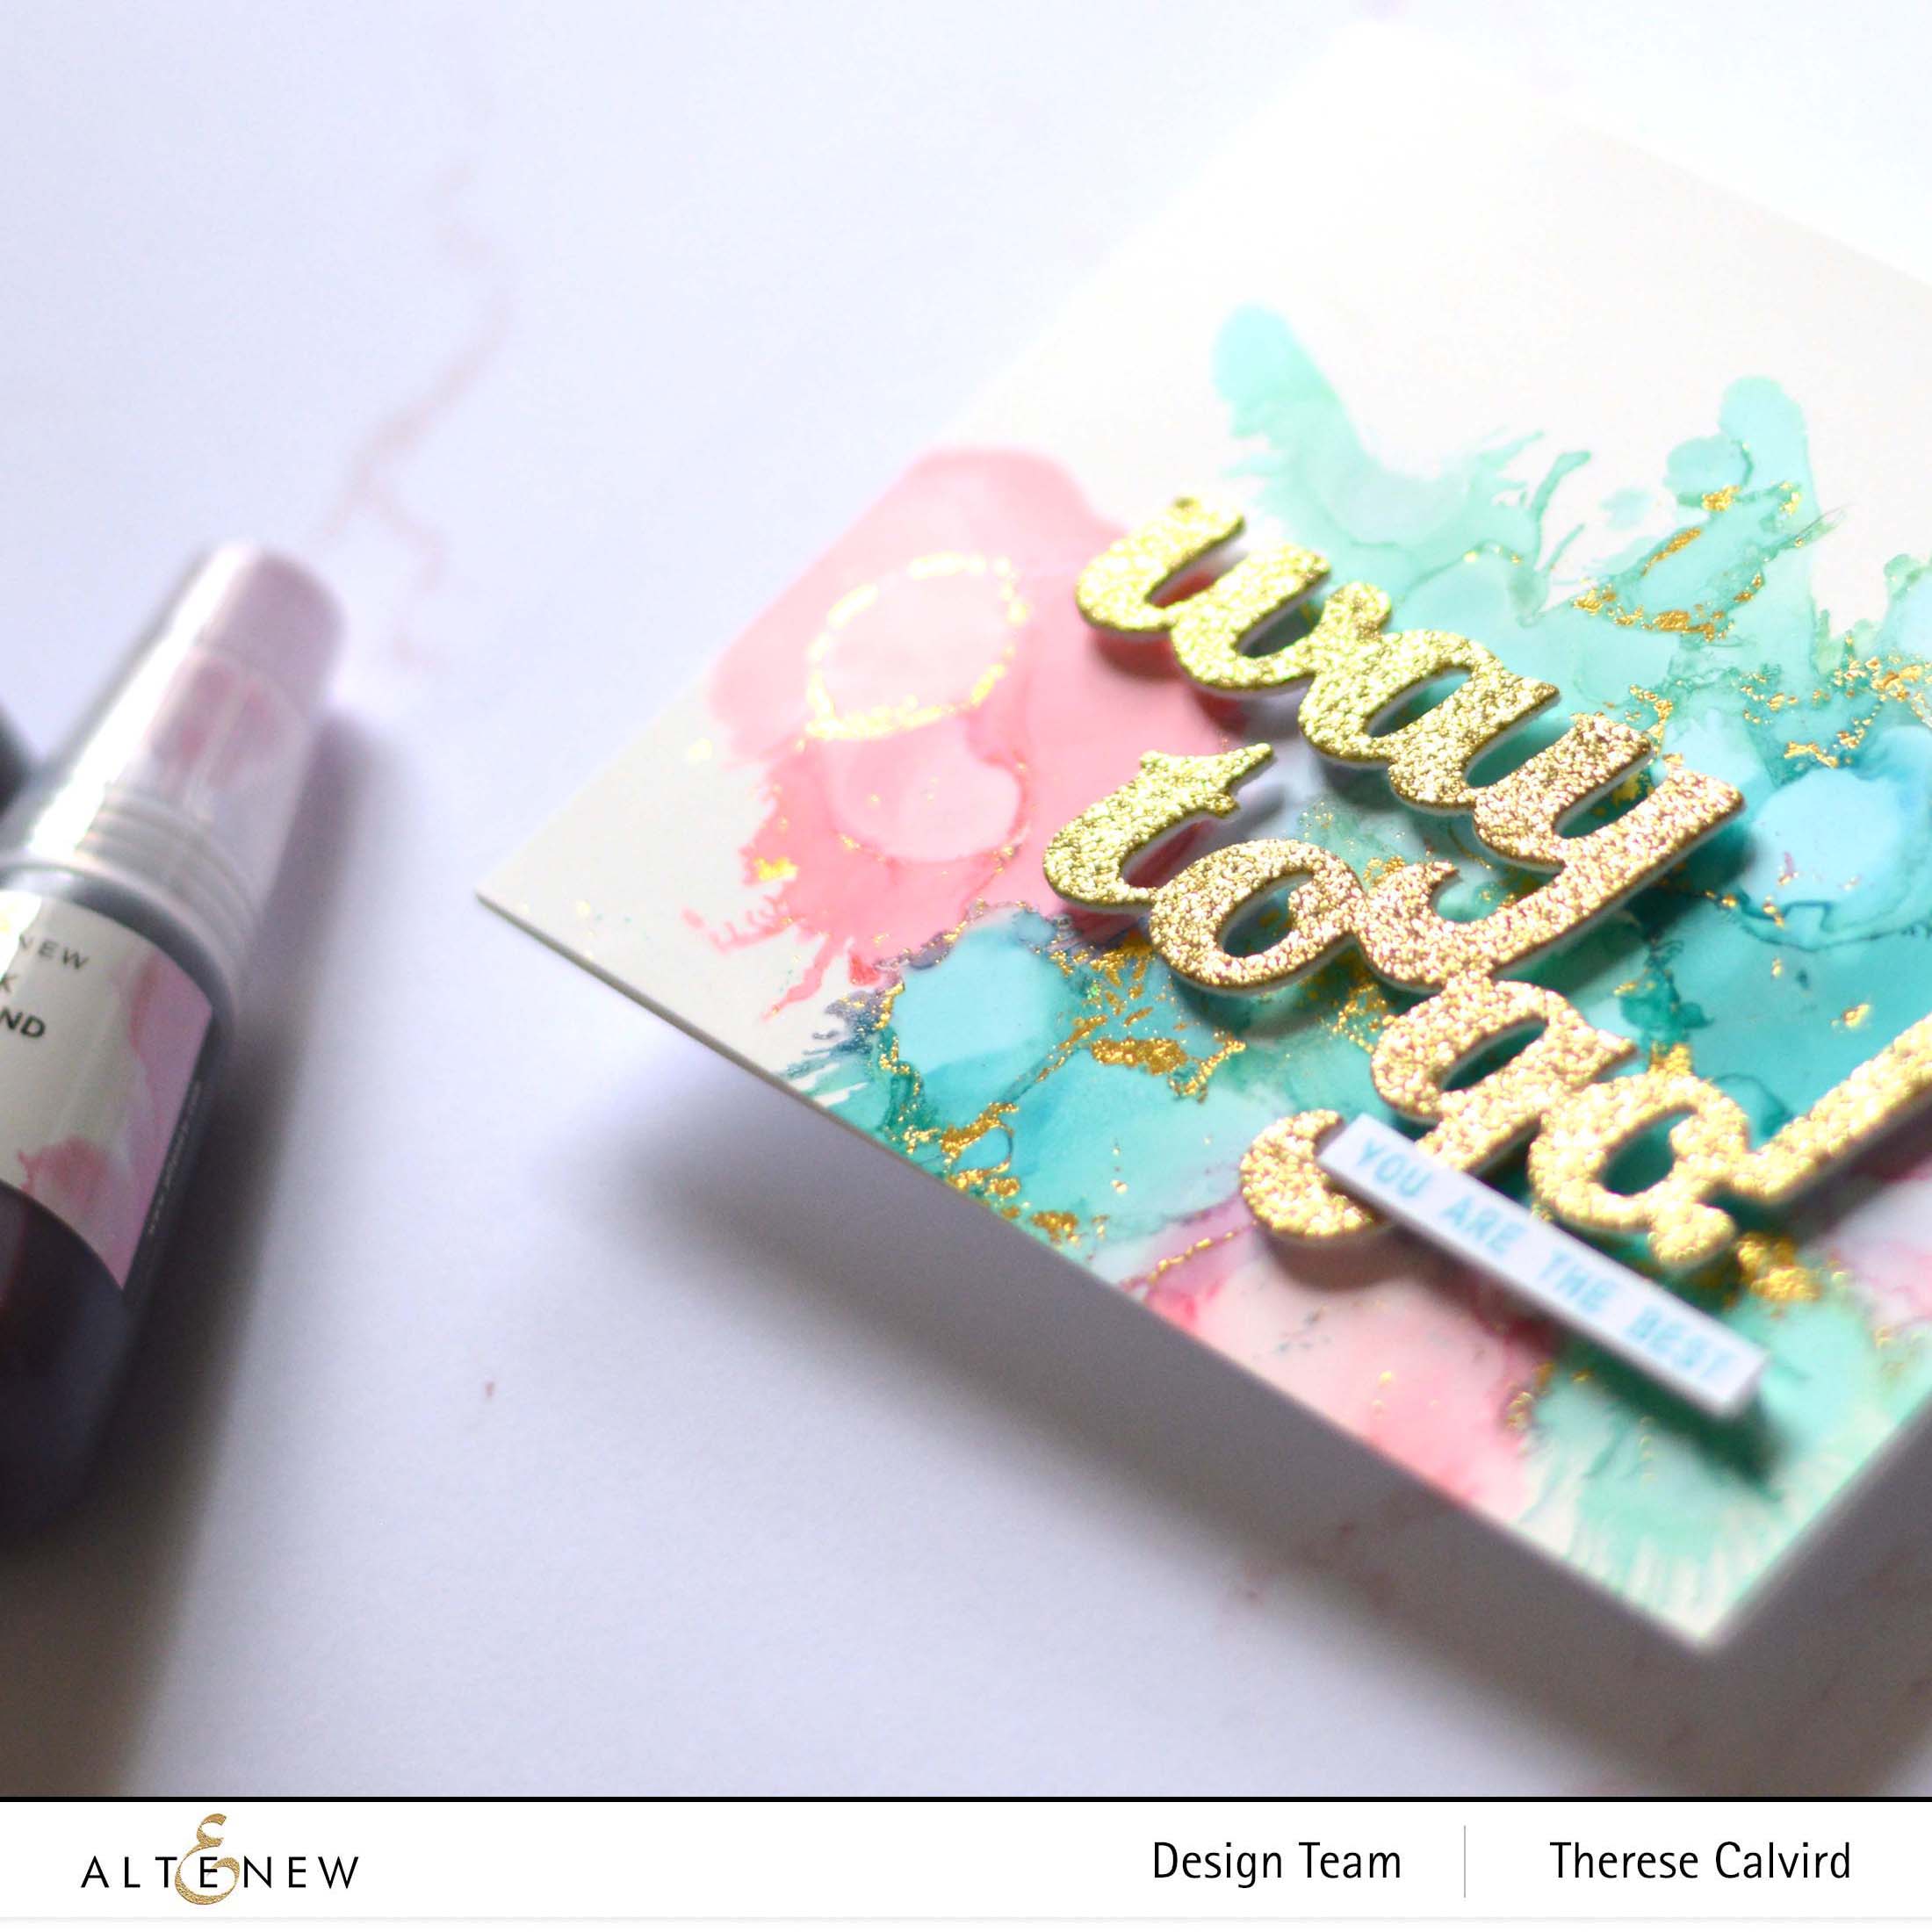
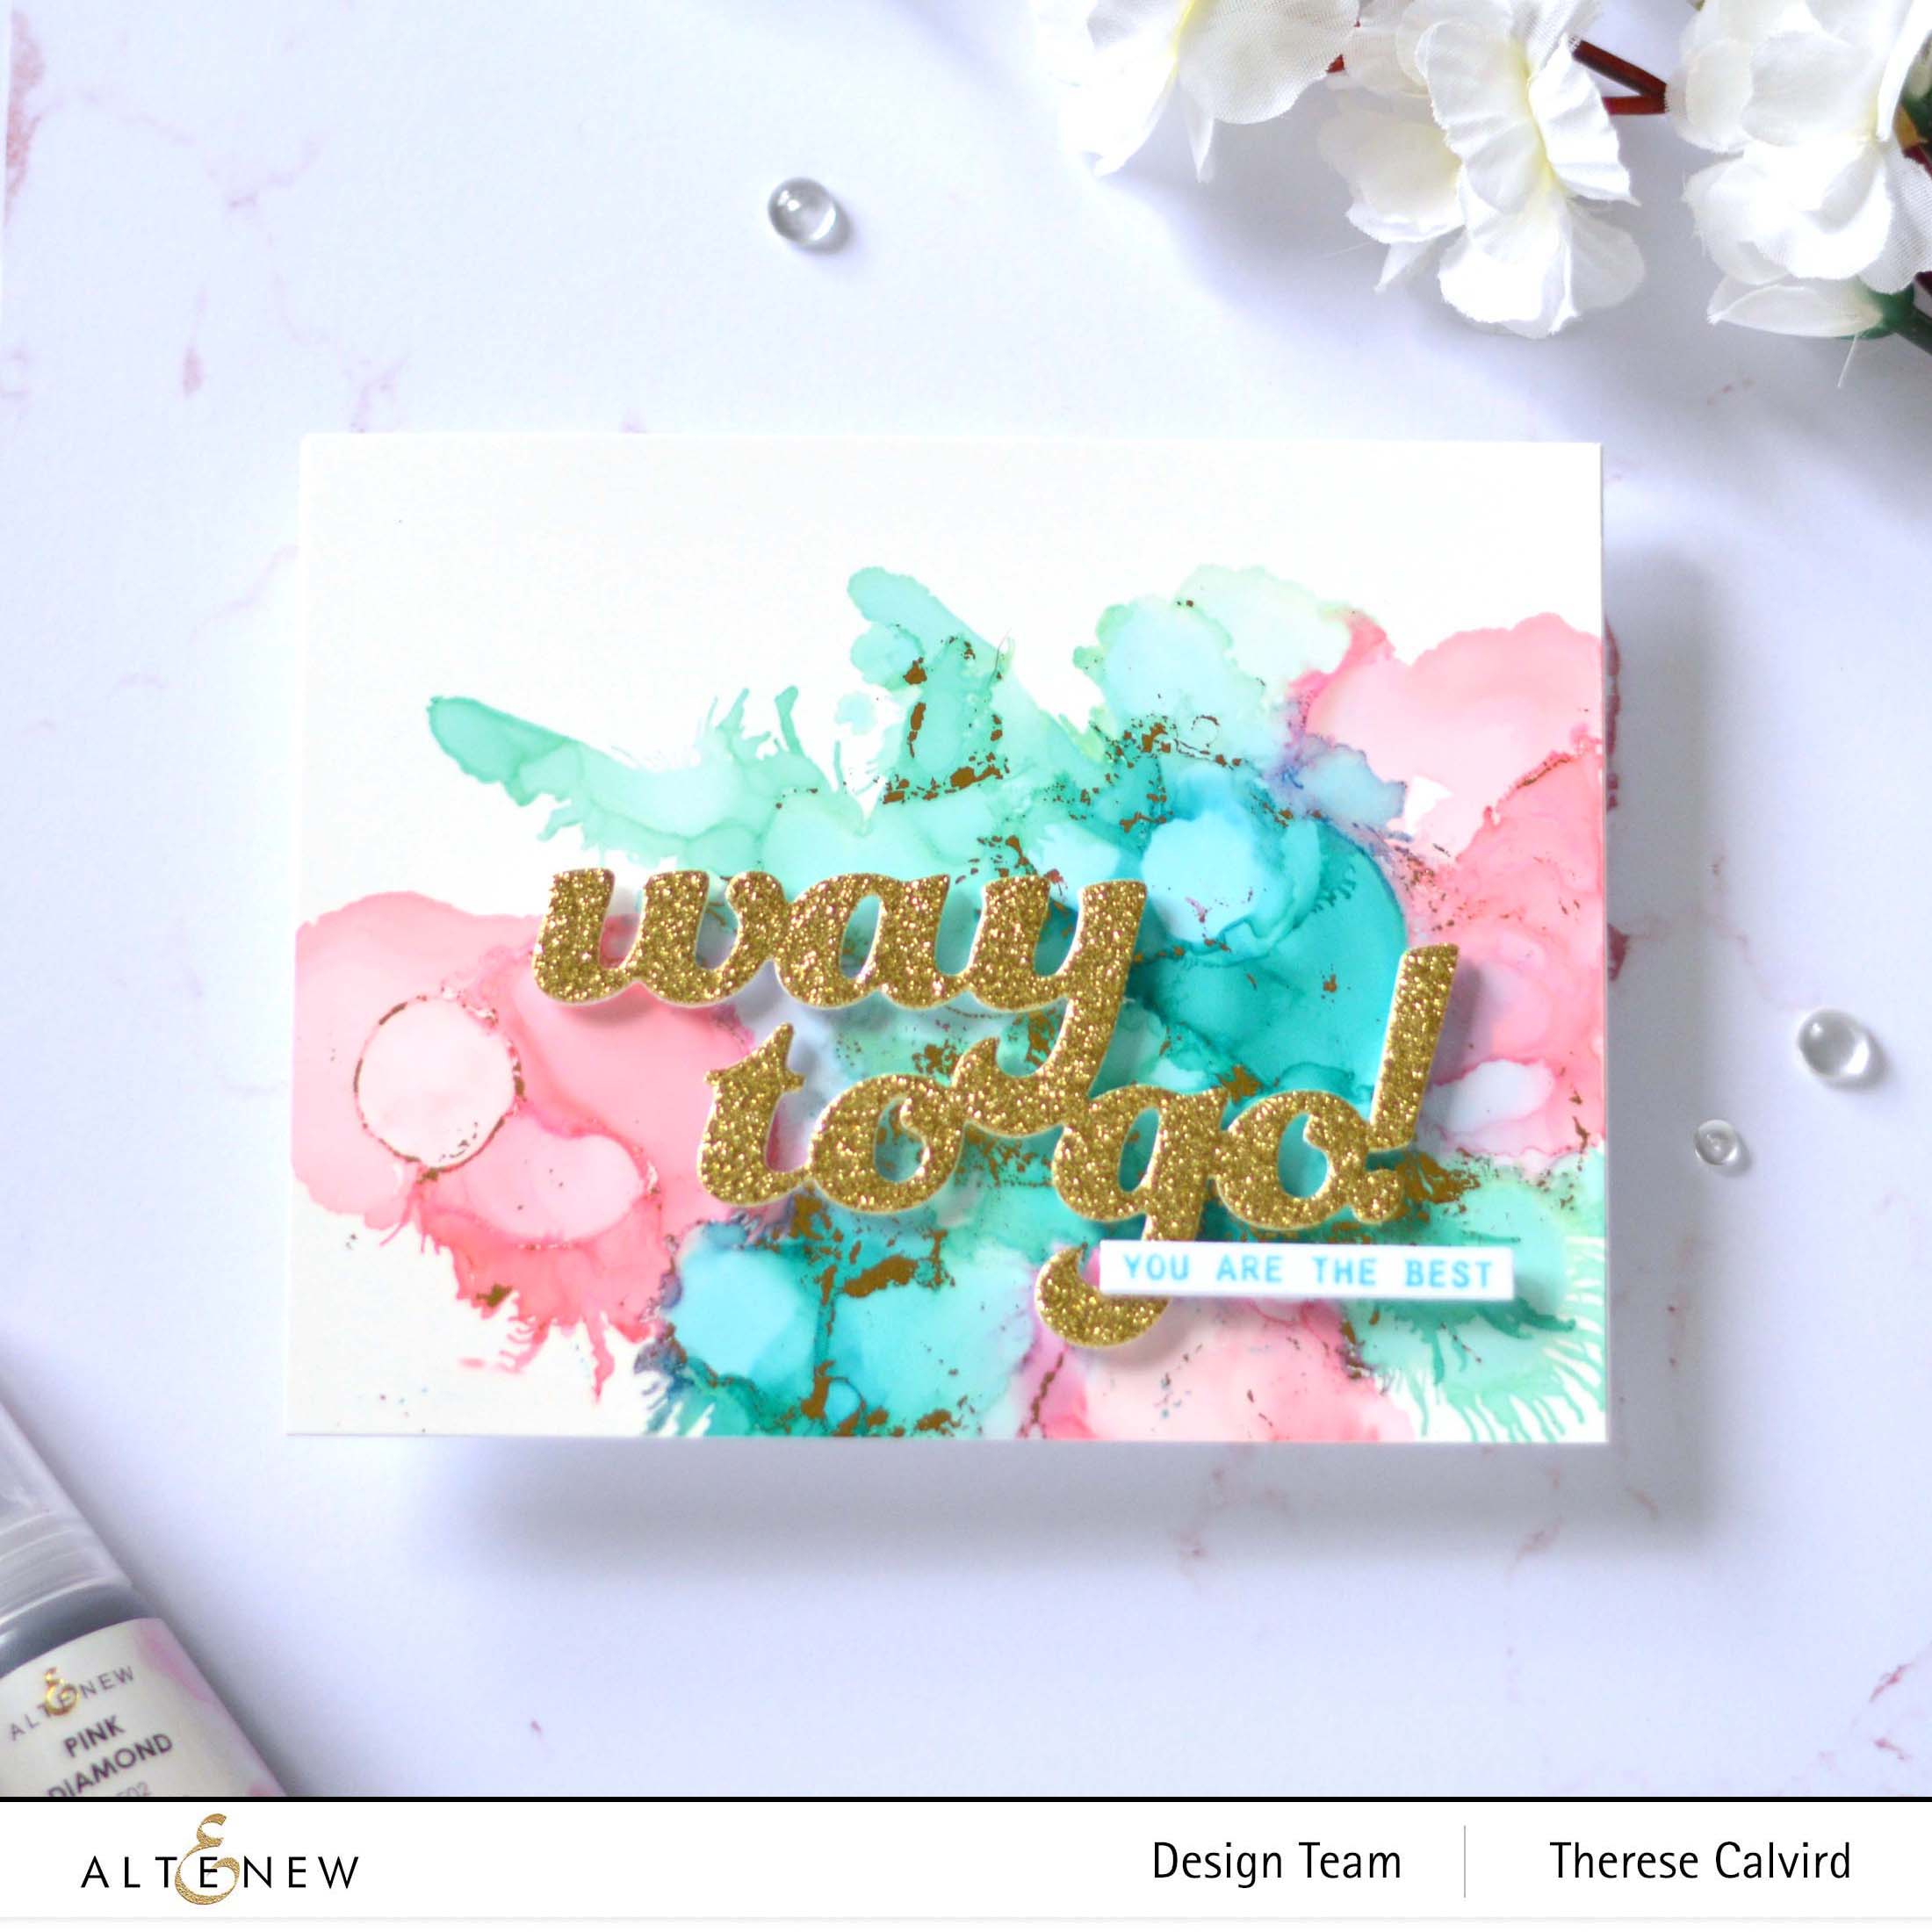
The backgrounds are going to be the star of the show. So I kept it simple by adding the Way to Go sentiment die cut in some Citrine cardstock.

This sub sentiment is from the Stone Mosaic set and I stamped this with the Aqualicious ink….. ‘No’ black ink today!
My next desigsn is very similar.
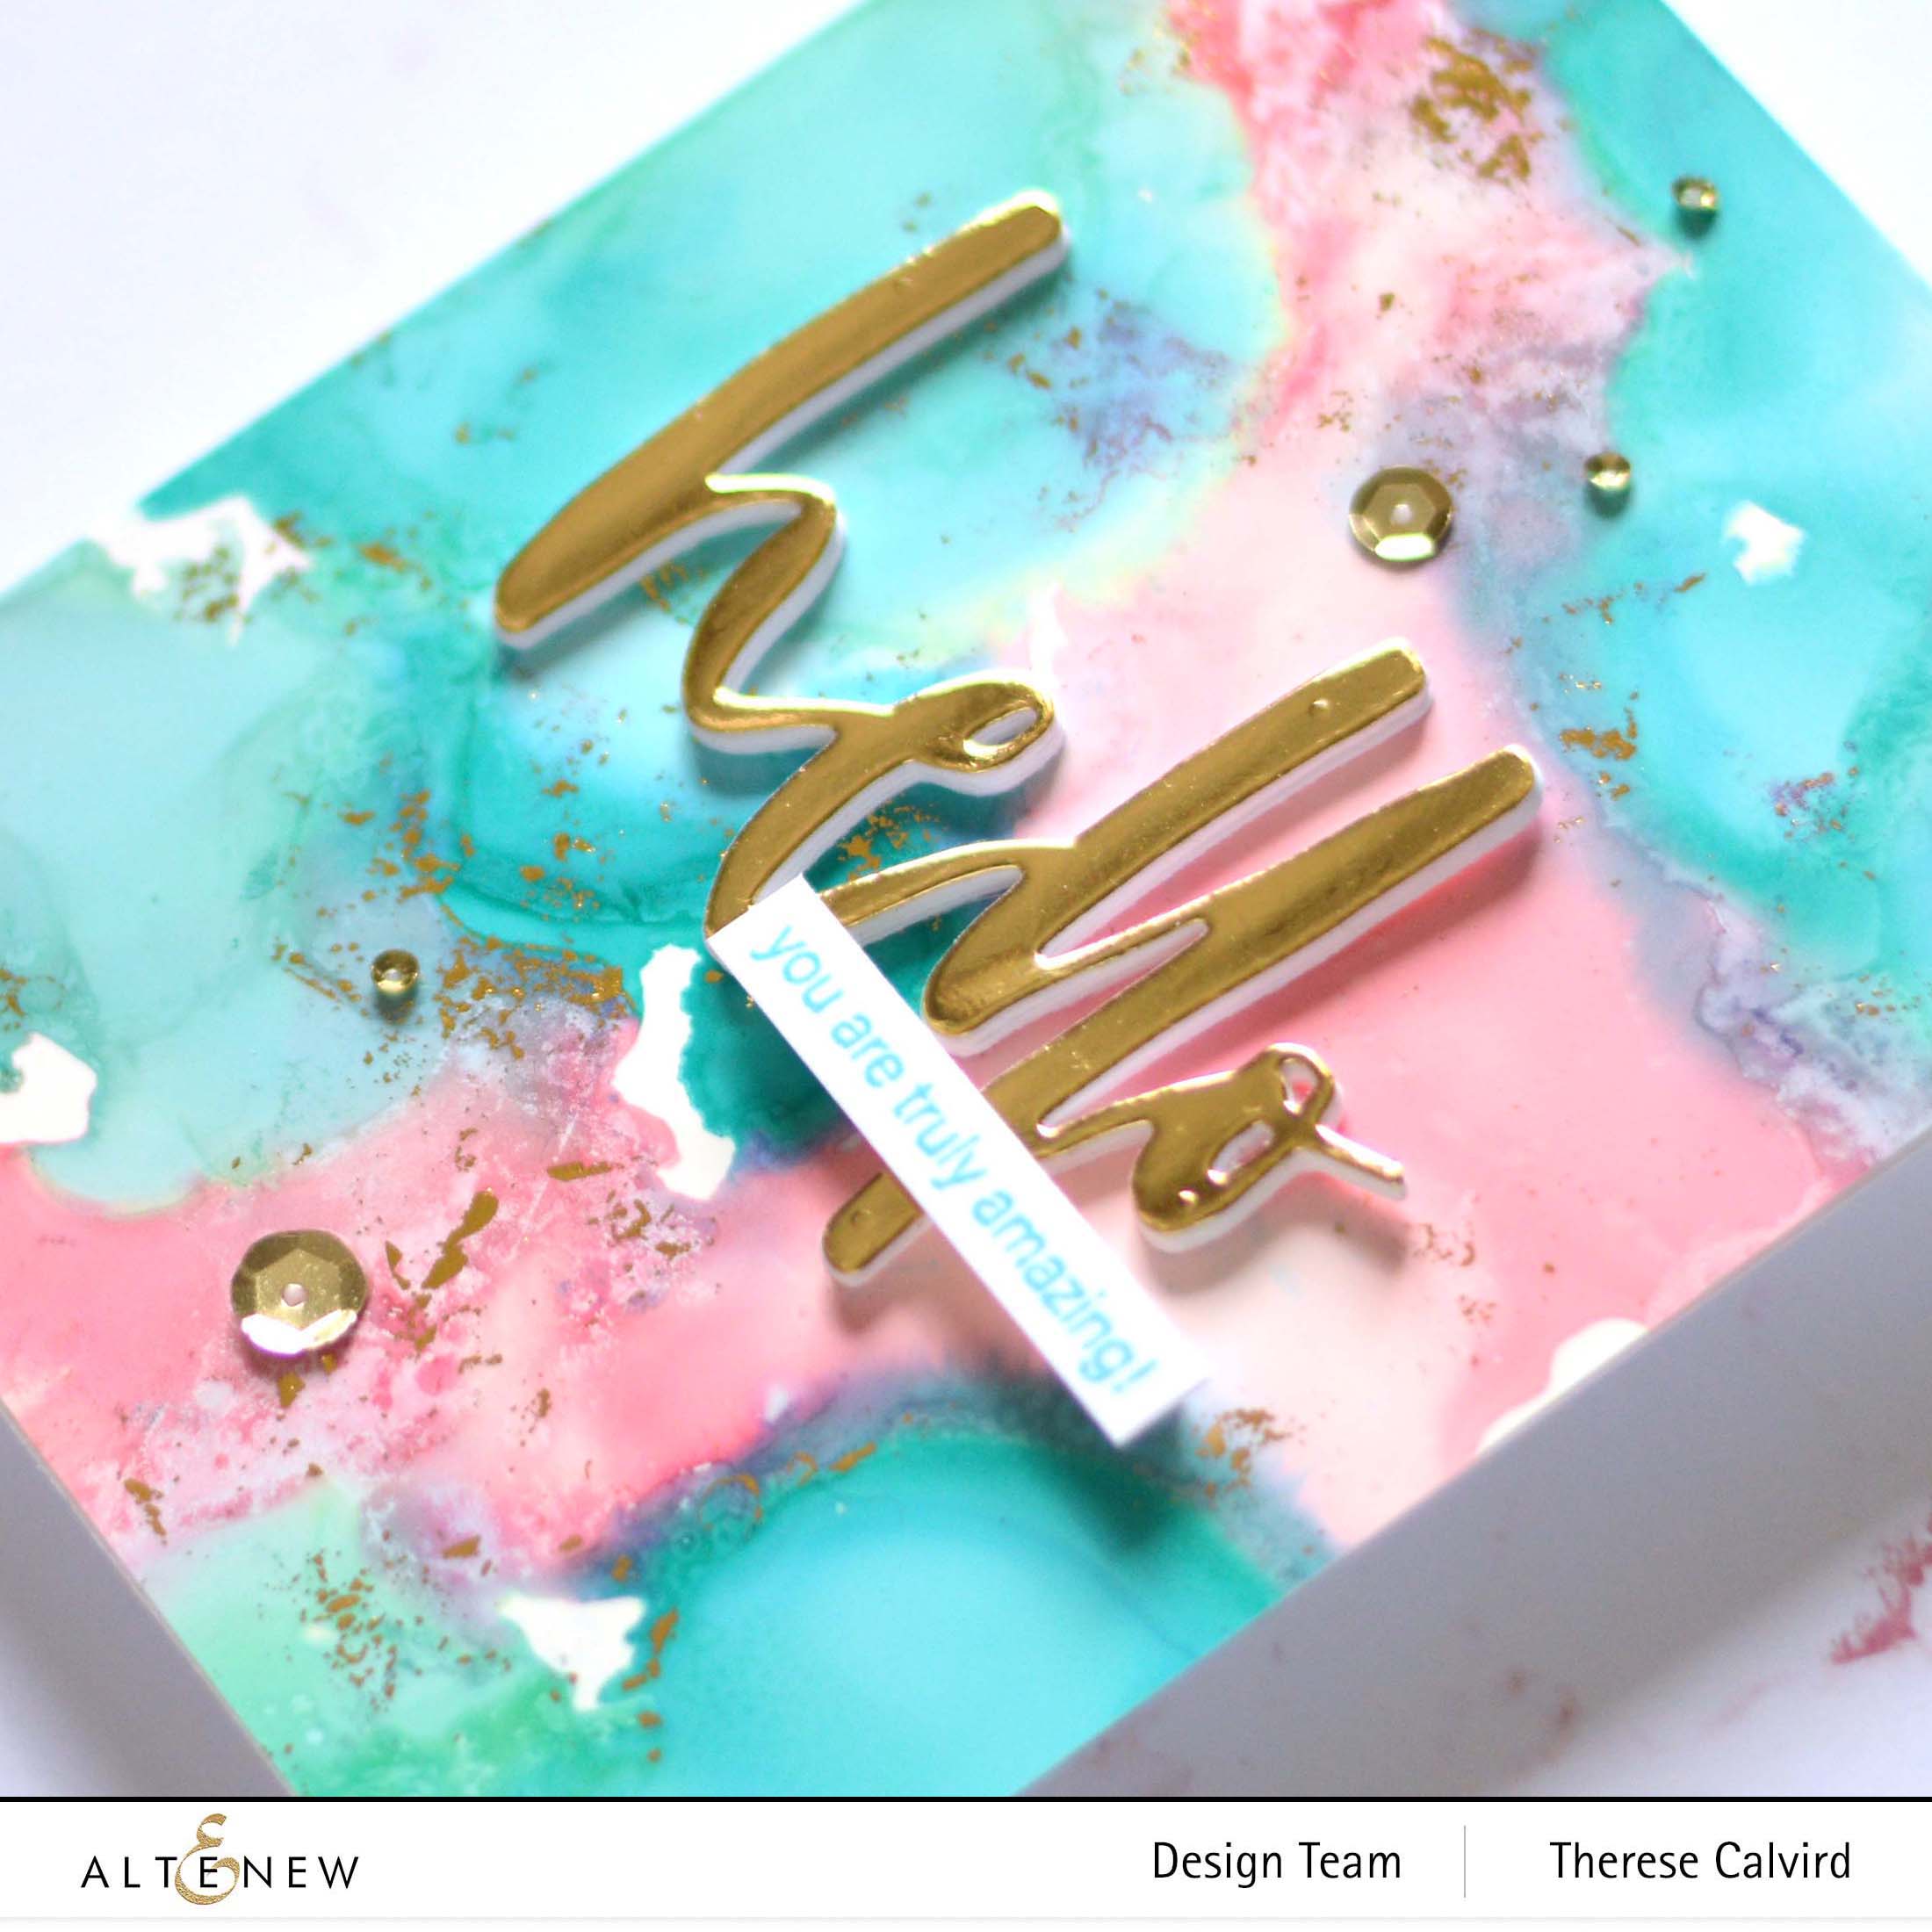
But this time I used the Waterbrush Hello die and some Gold Mirror Cardstock.
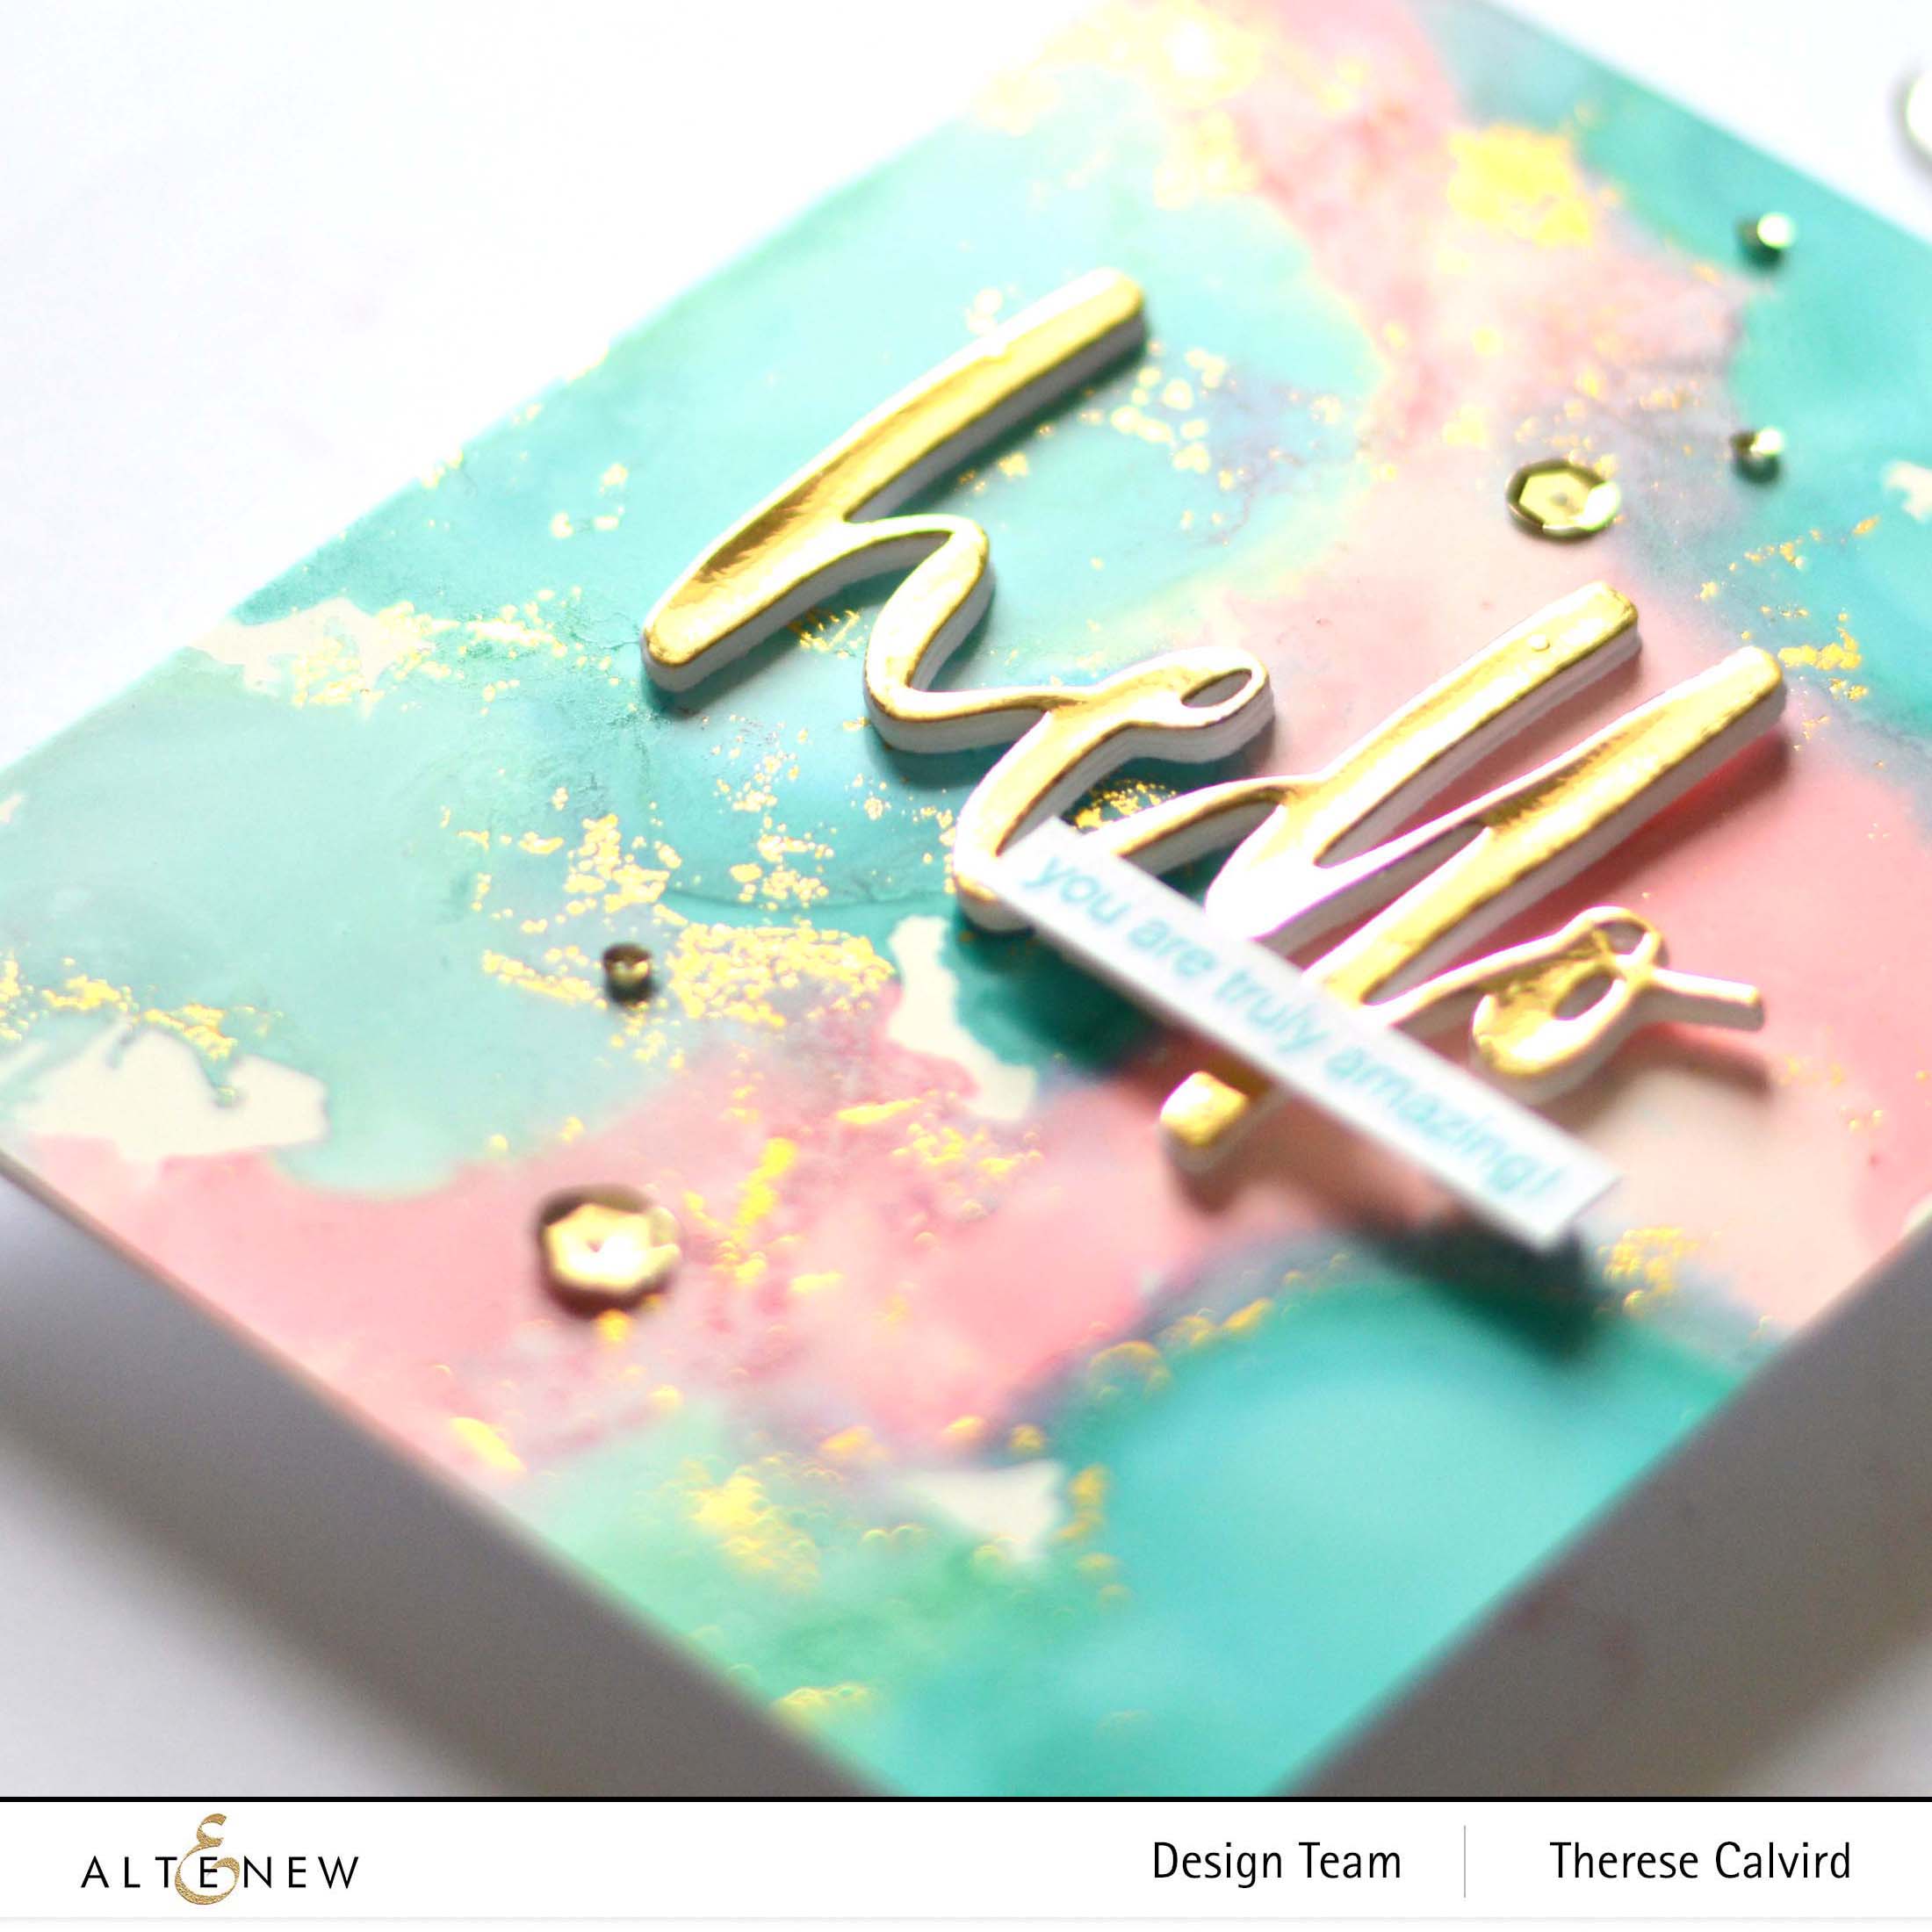
Check out the shiny shiny shine!
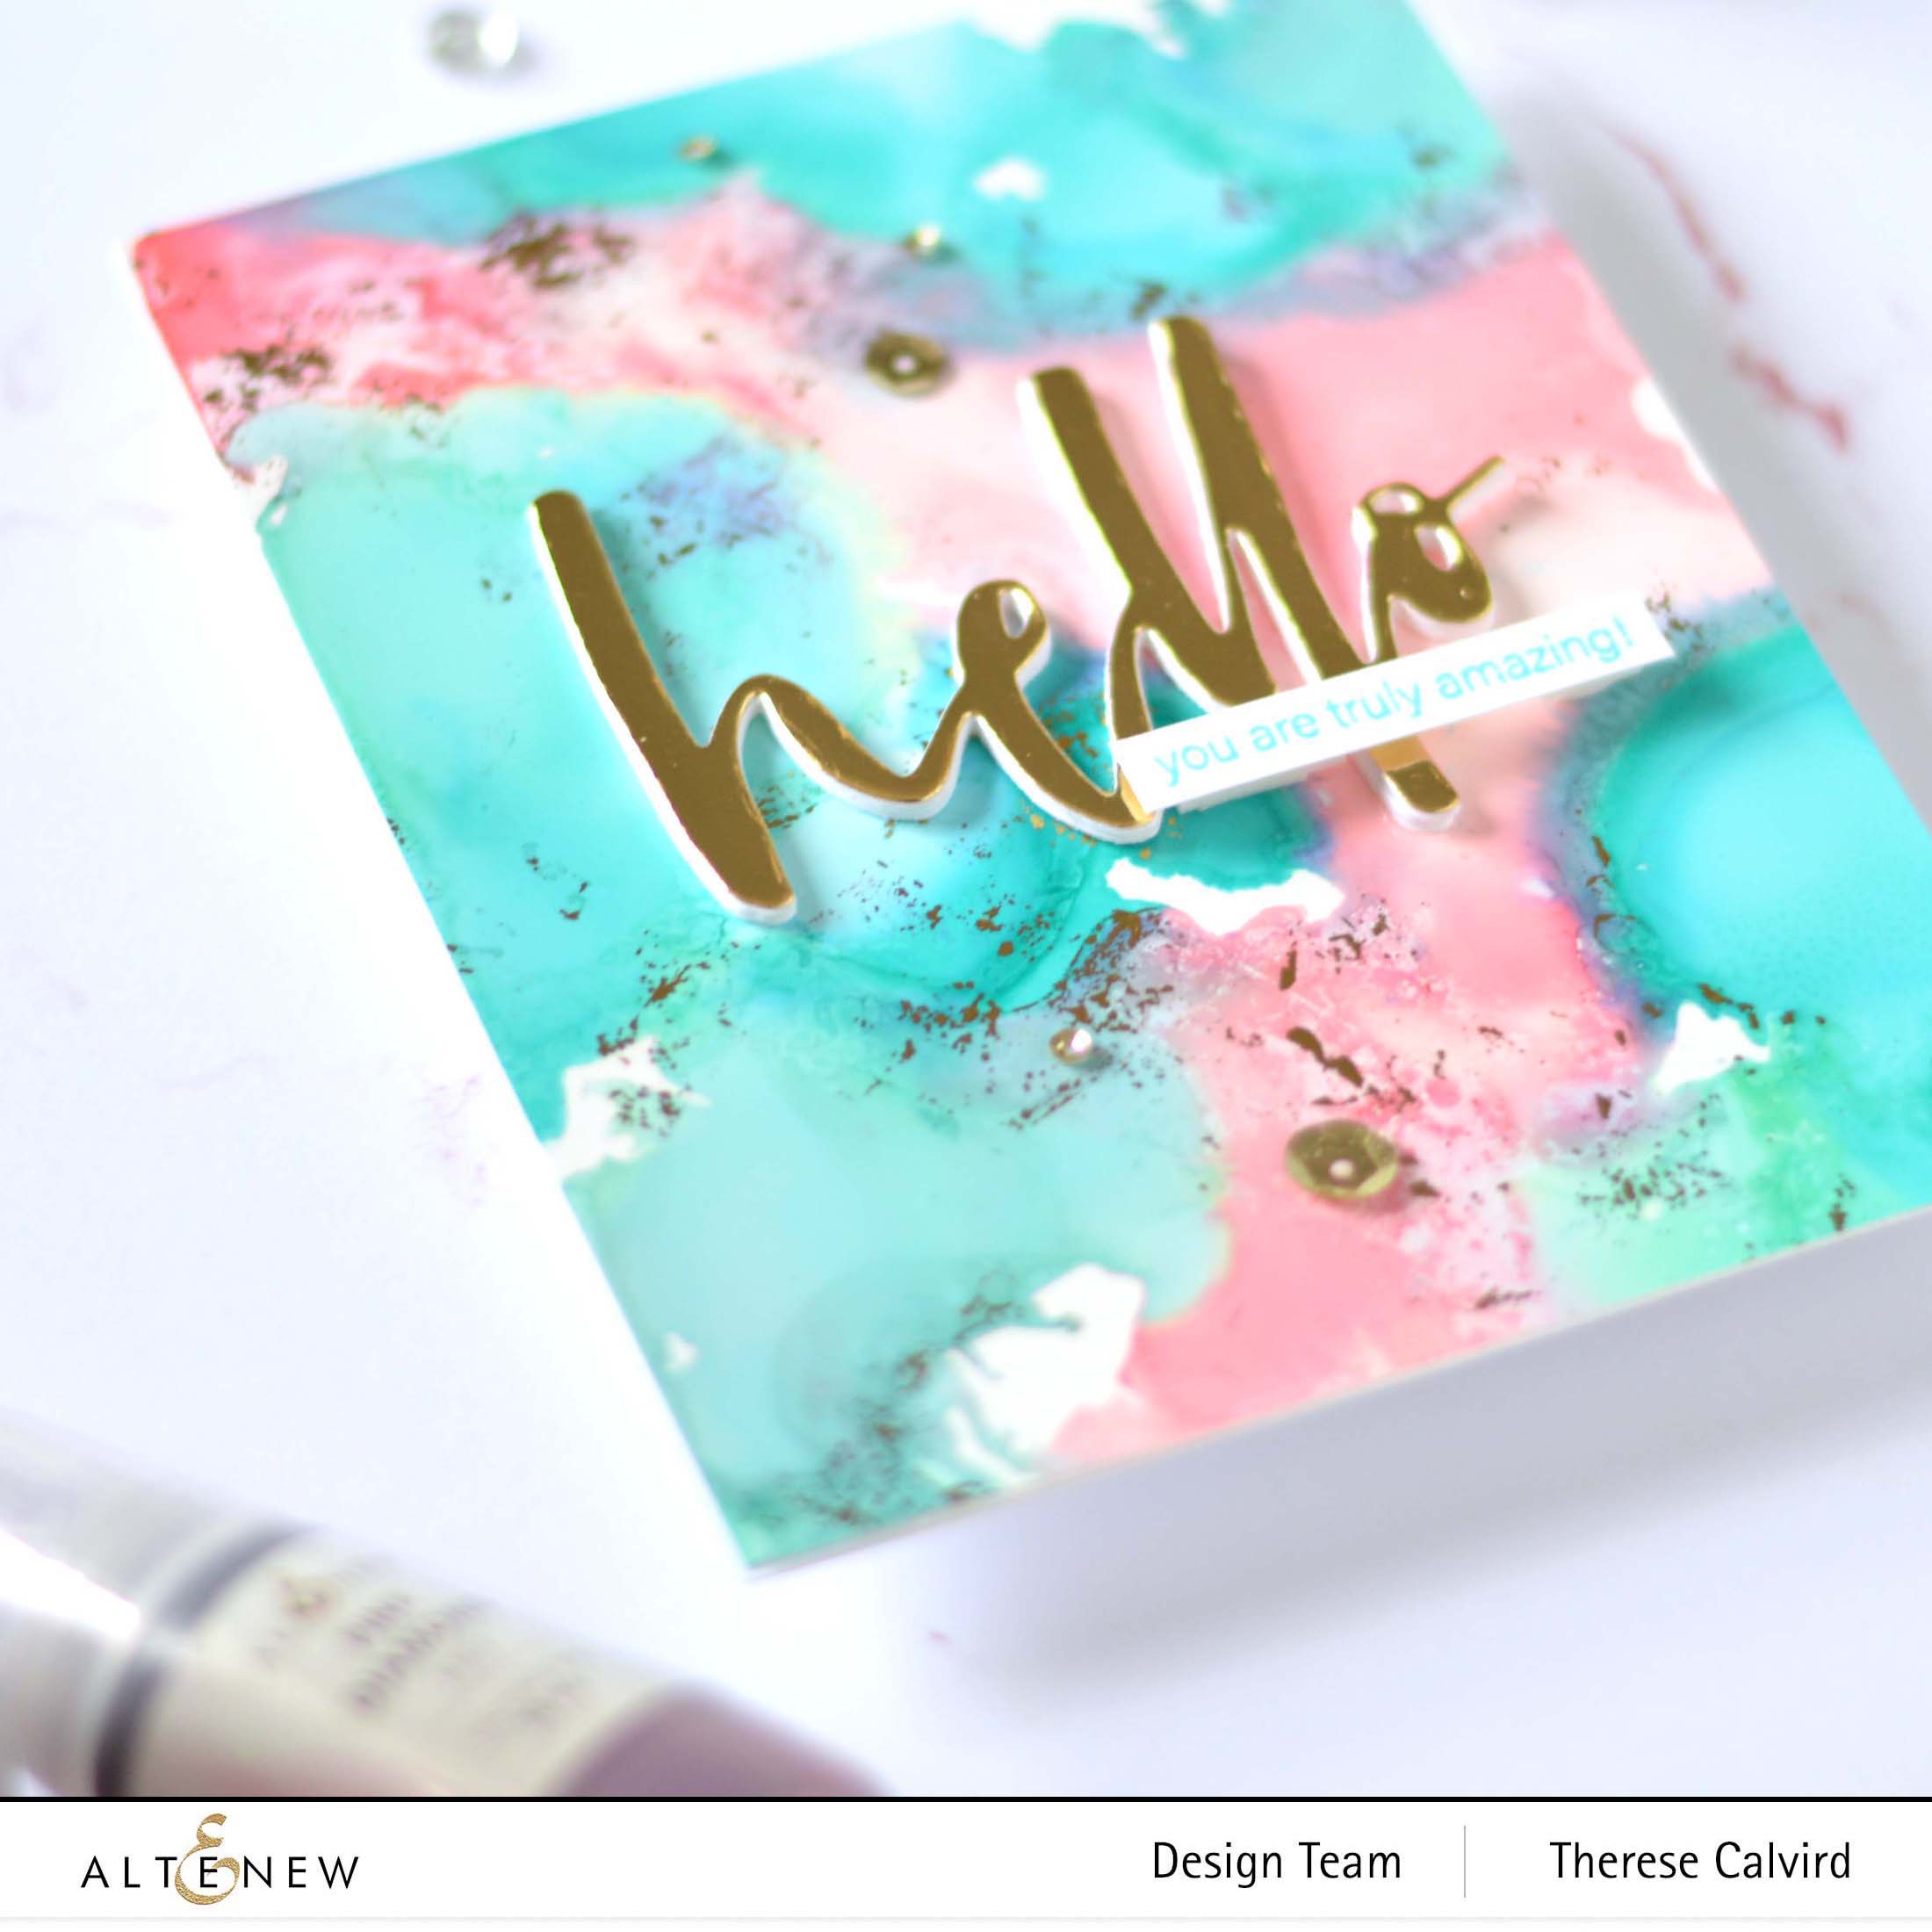
My sub sentiment this time comes from the Modern Hello Stamp Set. As well as some Antique Gold Sequins.

You can see my video here or Watch it in HD at YouTube.
I hope you are inspired to create with your alcohol refills! And if you do, I’d love to see it so please tag me on social media! Thanks so much for stopping by today, hugs,

Other supplies: Gilded Glitter Cardstock – Citrine
Affiliate links are used Classic Crest Solar White 110lb ALT |  Gold Mirror ALT |  Gilded Glitter Cardstock ALT | AUZ |  Gold Foil SSS | EH |
 Yupo – Medium AUZ | EH |  Way To Go ALT | SSS | AUZ | EH |  Stone Mosaic ALT |  Waterbrush Hello Die ALT | SSS |
 Modern Hello ALT | SSS | AUZ | EH |  Aqualicious ALT |  Dew Drops ALT |  Aqualicious ALT |
 Pink Diamond ALT |  Alcohol Blending Solution SSS | AUZ | EH |  Ink Air Blower SSS | AUZ | EH |  Antique Gold Sequins ALT | EH |
 Tweezers ALT | SSS | AUZ | EH |  Scissors SSS | AUZ | EH |  Mini Score Board SSS | AUZ | EH |  Stamping Mat ALT | SSS | AUZ |
 Cutting Mat ALT | SSS | AUZ |  Gemini Junior SSS | AUZ | EH |  Paper Trimmer SSS | EH |  Acrylic Blocks ALT |
 Glue Tape ALT | SSS | AUZ |  Foam Tape ALT | SSS | AUZ | EH |  Glue Pen ALT | SSS | AUZ | EH |
Beautiful cards Therese. Love the colours and the gilding. Thank you for sharing your amazing idea â¤ï¸
Glad you like them Delia!
Lovely cards. I agree that foil is difficult to photograph.
Shame I’m putting it on every card at the moment lol.
Beautiful. Love those pretty backgrounds and the shine from the different foils.
So happy you like them Lisa!
The colors are beautiful and I love it with gold accents, Therese. I did that foil technique once and loved it but then forgot about it. Thanks for the reminder.
Hope you have fun with it Bobby!
Love your color combination!
The tricky part of adding the foil is determining when the background is dry, but have some areas that are tacky enough to make the foil stick. You make it look so easy. I, unfortunately, have NOT found that sweet spot! I think my neighbors could hear my reaction to my many failure(s) (ie; cursing) 🙂
hahaha I usually just keep trying until it sticks. This time I did heat set it a little on the ‘low heat’ for a few seconds to speed up the process and slow down the frustration. But you could also add a little glue in a few spots, I am sure that will work too. Good luck June!
So so pretty!
thank you Vicki!
Such amazing cards, I love that foiling is so stylish and pretty, really outstanding. xx
I am foiling ‘all the things’ at the moment lol.
What gorgeous results, Therese! I love both of the cards! The bold, yet simple, die cut sentiments really allow the background to take center stage!
Thank you Kara, these were really such fun to make!
Love Alcohol ink! It’s an adventure very time I play. Thank you for sharing your adventures.
I have been doing a LOT of alcohol ink backgrounds recently and loving it too!
So beautful Therese. Great to use the alcohol ink panels with foil. Must try as I’m not foiling!! 🙂