Does heat embossing make your heart happy? Do you remember the very first time that you watched embossing powder melt… sigh! This is one of our most basic techniques in cardmaking, and it gives us the WoW factor, but are there any areas that you can improve?
I am back with another Same But Different set of cards and today we are getting Back to Basics. I am sharing a TON of Hacks to Perfect Heat Embossing on your Card Designs, including a BONUS TIP to fix and embossing mistake, and I have a video walking you through these techniques.
Now let’s get to it… would you like to see today’s cards?
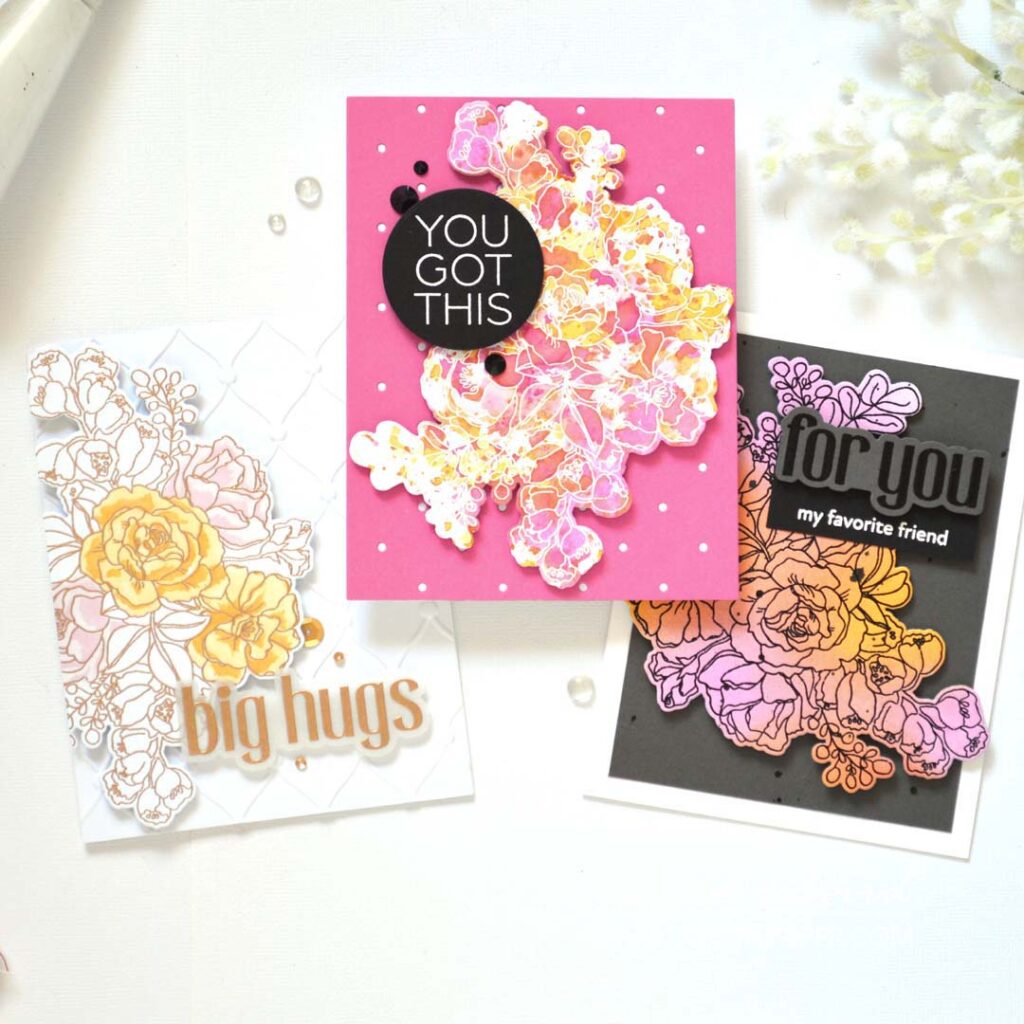
You can watch the video here or in HD on YouTube right HERE.
I use affiliate links, this means that if you choose to click on a product that is linked to an affiliate shop then I will get a small commission at no extra cost to you).
This is a great way to support my channel as well as the shops that I love!
#HEATEMBOSSING
What is Heat Embossing?
Heat embossing is a technique where embossing powder is melted onto cardstock resulting in a raised textured result which may be glossy, metallic or even glittery. It can be used it to create raised images, patterns or even sentiments on your card designs 😉!
What do I need to Heat Emboss?
- Cardstock
- Embossing Ink (or pigment inks will work too)
- Embossing powder
- Heat Tool (has a controlled heat, a hair dryer will not work)
How do I Heat Emboss?
It’s easy to do! Simply stamp an image/sentiment with embossing ink onto cardstock. Add the embossing powder and tap away any excess (don’t worry, any excess powder can be returned to the jar to use for your next project). Next, melt the powder using the heat tool, then allow it to cool.
***For detailed instructions, including how to fix and prevent embossing mistakes, be sure to watch my VIDEO HERE.***
PROS:
- It’s an easy technique that requires only a few supplies AND it really gives the WOW factor!
- Heat embossing is very affordable. A little goes a long way, one jar of embossing powder can last for years.
- There are MANY colour choices along with metallic, glitter, matt and ultra high embossing powders
- Embossing allows you to add colouring in many ways, ink blending, pencils and watercolouring.
- A versatile product that can be used in many different ways
CONS:
- there are very few lol.
- Alcohol markers do not play well with heat embossing.
- Does not work well on textured cardstock (such as watercolour paper)
It’s time to inspire YOU to create!!
Card #1 – Metallic Embossing Powder
There is something about a shiny metallic image or sentiment that adds an elegance to a card design… and for me it’s always gold (although I do have silver embossing powder too). Though all gold embossing powders aren’t created equal…

I used to have a problem with gold embossing powder leaving a ‘bloom’ of fine powder around the images, but not THIS ONE. But, I would recommend using a powder tool to prep your cardstock prior to embossing, before you go out and buy new embossing powder as that may help.
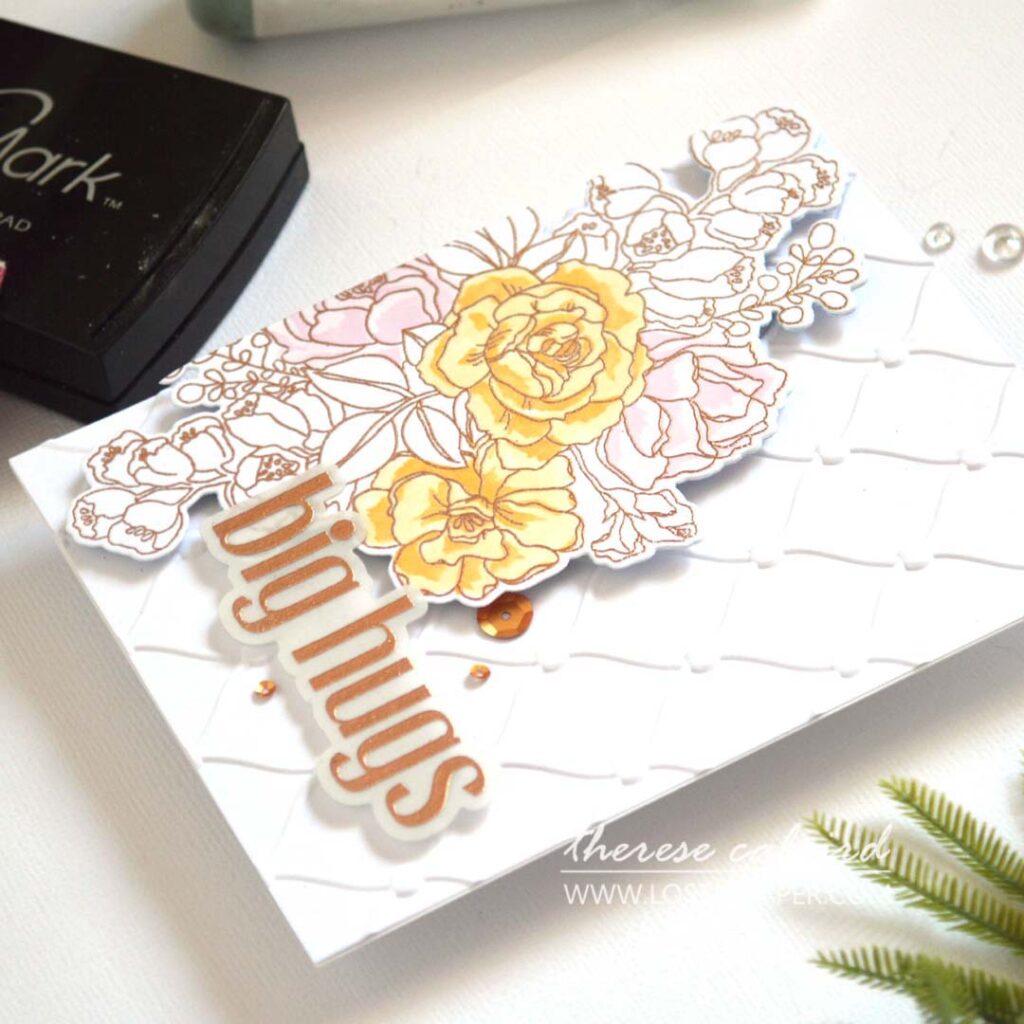
Embossing on Vellum!
Love the look, but struggle with the technique? Check out my video to see how I emboss on vellum. These tips also should be used when embossing on acetate or metallic cardstock.
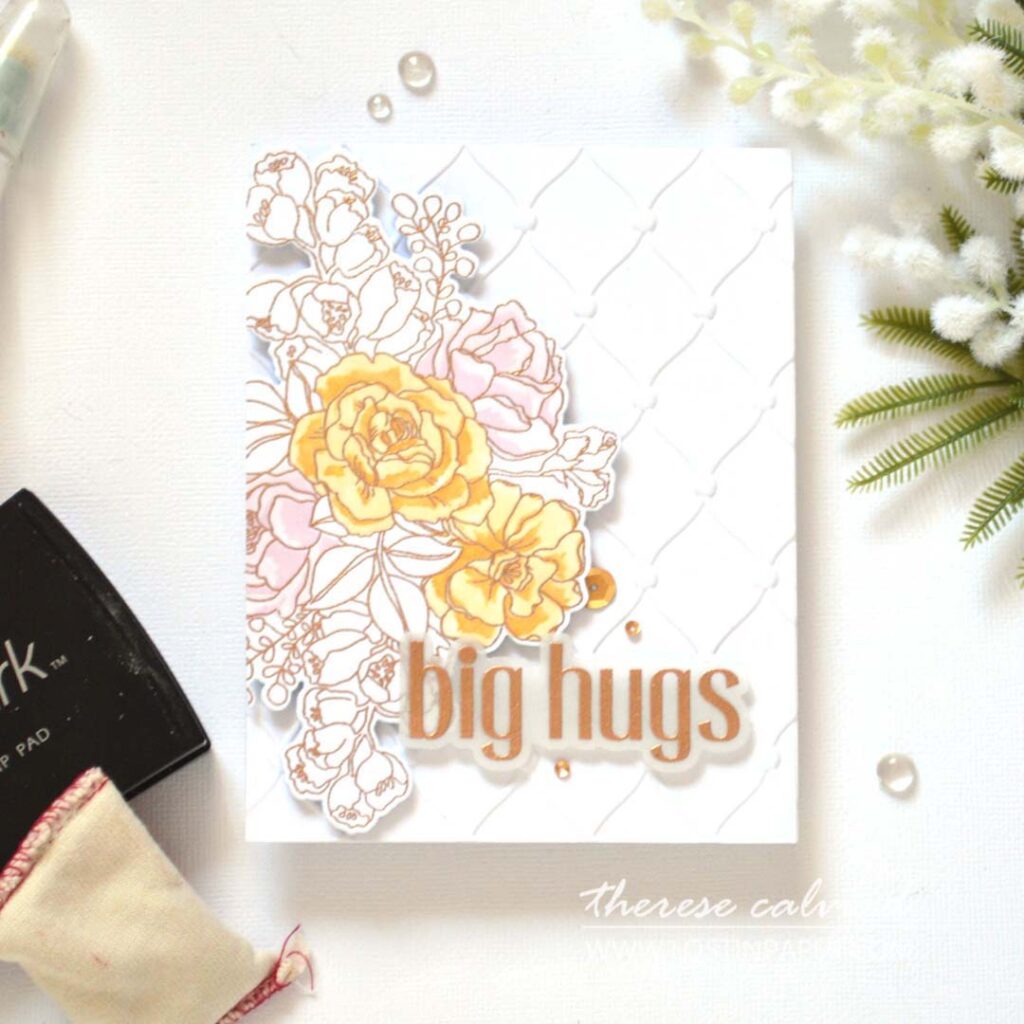
Card #2 – Watercolour Smooshing
Did you know that there are many ways to add colour to an embossed image, and watercolours are one of my faves as it means you don’t have to wait as long for drying time as the watercolours are held within the ‘wells’ of the raised embossing.

White on Black Embossing!
Yes, any mistake will be seen immediately, it’s important to get it right, because you know the ‘flecks’ will be seen. But I share how I get the best results with this technique in today’s video too!

PRO TIP: Missed a stray white fleck of embossing powder? Why not cover it up using a black sharpie pen!
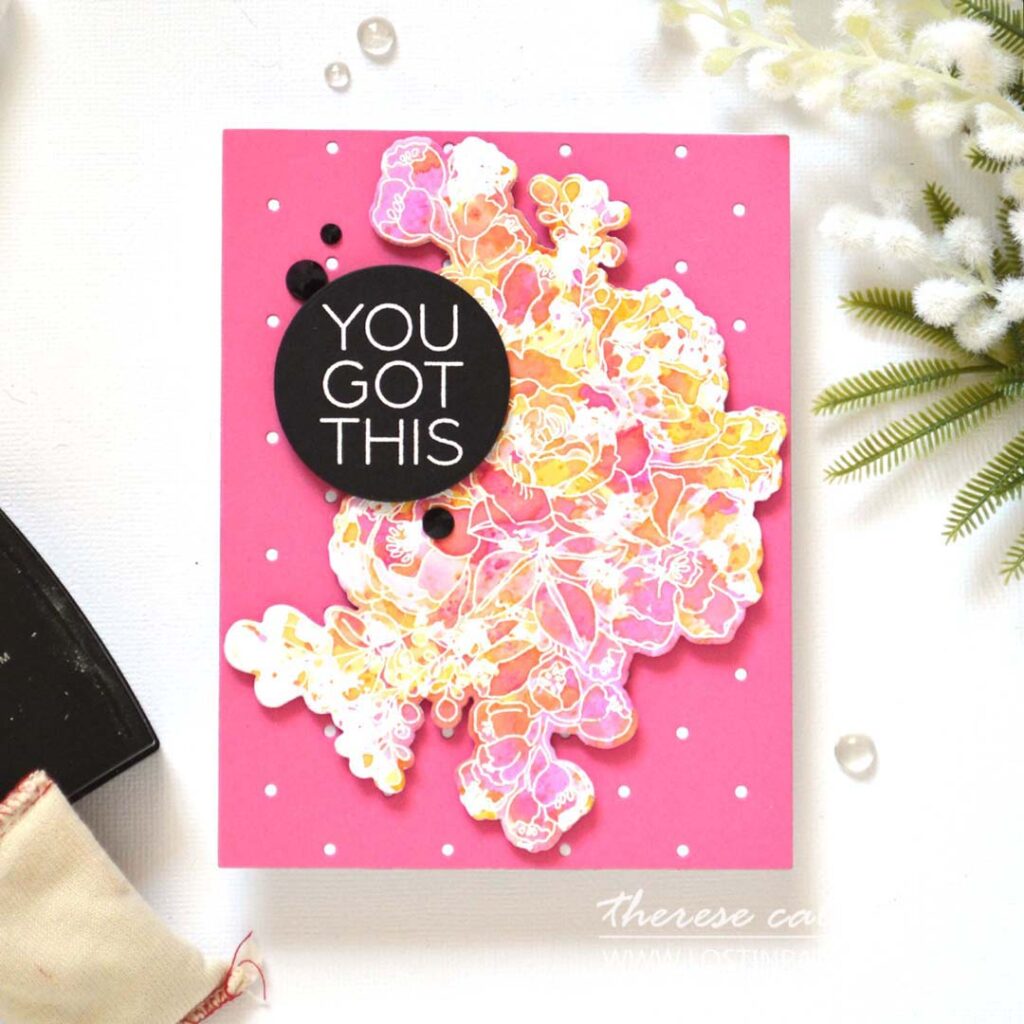
Card #3 – Ink Blended Background
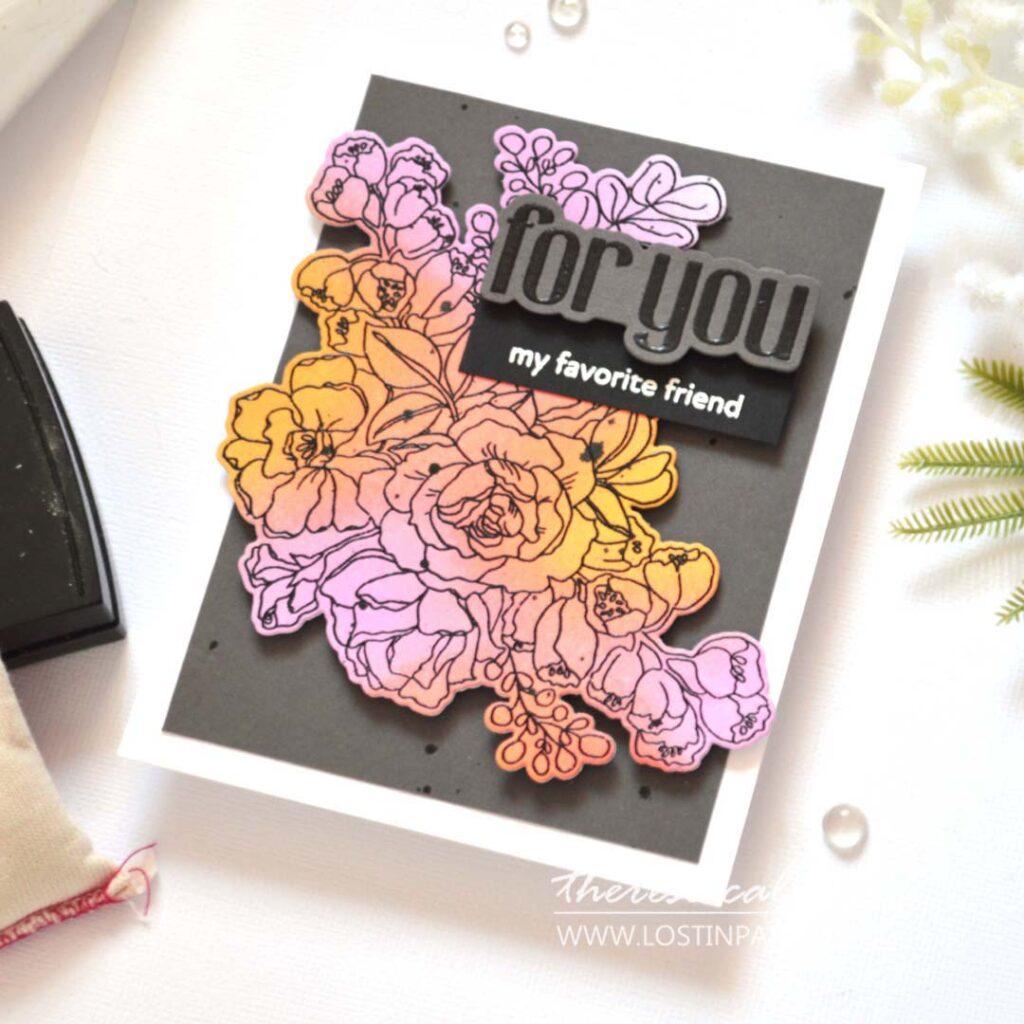
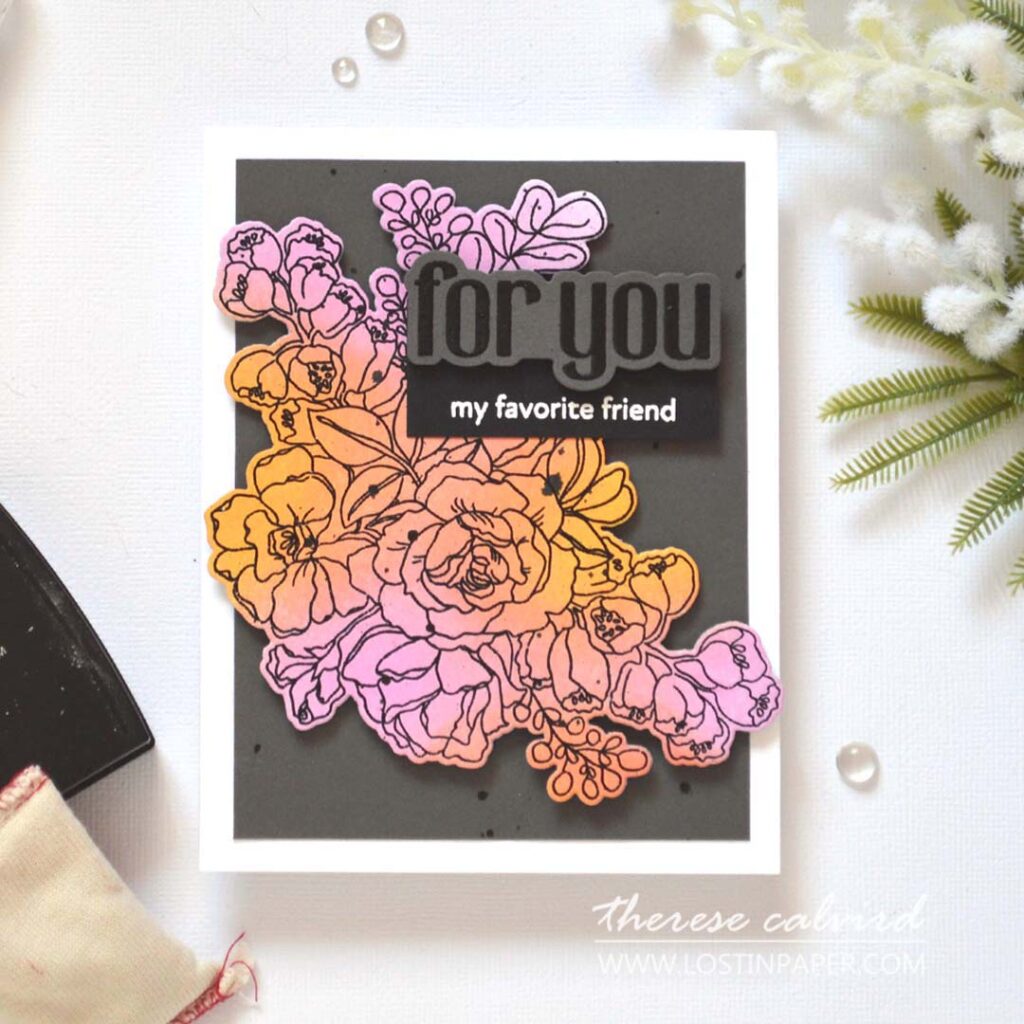
You do not have to emboss only on white cardstock. did you know that you can emboss on coloured cardstock, design paper or even on ink blended cardstock like I did on this card?
#BONUS TIP
Did you overheat or ‘burn’ the embossing powder? Has it lost it’s shine, and it looks almost like it’s absorbed into the cardstock? You can easily fix this if you have your image in a stamp positioner, then simply restamp it with embossing ink, re-add the embossing powder and heat set with the heat tool.
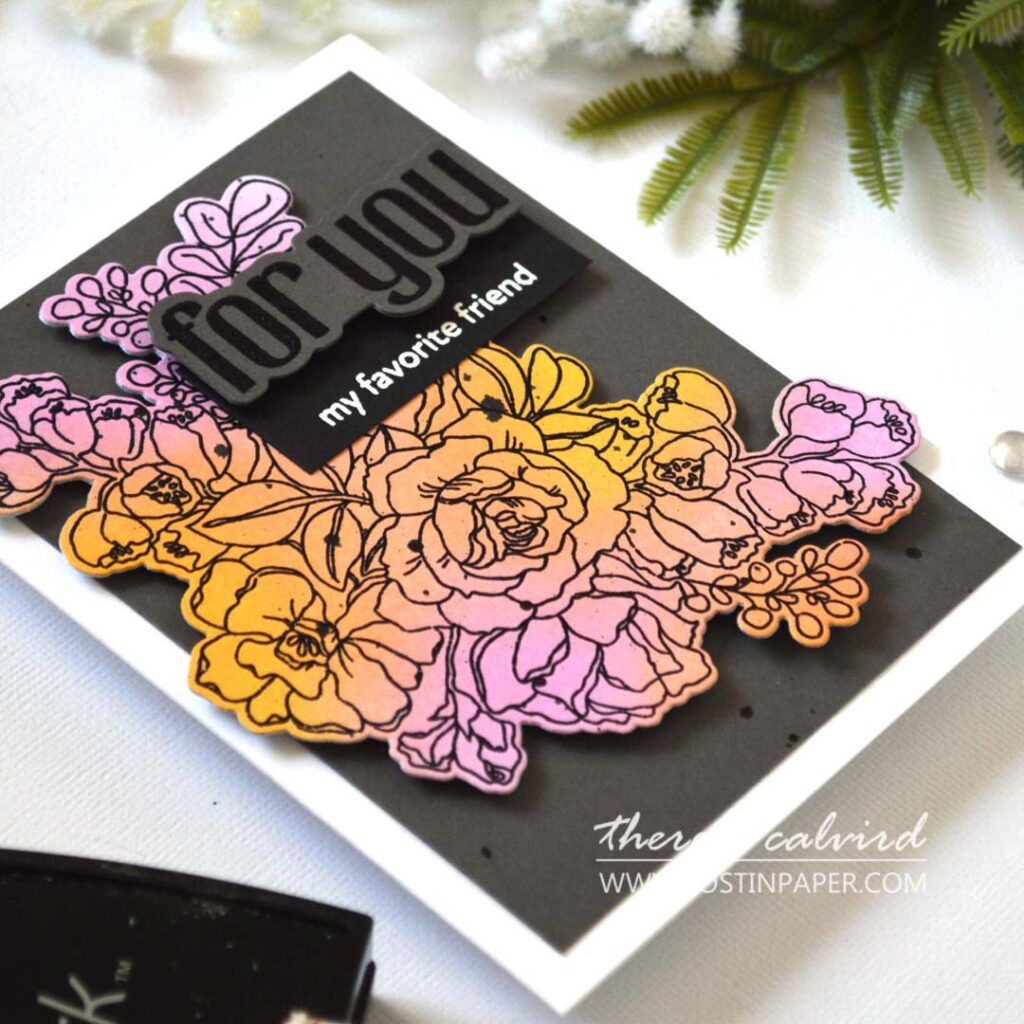
One of the most difficult colours to emboss is black. I have finally found this ‘black’ embossing powder that plays nice. Though, I still prep my cardstock with a ton of powder tool before stamping and adding the black embossing powder.
Another option is to stamp the image/sentiment in black pigment ink and emboss in clear embossing powder. It does give a similar look, but I feel it’s not as good as a true shiny black embossed image. But you can be the judge of that for yourself. It’s always worth a try.
I’d LOVE to know if you are inspired to try any of these techniques and if YOU have a favourite card today? Let me know in the comments below and share with me on Social Media, it would be fantastic to see what you create!
Thank you for spending your time with me today, sending crafty hugs your way!

I use affiliate links, this means that if you choose to click on a product that is linked to an affiliate shop then I will get a small commission at no extra cost to you).
This is a great way to support my channel as well as the shops that I love!
Other Supplies:
Tools: Embossing Magic Powder Bag
Embossing Powder: WOW – Ebony (included in this starter kit)
Adhesive: Kool Tak – clear foam tape | Glue Dots – Vellum Dots
Cardstock: Concord & 9th – Black | Sweet Pea – Bazzill – Vellum
 Birthday Bouquet SSS | OTH |  Birthday Bouquet Die SSS | OTH |  Birthday Bouquet Stencil SSS | OTH |  Stamping Blending Paper US 8.5X11″ OTH |
 Stamping Blending Paper Metric A4 OTH |  Neenah Solar 110 AMZ | SSS |  Concord & 9th – Cardstock SSS |  Dark Gray ALT |
 Acetate SSS |  Tiny Dots Cover Die SSS | OTH |  Fine Rings: Circles Die ALT | SSS |  Tufted Elegance 3D ALT | SSS |
 BAG Sulfur Cosmos Bundle ALT |  Rainforest Leaves ALT | SSS |  Buttercream ALT | SSS |  Chamomile ALT | SSS |
 Frosty Pink ALT |  Pink Diamond ALT |  Pinkalicious ALT |  Rubellite ALT |
 Versamark Ink SSS | OTH |  Embossing Ink ALT | SSS |  Detailed Blending Brush ALT | SSS |  Fine Liner Pen Set ALT | SSS |
 Pure White ALT |  Antique Gold ALT |  WOW Heat Tool SSS |  Powder Tool SSS |
 Pick Up Tool OTH |  Water Spray Bottle AMZ |  Score Board ALT | SSS |  Sticky Grid Mat Ultra ALT | SSS | SB |
 Paper Trimmer SSS |  9″ Fiskars Paper Trimmer AMZ | SSS |  MISTI SSS |  Mini MISTI SSS |
 Magnets OTH |  Bigshot SSS |  Foam Squares – Black mix SSS |  Bearly Art Glue SSS |
 ATG OTH |  Glue Tape ALT | SSS |  Foam Tape ALT | SSS |  Satin Masking Tape ALT | SSS |

All the best tips can be found right here, my friend! I THINK I have a black embossing powder – not sure if I had much luck but I’ll try again just for you!
Of course, I have a favorite – bet I don’t even have to tell you!
=] M
mmmm…. let me guess, is it’s the grey one? SNAP! Hugs right back atcha!
Jo Herbert said to use a TON of powder prior to embossing lol.
Great video.
Di
Yay! Thank you Di!
You’re a wealth of crafty information, Therese! Beautiful cards!
Thank you Lisa, I’m so happy you like these!
Thanks for this post about embossing…great tips.
Glad to hear you like the tips!