
What makes handmade cards special? I think it’s because we can create designs that shop bought cards don’t do, and today, we are turning things inside out!
But first, a quick reminder, to sign up for the Get Organized HQ Virtual if you haven’t already. With 100+ classes full of organizing tips & tricks for ALL areas of our lives, plus lots of crafty inspiration. Including my Rolling Trolley (Raskog Cart) Hacks, and best of all you can attend for FREE!

But, if you do want to buy the All-access-pass, you will also recieve my Watercoloring Trifold Card Class as a BONUS (value $16). Grab your ticket before the price goes up.
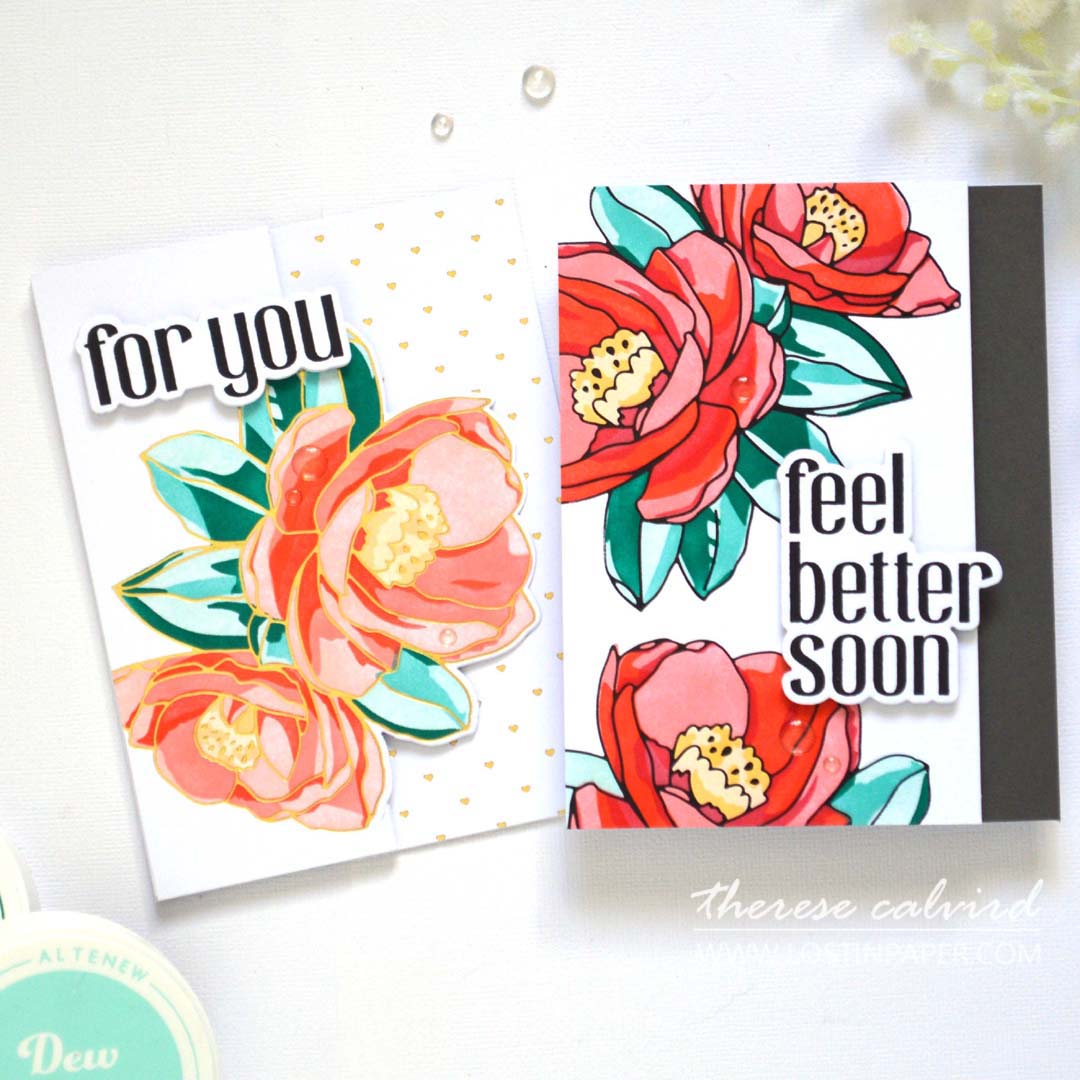
Both of today’s cards have something in common… would you like to see them?
You can see the video below or watch it HD at YouTube.
I use affiliate links, this means that if you click on a product that is linked to an affiliate shop then I will receive a small portion of the sale at no extra cost to you).
This is a great way to support my channel as well as the shops that I love 🥰!
Today I have 2 EASY ways to Bring the Inside to the Outside!
Creating handmade cards gives us the opportunity to make unique designs. And both of today’s cards show a peek of the inside from the outside. And the 2 techniques that I share today are easy to do. Starting with,
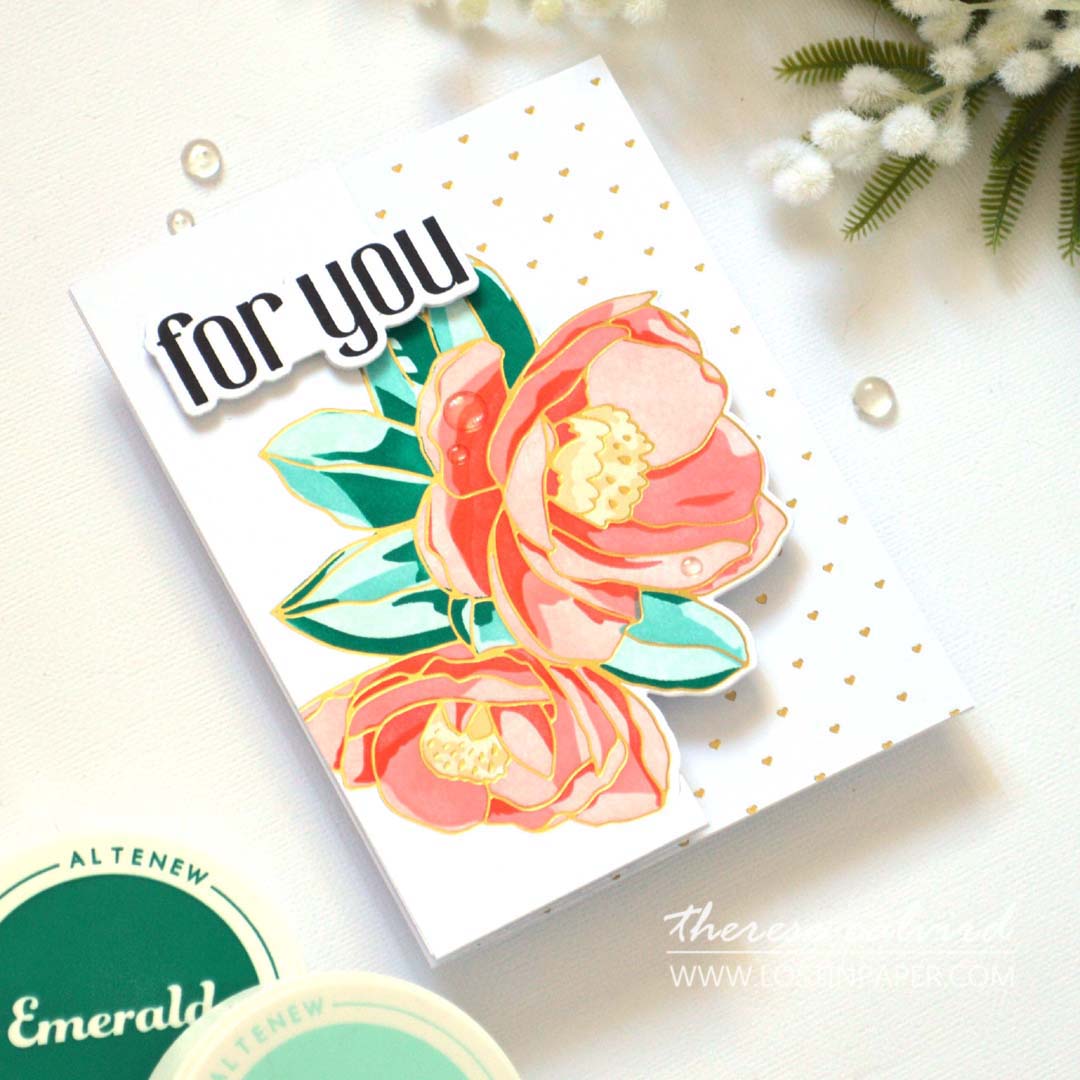
Technique #1 – Simple Side Cut
- Start with an A2 Sidefold Cardbase (5 1/2″ X 8 1/2″ and scored at 4 1/4″) or use a premade card base.
- Cut 3/4″ off the right side of the front panel of the card
- You can decorate the inside as you like, but I kept it simple and adhered dark grey cardstock (5 1/2 X 1 3/4) to the inside of the back of the card.
- This grey cardstock can be seen when the card is closed.
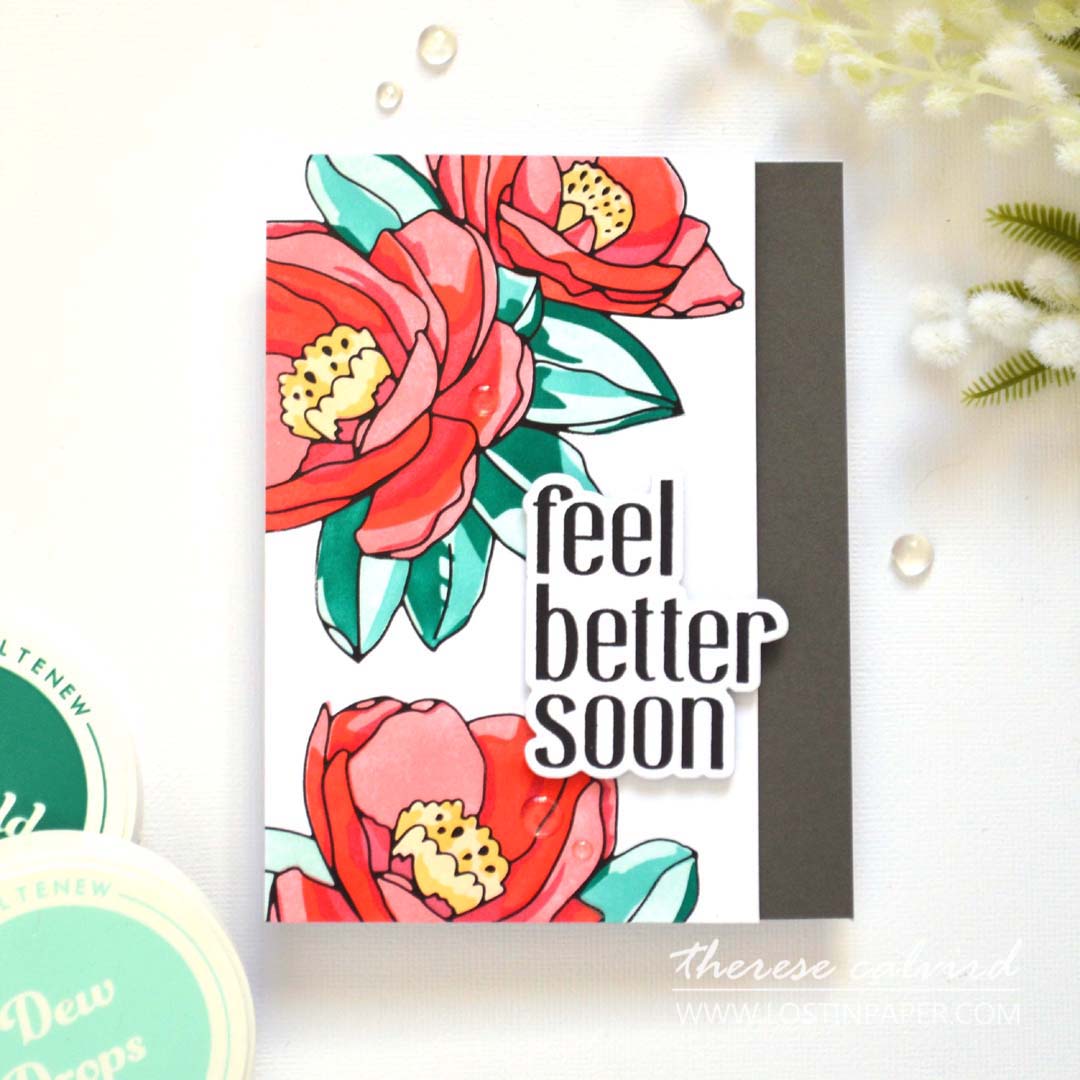
- I created a bold floral panel (5 1/2″ X 3 1/2″) and adhered this, and the sentiment, to the front of the card.
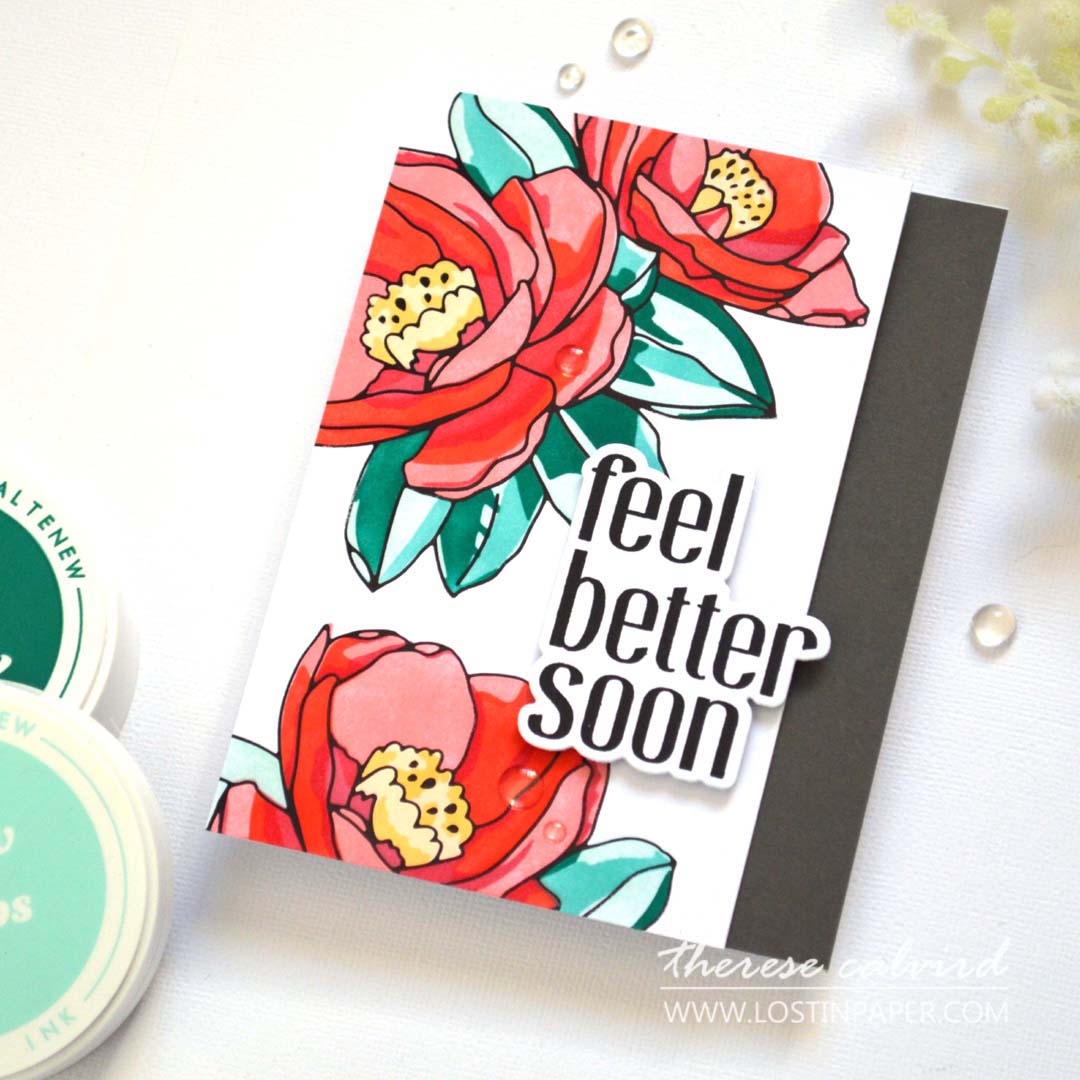
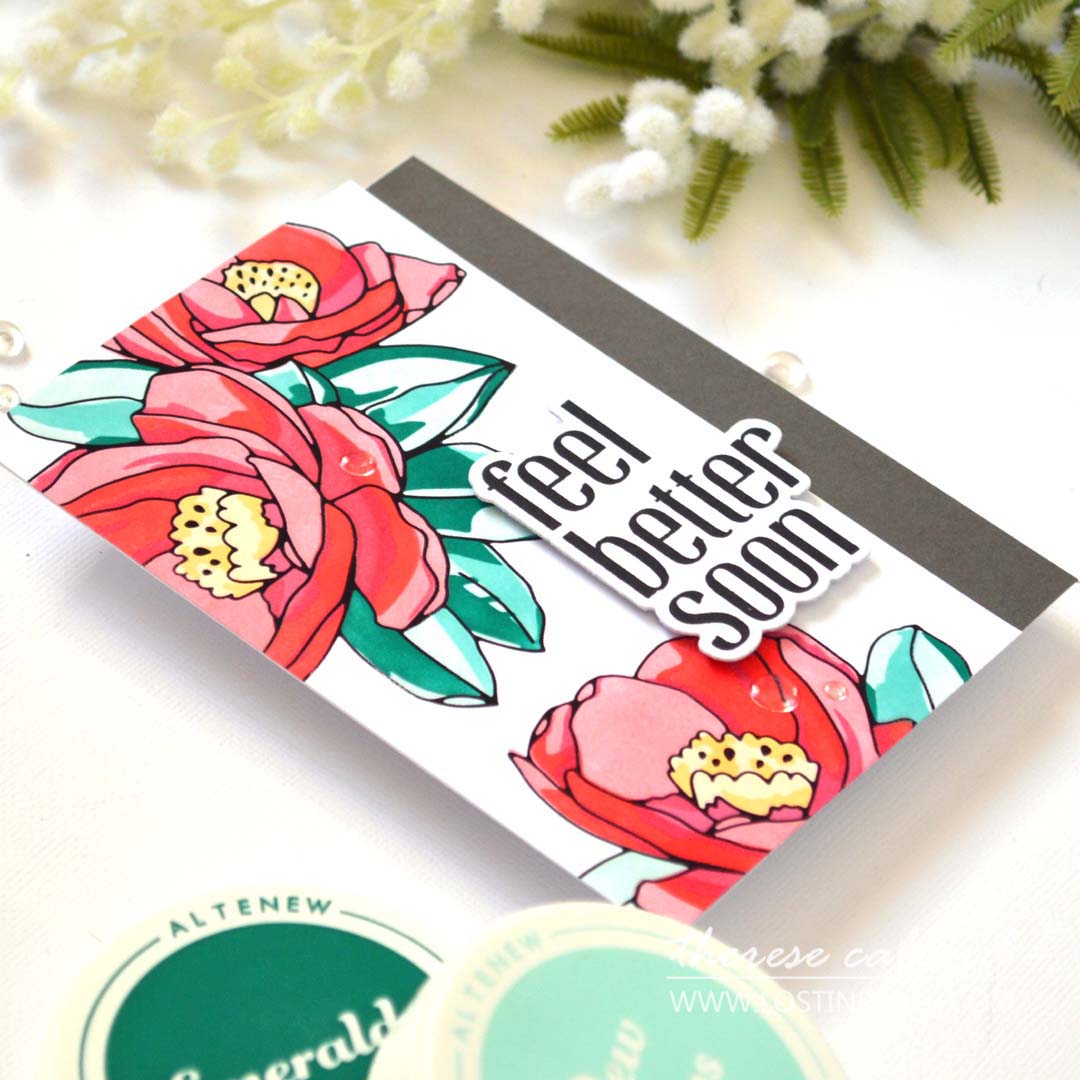
These beautiful big blooms are stunning and I love that I was able to Hot Foil them, for a little extra shine. But you can use any images that you have.
I went for a modern bold look, but you can change it up and instead of a bold grey colour, use design paper, metallic cardstock, stamp a pattern or even add texture with an embossing folder.
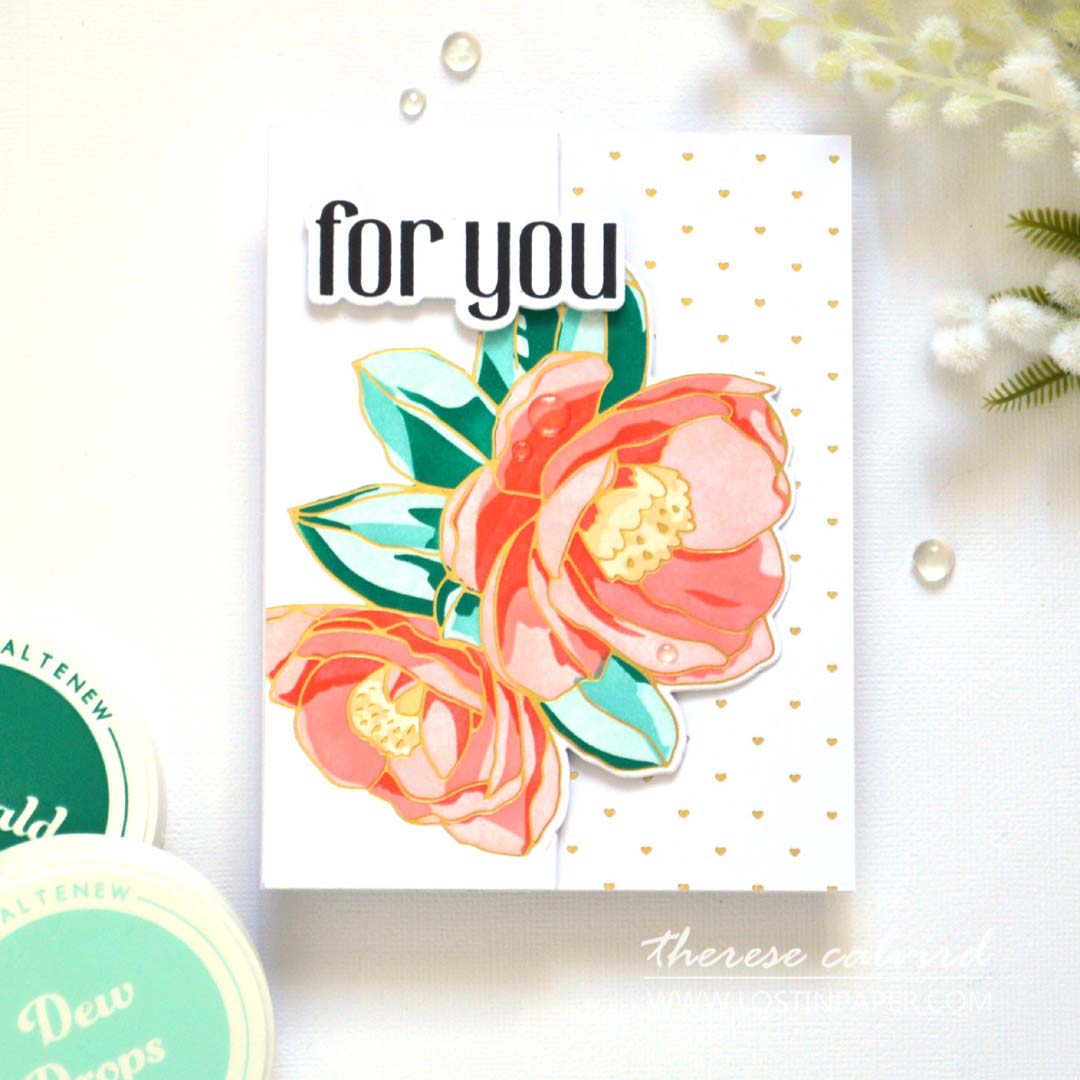
Technique #2 – Z Fold Card
This is one of the easiest fun fold cards to make and it truly brings the inside to the outside of the design.
- Start with an A2 Sidefold Cardbase (5 1/2″ X 8 1/2″ and scored at 4 1/4″) or use a premade card base.
- Score the front of the card at 2 1/8″ and fold this back to create a ‘Z’ fold.
- You can decorate the inside as you like, but I added some shiny tiny hearts (5 1/2 X 4 1/4) to the inside of the back of the card.
- This heart background can be seen when the card is closed.
- I created a bold floral panel using a partial die cutting technique, but an easier option would be to die cut a large flower and adhere it to the front of the Z fold card.
PRO TIP: Don’t have time to colour? Co-ordinating stencils and ink blending is an easy way to colour beautiful flowers FAST!
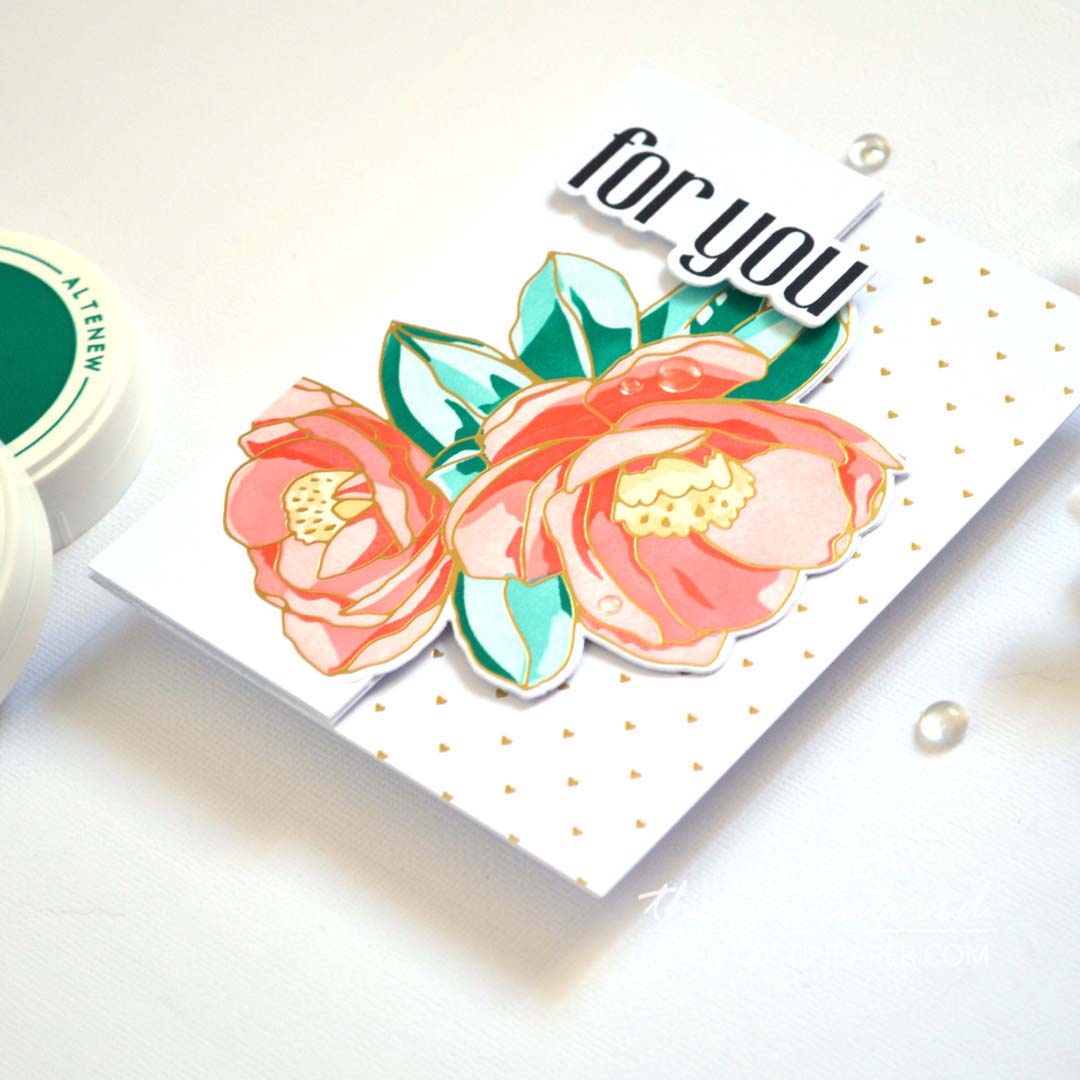
One thing to note, is when you are writing a senitment on these cards, you do not want it to show when the card is closed. So, I will usually write my sentiment on the inside of the Z-fold or on the back of the card.
I hope you are inspired to bring the inside out on your next card design! If you do, don’t forget to share them on social media with me @lostinpaper, I’d love to see what you make!
Crafty hugs,

Also, just in case you want to do a little shopping I’ve added the links below (some of them are affiliate links which means that I will receive a small portion of the sale at no extra cost to you). This is a great way to support me and of the shops that I love!
Other Supplies:
 Heartfelt Blooms Bundle SSS | Heartfelt Blooms SSS | OTH |  Heartfelt Blooms Dies SSS | OTH |  Heartfelt Blooms HFP SSS | OTH |
 Heartfelt Blooms Stencil SSS | OTH |  BAG Sulfur Cosmos Bundle ALT | SSS |  Stamping Blending Paper US 8.5X11″ OTH | Stamping Blending Paper Metric A4 OTH |
 Dark Gray ALT |  Night Sky Hot Foil OTH |  Matt Gold Hot Foil OTH |  Nocturne SSS |
 Tea Party ALT | SSS |  Sweet Dreams Bundle ALT | SSS |  Sea Shore ALT | SSS |  Mini Blending Brush Set ALT | SSS |
 Crystal Clear Enamel Dots ALT | SSS |  Tweezers ALT | SSS |  Scissors SSS |  Bone Folder Altenew ALT |
 Score Board ALT | SSS |  Sticky Grid Mat ALT | SSS |  MISTI SSS |  9″ Fiskars Paper Trimmer AMZ | SSS |
 Bigshot SSS |  Go Press N Foil OTH | Bearly Art Glue AMZ | SSS |  ATG OTH |
Inside or outside, it’s all fabulous Therese! I’m crushing on your beautiful red and aqua creation!
So glad you like it Lisa!
Fantastic colors and love how you brought the inside out!
Thank you so very much!
Oh, my, my, my! The bold reds are GORGEOUS!
I have not hot foiled with black yet, but it is on my “to do” list.
These big blooms are perfect for filling up the real estate on a card front with minimal effort- my kind of effort! 🙂
Thank you for the great color inspirations!
So glad you like these June, these flowers are truly Alex Syberia gorgeous!!
I like them both. I love the bold for colour and for the purpose of writing inside the card.
Yes, it definitely allows for a sentiment, though I’d probably write on the back of the other one instead… or add a false back.