
Do you like to MOVE it? I am stuck on interactive cards at the moment and today it’s time to Shake it UP!!
Would you like to see today’s cards?

You can see the video below or watch it HD at YouTube.
I use affiliate links, this means that if you click on a product that is linked to an affiliate shop then I will receive a small portion of the sale at no extra cost to you).
This is a great way to support me as well as the shops that we love 🥰!
After making this ‘swinging legged’ Nutcracker in this video HERE. I was inspired to see if I could recreate something similar using a stamp set… It’s a very easy mechanism to make and you probably have everything you need on hand to make it today! And I didn’t want to stop at one, so I made two…
#TIPS
- Choose an image that can be ‘separated’, OR you can add something like a bunch of flowers, sentiment, or even a die cut heart to cover the cut portion.
- Pre plan your design to make sure that all the elements will fit on the card front and that it will be able to MOVE without hitting any foam dots (ahem) or other embellishments.
- Colour 2 images, one top portion and one lower portion. On the lower section you will need to colour a little higher than you need to ensure that if it swings out the side it will be coloured.
- I used coordinating dies to cut out my images (because, basically I am lazy, or is time efficient?) but I think these would look even better if the images were fussy cut around the stamped line.
- Cut the upper image in 2 where you would like to separate it.
- On the lower portion die cut a small circle above where the cut line will be.
- Then cut it at the same place except add a handle on the top around the die cut circle (this is where you put the foam dot).
- Lay the lower image where you would like it to be on the card and make a pencil mark at the top of the die cut circle.
- Adhere a foam dot to the top of this circle. You will need dimension to allow for the ‘swing’ or ‘shake’, and I used a 3mm Foam dot. Remove the release paper from the foam dot.
- Add the same width foam dots to the back of the top die cut image, making sure not to place them close to where the swinging mechanism will be. Then align this over top of the lower image and ‘Shake it’!
Card #1
I chose an image that was quite large and something that I could ‘cut in half’. Initially I was going to chop her off at the head and have the whole body swinging, but instead decided to add some flowers and just swing the lower legs beneath the arms.

You can see here where I chose to make my cut, along the line of her arms.

NOTE: I also added a couple of layers of cardstock to the flowers so that it will not bend if I mail this.

Card #2
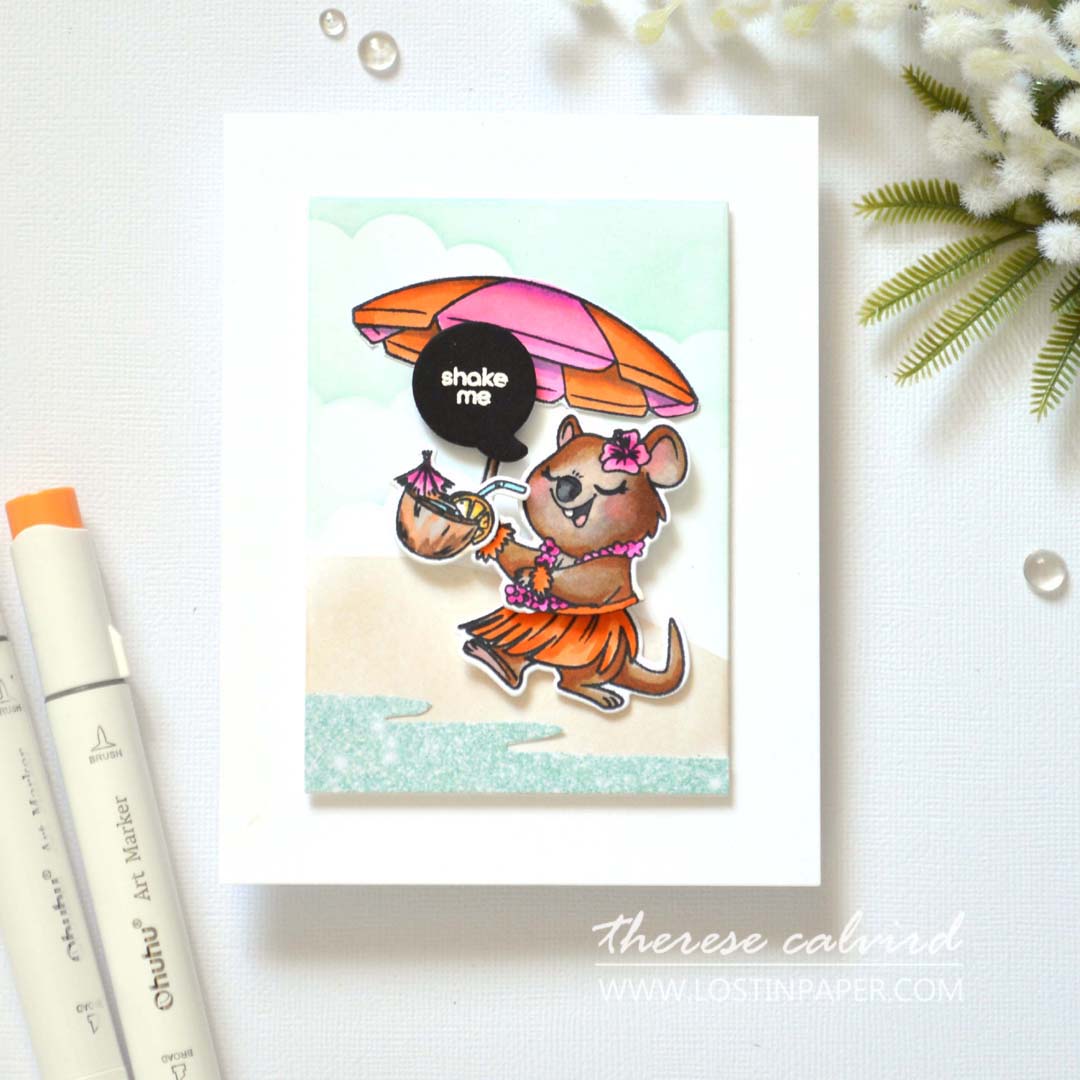
Next I thought I would see how things went with a smaller image. I followed the same process and a bonus is that when her skirt swings there is less visible upper portion of the stamped image underneath.

I am enjoying these Ohuhu markers, they are very juicy and the colours blend well. Except, I wasn’t very happy with how dark I coloured lower face… next time I’ll do better 😉… maybe her ‘self tan’ went wrong 😂.
I hope you are inspired to shake up some images! And if you do, don’t forget to share them on social media with me, I’d love to see what you make!
Sending crafty hugs your way today,

Also, just in case you want to do a little shopping I’ve added the links below (some of them are affiliate links which means that I will receive a small portion of the sale at no extra cost to you). This is a great way to support me and the shops that we love 🥰!
Other Supplies:
SAVE 10% at the Ohuhu Website with this CODE: lostinpaper10
- Ohuhu AU affiliate – Click HERE
- Ohuhu US affiliate – Click HERE
- Ohuhu Amazon AU affiliate – Click HERE
Cardstock: Kat Scrappiness – Crafty Quokkas
Ink: Altenew – Pink Sand
Adhesive: American Crafts – This to That 3mm Foam Dots (retired)
Ohuhu Markers: BR1,2 | Y4,10,11 | NG03,06 | WG01 | 0 | BG68 | PB9 | R15,21,22 | RP6 | GY4,5,42.
Dies: Ellen Hutson – Tilt ‘n Rock | Modern Tags
 Quokka Flowers OTH |  Quokka Flowers Die OTH |  Summer Quokka OTH |  Dancin’ Nutcracker Fritz SSS | SB |
 Take Action Sentiments SSS | SB |  A2 Layers Die SSS |  Halftone Circles ALT |  Neenah Solar 80 AMZ | SSS |
Neenah Solar 110 AMZ | SSS | Foam Sheets AMZ | SSS |  Teal Glitter 6 X 6 OTH | OTH |  Tuxedo Black SSS |
 Nocturne SSS | Ohuhu Honolulu USA OTH |  Triangle Tray OTH |  Pick Up Tool OTH |
 Reverse Tweezers OTH |  Scissors SSS |  Bone Folder Altenew ALT |  Mini MISTI SSS |
9″ Fiskars Paper Trimmer AMZ | SSS |  Bigshot SSS | Thin Foam Squares AMZ | SSS | Bearly Art Glue AMZ | SSS |
 Foam Tape ALT | SSS |  Foam Squares SSS |  Satin Masking Tape ALT |
Such a fun idea and your coloring never goes wrong! Perfection!
Thank you my friend x
That little pink bow was the ‘cherry on top’ for your darling Quokka, Therese! Such a fun LIVE!
=]
Thank you my friend, it’s always much FUNNER when you are there!
What is the tape runner that Therese uses?
Hi Sue, are you talking about the big pink tool… that is an Advanced Tape Glider and I heard that they are no longer available, not sure if it’s true but I haven’t been able to find one online for a while. Luckily I can still get the refills so far… The other one I use is the Glue Tape from Altenew (this is an affiliate link which means if you click on it and buy something I get a small commission at no cost to you) https://shrsl.com/4ofax
Let me know if you have any further questions, hope this helps, Therese
Fantastic live really enjoyed it and such a great idea weill defo be giving thid=s a go
Marie
I know how much you love to create something a little different, I hope you enjoy trying this for yourself Marie!
These are just as cute as they can be!
Thanks so very much!
Just TOO CUTE!
I am off to Kat Scrappiness to get my quokkas NOW! 🙂
How wonderful! They are too cute!
Love love love these swing cards Therese!! Thanks for the reminder to make one soon! 🙂
Hope you have fun creating Helen!