
Ready to make your sentiment the star? It’s time for these dies to shine!
Ever feel at a loss when using larger sentiment dies? Today, I’ve got 2 ideas to help you make the most of them! If you’re looking for more inspiration on letting large sentiments shine alongside impactful floral designs, be sure to check out these cards here!
Now, are you ready to see what today’s sentiment-inspired cards look like?
Would you like to see how these techniques come together? Click HERE to watch at YouTube.
This post is part of my Take 2 Series with Altenew, which means you get double the inspiration, and if you want to see MORE ideas like this, CLICK HERE.
I use affiliate links, which means if you click on a product and make a purchase, I’ll receive a small portion of the sale at no extra cost to you. This helps support my channel and the shops we love 🥰!
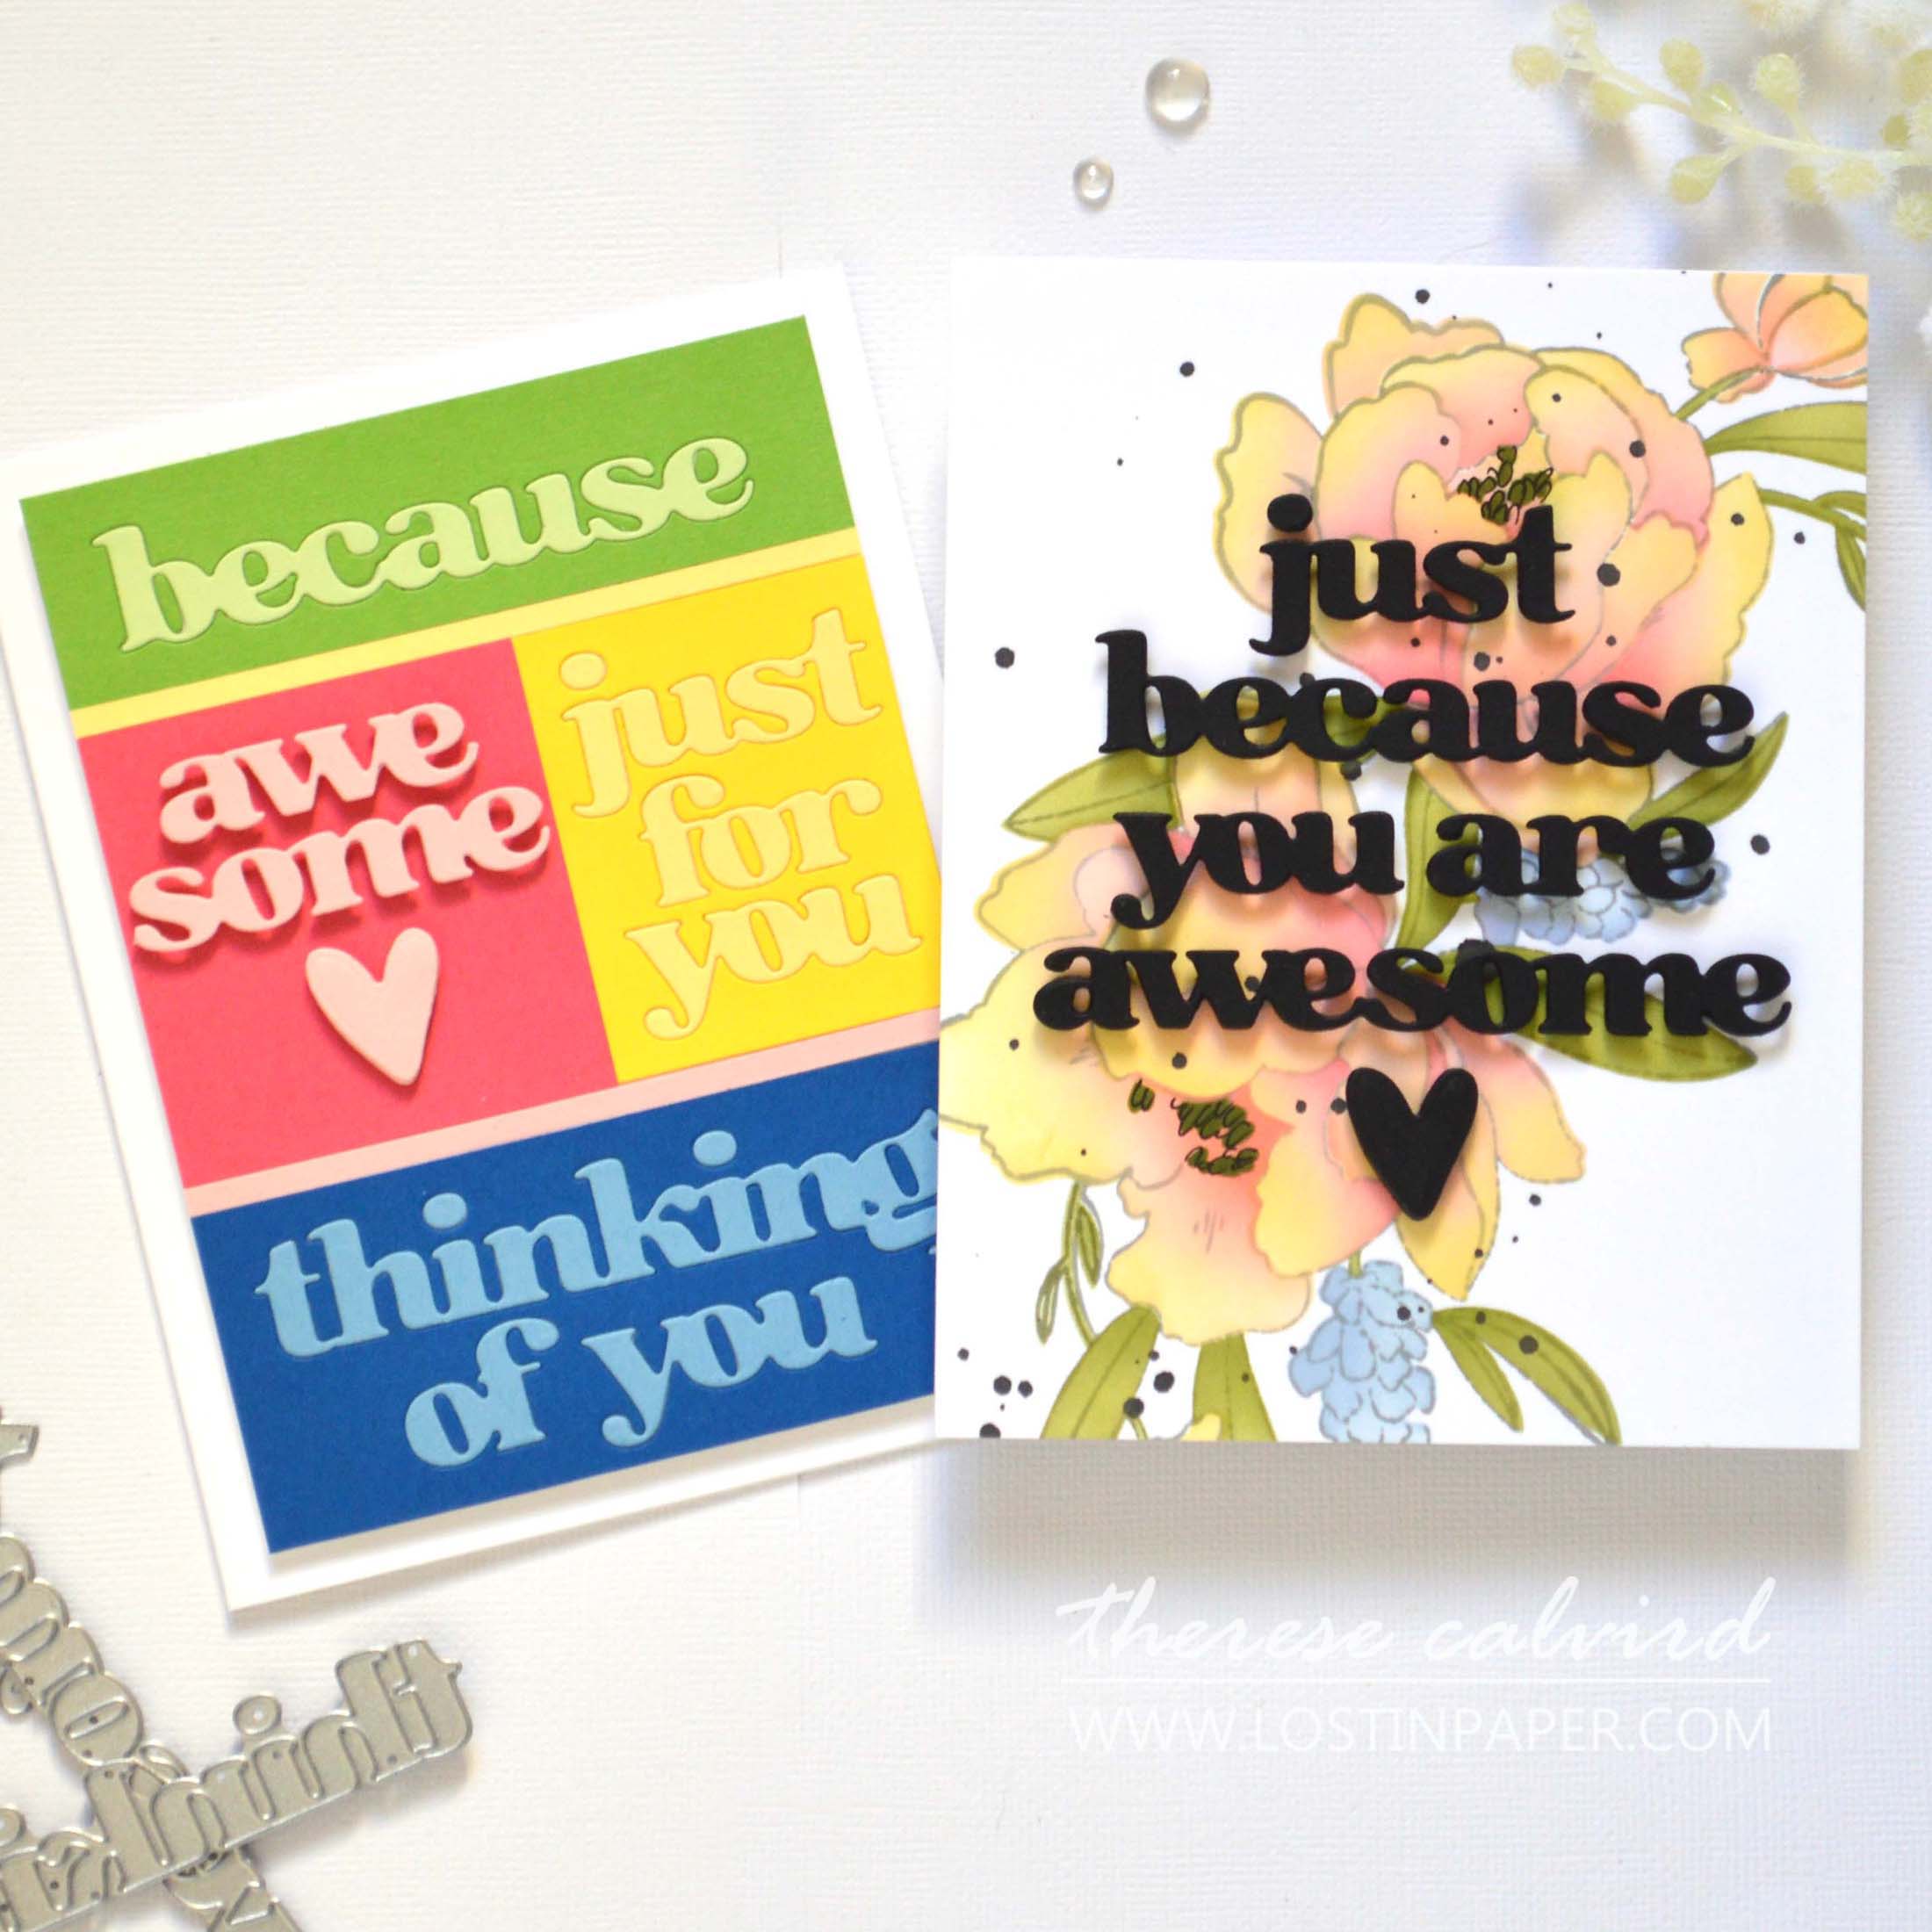
Meet the newest addition to the Versatile Greetings collection, packed with the perfect words to create a multitude of meaningful sentiments. Today, I’m excited to share two ‘think outside the box’ techniques that will help make your sentiment the star of your design.
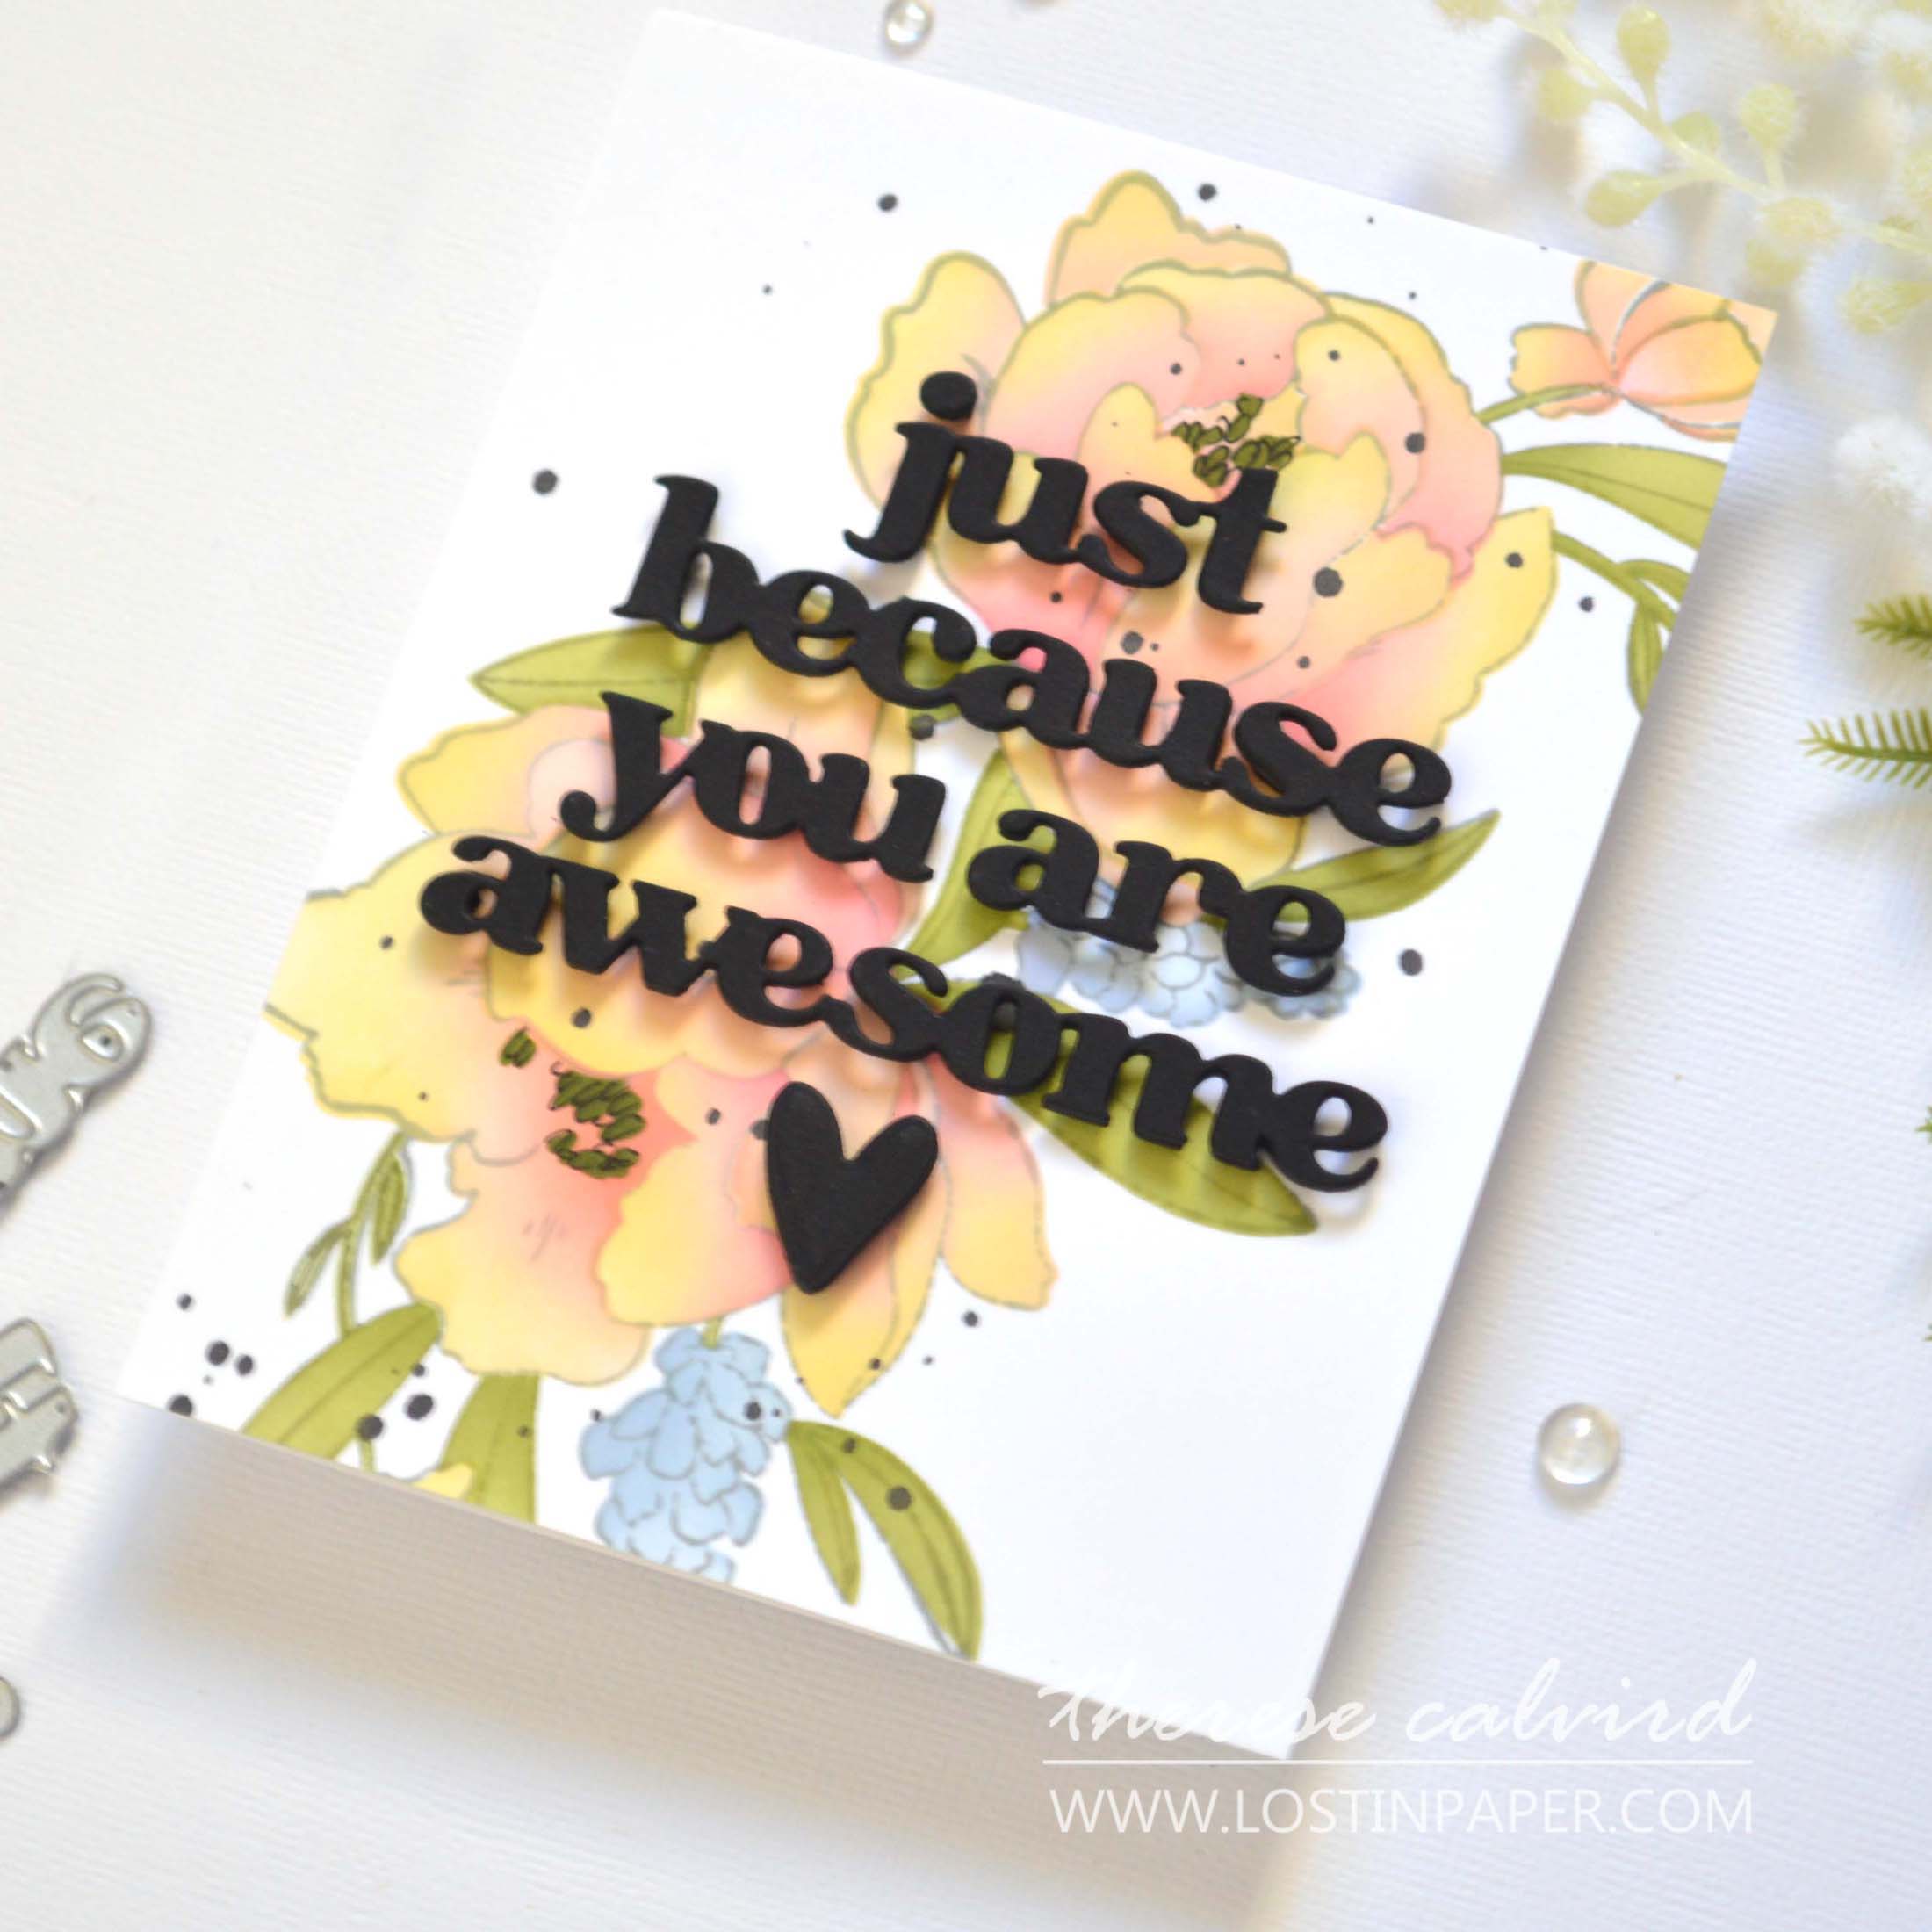
Technique #1: Bringing Depth & Focus
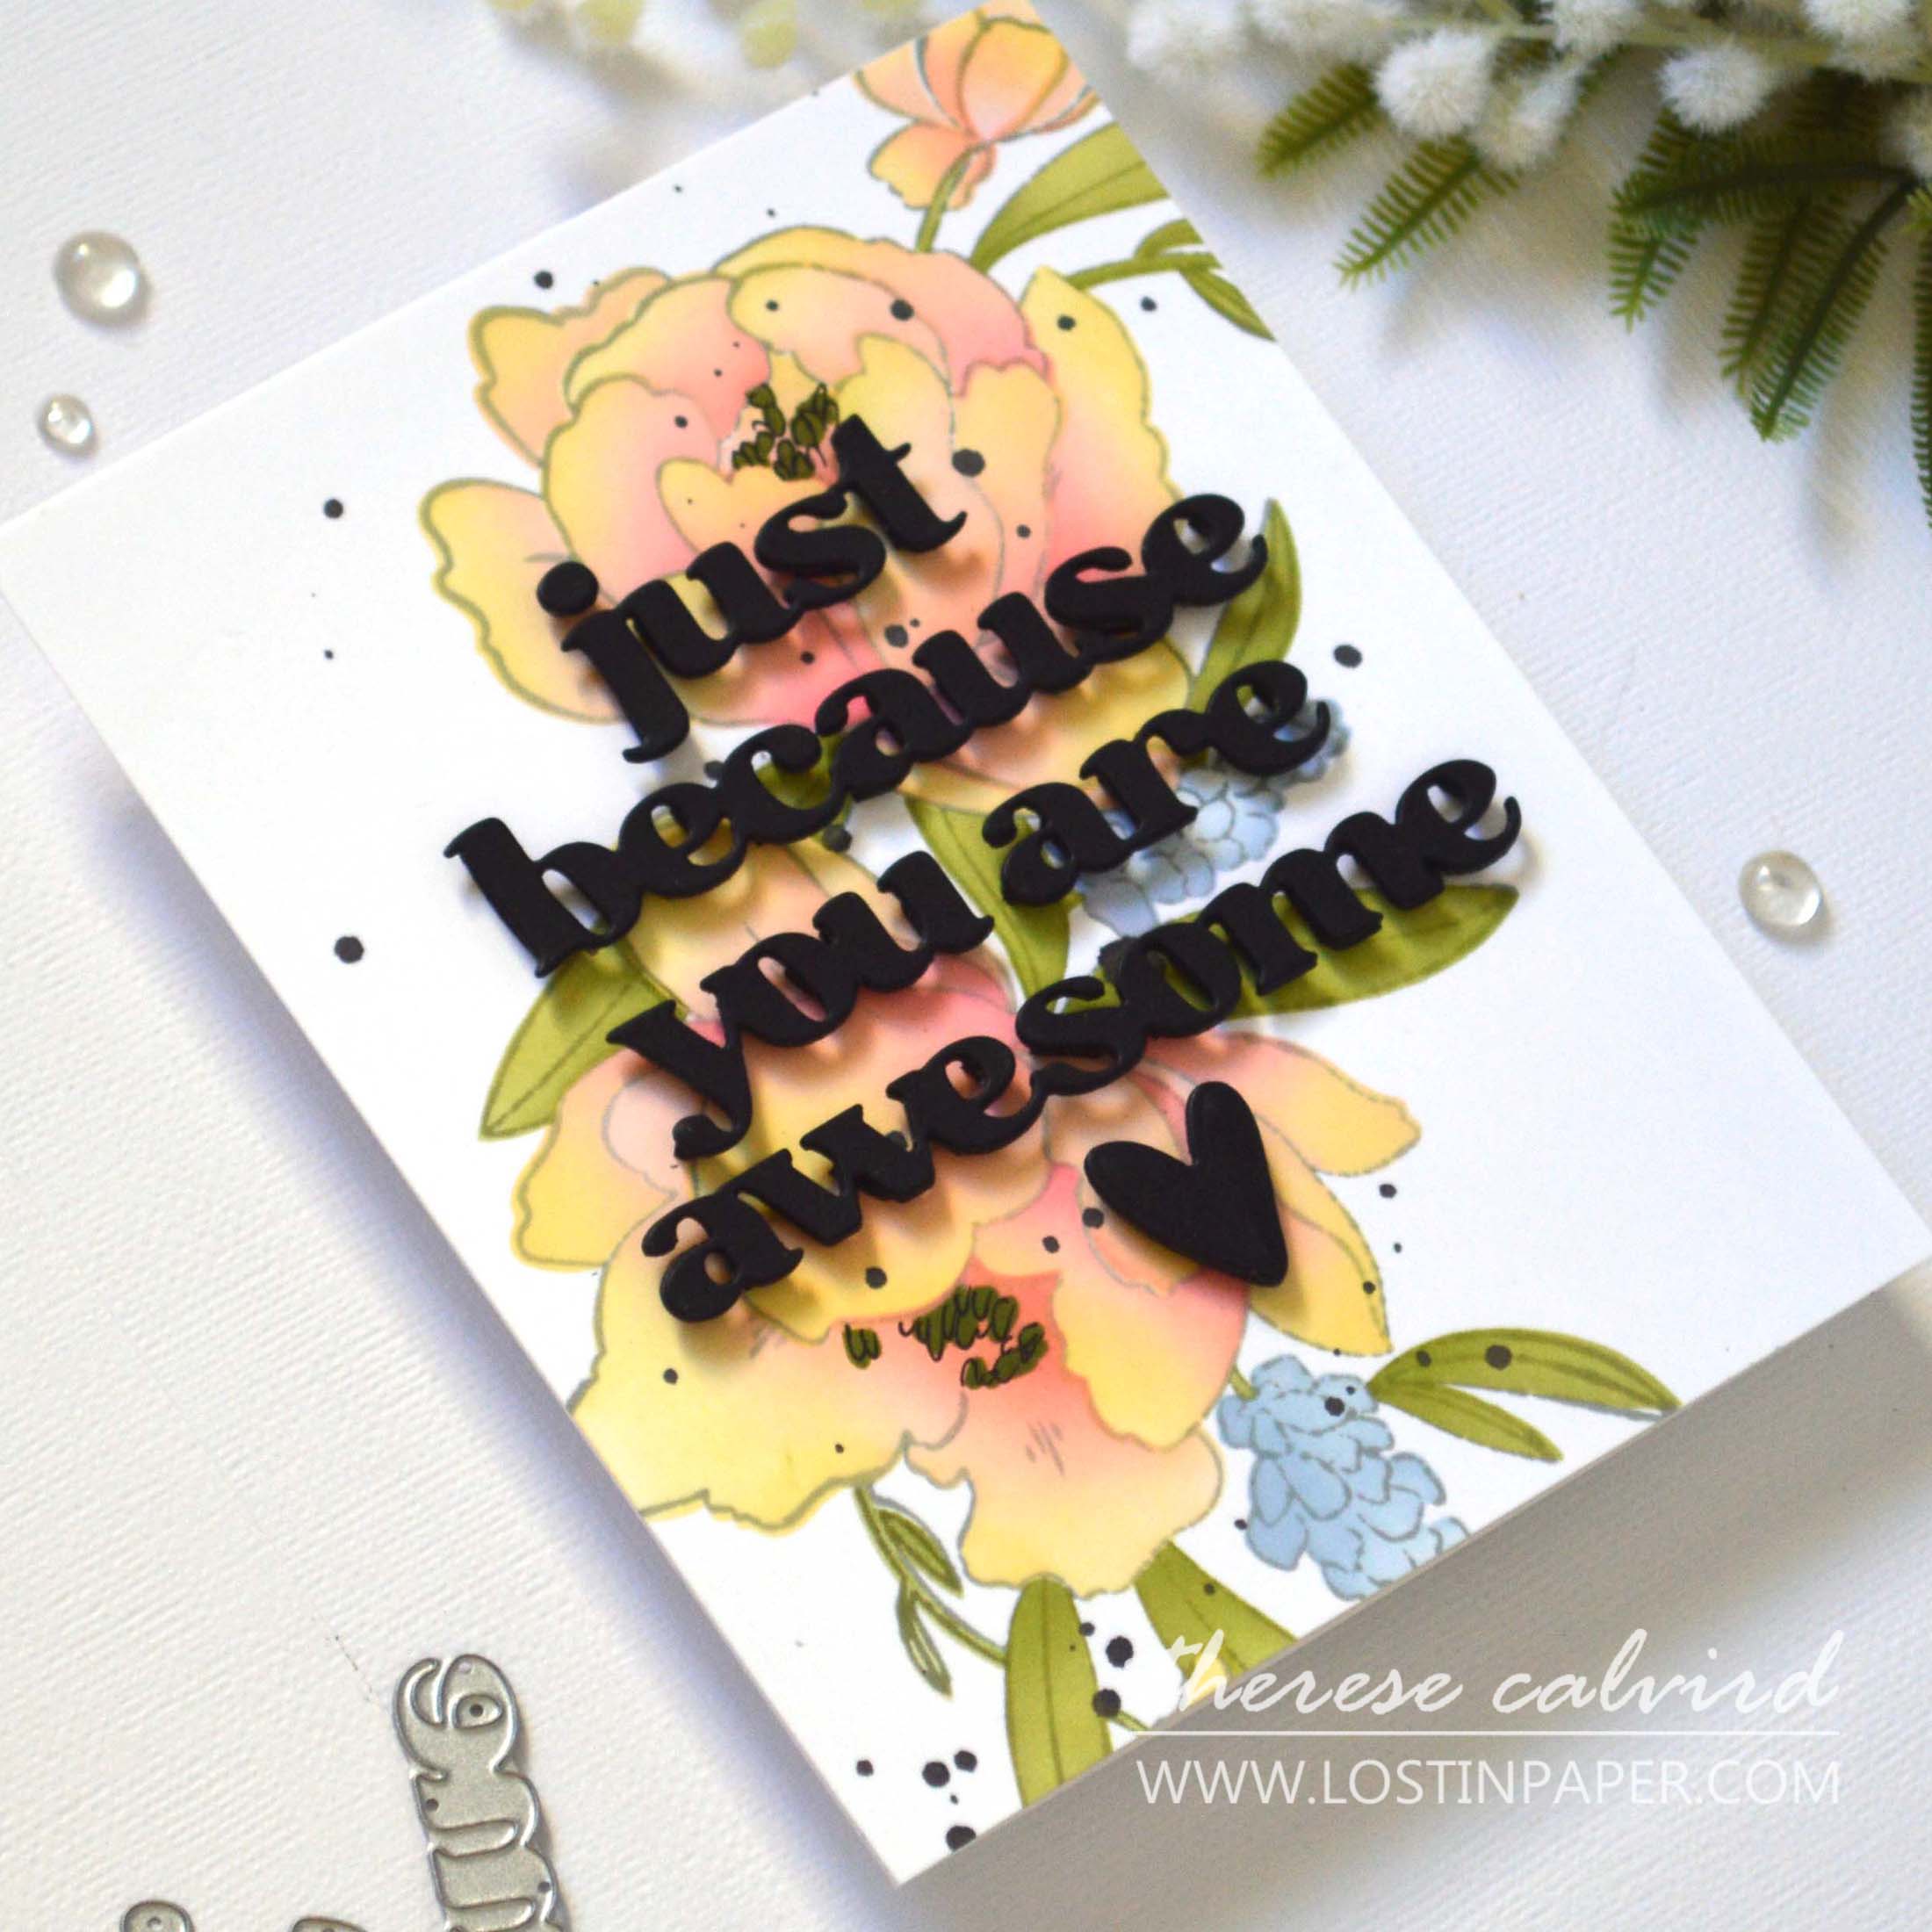
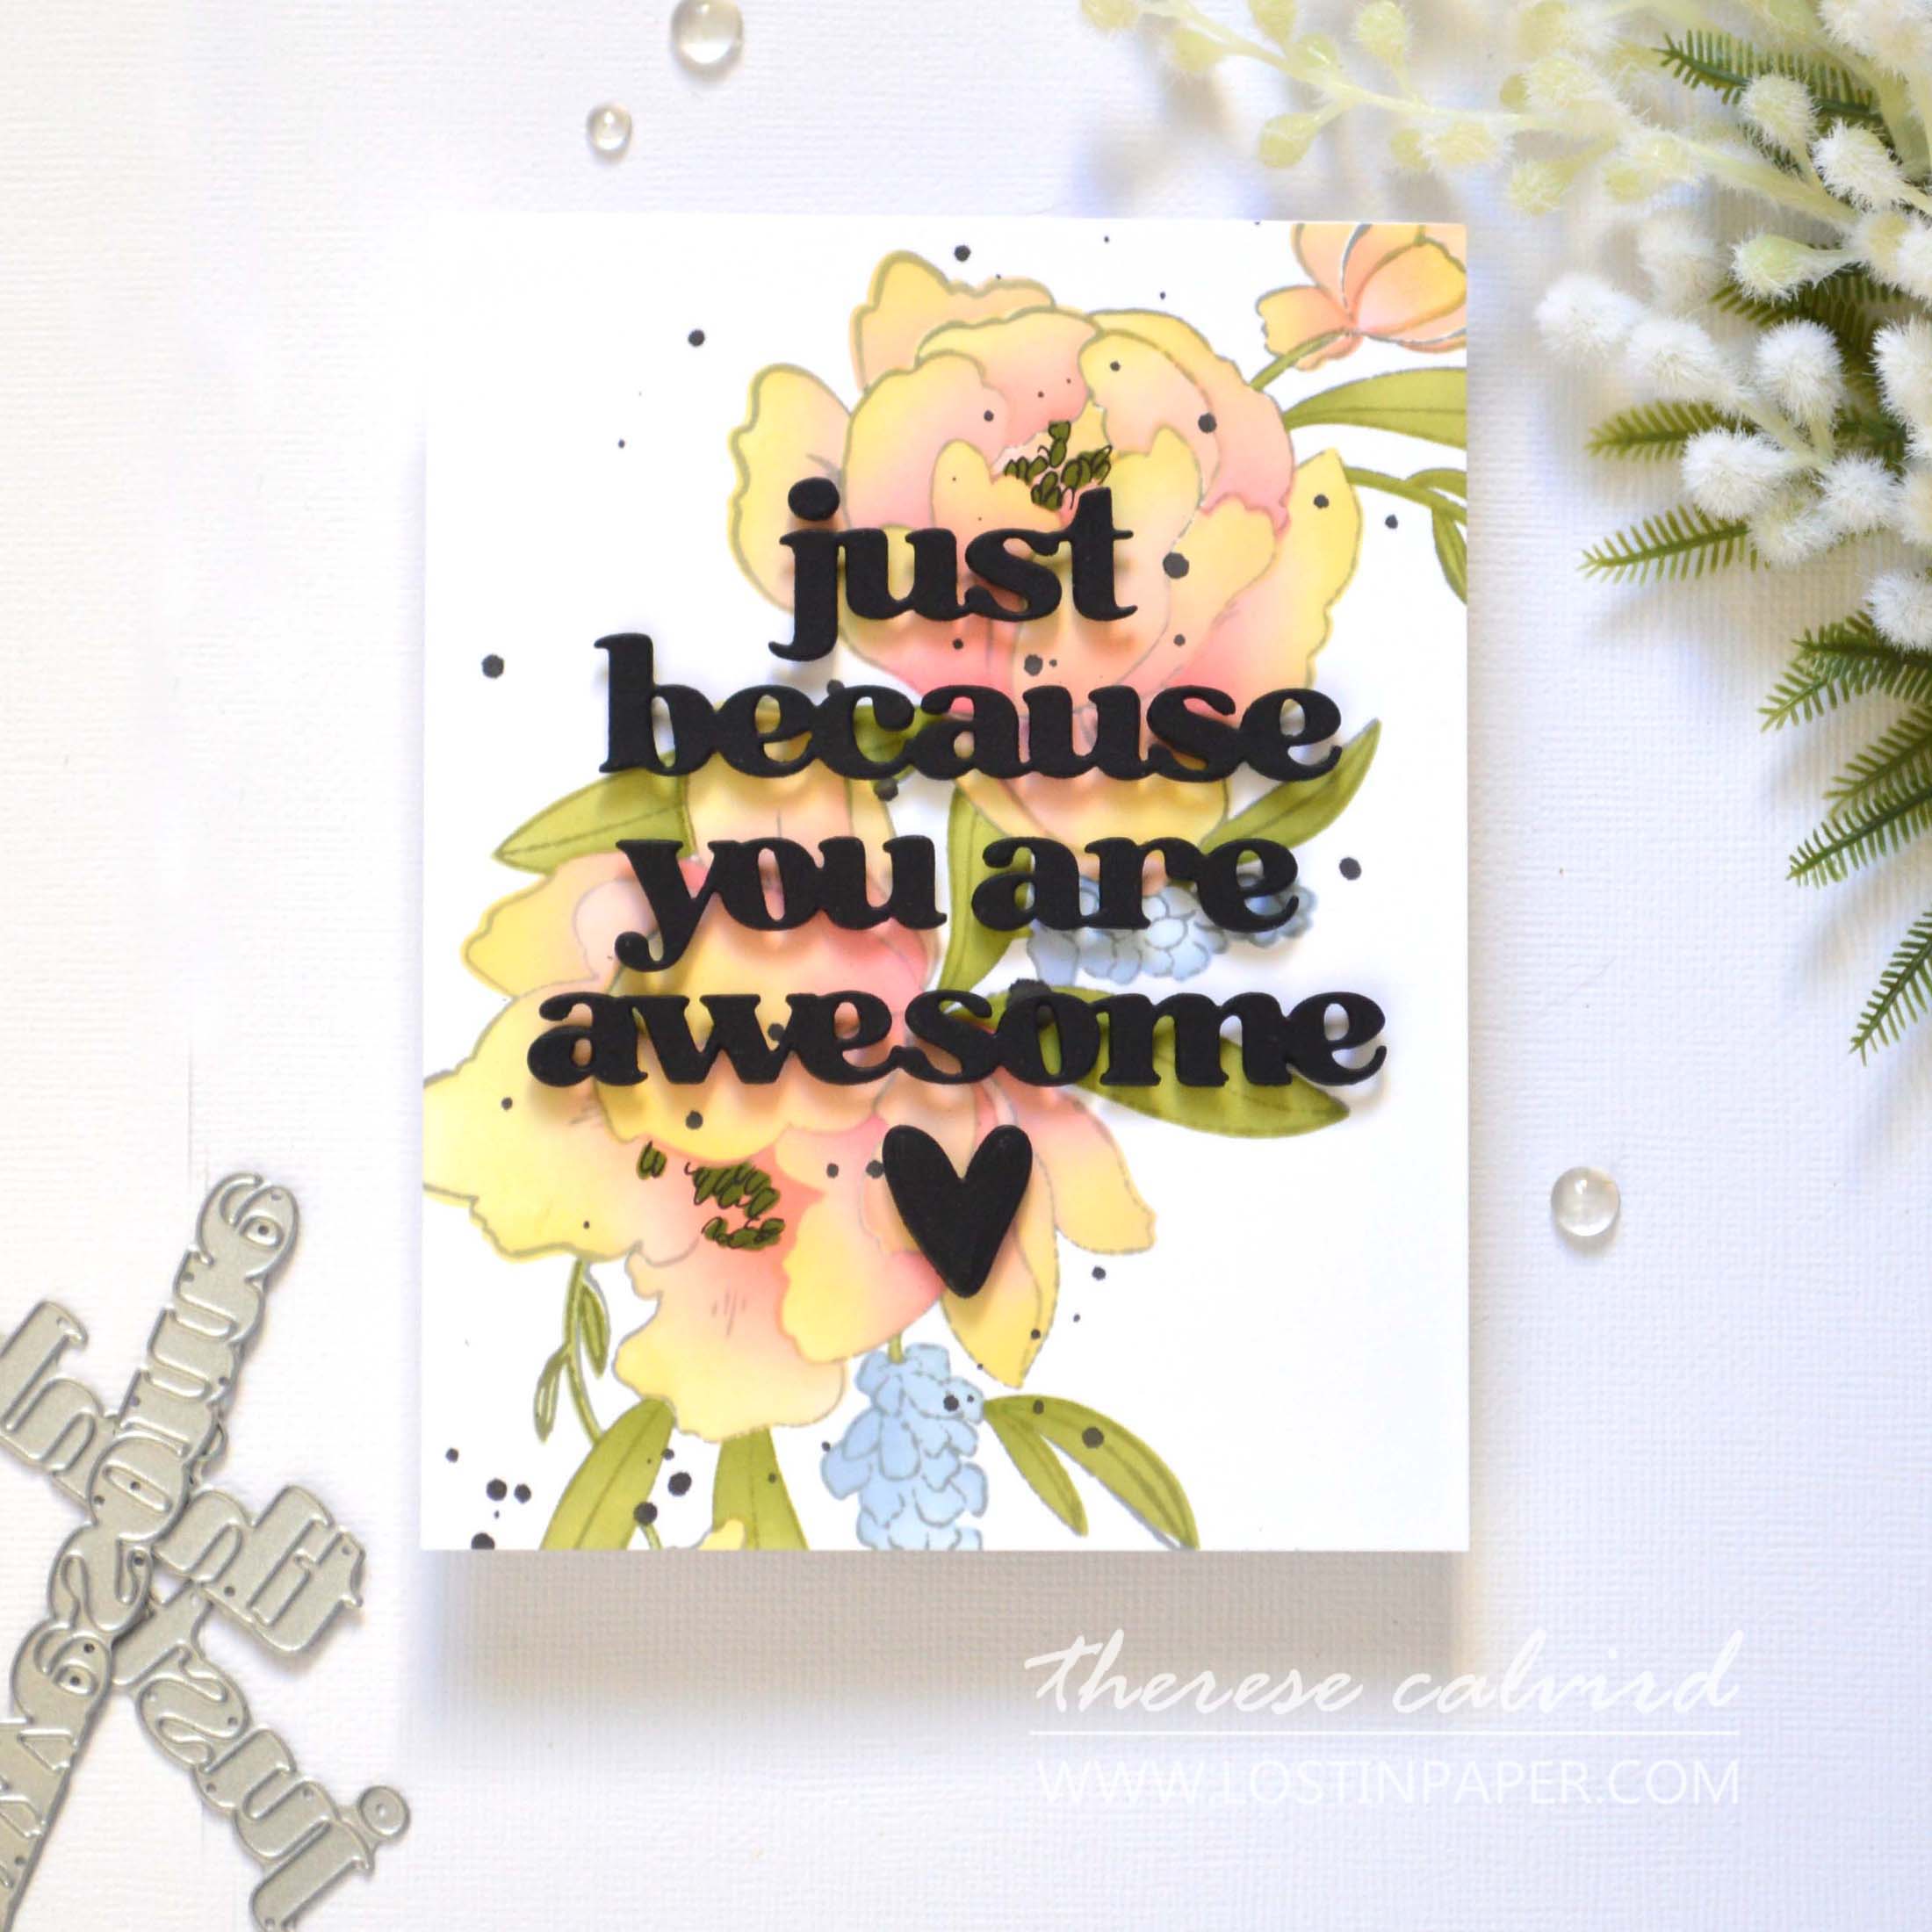
When it comes to making a sentiment the focal point of a card, one of the most effective methods is to use a soft, detailed background that contrasts with a bold, dimensional sentiment. This creates a sense of hierarchy in your design and ensures the sentiment grabs attention.
This creates a contrast in texture, which draws the eye directly to the words, giving them prominence. As well as visual flow, by drawing the eye to the sentiment and a sense of balance.
Why This Works:
- Contrast in Texture: A floral background typically has lots of intricate details and layers, which serve as a beautiful backdrop for a sentiment that is in front of it. The key here is to create contrast between the background and the sentiment. The dimension added by popping up your sentiment off the page draws the eye directly to the words, giving them prominence.
- Visual Flow: The floral elements lead the viewer’s eye across the card, but the raised sentiment provides a natural stopping point, guiding them to the message you want to convey. This technique also gives your card a sense of balance by anchoring the visual interest in one place.
#HOW
- Start with a soft, floral background, I used the Peony & Lilac Swag, but any stamps, stencils, or die cuts could work. Use colors that complement each other, but don’t overwhelm the focal area.
- Choose a bold, long sentiment. By using foam tape or layering multiple die cuts, you can create physical depth that adds dimension and draws attention.
- Place the sentiment at the center or slightly off-center, depending on the look you want to achieve.
Pro Tip: Add some metallic accents, or sequins, around the sentiment to increase the visual contrast even more. It’ll make the sentiment stand out even more against the floral background.
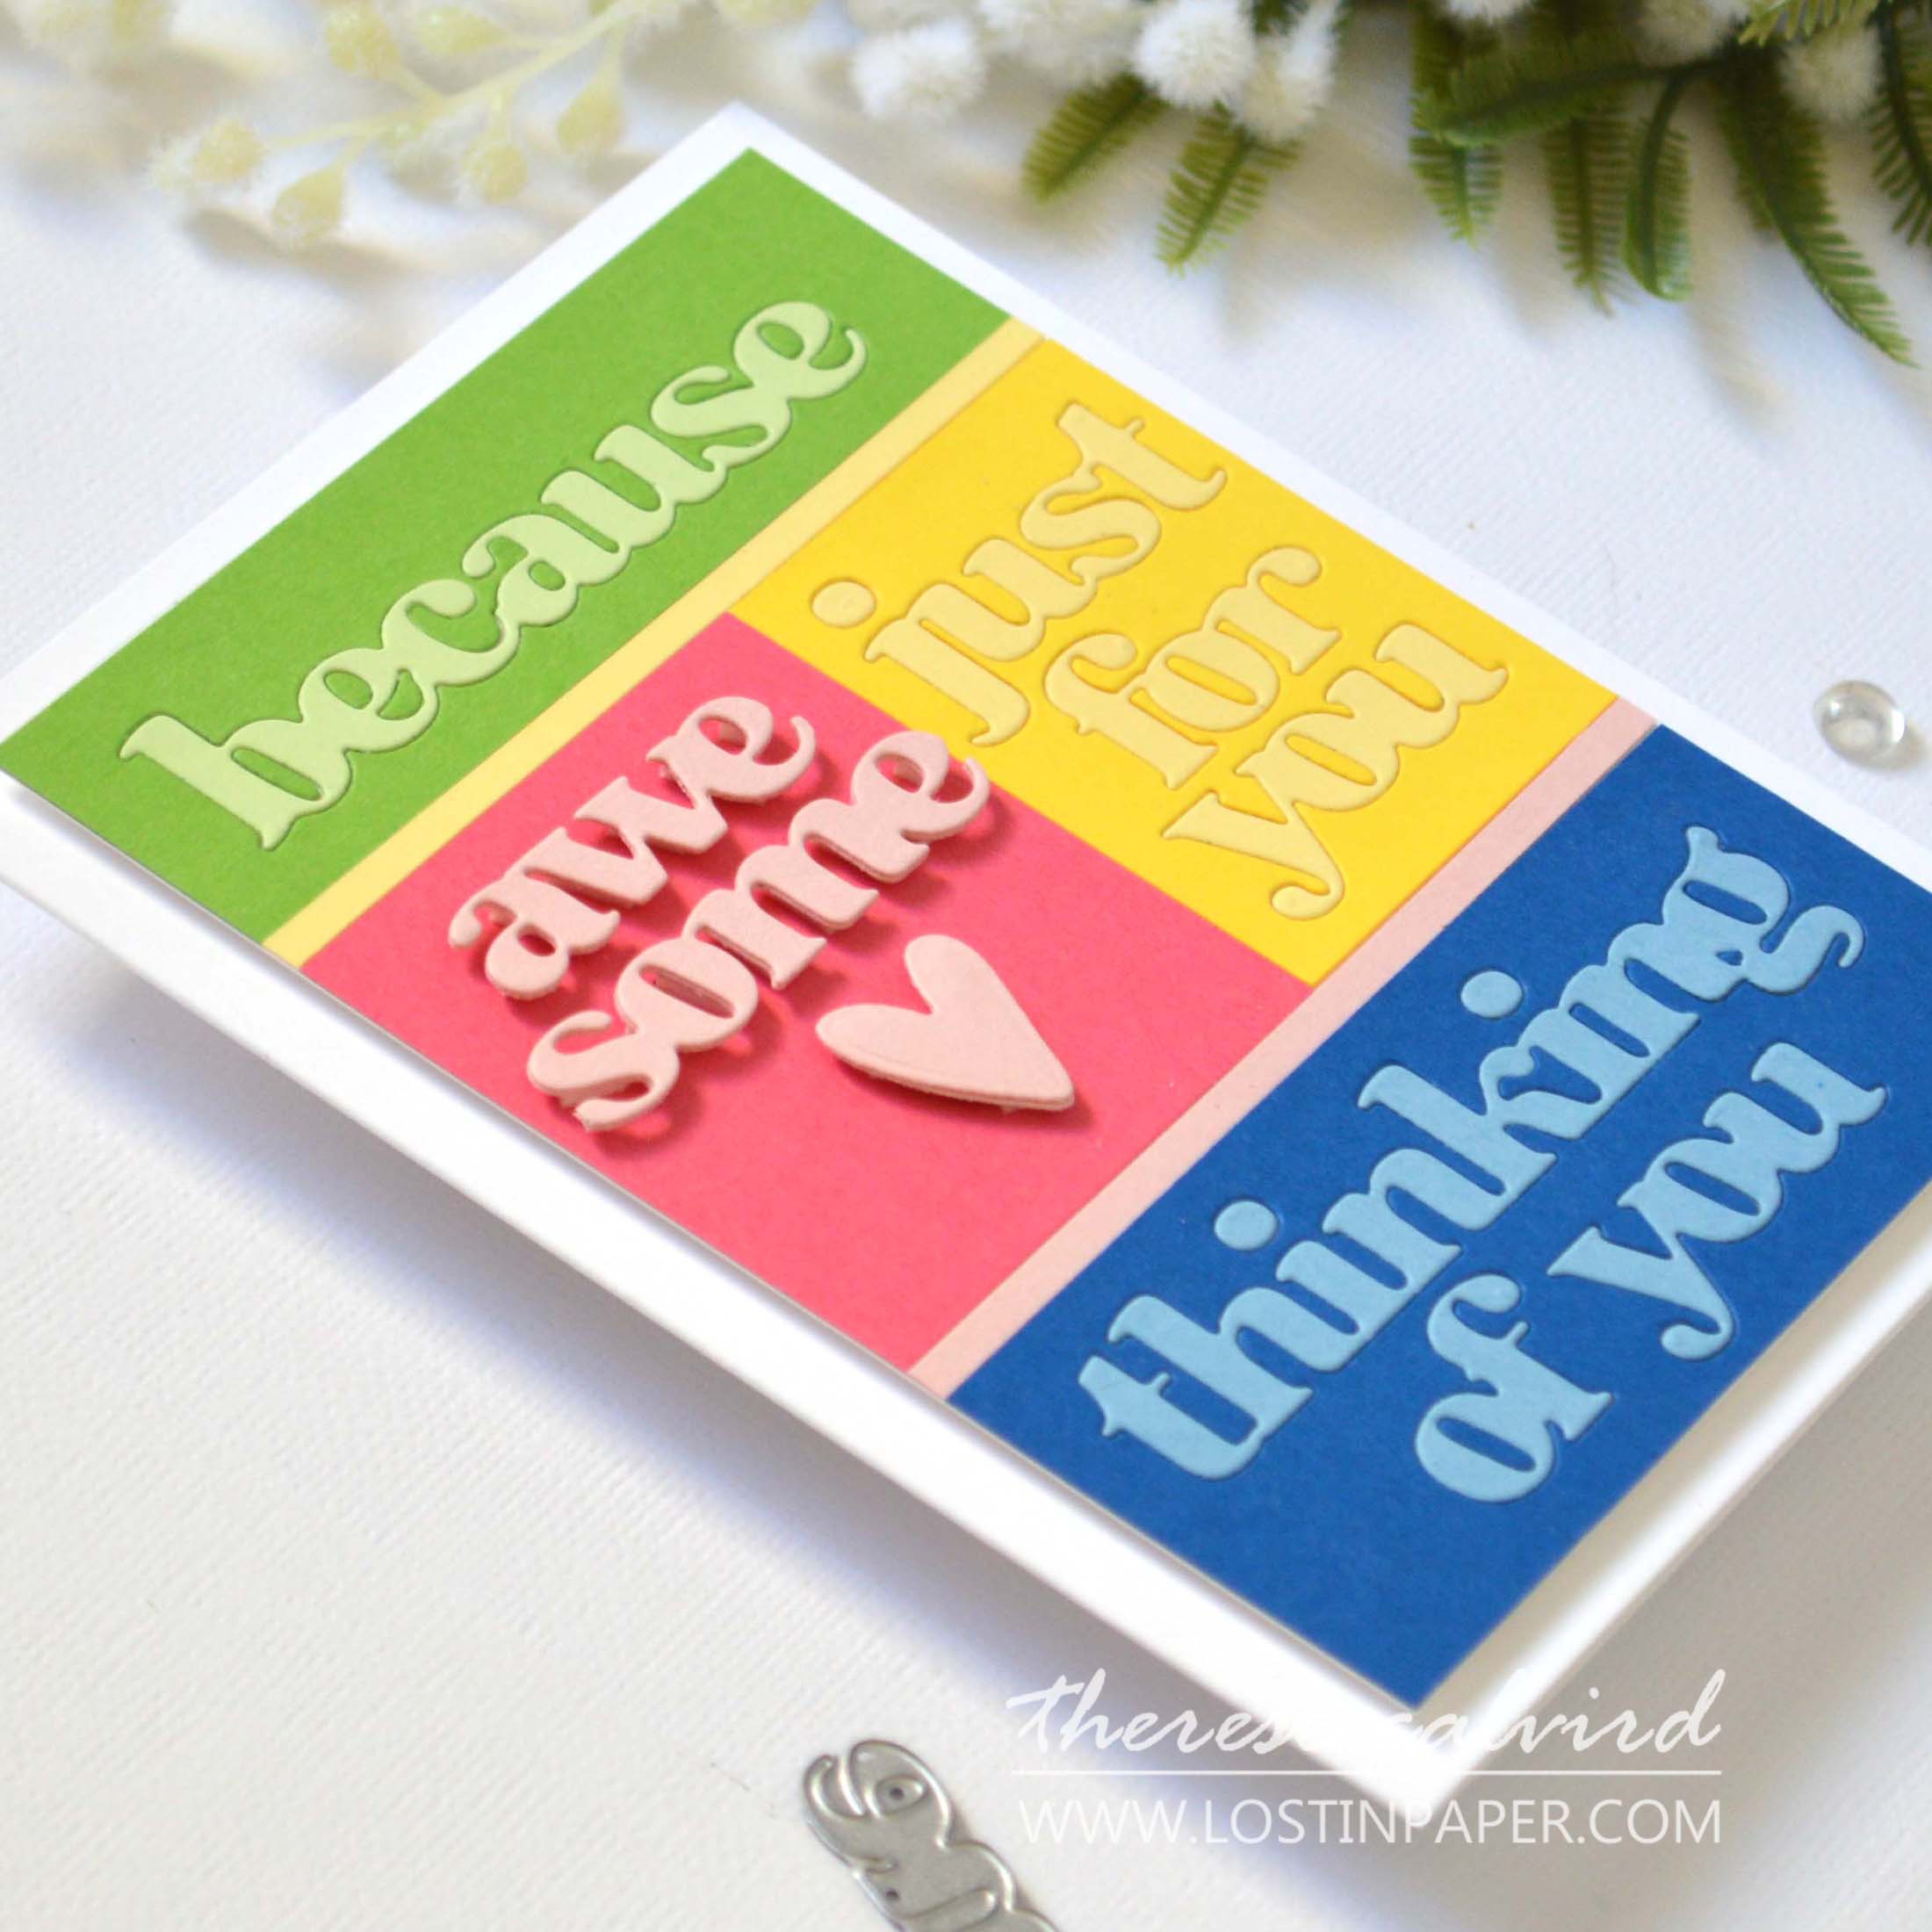
Technique #2: Sentiment Inlay Blocks
Another great way to make your sentiment the star is through the inlay technique. This is perfect for a more modern and clean design. The sentiment is physically part of the card but inlaid into the surface, which gives it a unique, seamless look.
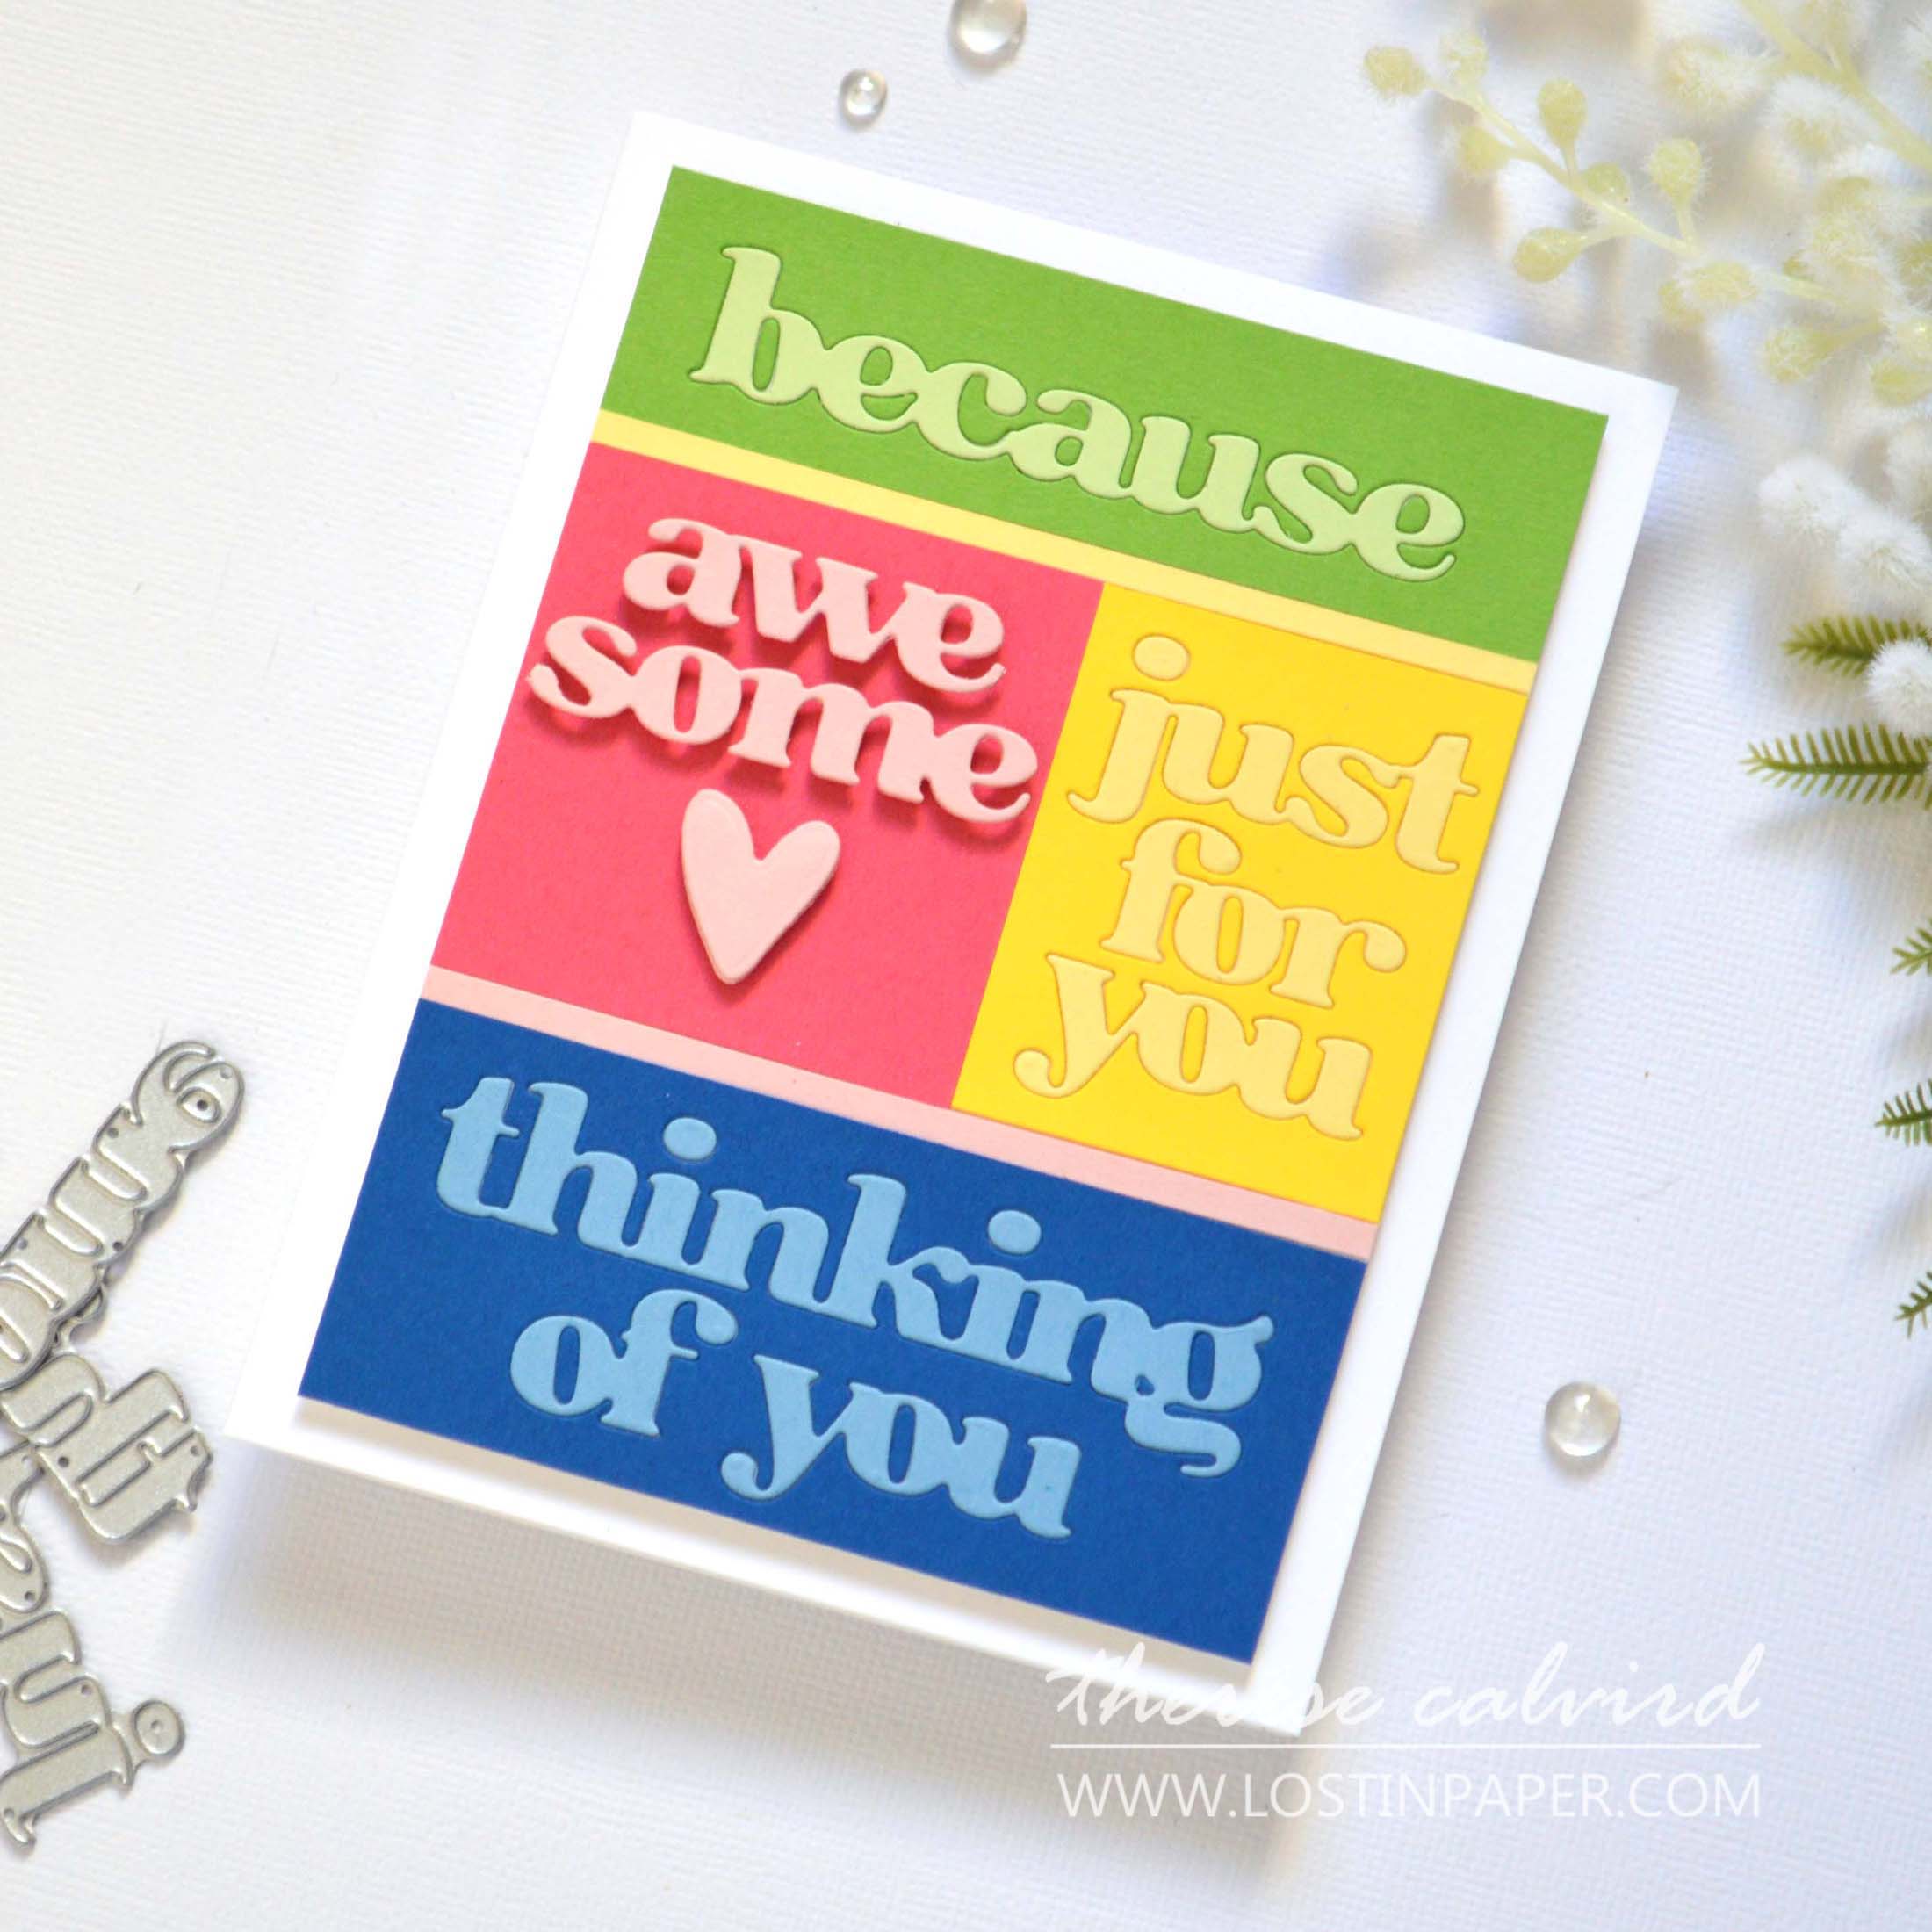
BONUS IDEA: Don’t want to fuss with inlaying small pieces, simply adhere the die cut sentiments direct to the block instead.
Why This Works:
- Minimalist Design: This technique is perfect for a minimalist approach where the sentiment itself is the centerpiece. The inlay creates a sleek, crisp look that doesn’t distract from the message you’re trying to convey.
- Textural Interest: The inlaid sentiment adds interest without the need for raised elements. By choosing different textures, colors, or even patterns for the sentiment blocks, you can create a unique, layered effect. The technique can be as simple or as complex as you like, and it’s great for those of us who love clean lines and modern designs.
#HOW
- Begin by choosing your cardstock color combinations and die cutting your sentiments. This could be a single word or multiple blocks of text, depending on your design.
- Use the negative space and inlay your sentiment pieces back into the cut-out areas, either with coordinating colors or a contrasting tone to make the sentiment stand out.
- You can mix and match textures—perhaps a smooth cardstock for the background with a patterned or glittery finish for the sentiment.
- Try popping up just one sentiment in the design, this contrast will make the sentiment become the focal point.
PRO TIP: For a really striking effect, try using bold, contrasting colors or a monochromatic color scheme. This ensures the sentiment blocks are not only noticeable but also add visual interest to your card.

Why These Techniques Matter: Understanding Design Principles
Both of these techniques rely on basic design principles such as contrast, hierarchy, and balance. By manipulating how we place our sentiments and backgrounds, we can create cards that are visually engaging and effectively communicate a message.
- Contrast: Whether through color or texture, contrast ensures your sentiment stands out. By using different finishes or dimensions, you draw attention to the most important part of the card.
- Hierarchy: The placement and size of your sentiment can create a natural flow, guiding the viewer’s eye and leading them toward the focal point.
- Balance: Both techniques use elements of balance, whether it’s the softness of the floral design paired with the bold sentiment or the sleekness of the inlay with its clean lines. This balance keeps the design cohesive and pleasing to the eye.
I hope you feel inspired to by these ideas! Whether you’re a fan of florals or prefer a sleek, modern look, both of these methods will help you create stunning cards where the sentiment truly shines.
Which technique are you most excited to try? Or perhaps you’ve got your own creative twist on this concept? Share your thoughts and creations with me in the comments below – I’d love to hear how you’re using sentiments on your cards!
Crafty hugs,

P.S. Need supplies? Here are the links to the products I used today (some of these are affiliate links, so I’ll earn a small commission if you make a purchase—thanks for supporting my channel 🥰)!
*Certain content that appears on this site comes from Amazon, this content is provided ‘as is’ and is subject to change or removal at any time. As an Amazon Associate I earn from qualifying purchases.
Other Supplies:
Altenew Inks: Silver Stone | Frosty Pink | Coral Berry | Sunray | Icy Water | Misty Sage | Mossy Meadow | Green Opal.
Altenew Cardstock: Parrot | Frayed Leaf | Coral Berry | Frosty Pink | Iceberg | Starlight | Buttercream | Fresh Lemon | Jet Black.
 Versatile Greetings 3 ALT | SSS |  Lovely Envelope ALT |  Peony & Lilac Swag SSS | OTH |  Neenah Solar 110 AMZ | SSS |
Neenah Solar 80 AMZ | SSS |  Altenew Cardstock ALT | SSS |  Jade Dreams ALT | SSS |  Red Cosmos ALT | SSS |
 Golden Sunset ALT | SSS |  Rock Collection ALT | SSS |  Northern Shore ALT | SSS |  Mini Blending Brush Storage ALT |
 Mini Blending Brush Set ALT | SSS |  Fine Liner Pen Set ALT | SSS |  Perfect Picker ALT | SSS |  Tweezers ALT | SSS |
 Bone Folder ALT |  Stampwheel 2.0 ALT | SSS |  Score Board ALT | SSS |  9X12 Ultra Sticky Mat: Grid ALT | SSS |
 Platinum 6 ALT | SSS | SB UK | SB US | 9″ Fiskars Paper Trimmer AMZ |  Foam Squares – Black mix SSS |  Glue Tape ALT | SSS |
 Foam Tape NEW sizes! ALT | SSS | Bearly Art Glue AMZ | SSS |  Adhesive Sheets ALT | SSS |  Satin Masking Tape ALT |
Therese, these are both fantastic! [and if your friends need a challenge where they can USE those big sentiments – I have just the Sketch for them today on my blog – oh, yes you can play too, my friend!]
You have aced lining those alphas up – off I gooooo…. I know you’ll have the best tips!
=]
Yay! Hope you got the blog notification email ok? Please let me know if it needs more or less information… do you want a pic included?? Thank you for your feedback and encouragement my friend x
Love the colorblocking idea and your flower cards are always amazing!!! Such fun ideas for making the sentiment the star.
You are the sweetest!
The black sentiment and little heart on card number one are so striking! Two incredible makes, Therese!
So glad you liked these Lisa x