Have you ever seen a card and thought – WOW, I need to try that?
I use affiliate links, which means that if you click on a product link, I’ll receive a small portion of the sale at no extra cost to you. It’s a great way to support me and the shops we love 🥰!
In today’s video, I’m testing out a technique that my crafty friend Jo swears is the easiest embossing folder technique ever… and honestly? She might be right!
You can watch Jo’s original version HERE, don’t forget to pop over and say G’day! You’ll also find her over at her beautiful online shop, Crafted With Love and Roses – a treasure trove of all things pretty and papercrafty.
Let’s take a peek at why I am so excited about today’s cards?
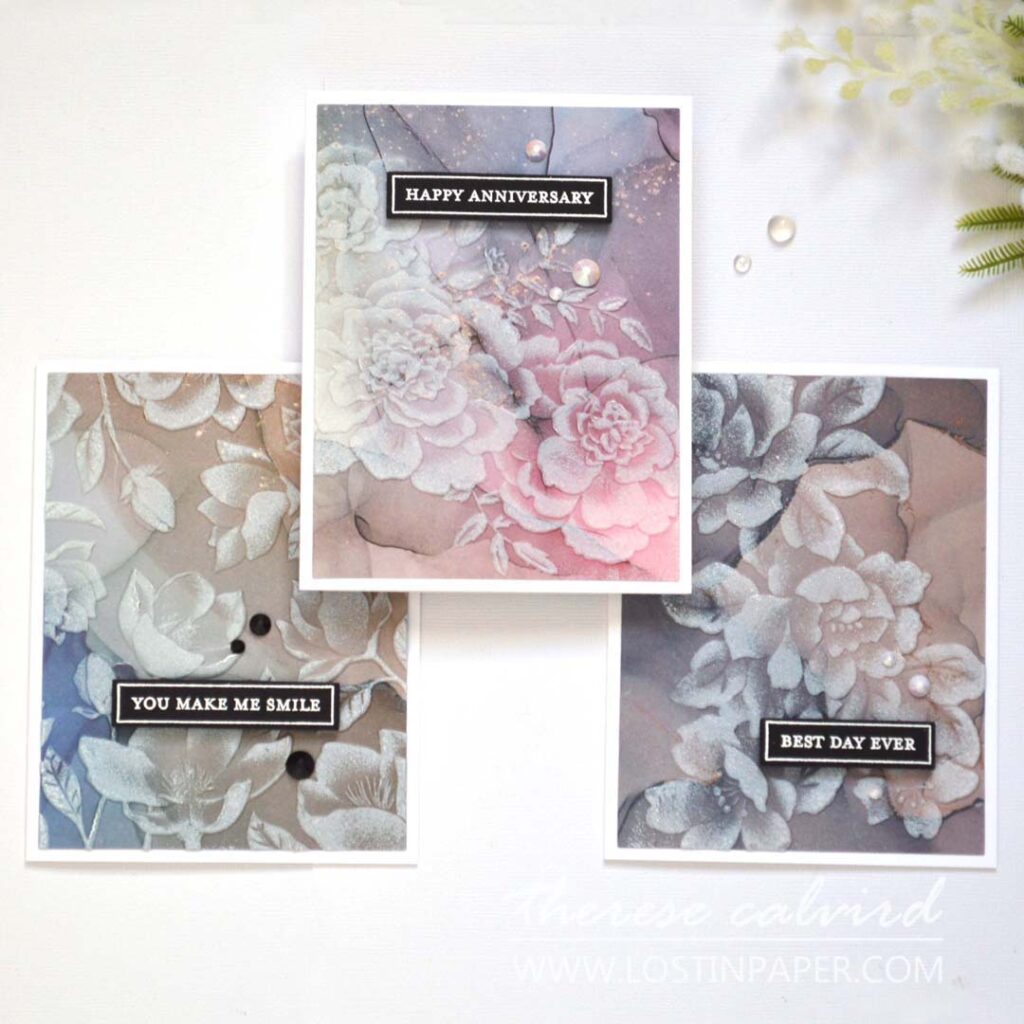
You can jump straight into the video here or watch it in HD on YouTube HERE. Scroll for more pics and details.
#EMBOSSINGFOLDERS
Think you’ve tried every embossing folder technique out there? This one might surprise you!
I’ve included step-by-step instructions below so you can recreate the look yourself – plus a few quick hacks in case you don’t have time to watch the video right now.
How to Try the Easiest Embossing Folder Technique Ever + Tips!
Here’s how you can recreate this fun and fabulous look in just a few simple steps:
- Choose your design paper.
I went with papers that already had an ink-blended or watercoloured look – they work beautifully for this!
TIP: This is also a great technique to use up those papers that may not necessarily be your favourite as much of the final design is covered by the ink. - Emboss it.
Run your design paper through an embossing folder to add that gorgeous texture and dimension. Choose a folder with a bold, larger pattern to really get that WOW effect.
You can find the Spellbinders Universal Plate System Compatibilty Guide HERE. - Add white pigment ink.
Gently tap white pigment ink over the raised areas of the embossing – it makes the design pop like magic!
TIP: Use a ‘juicy’ ink pad, I topped up with the reinker before I made today’s cards. And don’t press too hard because ink will transfer to the background instead of just the image. - Optional sparkle.
If you’re in a glittery kind of mood (aren’t we always😉), sprinkle some fine glitter over the ink while it’s still wet. Let it air dry for a few hours before assembling, or carefully heat set on low.
WARNING: Be prepared to ‘sparkle’ for the next few days! - Finish your card.
Add your panel to a card front, pop on a sentiment, and a few gems if you like.
TIP: Use a liquid glue to adhere embellishments, as this has a strong hold.
BONUS: In the video, I’m also sharing a super handy tip to help line up multiple sentiment stamps when they just don’t want to play nice – it’s a quick fix and a total game-changer.
Now, let’s jump into the card ideas!
Card #1 – A Little Sparkle Never Hurt Anyone
I added glitter to this card… because Jo told me to! 😆
Honestly, I wasn’t sure I’d like the effect, but guess what? It turned out to be my favourite!
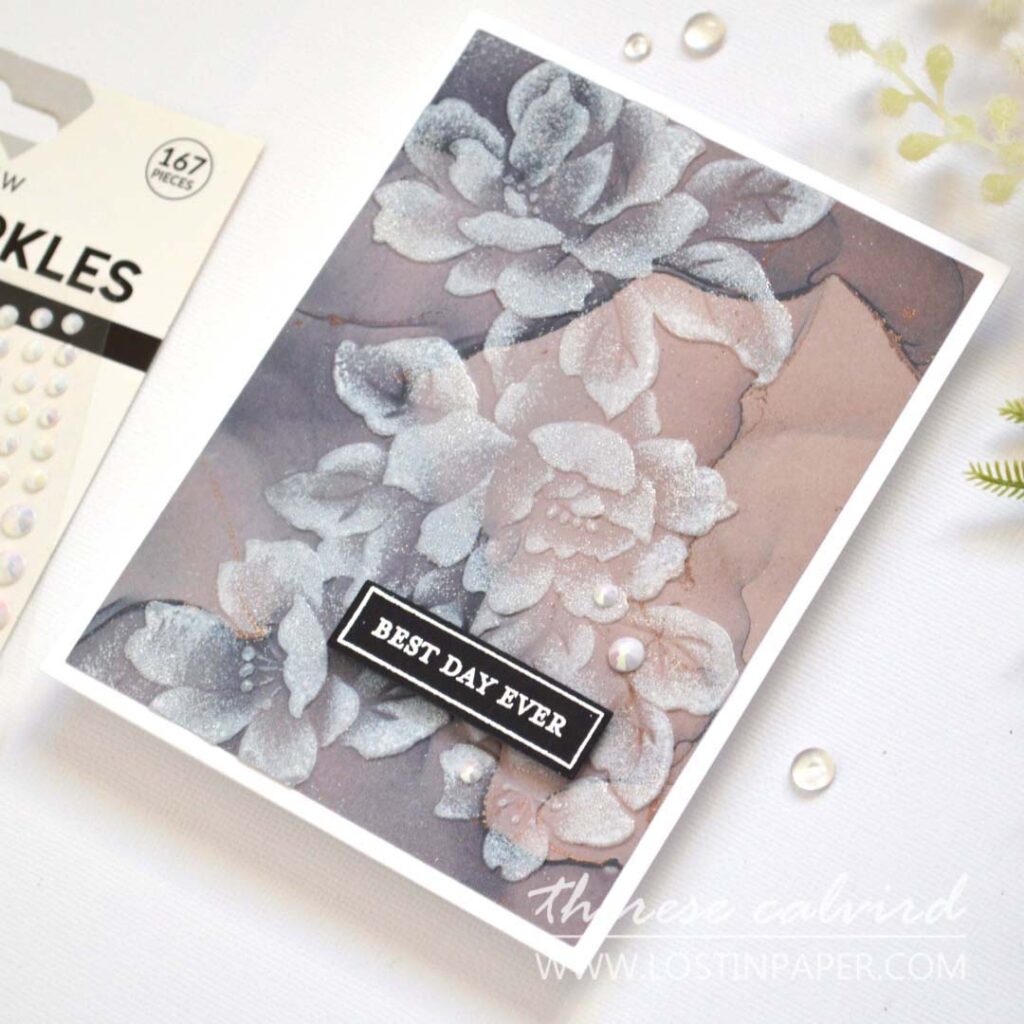
It’s a bit tricky to capture in photos, but in real life, the shimmer is incredible.
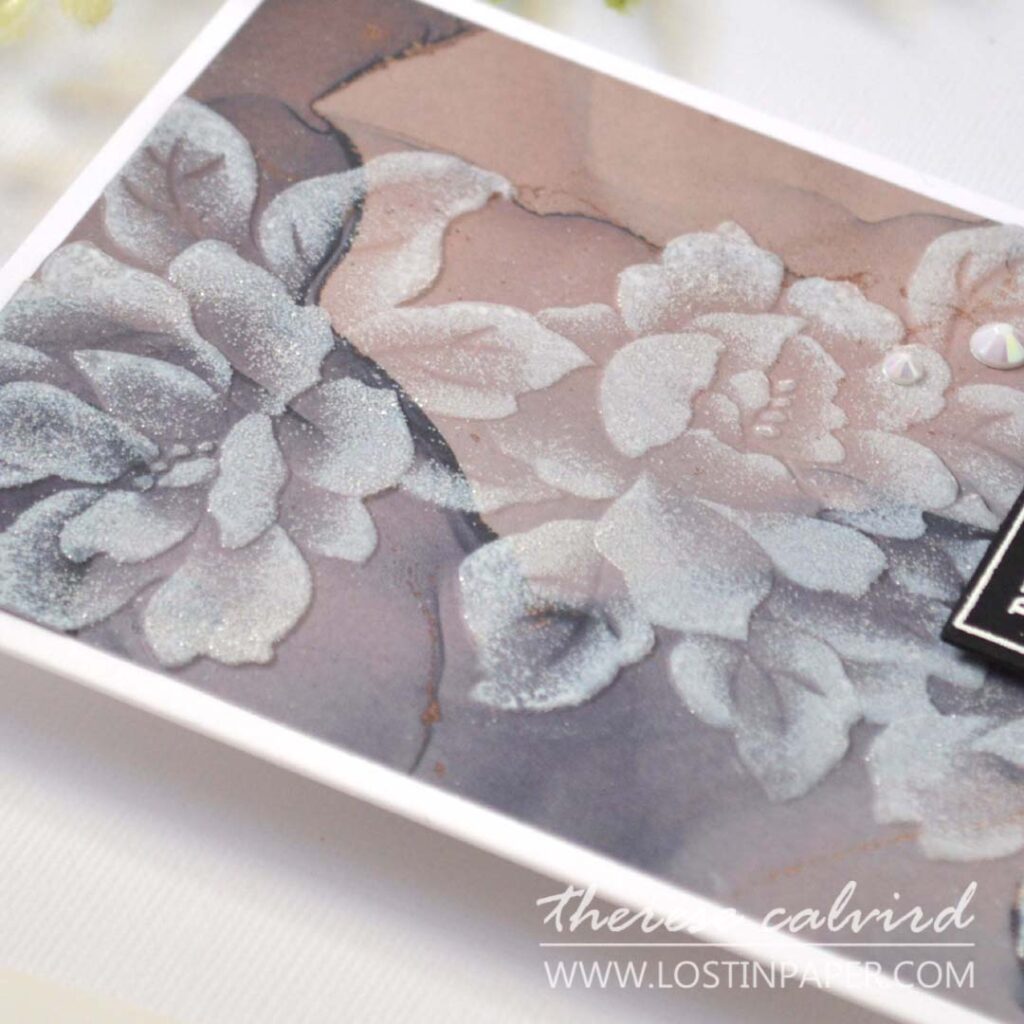
In fact… the next time I try this technique I won’t be holding back on the glitter at all!
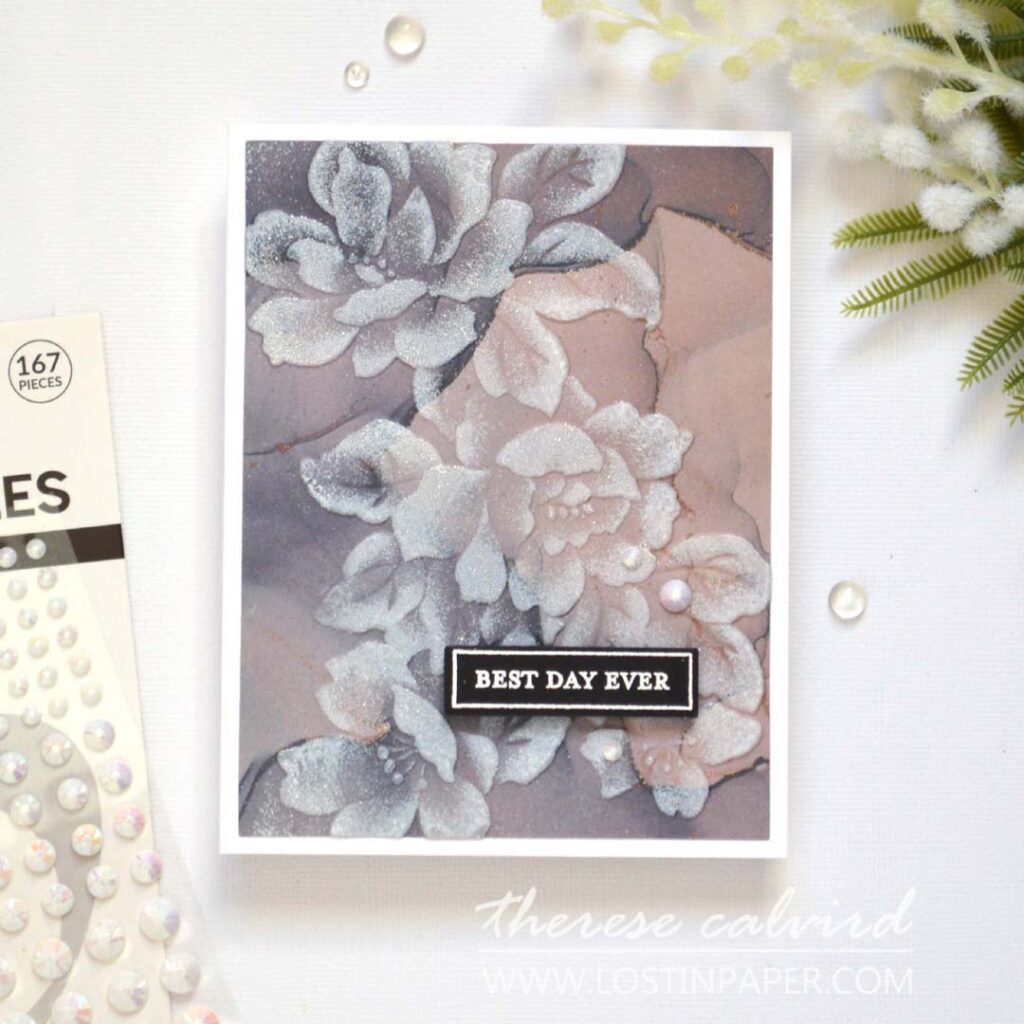
Card #2 – Bringing in Some Color
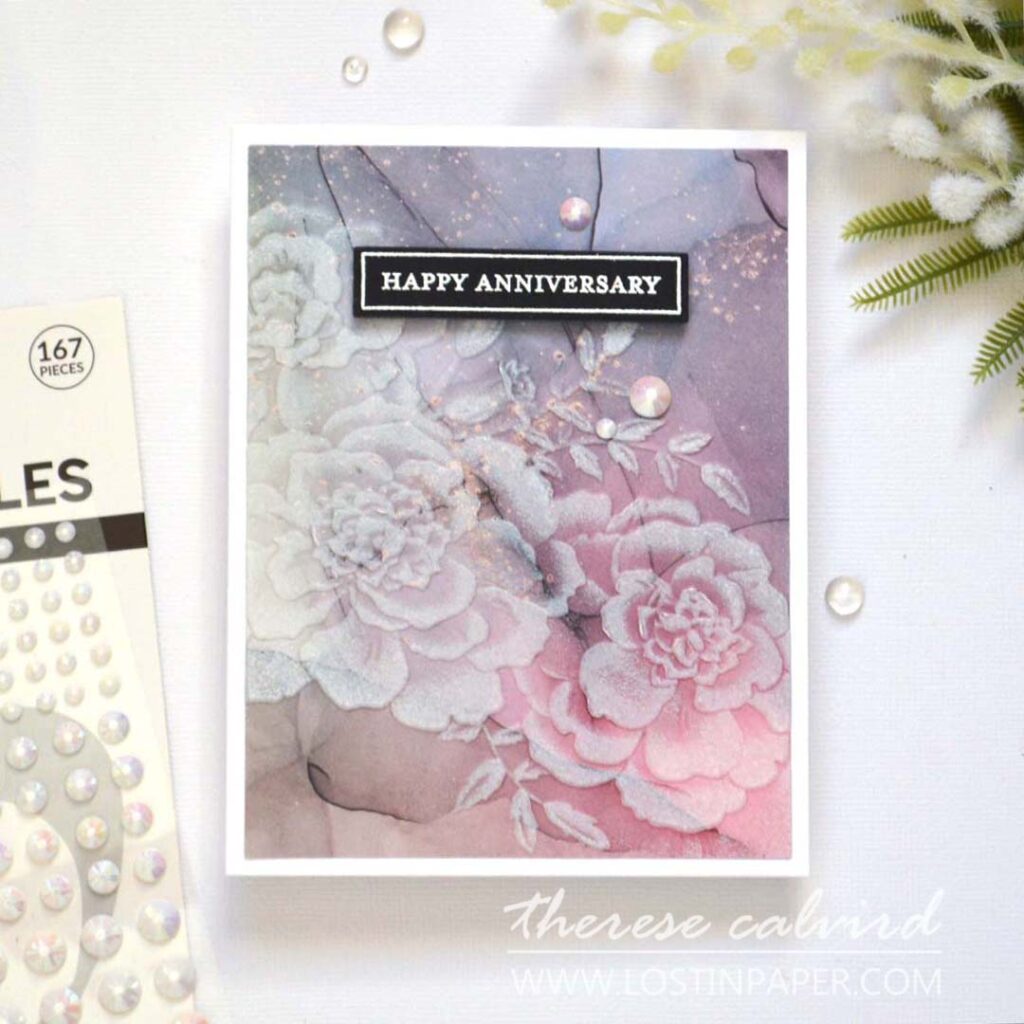
For this design, I wanted to mix things up with a little more color – so I brought in some soft pinks.
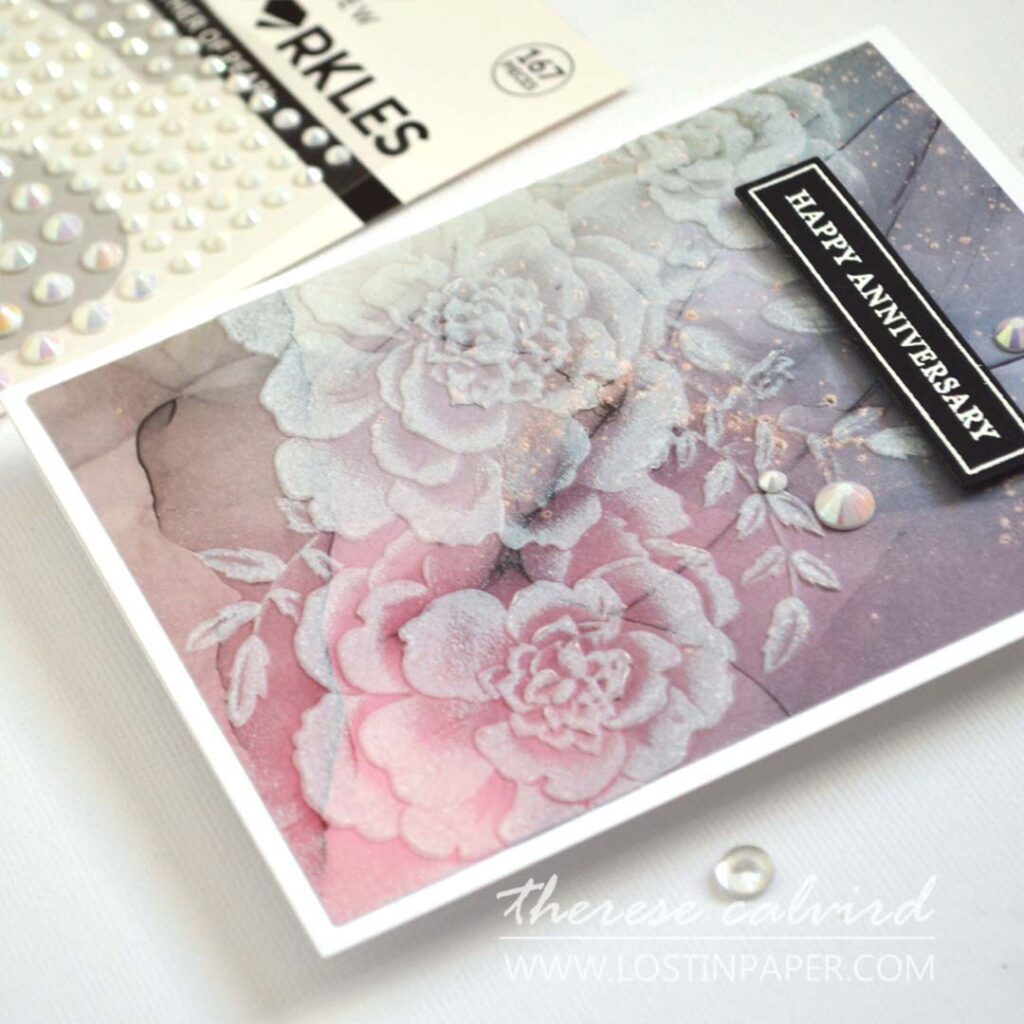
It gives the card a romantic feel, which I think makes it perfect for weddings, engagements, or even save the date cards. And because the technique is so simple, they’d be a breeze to make in multiples!
Card #3 – How About a Whole Panel
Still in experimenting mode, I decided to switch things up again—this time using a floral embossing folder that covers the entire panel like a background.
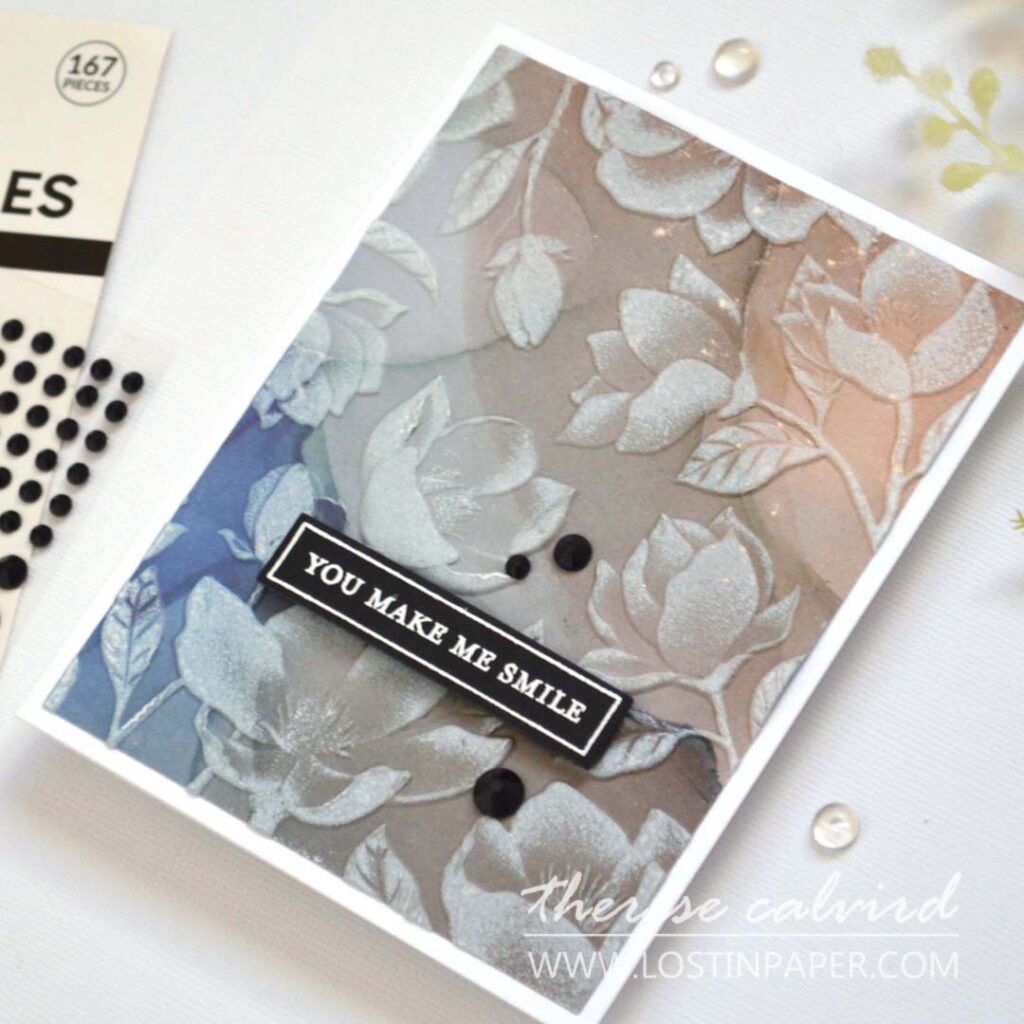
Instead of a bouquet-style image, the all-over pattern adds beautiful texture across the whole card front, making that white ink detail pop in all the right places.
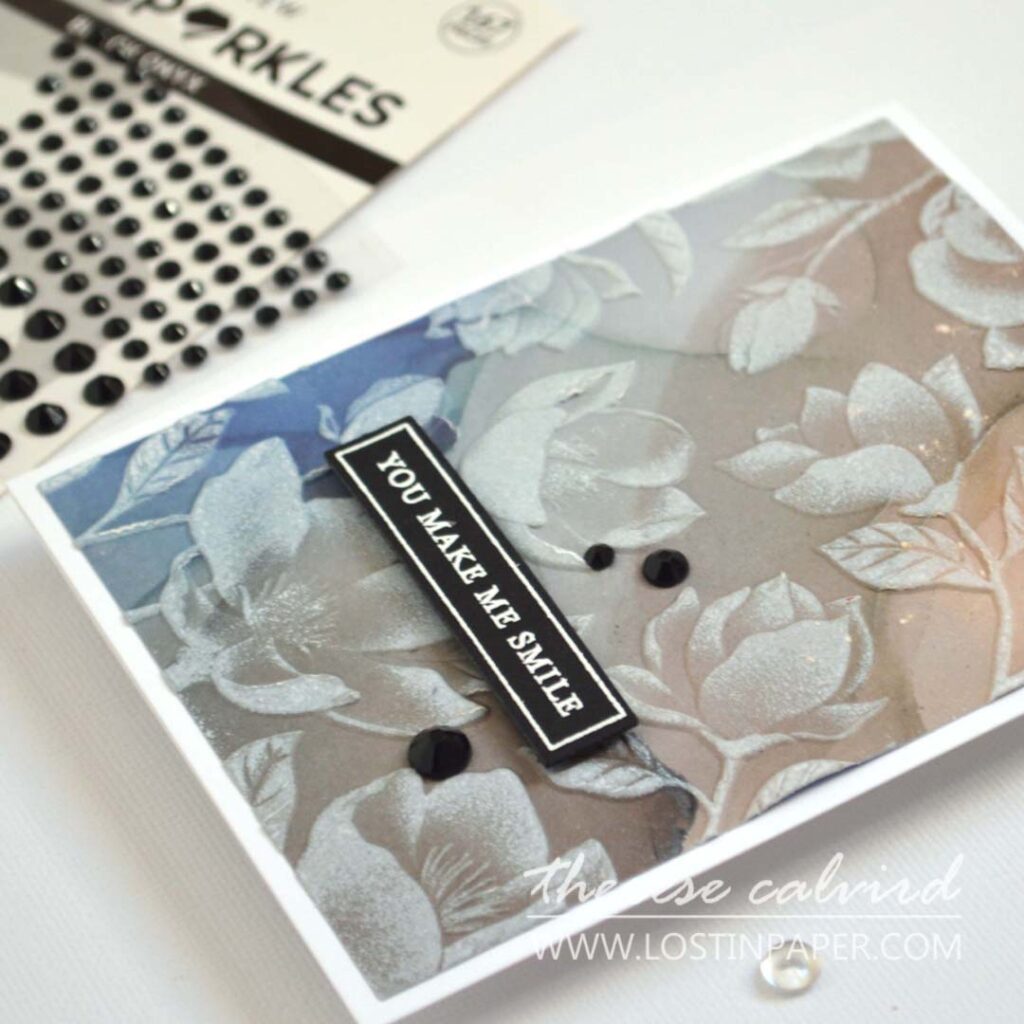
I also added a little extra bling with some gem sparkles – because why not?
Sequins would work a treat here too if that’s more your vibe. Either way, it’s an easy way to finish the design with a bit of shine!
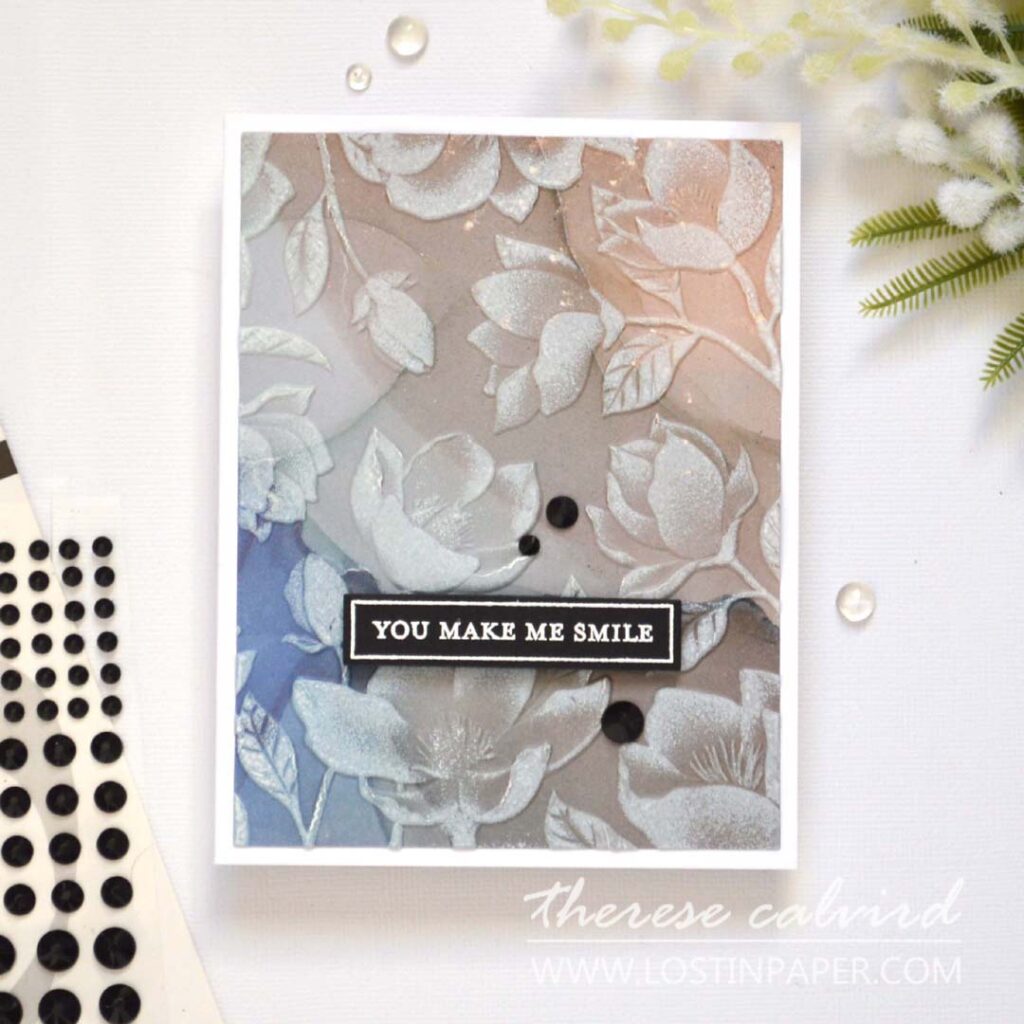
And there you have it – one embossing folder technique, three fun card ideas, and a little glittery encouragement from Jo!
Whether you’re short on time or just want to try something new with supplies you already have, this is such a simple and satisfying technique to play with.
I’d love to hear which card is your favourite, and if you’re brave enough to try the glitter.
Let me know in the comments – and don’t forget to tag me on social media so I can see what you create!
Sending crafty hugs your way,

Special thanks to my crafty assistant, Chad (aka ChatGPT), for helping me stay on track with my Gemini brain, grammar, and spelling… well, all the things! 😄
P.S. Need supplies? Here are the links to the products I used today (some of these are affiliate links, so I’ll earn a small commission if you make a purchase—thanks for supporting my channel 🥰)!
*Certain content that appears on this site comes from Amazon, this content is provided ‘as is’ and is subject to change or removal at any time. As an Amazon Associate I earn from qualifying purchases.
SUPPLIES
Art Glitter – Ultrafine Glitter – White Satin
Cardstock: Altenew – Jet Black
 CYL Silk Art ALT |  Marigold Butterflies ALT |  Magnolia Dreams ALT | SSS |  So Many Sayings SSS |
 So Many Sayings Dies SSS | 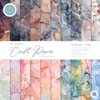 Ink Drops 12 X 12 – Dusk SSS | 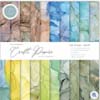 Ink Drops Earth 6 X 6 SSS | 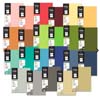 Altenew Cardstock ALT | SSS |
 Neenah Solar 80 AMZ | SSS |  Neenah Solar 110 AMZ | SSS |  Versamark Ink SSS | OTH | 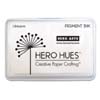 Unicorn White SSS |
 Mother of Pearl ALT | SSS |  Black Onyx ALT | SSS |  Opaque Bright White SSS |  Powder Tool SSS |
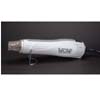 WOW Heat Tool SSS |  Anti Static Pad SSS |  Fine Blade Scissors ALT | SSS |  Perfect Align Tool OTH |
 Bone Folder ALT |  Score Board ALT | SSS |  Mini MISTI SSS |  Platinum 6 ALT | SSS | SB UK | SB US |
 9″ Fiskars Paper Trimmer AMZ |  Foam Squares – Black mix SSS |  Glue Tape ALT | SSS |  Satin Masking Tape ALT |

It is absolutely magical. Love that combination of paper, embossing and highlight.
I can so see you creating something like this, you have the most wonderful design papers!
You are so correct because I can’t wait to try this technique.
Hopw you have fun creating!
Beautifully done, Therese these are dreamy!
Thank you so much Lisa!