
Have you ever wanted to make a big, beautiful statement with your card design?
Today I’m sharing two fun fold ideas perfect for a larger 5″ x 7″ card – both featuring some stunning peonies (Scroll down for the Cut & Score details – you won’t believe how easy these folds are!)
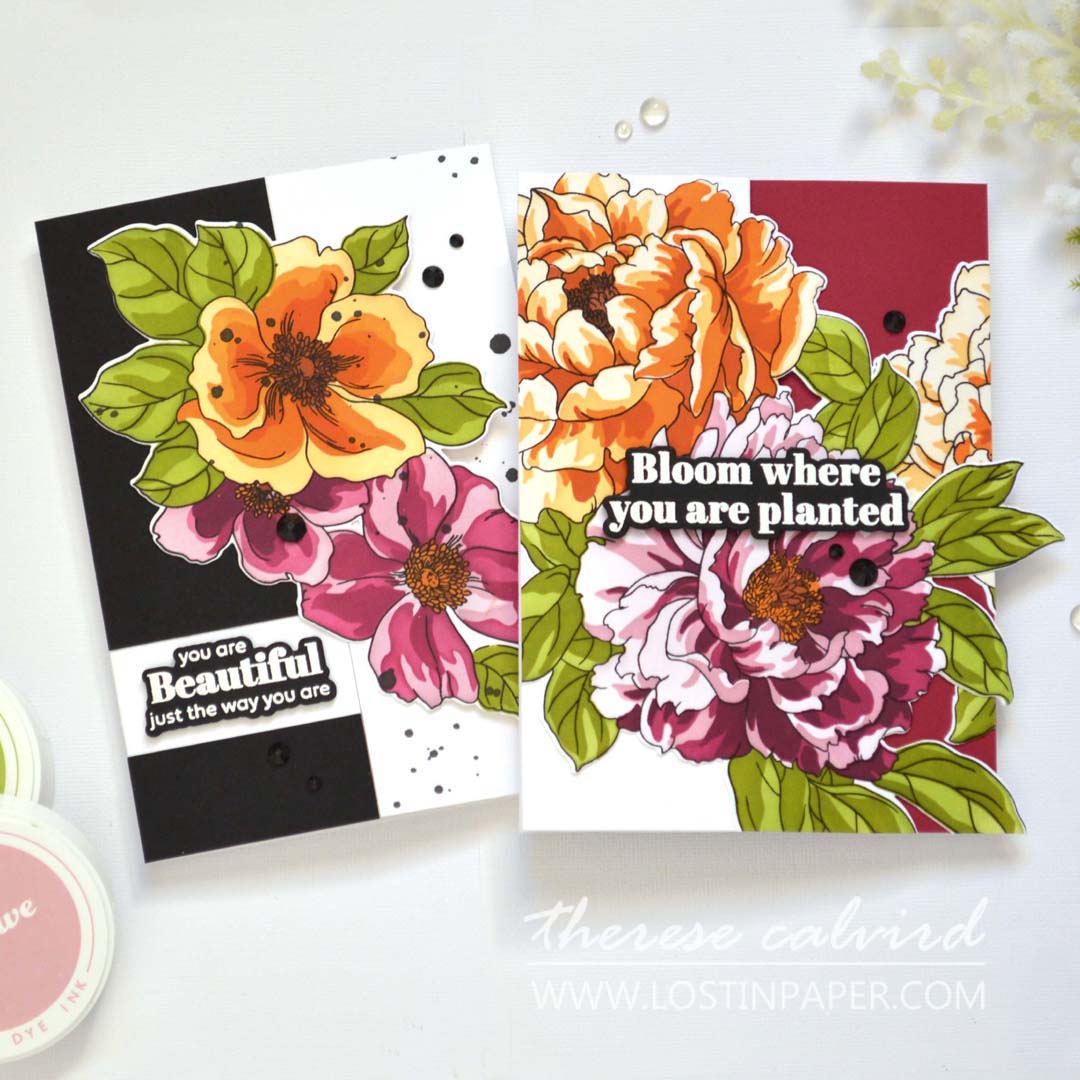
Here’s a sneaky peek at today’s cards…
Would you like to see how folds come together? Click HERE to watch the video at YouTube.
This post is part of my Take 2 Series with Altenew, which means you get double the inspiration, and if you want to see MORE ideas like this, CLICK HERE.
I use affiliate links, which means if you click on a product and make a purchase, I’ll receive a small portion of the sale at no extra cost to you. This helps support my channel and the shops we love 🥰!
#FUNFOLDS
What is a Fun Fold Card?
A fun fold card is simply a greeting card with a fold (or folds) that go beyond the standard single crease down the middle. By adding extra score lines, angles, or interactive elements, you can create cards that open in unexpected ways, reveal hidden panels, or showcase your design from multiple angles. They’re a great way to add instant “wow” without needing complicated tools, and can be adapted to any size, style, or occasion.
Today we’ll make a classic Z-Fold card and a Gate Fold ‘with a twist’… so whether you’re looking for something quick but striking, or you want to add that “wow” factor, I’ve got you covered.
5″ x 7″ CUT & SCORE DETAILS
Z-Fold
- Cut a 7″ x 10″ piece of cardstock.
- Score on the long side at 5″ and fold in half (burnish with a bone folder for crisp folds).
- Score again on the front panel at 2 1/2″ and fold in the opposite direction – to create a concertina.
Gate Fold
- Cut a 7″ x 10″ piece of cardstock.
- Score on the long side at 2 1/2″ from each end.
- Fold each “end” toward the centre and burnish with a bone folder.
Now, let’s get to it!
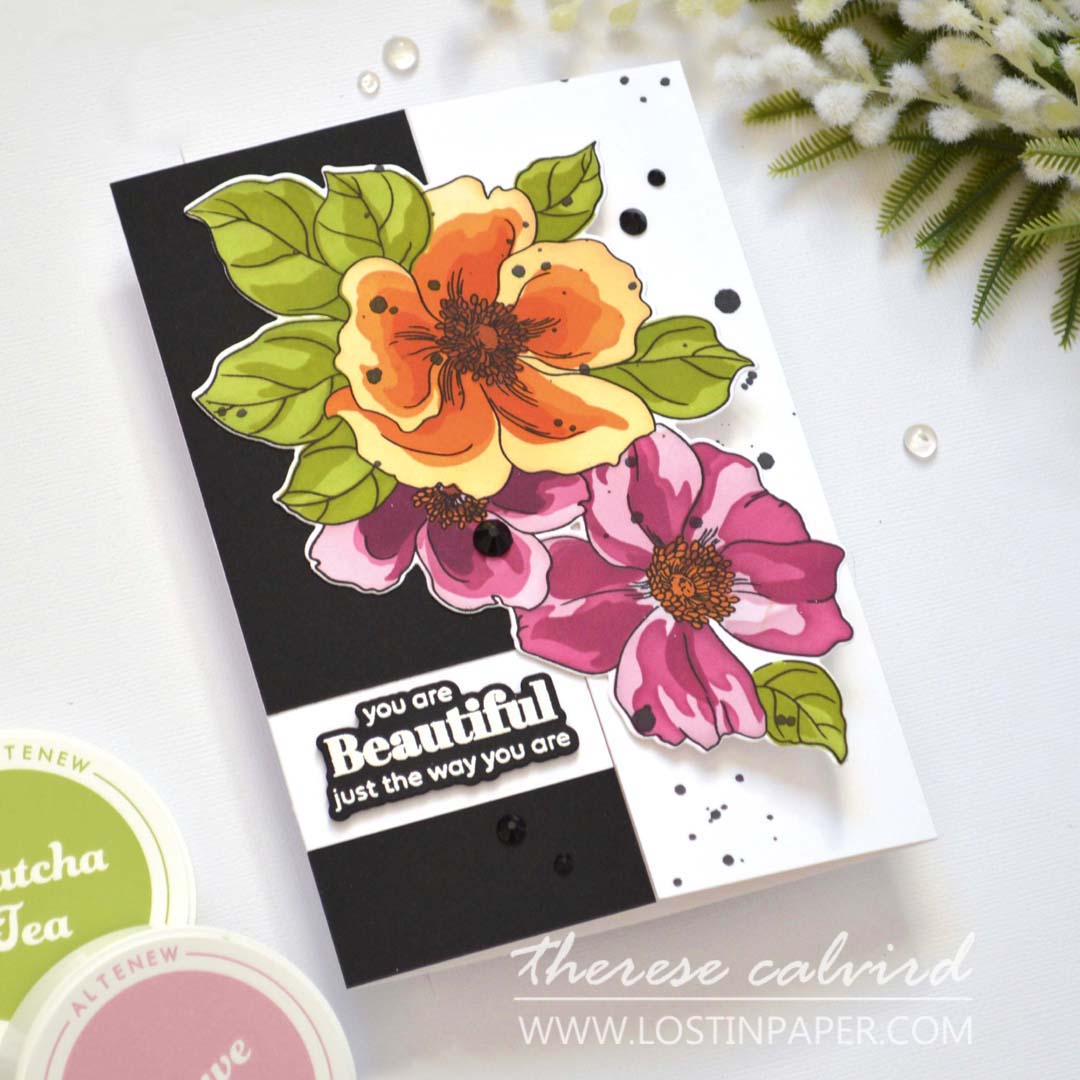
Idea #1: Z-Fold Card
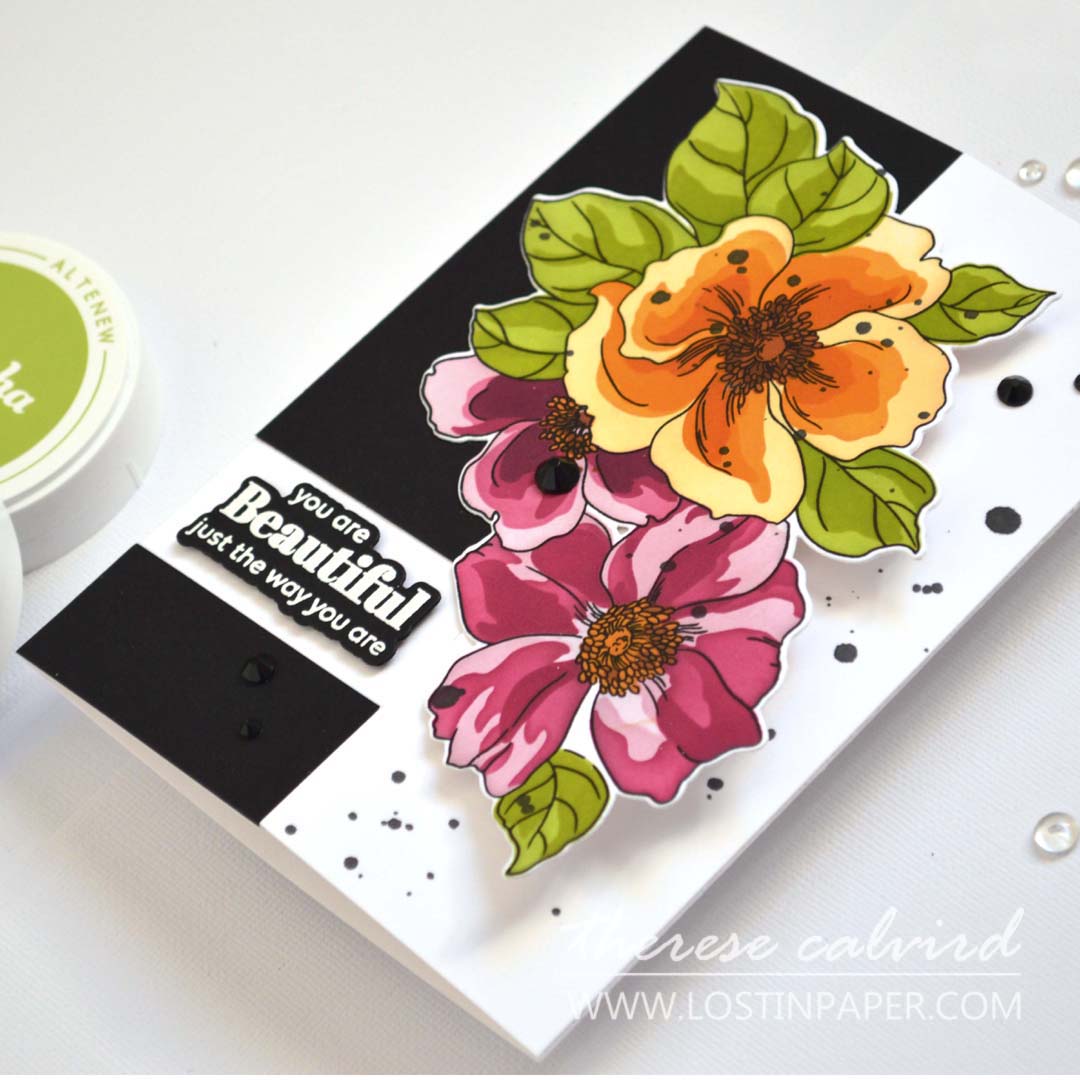
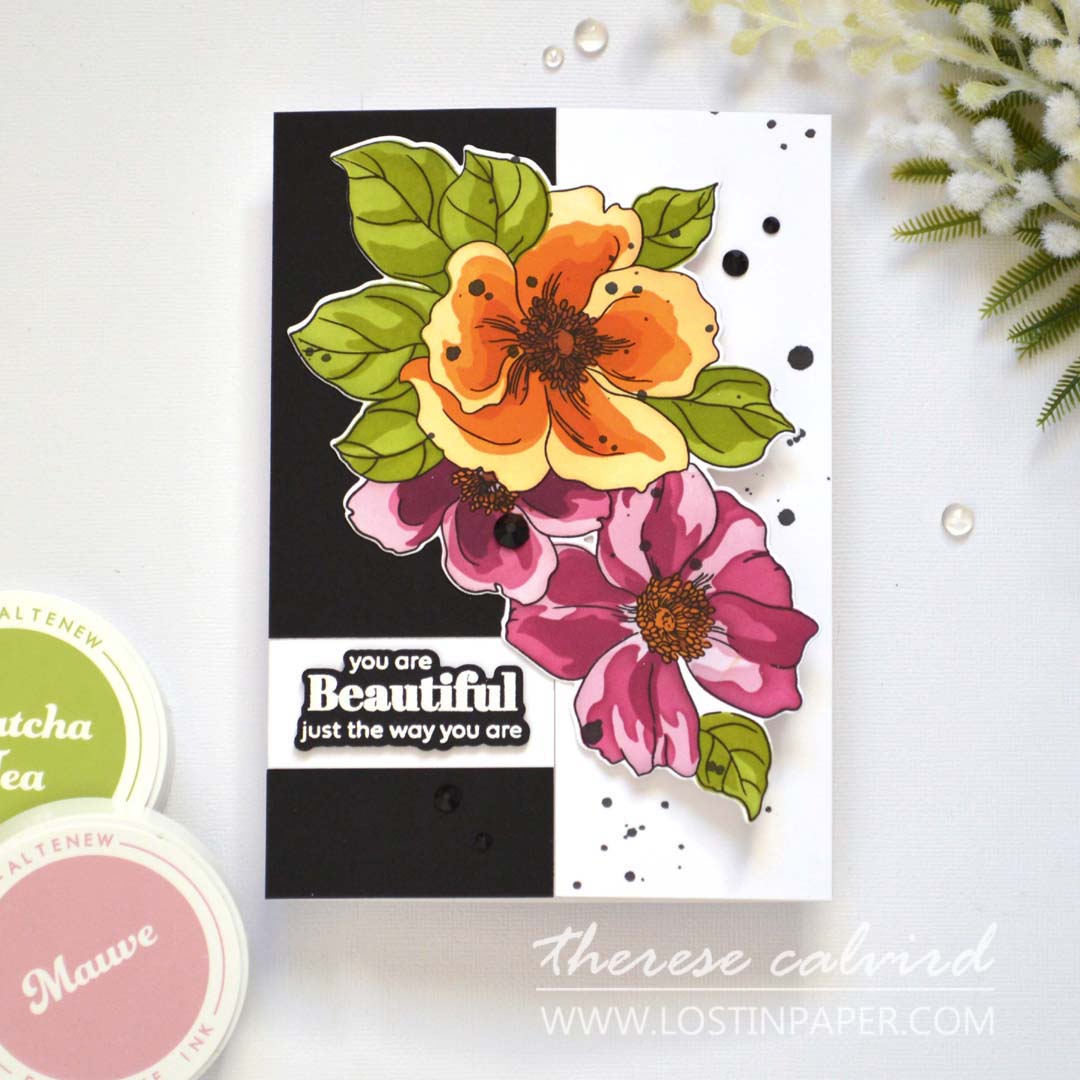
The Z-Fold is a classic for a reason — it’s easy to make, but looks instantly impressive. On a 5″x 7″ card base, the extra space means you can let those big, beautiful peonies shine.
For my design, I layered brightly coloured large peony blooms so they spilled across the fold. This gives the card movement and depth even before it’s opened.
Why I love the Z-Fold for large cards:
- Perfect for statement images that need space
- Adds instant dimension without bulky layers
- Works well for any theme, from florals to masculine designs
PRO TIP: When letting your floral images cross the fold, only adhere them to one panel so your card still opens smoothly.

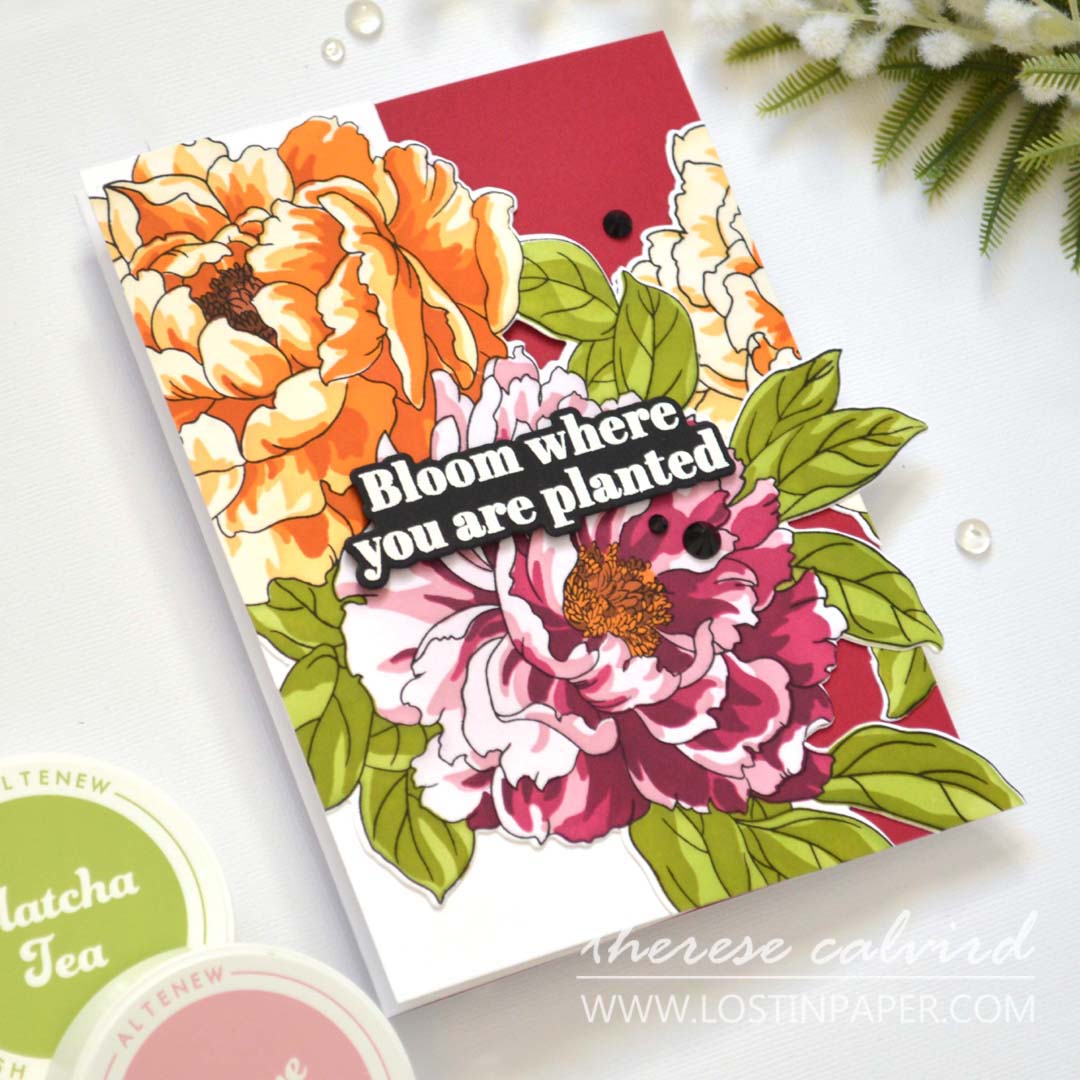
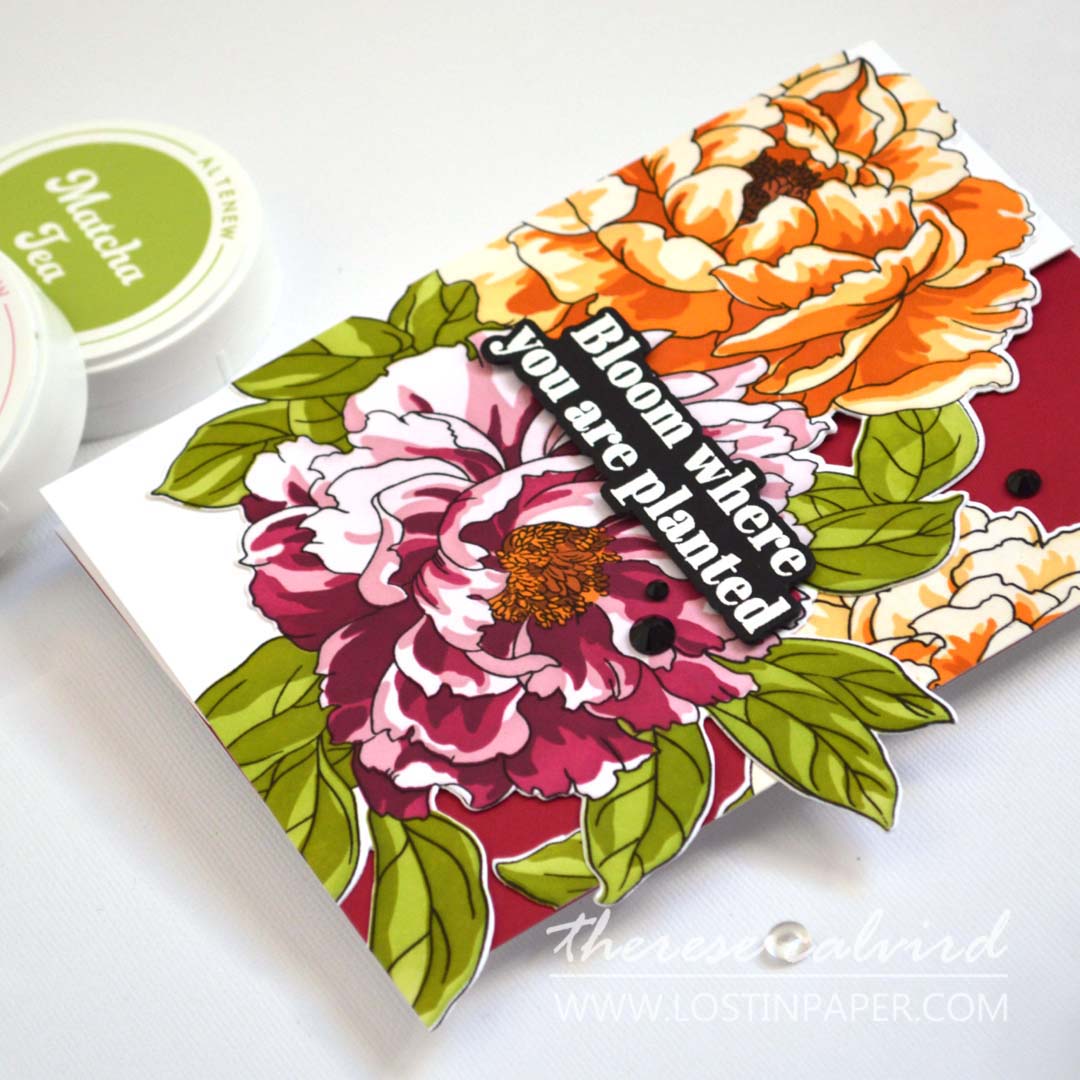
Idea #2: Gate Fold ‘With a Twist’
The Gate Fold is another favourite – it’s where the card is folded so the two sides meet in the centre, like a pair of doors. I decorated just one ‘door’ with peonies, but let the design spill over both panels so it still feels balanced when closed.
Why I love Gate Fold cards:
- Easy to make without special dies
- Looks far more complex than it actually is
- Adds a great interactive element to larger cards
But this one’s got a little surprise…
The ‘twist’ is a second die-cut piece tucked behind the first, which lets one door slip in and stay closed – no extra clasp or closure needed.
PRO TIP: No lock mechanism? Use a belly band! Or, if you’re fussy cutting, add a circle behind the flowers and snip a notch so the fold stays closed.
Which Fold Will You Try First?
Both of these designs are simple, stash-friendly, and perfect for when you want to send a card that’s just a bit extra. And don’t forget, you can adapt these folds for smaller card sizes, different themes, and seasonal designs.
I’d love to hear which one you’re most excited to try – share your thoughts in the comments below!
Happy crafting,

Special thanks to my crafty assistant, Chad (aka ChatGPT), for helping me stay on track with my Gemini brain, grammar, and spelling… well, all the things! 😄
P.S. Need supplies? Here are the links to the products I used today (some of these are affiliate links, so I’ll earn a small commission if you make a purchase – thanks for supporting my channel 🥰)!
*Certain content that appears on this site comes from Amazon, this content is provided ‘as is’ and is subject to change or removal at any time. As an Amazon Associate I earn from qualifying purchases.
Other Supplies:
Altenew Inks: Peachy Glow | Golden Honeycomb | Amber Blaze | Melted Butterscotch | Pink Crystal | Mauve | Berrylicious | Acai Berry | Matcha Tea | Swamp Green | Cocoa Cream | Choco Hazelnut.
Altenew Cardstock: Jet Black | Ruby Red.
 Billowing Peonies ALT | SSS |  Altenew Cardstock ALT | SSS |  Neenah Solar 80 AMZ | SSS | Neenah Solar 110 AMZ | SSS |
 Obsidian ALT | SSS |  Embossing Ink ALT | SSS |  Forest Trail ALT | SSS |  Dessert Dreams ALT | SSS |
 Sun-Kissed Delights ALT | SSS |  Dried Petals Ink Set ALT | SSS |  Large Blending Brush ALT | SSS |  Mini Blending Brush Set ALT | SSS |
 Black Onyx ALT | SSS |  Jet Black Spray ALT |  Pure White ALT |  Powder Tool SSS |
 WOW Heat Tool SSS |  Fine Blade Scissors ALT | SSS |  Stampwheel 2.0 ALT | SSS |  9X12 Ultra Sticky Mat: Grid ALT | SSS |
 Bone Folder ALT |  Score Board ALT | SSS |  Platinum 6 ALT | SSS | SB UK | SB US | 9″ Fiskars Paper Trimmer AMZ |
Bearly Art Glue AMZ | SSS |  Glue Tape ALT | SSS |  Foam Tape NEW sizes! ALT | SSS |  Precision Glue Press AMZ | SSS |
 Post It Roll SSS |  Satin Masking Tape ALT |
I always love fun fold ideas and these are GORGEOUS!
I have to say I am a little addicted myself lol.
Absolutely BEAUTIFUL cards, Therese! I have several new floral stamps sets (Altenew & other brands), that I haven’t had a chance to work with yet. You’ve inspired me to open & create with them (along with my new Stampwheel 2.0)! Am thinking of some ‘Fall-ish’ cards…. it’s been a long, super-hot summer where I live, & I’m looking forward to cooler weather!
Oh Yay, you must be so excited about the Stampwheel, it’s very handy to have that side panel that can be removed for larger images or pieces of cardstock! Hope you have fun with those florals Cheri!
Lisa