
If you loved embossing on vellum, wait until you see what happens when you add colour!
Welcome back to my Same But Different series, where I’m sharing different ways to use embossing folder. Did you catch this video where I showed how beautiful embossing on vellum can be? Today, I’m building on that idea and taking it one step further by adding colour… are you ready?
Would you like to see today’s cards… sssh, and the bonus one too? 😉
Are you ready to watch the video right here, or head over to YouTube to see it in HD.
Also, this post contains affiliate links. If you choose to click and shop, I may receive a small commission at no extra cost to you. It’s a lovely way to support both me and the crafty shops we all love.
Thanks a bunch 🥰!
Embossed Vellum Cards
Vellum can be a little intimidating when it comes to adding color. Its slick surface doesn’t absorb ink the same way as cardstock, and because it is translucent, colors often appear softer than expected.
The good news is that vellum can be colored with a variety of mediums including alcohol markers, colored pencils, gel pens and inks. For today’s cards, I focused on ink blending and wanted to share a few tips that helped me along the way.
TIPS FOR INK BLENDING EMBOSSED VELLUM
- Ink blend with layering stencils before embossing.
- When adding color after embossing, work on the back (debossed) side of the vellum whenever possible.
- Choose darker ink colors than you think you need – the vellum will soften and diffuse the color.
- Use a grid mat or sticky mat to keep the vellum from sliding while blending.
- Allow extra drying time and avoid touching the ink too soon.
- Add fine details with colored pencils or gel pens.
- Don’t worry if your embossing folder doesn’t have coordinating layering stencils – you can blend color directly onto the embossed design.
- For brighter, bolder color, place the vellum directly over white cardstock. Lifting it away from the white surface can make the colors appear lighter and softer.
- Start with a light hand and gradually build color for the best control.
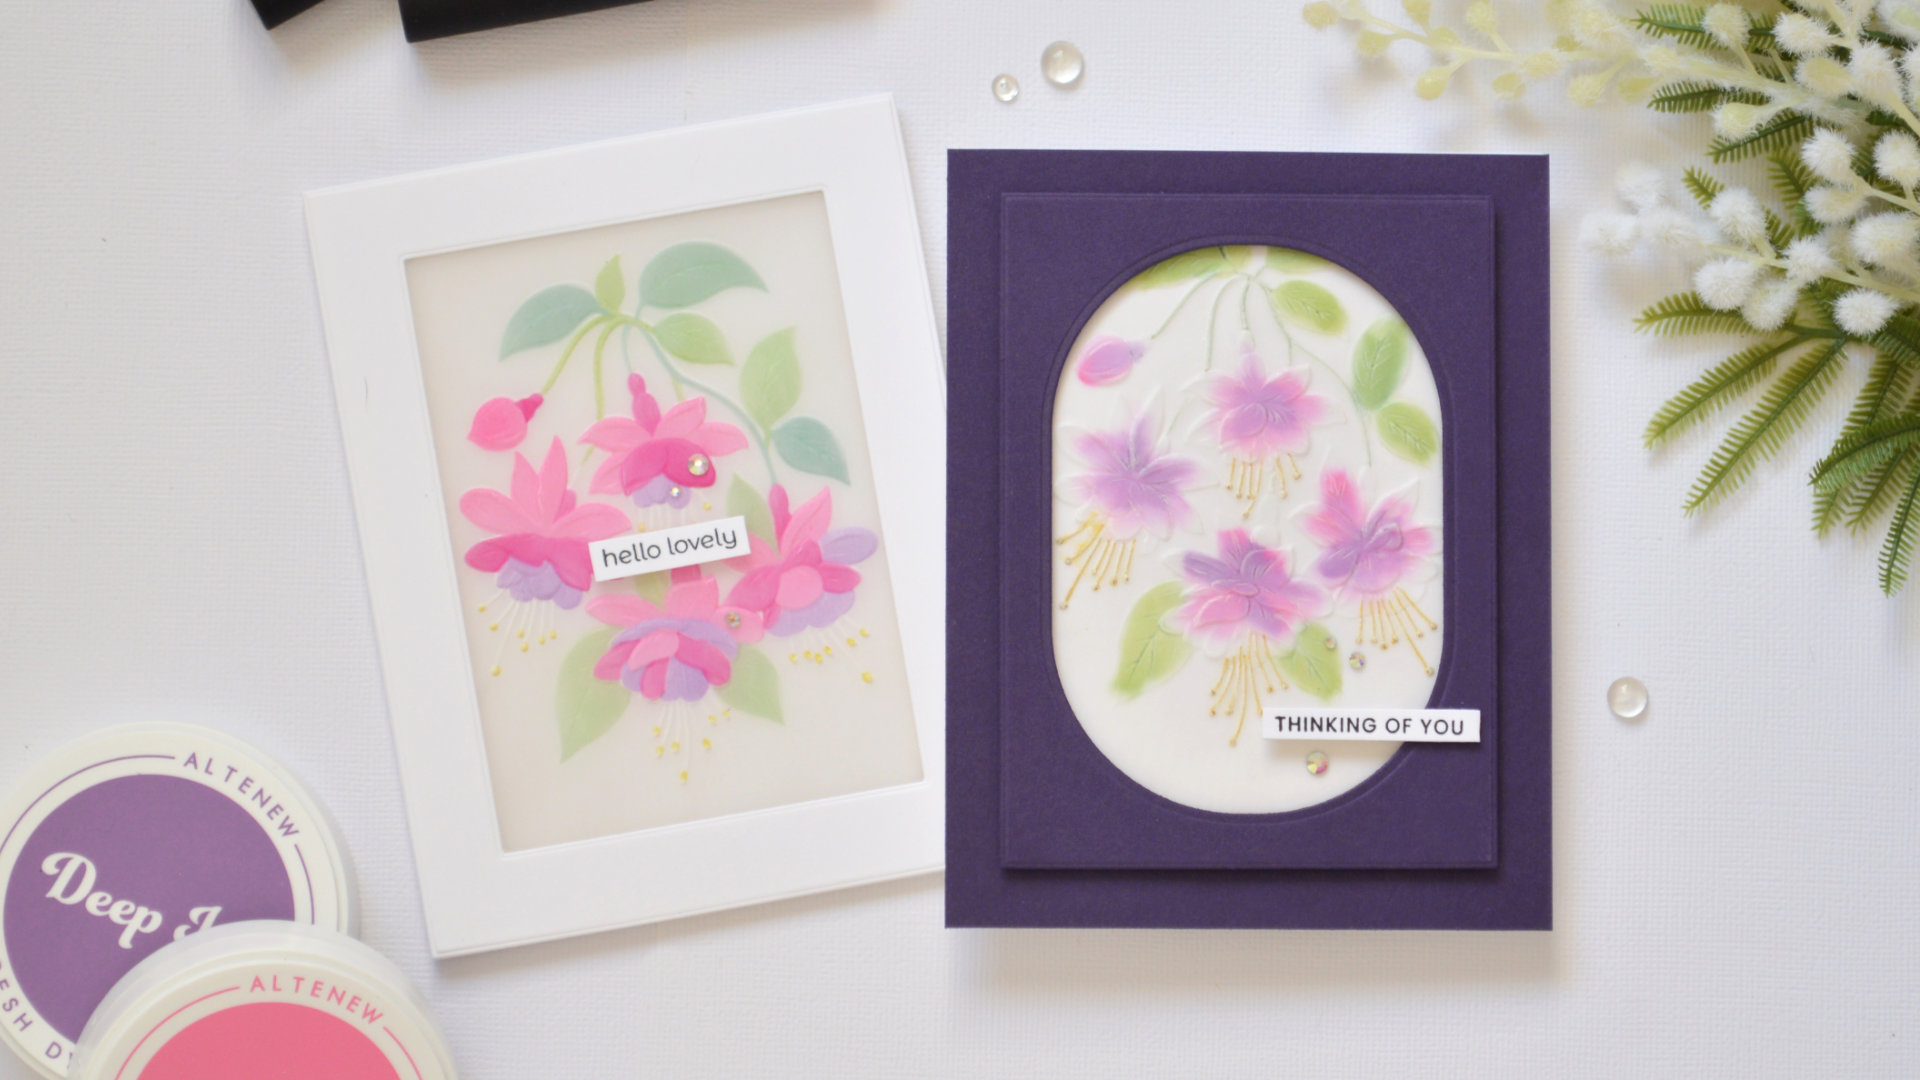
Card Inspiration – Add Color with Layering Stencils
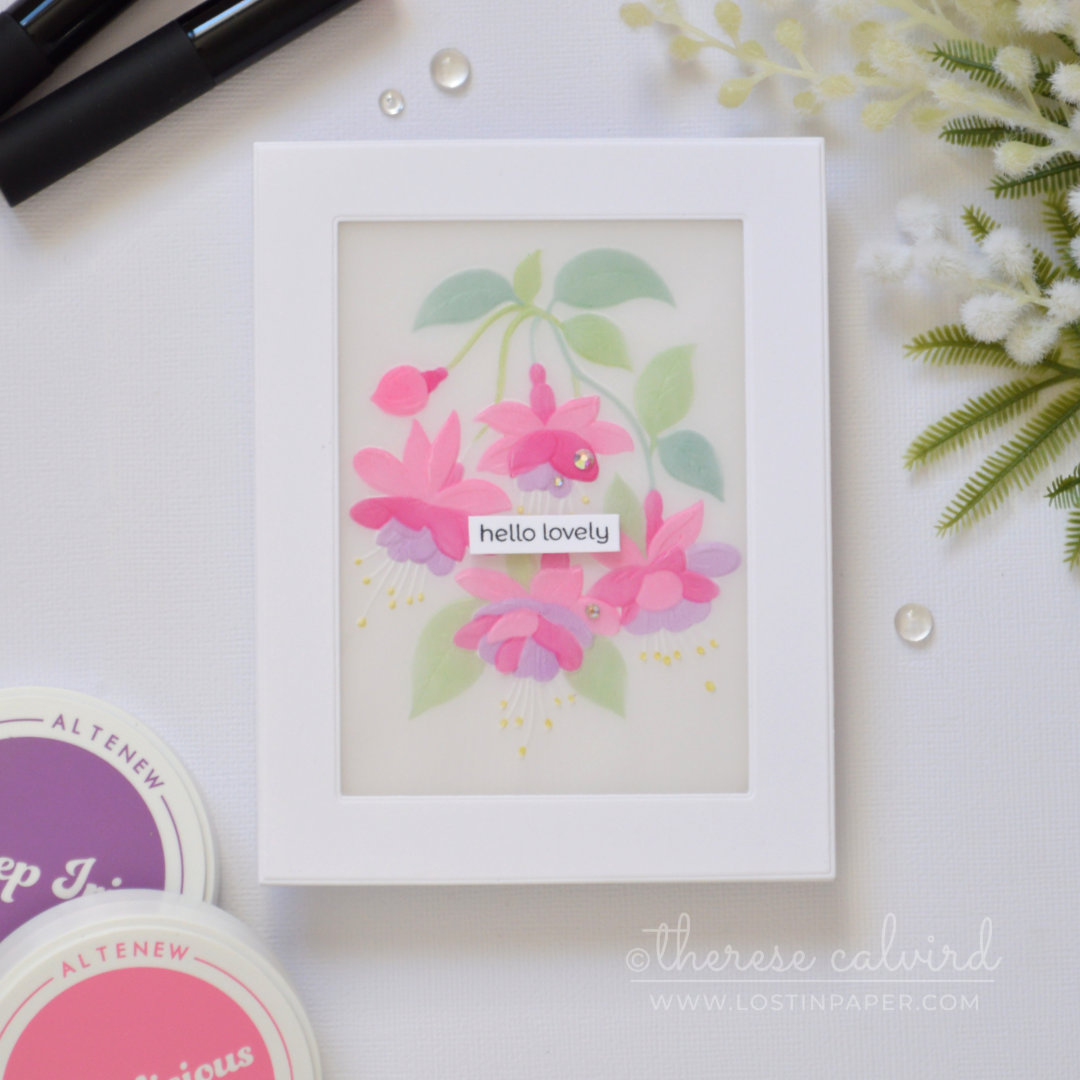
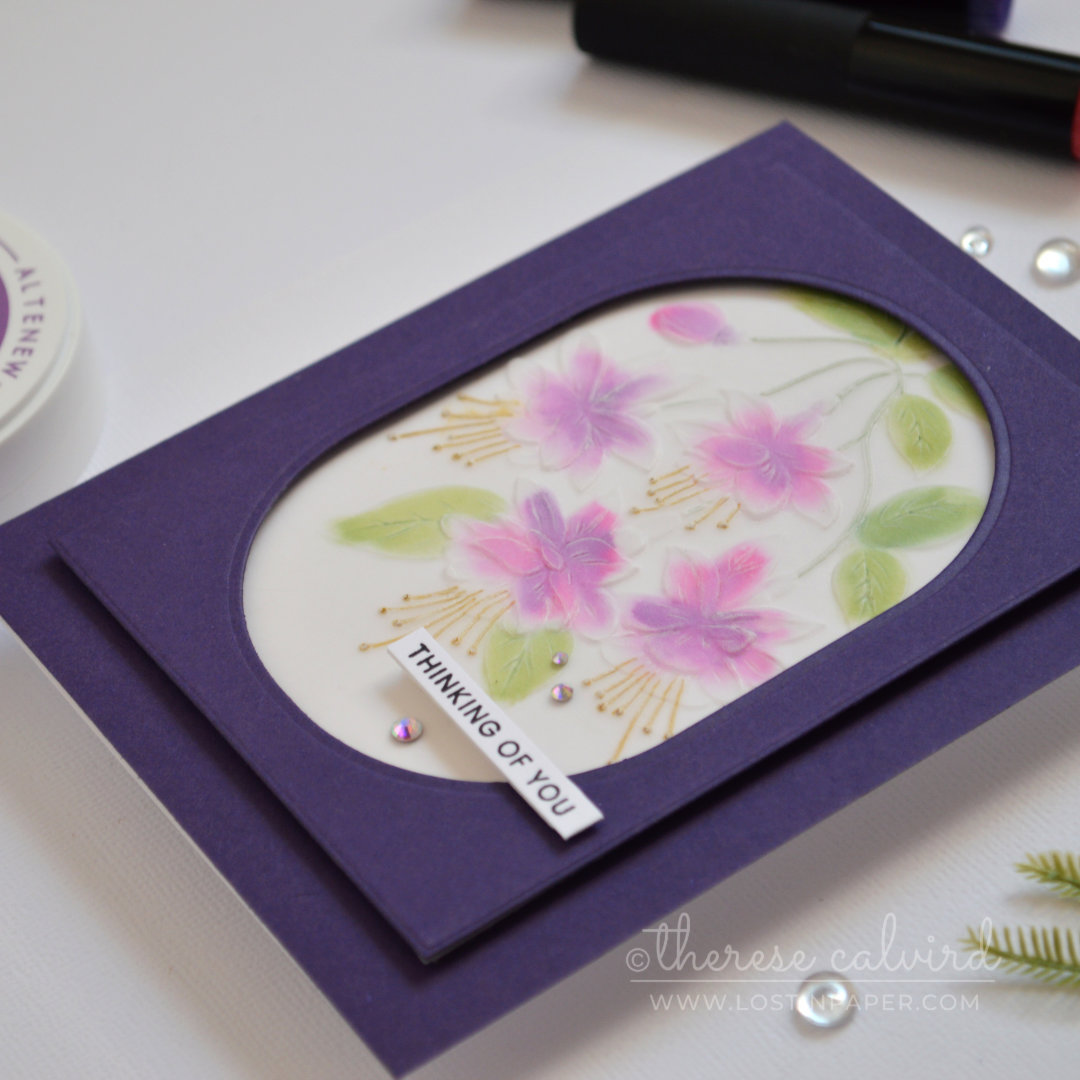
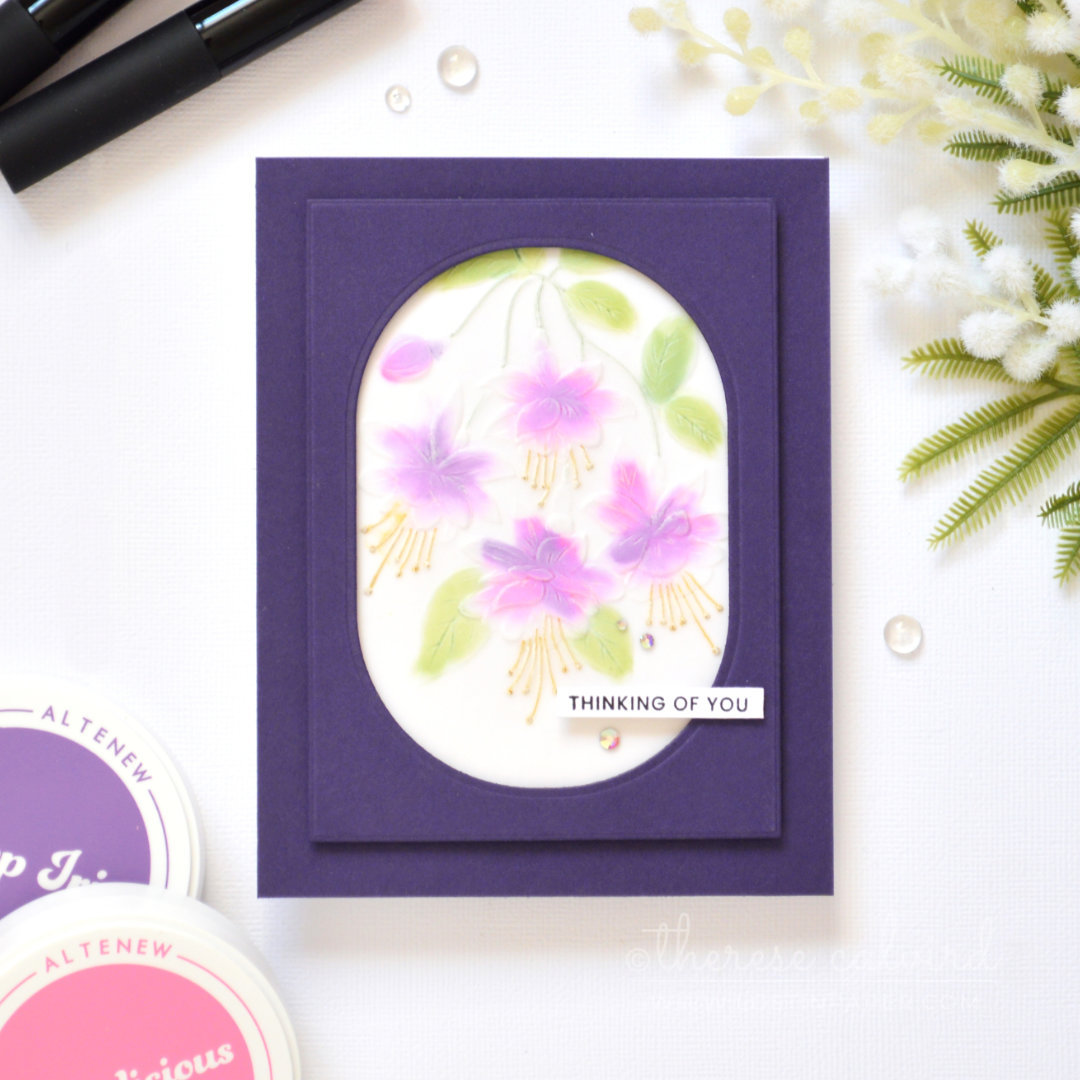
For my first card, I used the coordinating Fuchsia layering stencils to add color to the back of the vellum before embossing it with the matching 3D embossing folder. This made it easy to place the folder exactly where I wanted it.
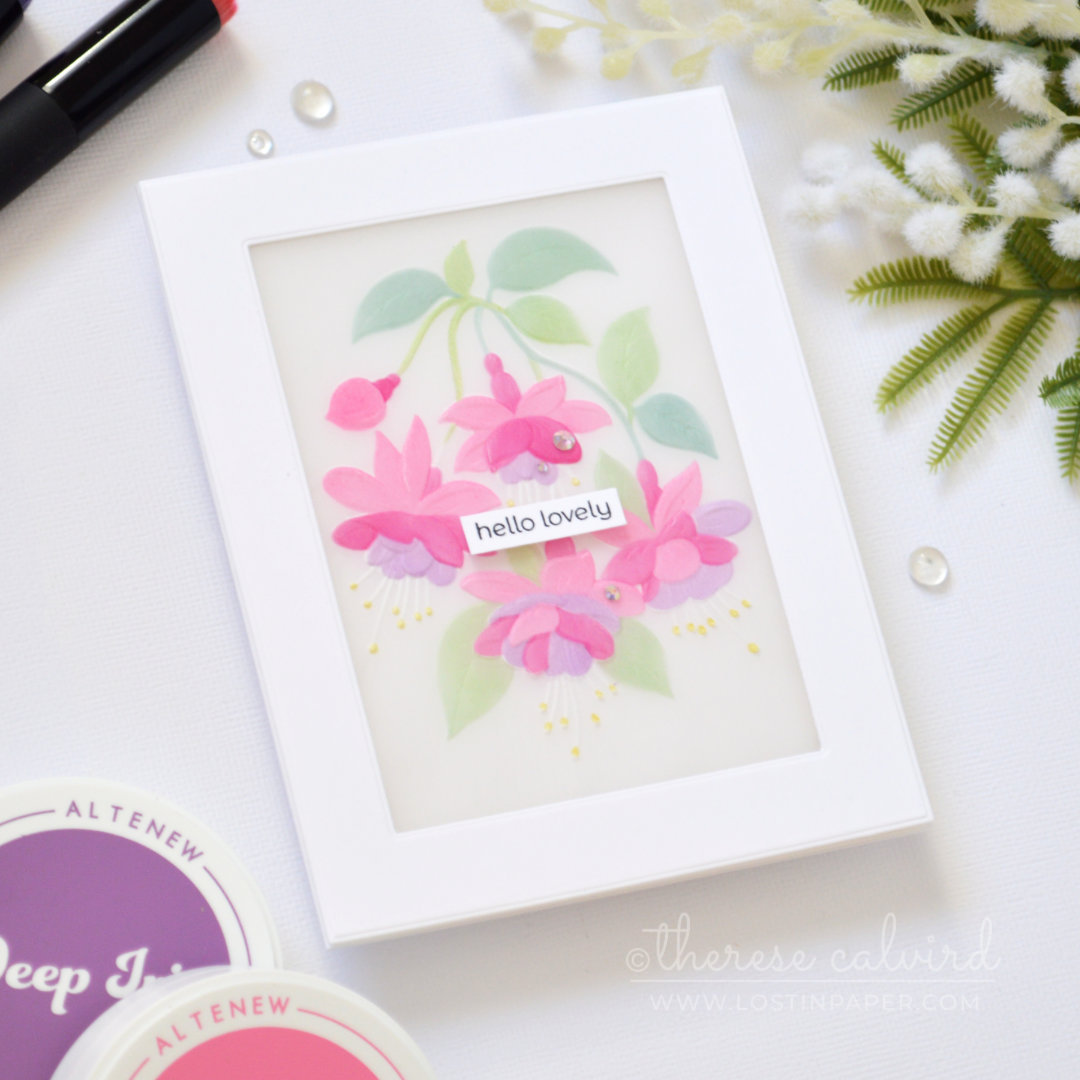
To make the florals stand out even more, I chose brighter pinks and purples and added a few rhinestones for sparkle. The sentiment is popped up in the center of the panel and framed by the flowers, creating a simple focal point.
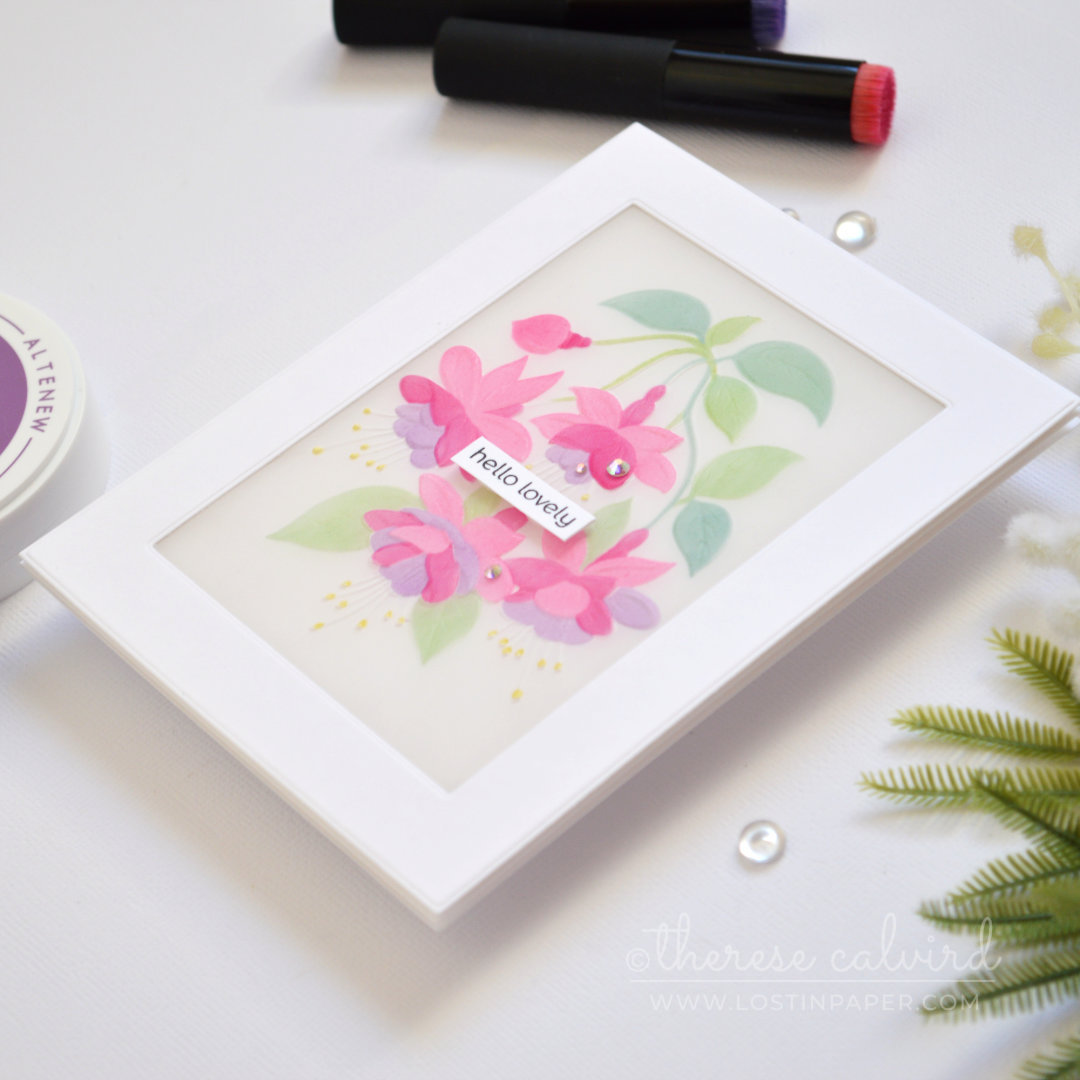
Adhering vellum can be tricky because most adhesives show through, so I created a popped-up frame around the design. Not only does it hide the adhesive, but it also adds extra dimension and helps draw attention to the embossed florals.
Bonus Card Inspiration – No Stencils Needed
Before committing to my vellum panel, I like to do a quick test emboss using a scrap piece of vellum. It lets me check the pressure, design placement and overall finish of the embossing on the panel. That’s exactly what happened here – I embossed a test piece.
This test piece became an experiment when I tried adding color directly to the debossed side. Before I knew it, my test panel had turned into a bonus card!

I added the ink blending on the debossed (reverse) side of the panel using smaller blending brushes, focusing on the centres of the flowers and leaves and blending one or two colors together. This time I added gel pen details to the stamens and used a colored pencil for the leaf stems.
PRO TIP: For bolder color, place the vellum directly over white cardstock. Because vellum is translucent, lifting it away from the white surface can make the colors appear softer and lighter.
This card was a great reminder that you don’t need coordinating layering stencils to add beautiful color to embossed vellum. Sometimes a simple experiment can lead to an entirely new design!
Look at Vellum in a Whole New Way
Whether you use coordinating layering stencils or experiment with coloring the embossed design directly, don’t be afraid to test different color combinations and see what happens… you might even end up with a bonus card!
I’d love to hear – would you color your vellum before embossing, or are you tempted to try adding color directly to the embossed design?
If you’d like more embossing folder inspiration, be sure to check out my Same But Different Embossing Folder Playlist.
Crafty hugs,

Special thanks to my crafty assistant, Chad (aka ChatGPT), for helping me stay on track with my Gemini brain, grammar, and spelling… well, all the things! 😄
Cardstock: Concord & 9th – Eggplant.
Inks: Altenew – Pinkalicious | Deep Iris | Stardust – Concord & 9th – Eucalyptus | Rainforest | Wildberry.
Prismacolor Pencil: Kelly Green.
*Certain content that appears on this site comes from Amazon, this content is provided ‘as is’ and is subject to change or removal at any time. As an Amazon Associate I earn from qualifying purchases
 Magical Fuchsia Bundle SSS | OTH | OTH | SB US |  Magical Fuchsia Embossing Folder SSS | OTH | OTH | SB US |  Magical Fuchsia Stencils SSS | OTH | OTH | SB US |  Flourished Flora ALT | SSS |
 Classic Greetings ALT | SSS |  A2 Layers Die SSS |  Essential Stylish Ovals SSS | OTH | SB US |  Concord & 9th – Cardstock SSS | OTH |
 Vellum SSS |  Neenah Solar 110 AMZ | SSS | Neenah Solar 80 AMZ | SSS |  Nocturne SSS |
 Concord & 9th Ink SSS | OTH |  Fresh Dye Inks ALT | SSS |  Cherry Blossom ALT | SSS |  Shades of Purple ALT | SSS |
 Mini Blending Brush Set ALT | SSS |  Detailed Blending Brush ALT | SSS |  Gel Pen ALT | SSS |  Bone Folder ALT |
 Perfect Picker ALT | SSS |  Tweezers ALT | SSS |  Crystal Mix SSS | OTH | SB US |  Fine Blade Scissors ALT | SSS |
 Score Board ALT | SSS | Paper Trimmer SSS |  Mini MISTI SSS |  Platinum 6 ALT | SSS | OTH | SB US |
 Sticky Grid Mat ALT | SSS |  Platesaver OTH |  Precision Glue Press AMZ | SSS | Bearly Art Glue AMZ | SSS |
 Glue Tape ALT | SSS |  Foam Tape ALT | SSS |  Black Foam Tape ALT | SSS |  Satin Masking Tape ALT |
The fuchsia is soft and beautiful when colored on vellum, Therese. It take a steady hand to color all those stamens.
Thank you Bobby, you are so sweet x
Love the Fuchsia card. Really pretty technique
Thank you Sally!
The colours are just so lovely and soft.
Beautiful finished card and I love the design.
Crafty hugs
Thank you Lisa x