
What happens when you use the same stencil set two completely different ways?
It has been a while since I have colored, and I wanted to revisit watercoloring through a stencil. Then I remembered an offset ink blending stencil technique that I also wanted to try again… so these floral stencil cards became the perfect ideas to test during my live video.
Want to see the finished cards?
Grab a cuppa and watch the video right here, or head over to YouTube to see it in HD.
Also, this post contains affiliate links. If you choose to click and shop, I may receive a small commission at no extra cost to you. It’s a lovely way to support both me and the crafty shops we all love. Thanks a bunch 🥰!
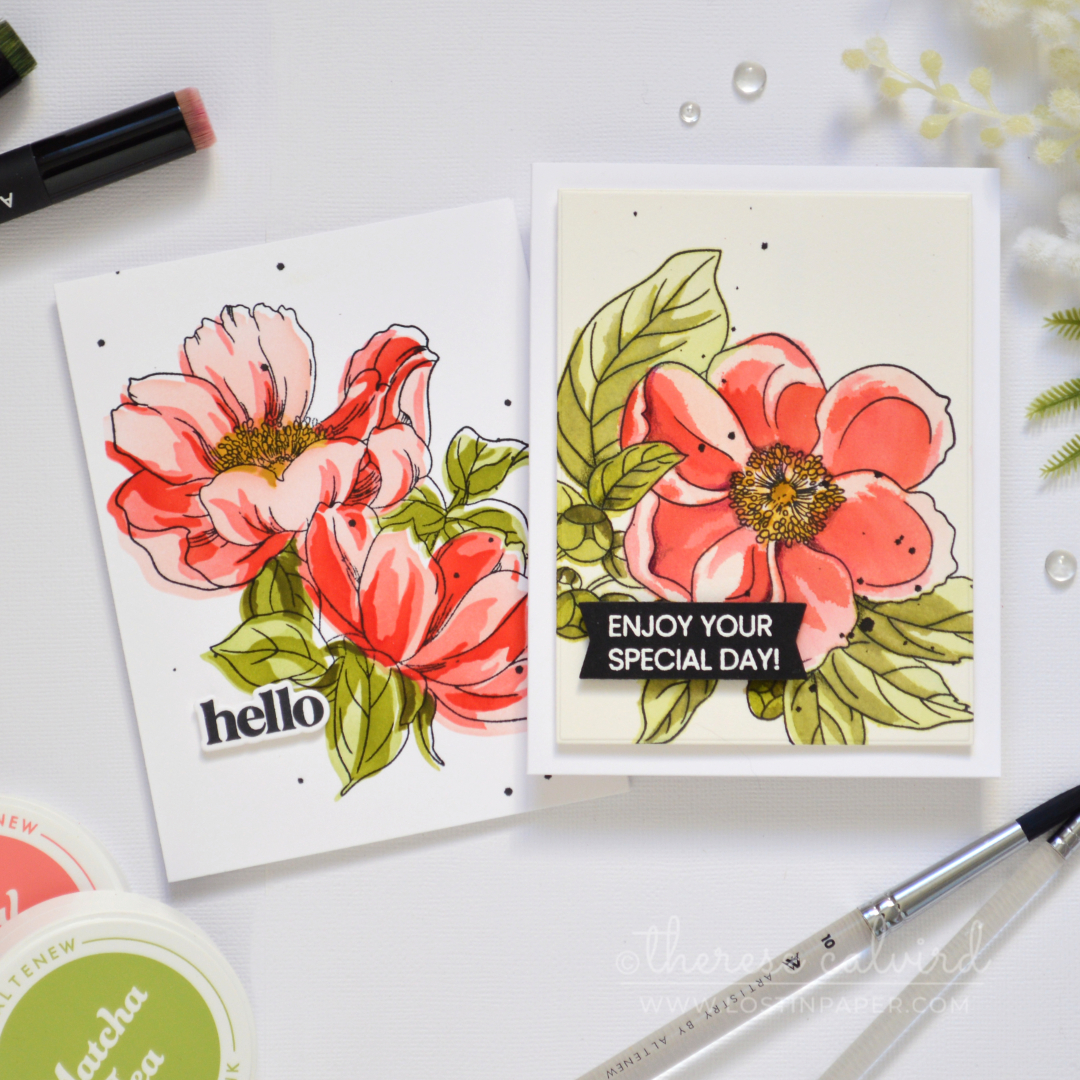
Floral Stencil Cards!
For both cards, I used the same floral stencil set but changed the way I added the color.
QUICK TIPS: Offset Stencil Ink Blending
- Stamp a large floral bouquet, then use the coordinating layering stencil slightly offset from the image. I like to move the stencil slightly lower and to the left.
- Each stencil layer can be realigned the same way, or aligned with the previous ink-blended section – whichever is easier to see.
- Another option is to create the layered stencil image first, then stamp the bouquet image slightly offset afterwards.
- It doesn’t need to be perfect. The imperfections are what give this style a modern, unique look.
📌 Don’t forget: Shop your stash! Choose a large bouquet-style bloom with a coordinating stencil set for a fresh new take on these ideas!
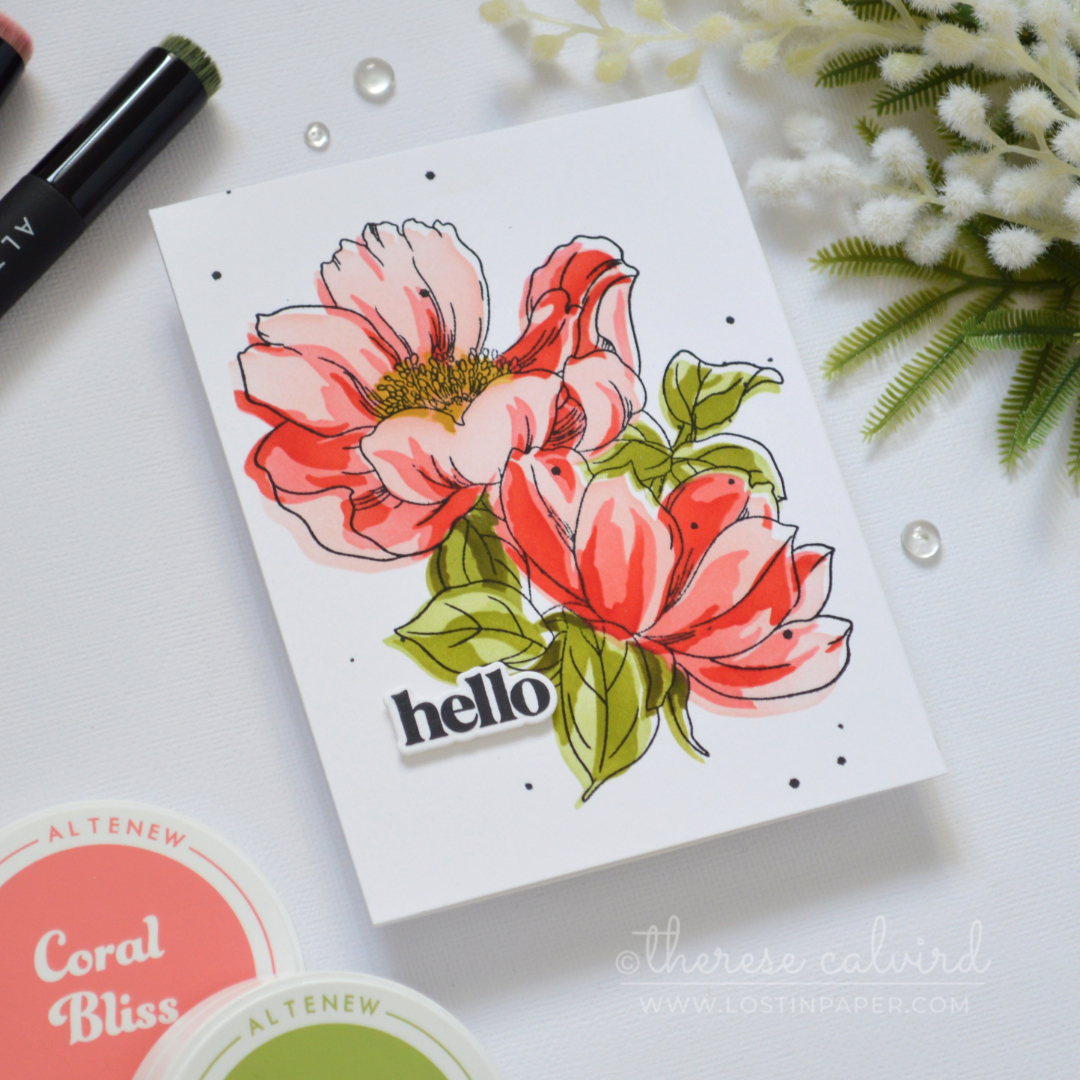
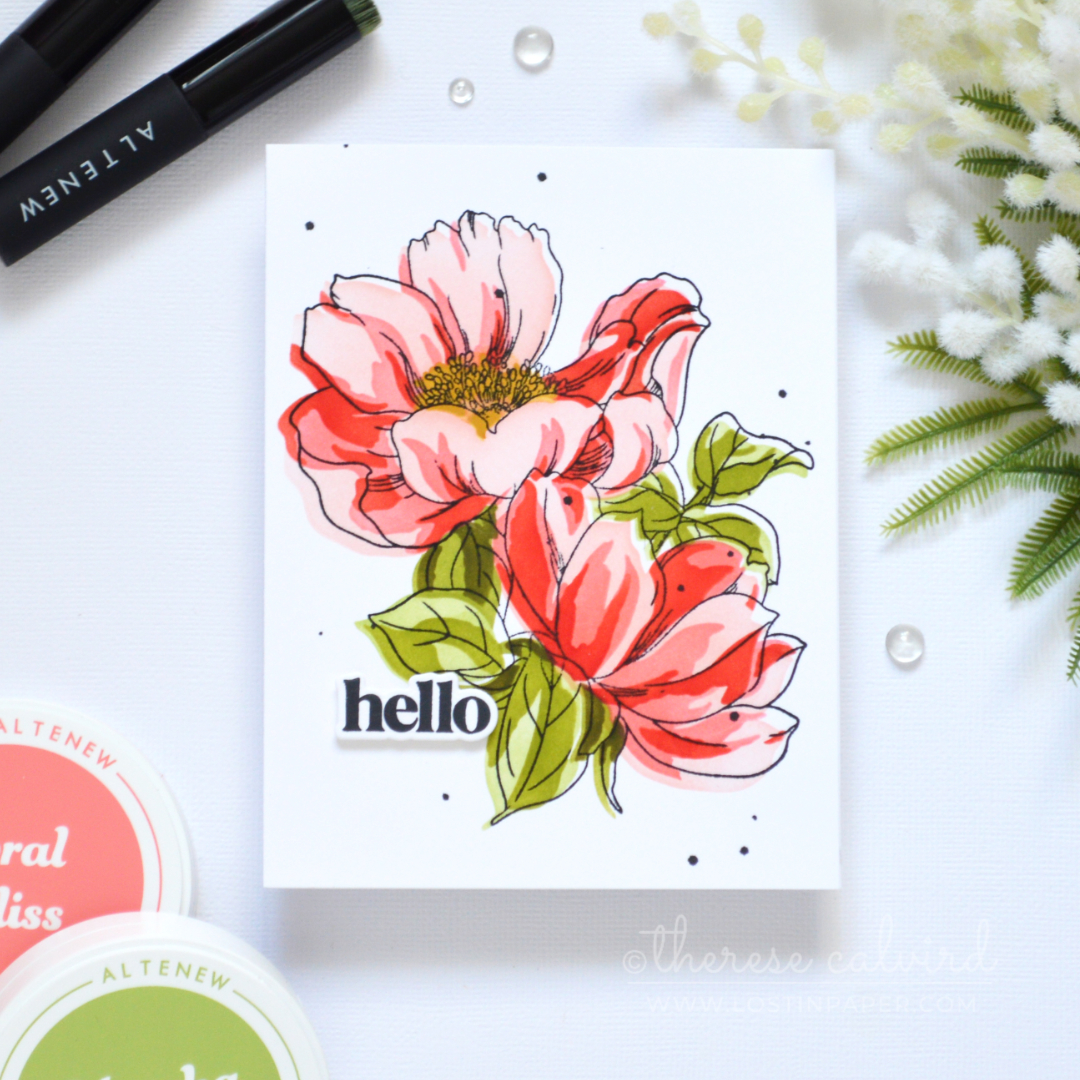
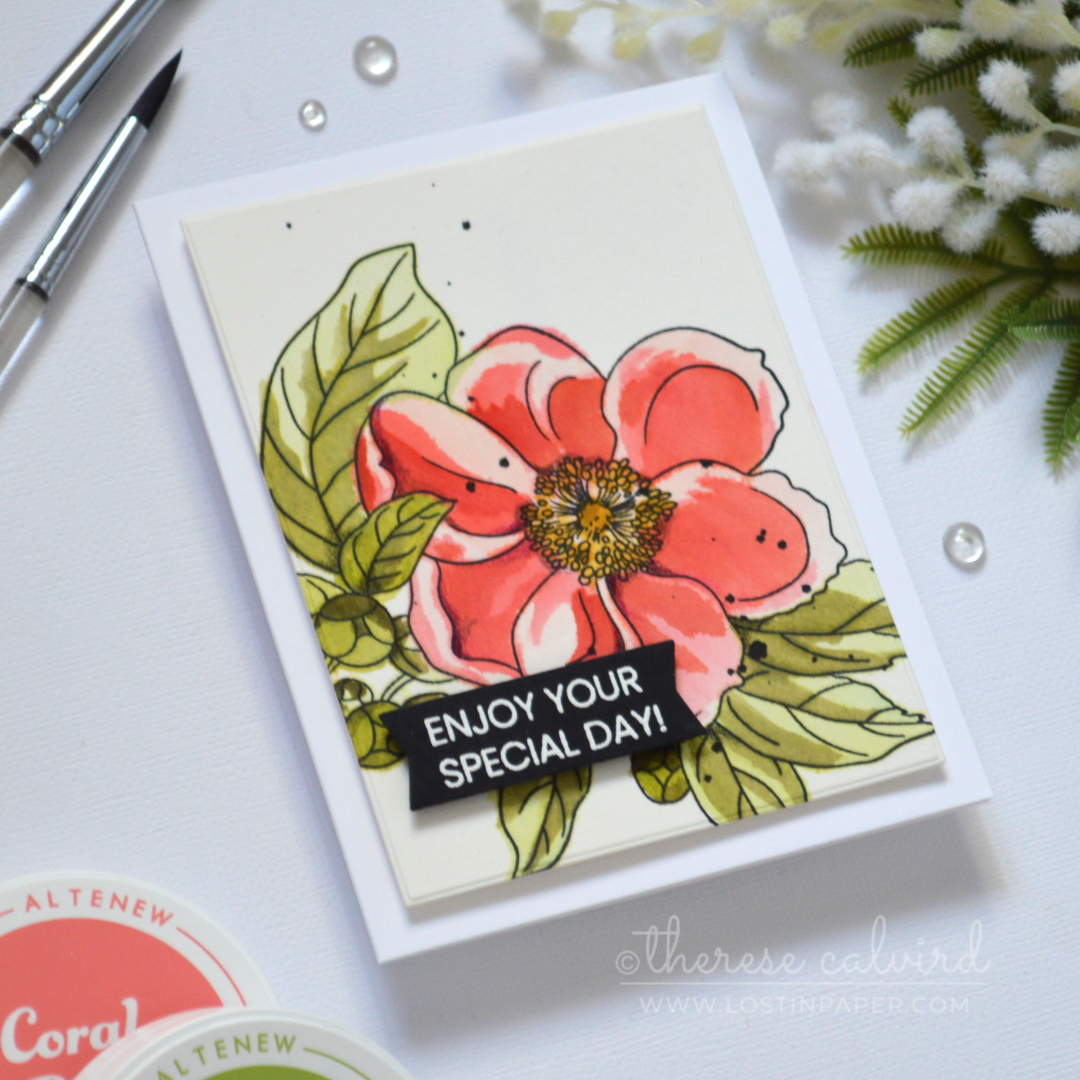
Card #1 – Offset Ink Blending with a Stencil
I forgot just how much I love this technique! It is very easy to do and definitely has the wow factor.
For today’s blooms, I chose pretty pinks and reds, and to make life easy I kept the colors within one ink color family.
There was a moment when I realized I had forgotten to restamp the image after I had already adhered it to the card base. Would you risk restamping at that point? What if it didn’t align properly? Can you guess what I did? 🤔
I kept the sentiment bold and simple, which really suits the modern look of this design.
QUICK TIPS: Watercolor Through a Stencil
- Use less water than you think you need. A slightly drier brush helps the color stay inside the stencil openings.
- Clean the stencil between layers so leftover watercolor doesn’t transfer where you don’t want it.
- Allow drying time between layers, or use a heat tool to speed up the process.
- No watercolors? No worries! You can also use water-based dye inks or ink refills as watercolors.
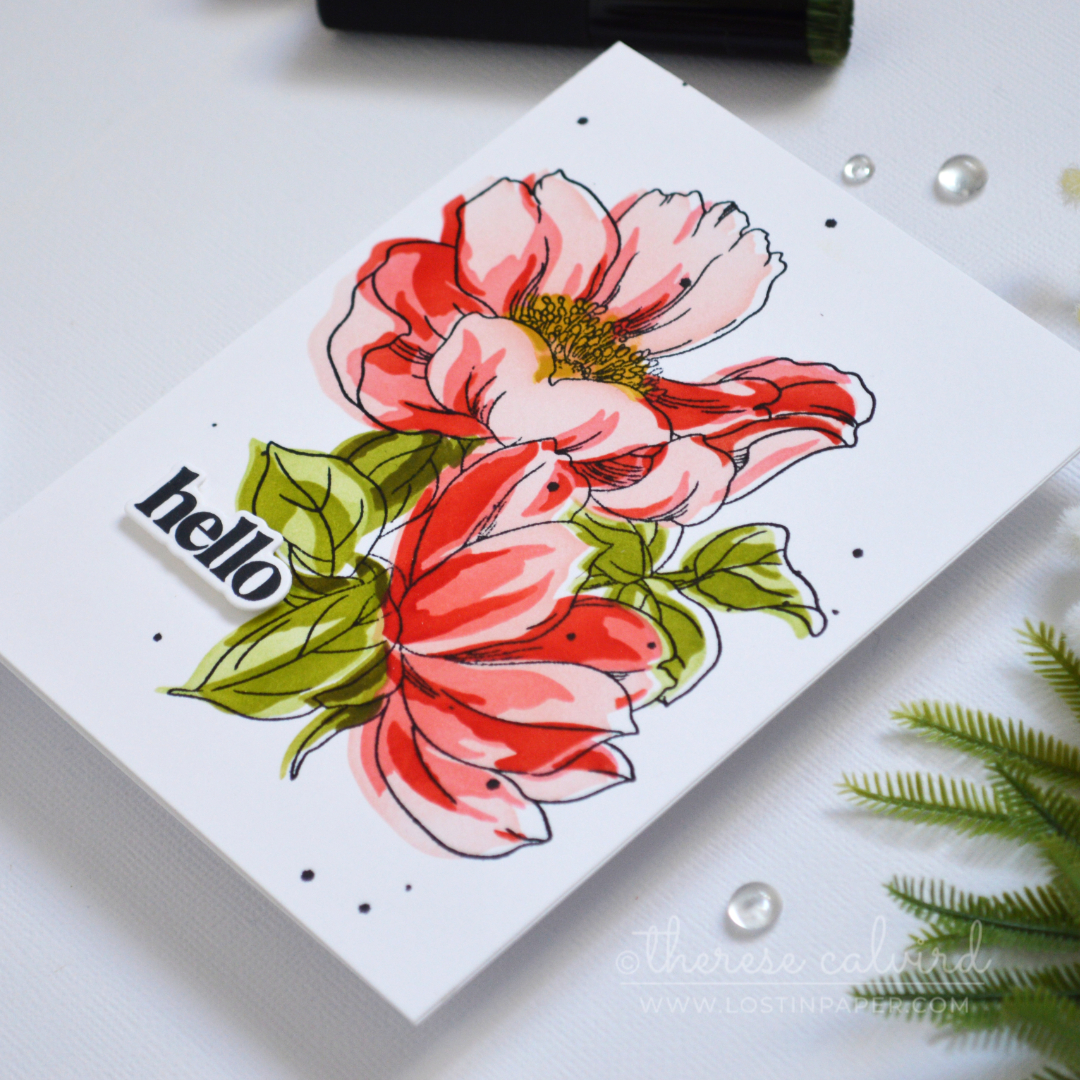
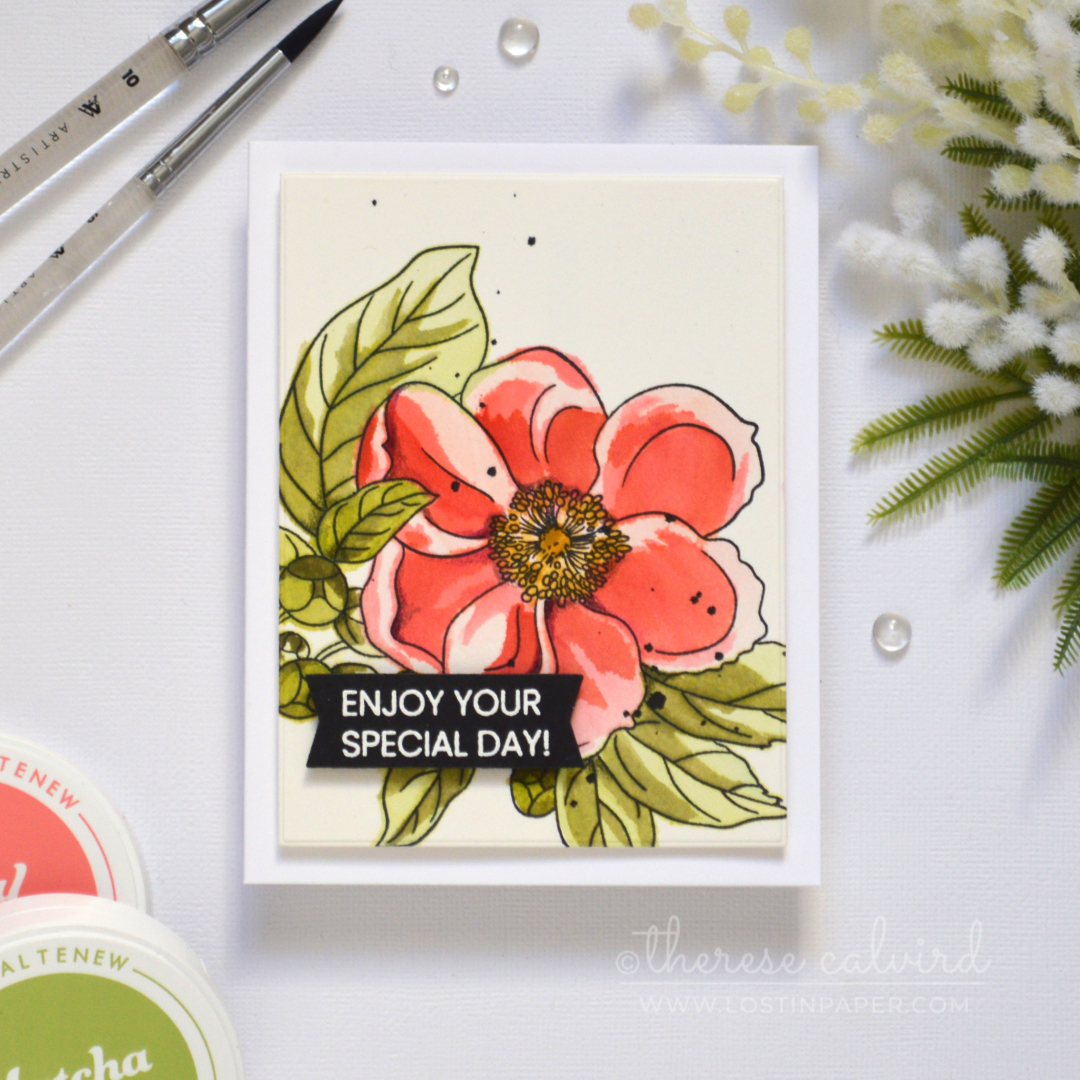
Card #2 – Watercolor Through a Stencil
For my second card, I revisited watercoloring through a stencil, and this one turned out much brighter than I expected!
I used the red-pinks for the flowers and fresh greens for the leaves again, but the watercolor gives the finished card a looser, more painterly feel. I love how the stencil still gives you the floral shapes, while the watercolor adds softer edges.
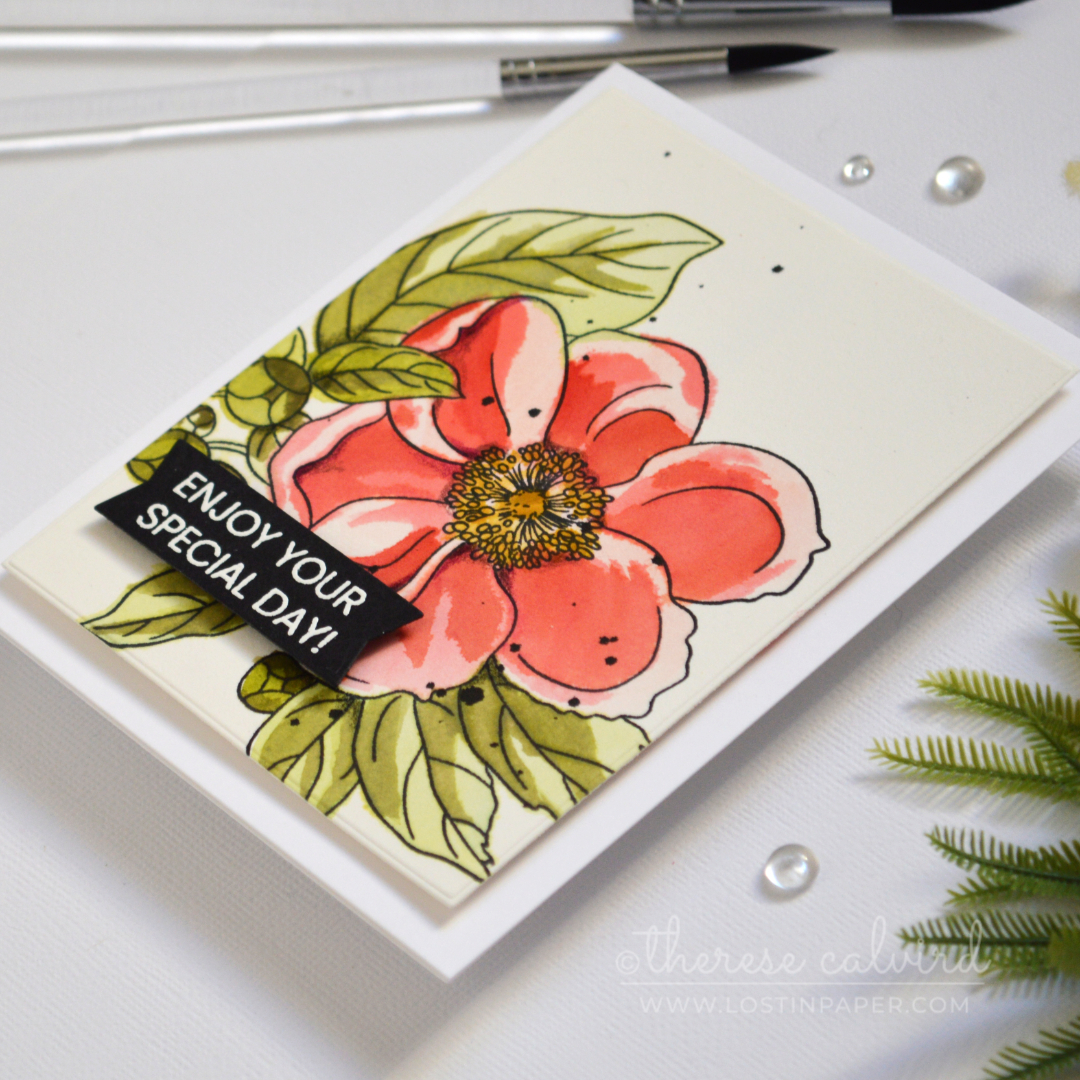
This technique does take a little patience between layers, but it’s such a fun way to get a completely different look from the same style of supplies.
What would I have done differently?
- Both panels ended up with a little black splatter – because apparently I can’t help myself.
- For the watercolor panel, I finished by adding the darker green to the final leaf layer and a touch of pencil shading for extra depth.
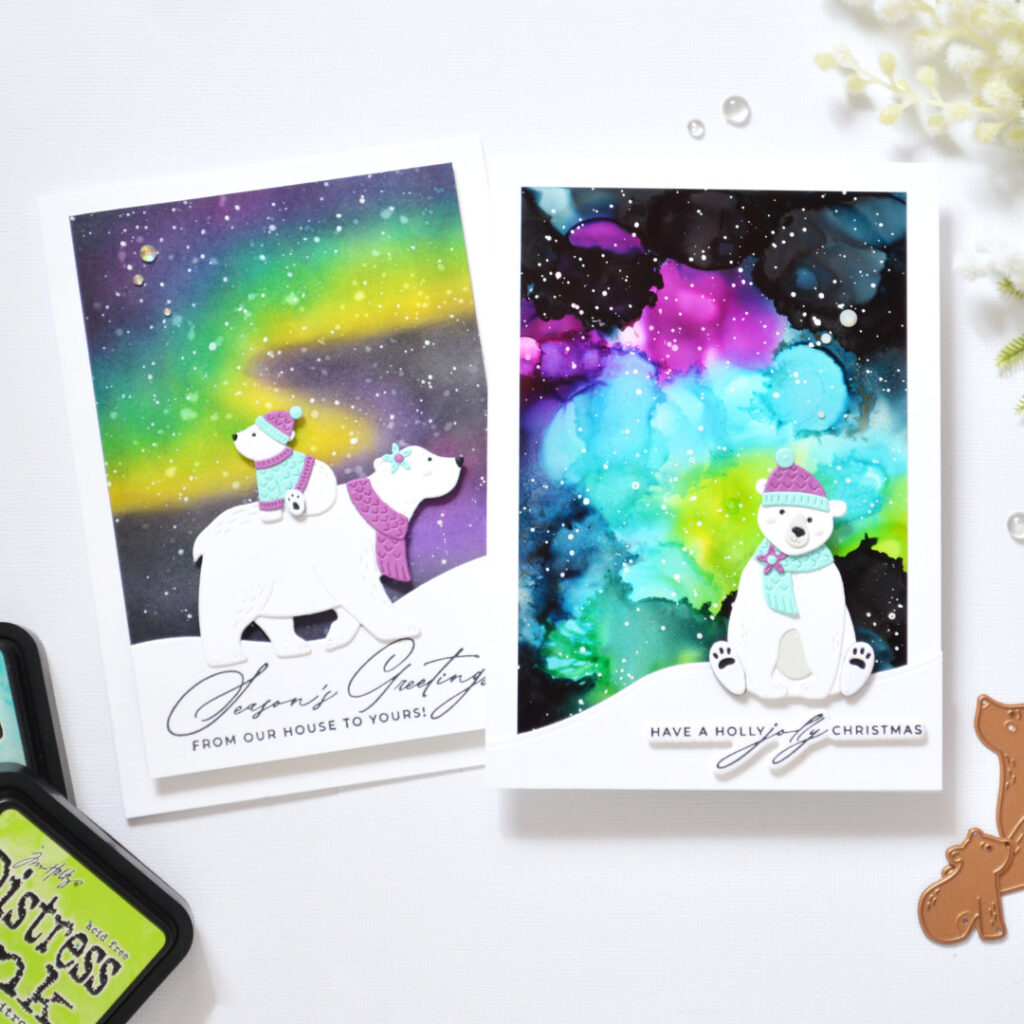
Card Maker Success Summit
I also mentioned the Card Maker Success Summit during the live, and you can grab your free ticket now! I’ll be sharing my Northern Lights background class as part of the event.
Want all the details, including my bonus offer if you choose to upgrade? You can read more in my full summit post here.
Over to You
Now it’s over to you – have you tried making floral stencil cards in different ways?
Are you going to try either of these techniques? I’d love to know which one you would try first!
’til next time.
Happy Papercrafting,

Special thanks to my crafty assistant, Chad (aka ChatGPT), for helping me stay on track with my Gemini brain, grammar, and spelling… well, all the things! 😄
Let’s Shop!
Cardstock: Altenew -Watercolor | Jet Black.
Ink: Altenew – Pink Pearl | Coral Bliss | Heart Beat | Matcha Tea | Swamp Green | Oak Moss | Pumpkin Pie | Sicilian Amber.
Prismacolor Pencils: Black | Dark Purple.
*Certain content that appears on this site comes from Amazon, this content is provided ‘as is’ and is subject to change or removal at any time. As an Amazon Associate I earn from qualifying purchases
 BAG Pristine Peonies Bundle ALT |  Regal Flourishes ALT | SSS |  One-Go Birthday Greetings Bundle ALT |  A2 Layers Die SSS |
 Altenew Cardstock ALT | SSS |  Neenah Solar 110 AMZ | SSS | Neenah Solar 80 AMZ | SSS |  Nocturne SSS |
 Versamark Ink SSS | OTH |  Tea Party ALT | SSS |  Forest Trail ALT | SSS |  Fall Harvest ALT | SSS |
 Large Blending Brush ALT | SSS |  Mini Blending Brush Set ALT | SSS |  Foundation Brush Set ALT | SSS |  Jet Black Spray ALT |
 Pure White ALT |  Bone Folder ALT |  Fine Blade Scissors ALT | SSS |  Stampwheel ALT | SSS |
 Media Grip Mat SSS |  Score Board ALT | SSS | Paper Trimmer SSS |  Mini MISTI SSS |
 MISTI SSS |  Tool") Chuckie (pressure) Tool OTH |  Platinum 6 ALT | SSS | OTH | SB US |  Platesaver OTH |
 Precision Glue Press AMZ | SSS | Bearly Art Glue AMZ | SSS |  Glue Tape ALT | SSS |  Foam Tape ALT | SSS |
 Satin Masking Tape ALT |
Therese, I LOve the splats! And I’m still loving the look of the offset stenciling – both fabulous!
=]
Thanks so much Michele, this was my fave card too! It was fun to hang out together once again, the dynamic duo lol.
So fantastic! Love them both.
Thank you Lisa x
I would be hard pressed to pick a favorite, Therese! They’re both so pretty!
Thanks so very much!