
Do your floral bouquets ever feel a little flat?
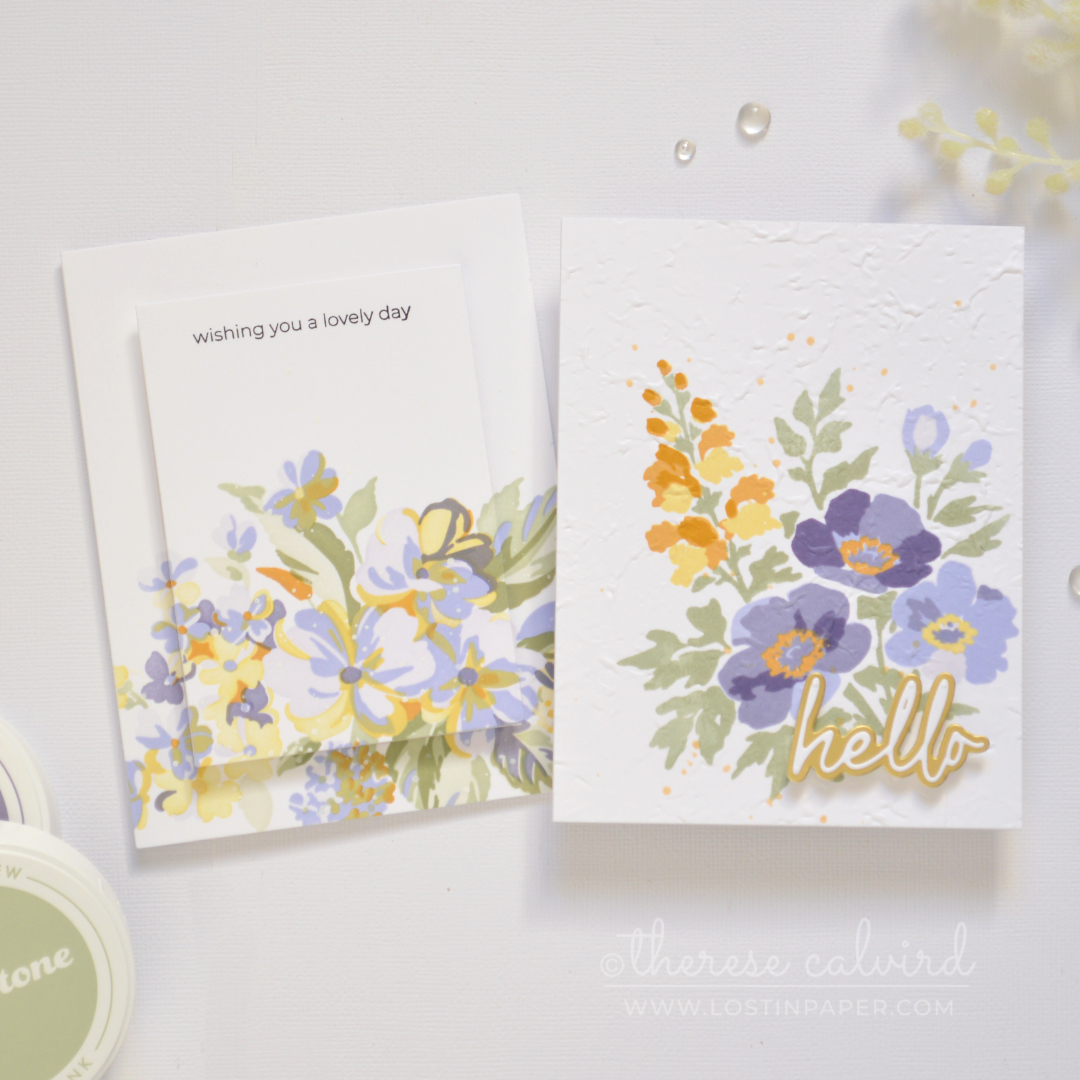
Sometimes a flat floral panel just needs one extra detail to bring it to life. For these floral bouquet cards, I tried two simple ways to add dimension while keeping the designs soft, pretty, and easy to recreate.
Would you like to see today’s cards?
This post contains affiliate links. If you choose to click and shop, I may receive a small commission at no extra cost to you. It’s a lovely way to support both me and the crafty shops we all love. Thanks a bunch 🥰!
Floral Bouquet Cards!
I love adding layers to floral bouquet cards, but sometimes it’s fun to step them up in a different way. For these designs, the flowers themselves are flat, but flat doesn’t have to mean boring, right?
So I added dimension in two different ways – let’s take a look.
Card #1 – Embossed Floral Bouquet
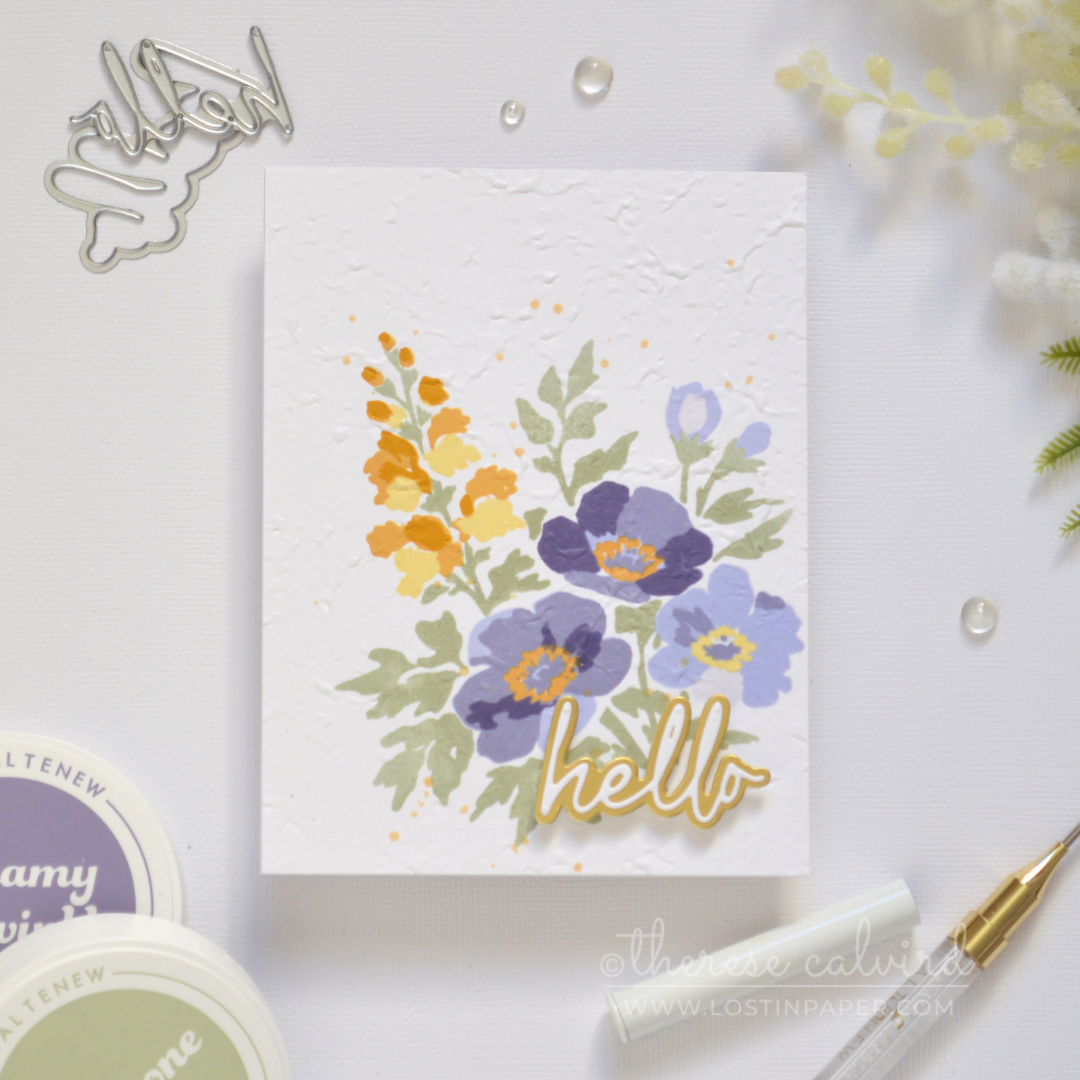
For my first card, I used the layered stamped bouquet and kept the floral image nice and flat on the card front (these flowers can be die cut and popped up… tempting 😉). To add interest, I embossed the whole panel with a 3D embossing folder, which gave the flowers a soft, painterly texture without adding any extra layers.
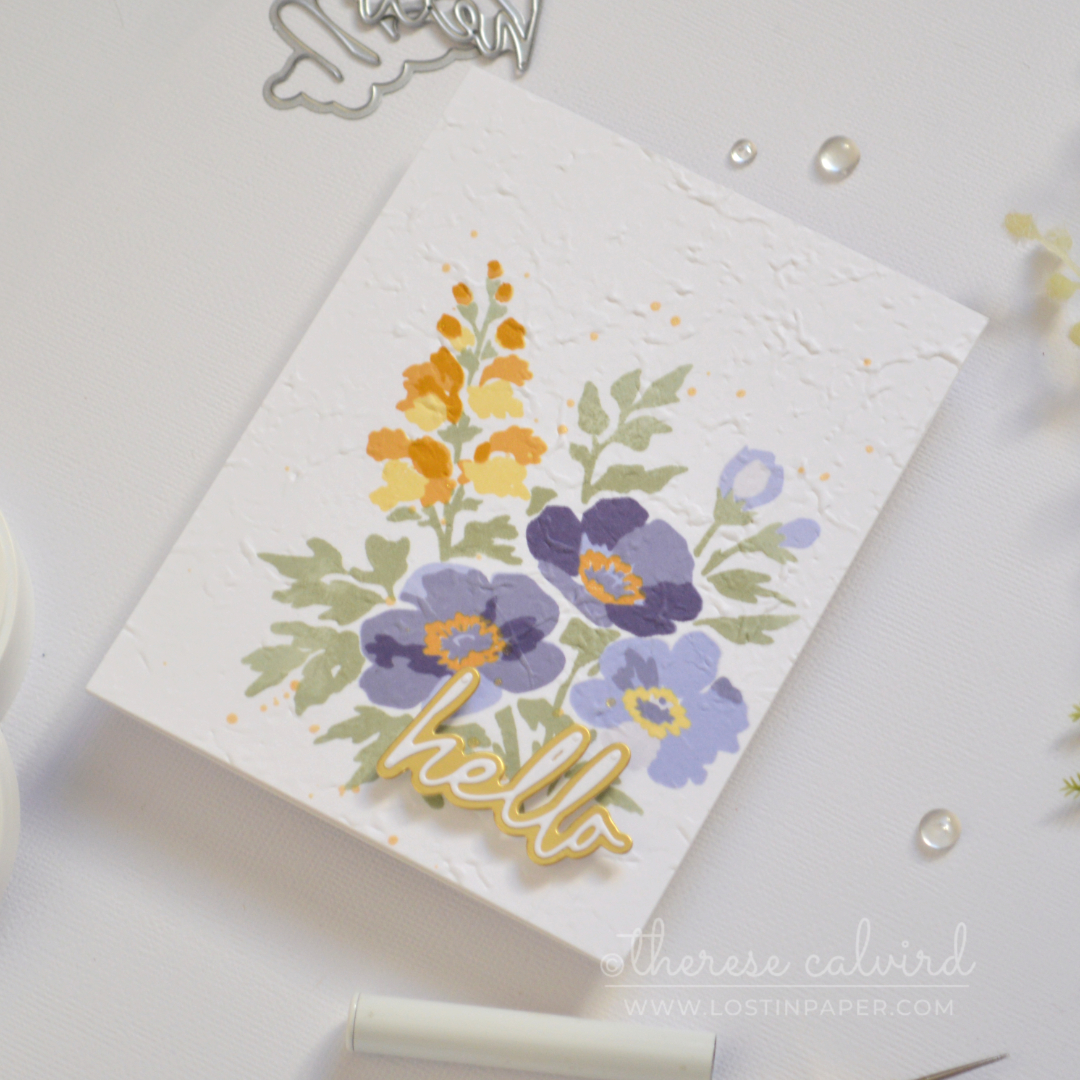
I also wanted to try a bolder sentiment on this design, so I used the smaller double-sided adhesive sheets to create a popped-up layered hello.
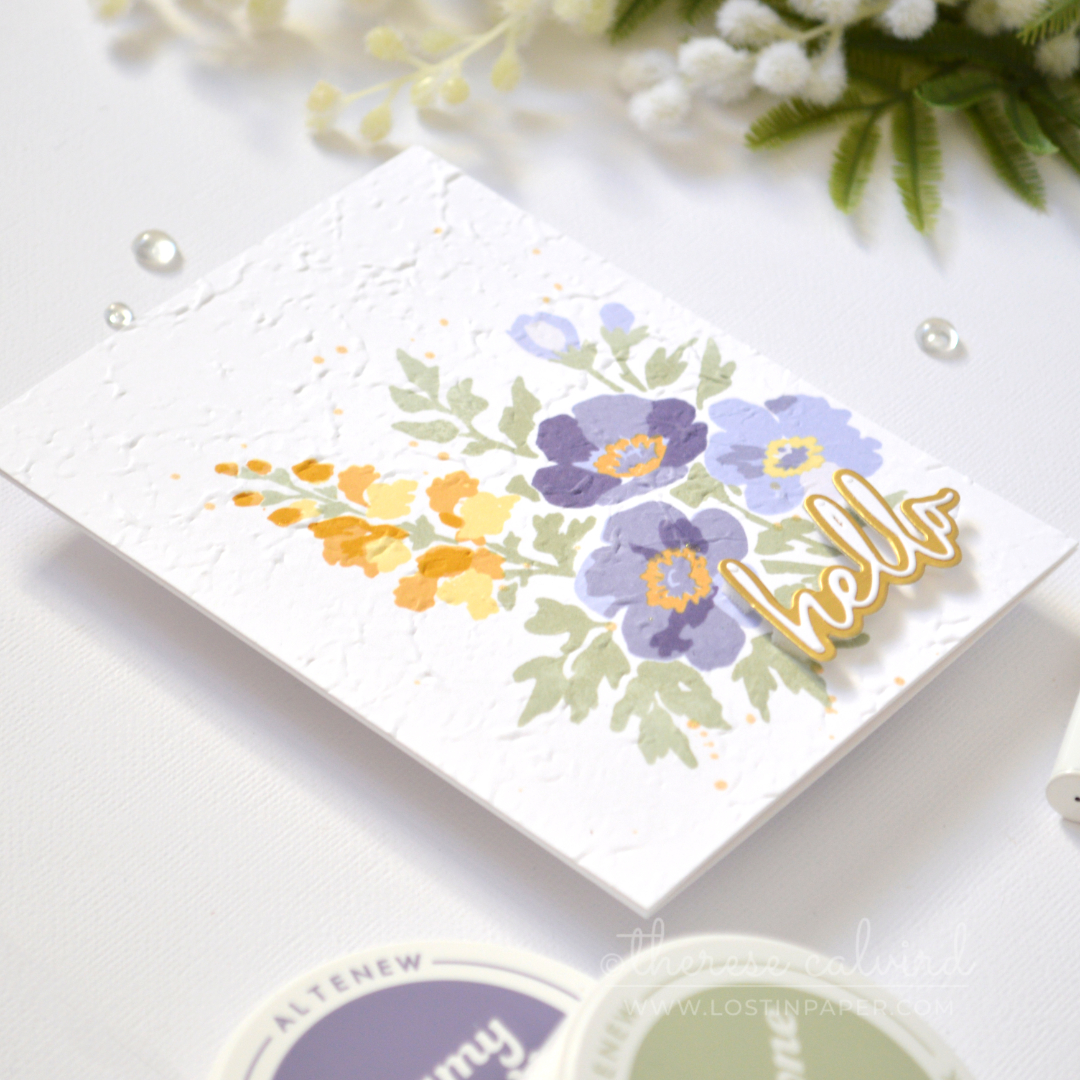
It was an easy way to add dimension in one small area while still letting the floral bouquet be the star.
Card #2 – Raised Panel Floral Bouquet
This time, I used a layered stencil bouquet and added dimension by cutting into the finished panel with nesting rectangle dies. I kept the centre section in place visually, but ‘double’ popped it up so the floral design still flows across the card front.
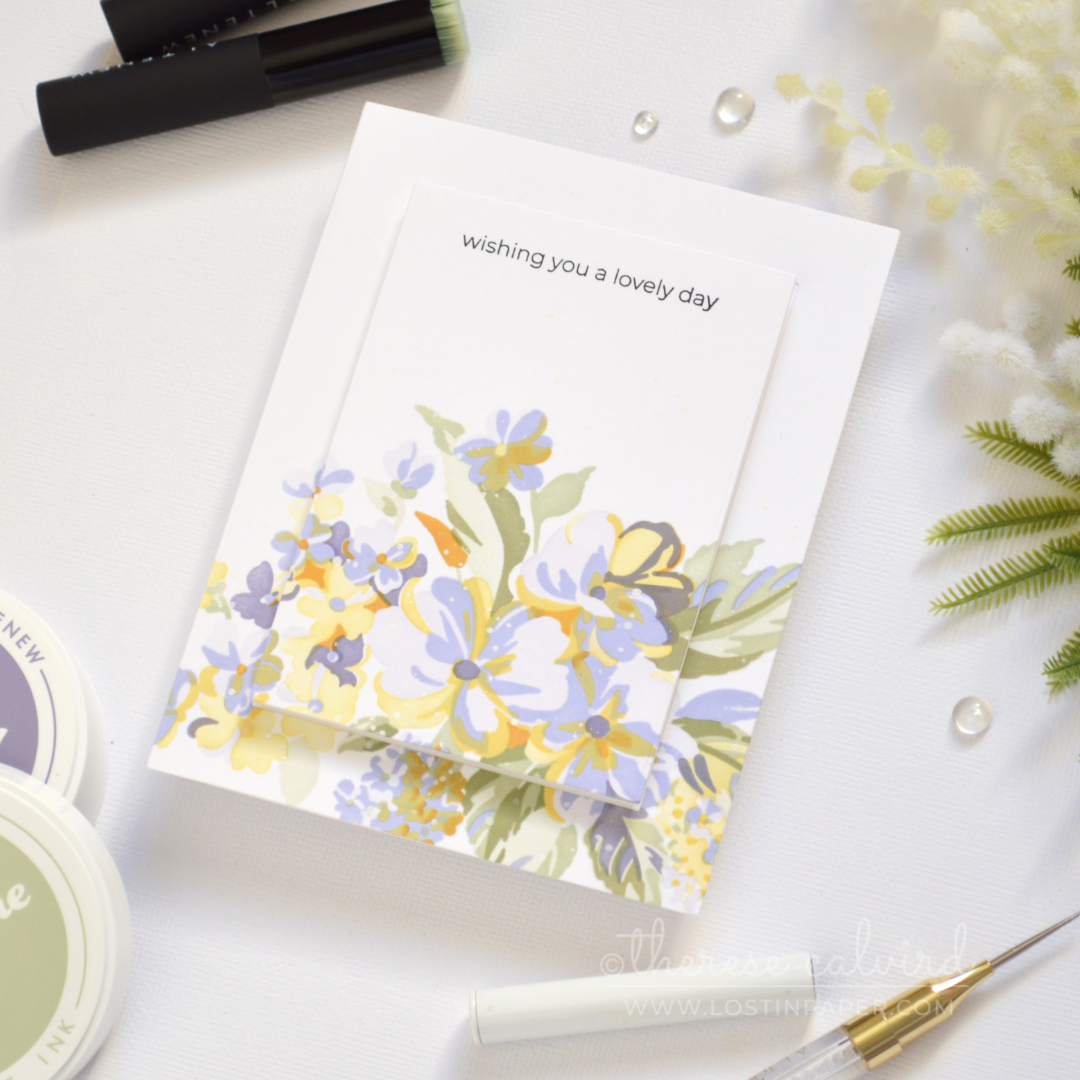
I love this kind of detail because it adds dimension without interrupting the image too much.
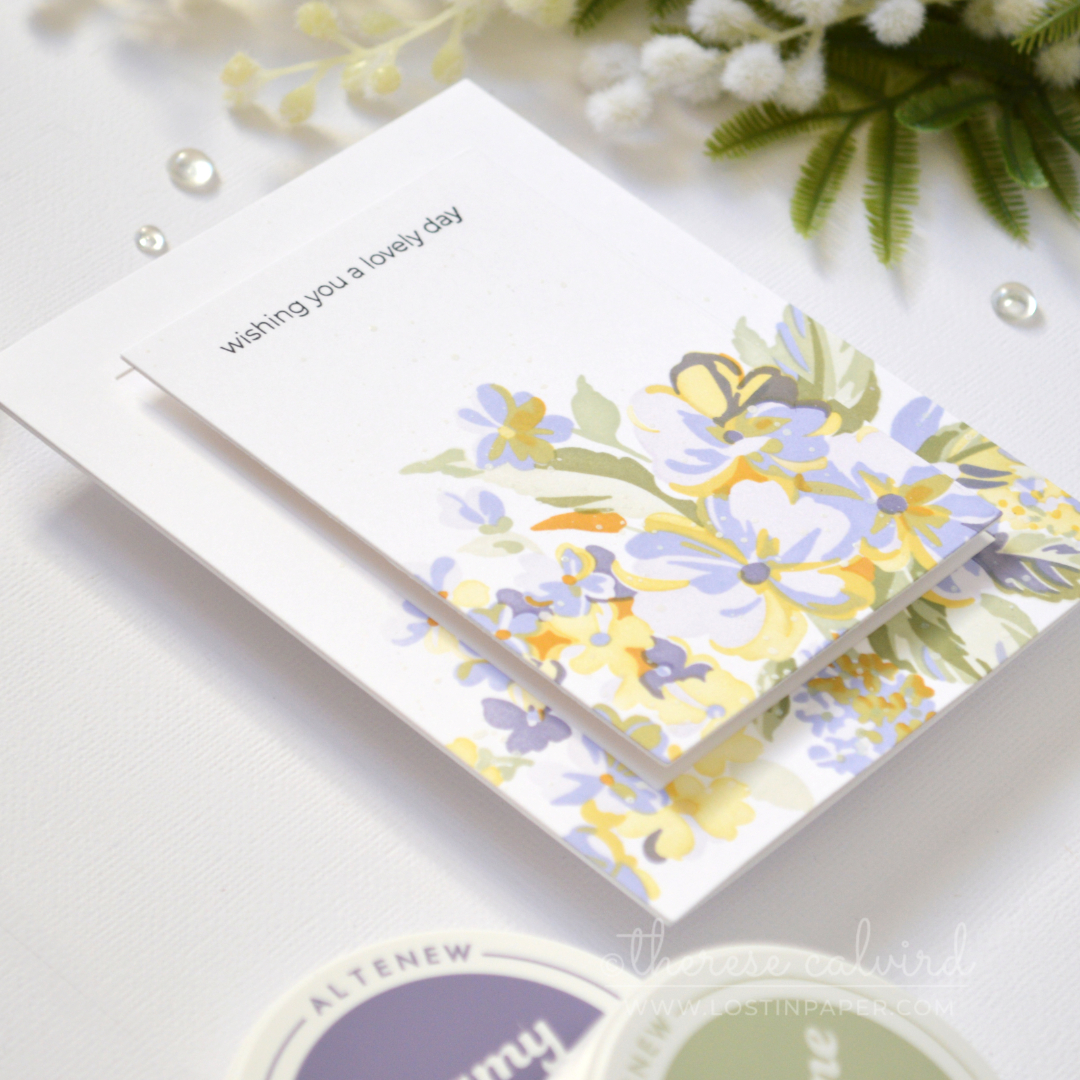
The simple black stamped sentiment at the top keeps the focus on the raised floral panel and all that soft colour.
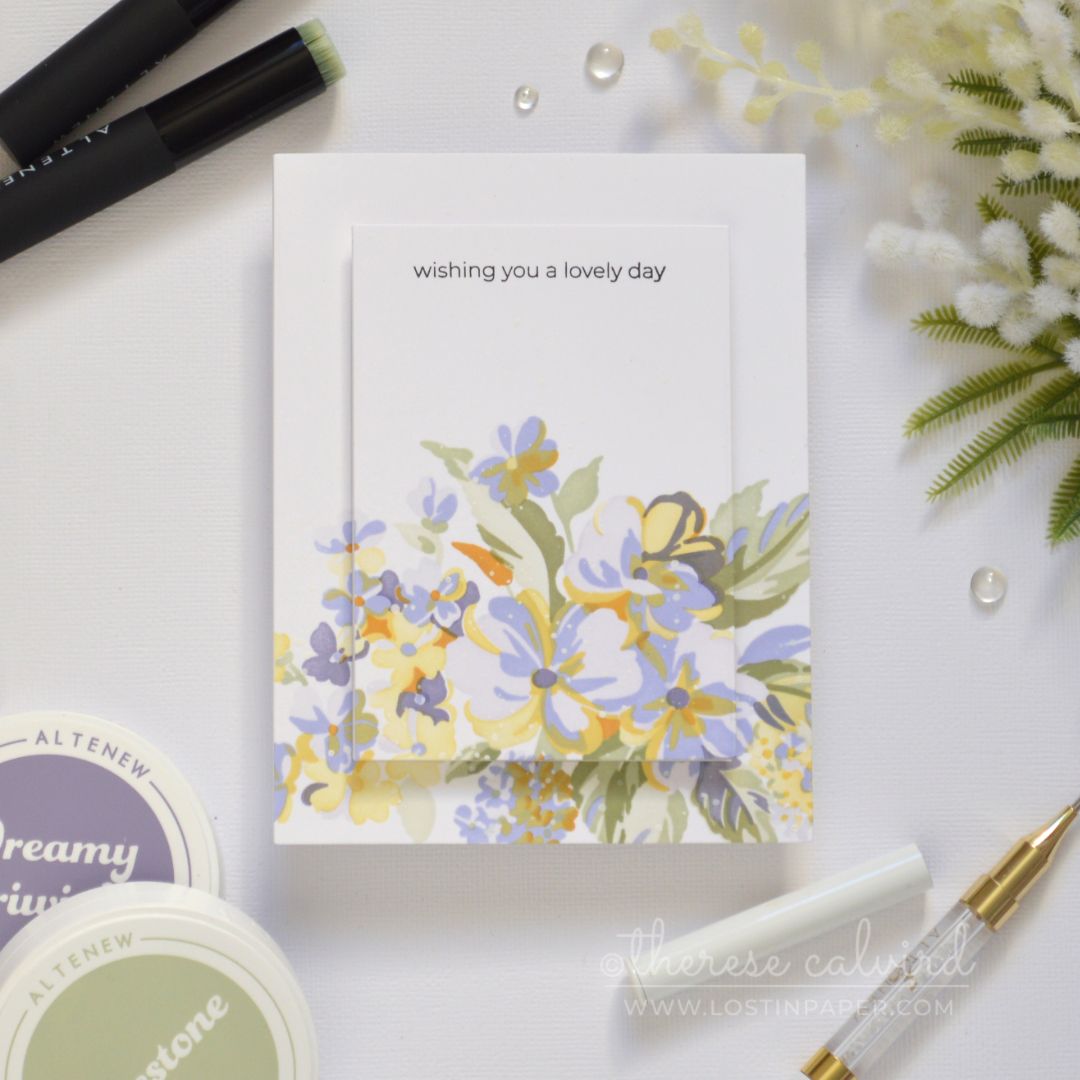
Over to you
Which of these techniques would you try to add easy dimension to a flat floral bouquet card design? Don’t forget to share, I’d love to see what you make.
Happy Papercrafting!

Special thanks to my crafty assistant, Chad (aka ChatGPT), for helping me stay on track with my Gemini brain, grammar, and spelling… well, all the things! 😄
Altenew Cardstock: Brushed Gold
Altenew Fresh Dye Inks: Silver Sprout | Sagestone | Olive Grove | Celestial Mist | glacier Iris | Dreamy Periwinkle | Twilight Sky | Butternut | Pumpkin Pie | Yellow Ochre.
*Certain content that appears on this site comes from Amazon, this content is provided ‘as is’ and is subject to change or removal at any time. As an Amazon Associate I earn from qualifying purchases.
 Painterly Perfection ALT | 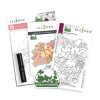 Softly Sketched Blooms ALT | 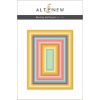 Nesting A2 Rectangles ALT |  Brushed Gold ALT | SSS |
 Neenah Solar 110 AMZ | SSS | Neenah Solar 80 AMZ | SSS |  Obsidian ALT | SSS | 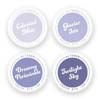 Moonlit Twilight ALT | SSS |
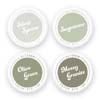 Sage Garden ALT | SSS | 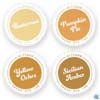 Fall Harvest ALT | SSS |  Mini Blending Brush Set ALT | SSS |  Antique Gold Spray ALT | SSS |
 Pure White Spray ALT |  Bone Folder ALT |  Perfect Picker ALT | SSS |  Tweezers ALT | SSS |
 Fine Blade Scissors ALT | SSS |  Score Board ALT | SSS | Paper Trimmer SSS |  Sticky Grid Mat Ultra ALT | SSS | SB US |
 Stampwheel 2.0 ALT | SSS |  Platinum 6 ALT | SSS | SB UK | SB US |  Platesaver OTH |  Precision Glue Press AMZ | SSS |
Bearly Art Glue AMZ | SSS |  Glue Tape ALT | SSS | 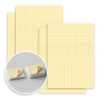 Foam Squares ALT |  Foam Tape ALT | SSS |
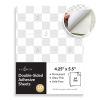 Double-sided Adhesive Sheets (A2) ALT |  Satin Masking Tape ALT |
so soft and beautiful, must try with the embossing folder!
Hope you have fun creating!
Yes! A flat panel card is sometimes needed. Gorgeous color choices and card.
Thank you so much!
Both are so lovely and soft.
Both great ideas, and the both images colored wonderfully! Quality stamps and inks helps.
Thank you Janet
So happy you like these Debbie!
Pretty color palette!
Thank you Kathy!
Love both cards, especially number two. I will have to try it soon.
Hope you have fun creating Ann!
Really liked the rasied panel card.
You are so sweet, thank you Juanita!
Lovely cards with soothing color palette. Raised panel is my favorite.
Thanks so much Susan!
I love how these cards don’t require a special set of materials and can be used with what you have.
I can’t pick a favorite – I love them both,
I agree Susan, I love it when an idea and a product can be stretched!
Sometimes stenciled cards seem so flat. These ideas raised them up.
Thank you
LOVE the simplicity and wonderful result of each card!
Thank you
These cards are beautiful – especially the second card with the added dimension. So creative and this adds such a lovely touch! Thank you for the lovely inspiration with this fabulous new release!
Glad you like them!
I really like the raised panel card. Something I could actually try myself! Thank you!
Hope you give it a try Barbara-Jean!
Beautiful cards! I love the dimension from the raised panel in the second card example. The color palette is lovely too!
So happy you like them Carmen!
I love both of the cards, but the soft color and popped up layer one who especially caught my eye.
So glad you like them Brenda
Gorgeous! Love the colors yu used and your pretty designs! Beautiful Blossoms!
I agree Donna, more beautiful blooms from Altenew!
Beautiful cards. Love the soft, pastel colors!
Thank you Jacinda
Beautiful cards! I love the raised panel!
The raised panel is so elegant! I will definitely be trying that out sometime soon.
Thank you Anna
Hi Therese loved the cards, I have to try the raised platform, I don’t know why I haven’t tried it before.
Rene from OZ x
Thank you Rene x
Lovely cards! I love the elevated panel and the textured background on the other card. Gorgeous!
Thank you Jeanne
Beautiful cards, especially the raised panel…it really adds something! But love them both!
thank you Melissa x
Love the color palette here!
Thank you Taylor!
How can you choose out of these two stunning cards!! I want to create both of them! They are so lovely! The techniques are awesome!
You are so sweet Beverly x
What beautiful cards. I like the way you popped up the panel using the rectangular stencil.
Thank you so much Judy!
Beautiful cards
Thank you Donna!
I love how simple and beautiful these cards are. I will definitely be trying both of these ideas.
Hope you have fun creating Kathy!
Gorgeous floral designs and color combos! I love the texture the embossing folder adds to your first card, and the raised panel makes your second card extra special!
Thank you Denise x
Wow, these are just so beautiful and inspiring. Your designs are as always so unique and different!
You are so sweet, thank you Kailash!
Beautiful cards. I especially like how you popped up the center cut out up. Love the dimension.
thanks Lora!
These cards are absolutely gorgeous. The colors are so soft and pretty!
Thanks Nandini!
Lovely cards. I’m inspired to try both of these techniques this week.
Yippee!! That makes me smile!
I can’t wait to try these out–thank you!
Thank you so very much Isabel ❤️
Such soft, beautiful cards, Therese! I always adore your designs!
Thank you so very much ❤️
I love both cards but I will probably make the one with the embossing folder first. Love the way that folder makes it look like a painting. Thanks for the great inspiration!
Yay! I’m so happy you enjoyed 😊
Therese, I adore your color choices today! So soft and subtle! It’s the added embossing that draws me in – every time!
=]
mmmm love embossing ❤️
Both cards are beautiful, soft and warm at the same time. The raised panel card really caught my attention. I love the dimension.
Thank you so much Chris!
Beautiful cards, lovely colors. The double popped panel is my favorite.
Thank you so much Laurie!
These cards are so lovely, Therese. I love them both.
I noticed “Platesaver” in your list of products used. Is this a product that you recommend?
Thank you so very much ❤️
Sencils are the bomb! I like the raised panel the best for dimension. Lovely cards!
I agree, love me a stencil!
Beautiful Cards! I really like the double popped panel!
Thank you so much Gena!
Your use of soft colors is so pretty! I particularly drawn to the raised panel – I like how you have the sentiment “floating” at the top. I usually try to connect the sentiment but this card works great! Thank you!
Yay! Thanks so much!
Both cards are very pretty. I especially like your choice of colors. I’m a beginner so two new techniques for me to try!
Yay! I’m so happy you enjoyed 😊
Gorgeous colors, gorgeous cards! Love the popped up panel!
So glad you liked them Lisa!
Both of these cards are simply amazing! And both techniques are so simple but make such an impact! Definitely going to be trying both! Thank you for the wonderful inspiration!
Thank you Valorie!
Absolutely gorgeous! Love the colour combo
Thanks Rachel!
Love the soft colors and the raised panel technique.
Thank you so much!
Such beautiful cards, they are so soft looking! I really like seeing your color combinations!
Thank you so very much Sandra ❤️
So, so gorgeous! I love the colors of both of your cards, and the fun techniques.
Thank you so much Dorothy!
Hello, my sweet friend! Gorgeous cards and colors.
Thank you Mari x
Therese, I love the soft look of your cards, they are so pretty! Thank you for inspiring us as usual, you are so talented.
You are so sweet, thank you Tina!
Your cards are beautiful. The color scheme is lovely and I will definitely give your ideas for adding texture and dimension a try. Thanks for the inspiration.
Thank you Sue
OOH clever use of the panels! so pretty!
Thank you so very much ❤️
I’ve always loved your crafting style and with this release, you’ve created 2 amazing cards! Thanks for the inspiration.
Thank you so much Donna!
Your cards are stunning! Your color combo is gorgeous-thanks for the inspiration!
Thank you Sheri!
Beautiful cards Therese. Love the soft pastel colors and the touch of dimension with the texture and popping up the rectangle. Thank you for the inspiration!
I’ve been all over the pastels lately lol
Lovely cards and ideas, thanks for sharing!
Thank you so very much Ann ❤️
The added dimension added so much interest. but I love these flowers so much I love them no matter what!
Thank you Sharon
Both cards are beautiful
Thank you so very much ❤️
Beautiful cards! I love the soft colours you used!
Yay! I’m so happy you enjoyed 😊
Beautiful cards Therese! I really love the popped up dimension on the second card. I’ve been wanting to try that. So pretty.
Thank you so much!
Love these cards Therese! So pretty. I really like the one with the dimension… I want to try that soon! Thank you. 🙂
Thank you Kim
Thanks so much Kim
Therese, I love both cards but my favourite is the split front card. It is so soft and dreamy with the flowers flowing beautifully between the two levels. Would love to have that stamp set! Love watching your videos.
So glad you liked them!
Beautiful cards. The colors are so peaceful
Thank you so much!
Both are beautiful cards, love your colour choices and ideas. The embossing folder gives it nice texture, I will give that a go.
You are the sweetest! 🥰
Beautiful cards
Thanks so much!
Beautiful cards! I love the eclipse technique. so fun! Great job!
Thank you Shannon
Two beautifully done cards, love the pretty pastels & the dimension you created on both!
Thanks so much Tee
These are beautiful cards! Love being able to see the different ways you added dimension together.
Thank you Rebecca
super cards – love the raised panel card – very creative
Thank you so much Dee!
Love how you popped up the card for added dimension. But not too much that would make the post office mad 😂
hahaha sooo true!
Such a soft touch on these lovely cards. So elegant!
You are the sweetest, thank you Janet!
Stunning color choices.
Thank you so much Erika!