Can you watercolour flowers…. or is it too scary? Today I share 2 fun ways to create watercolour look flowers without any watercolouring!
But before we start did you know that this video is part of my Take 2 With Therese series of videos that I create for Altenew? You can check out the full playlist right HERE for more inspiration.

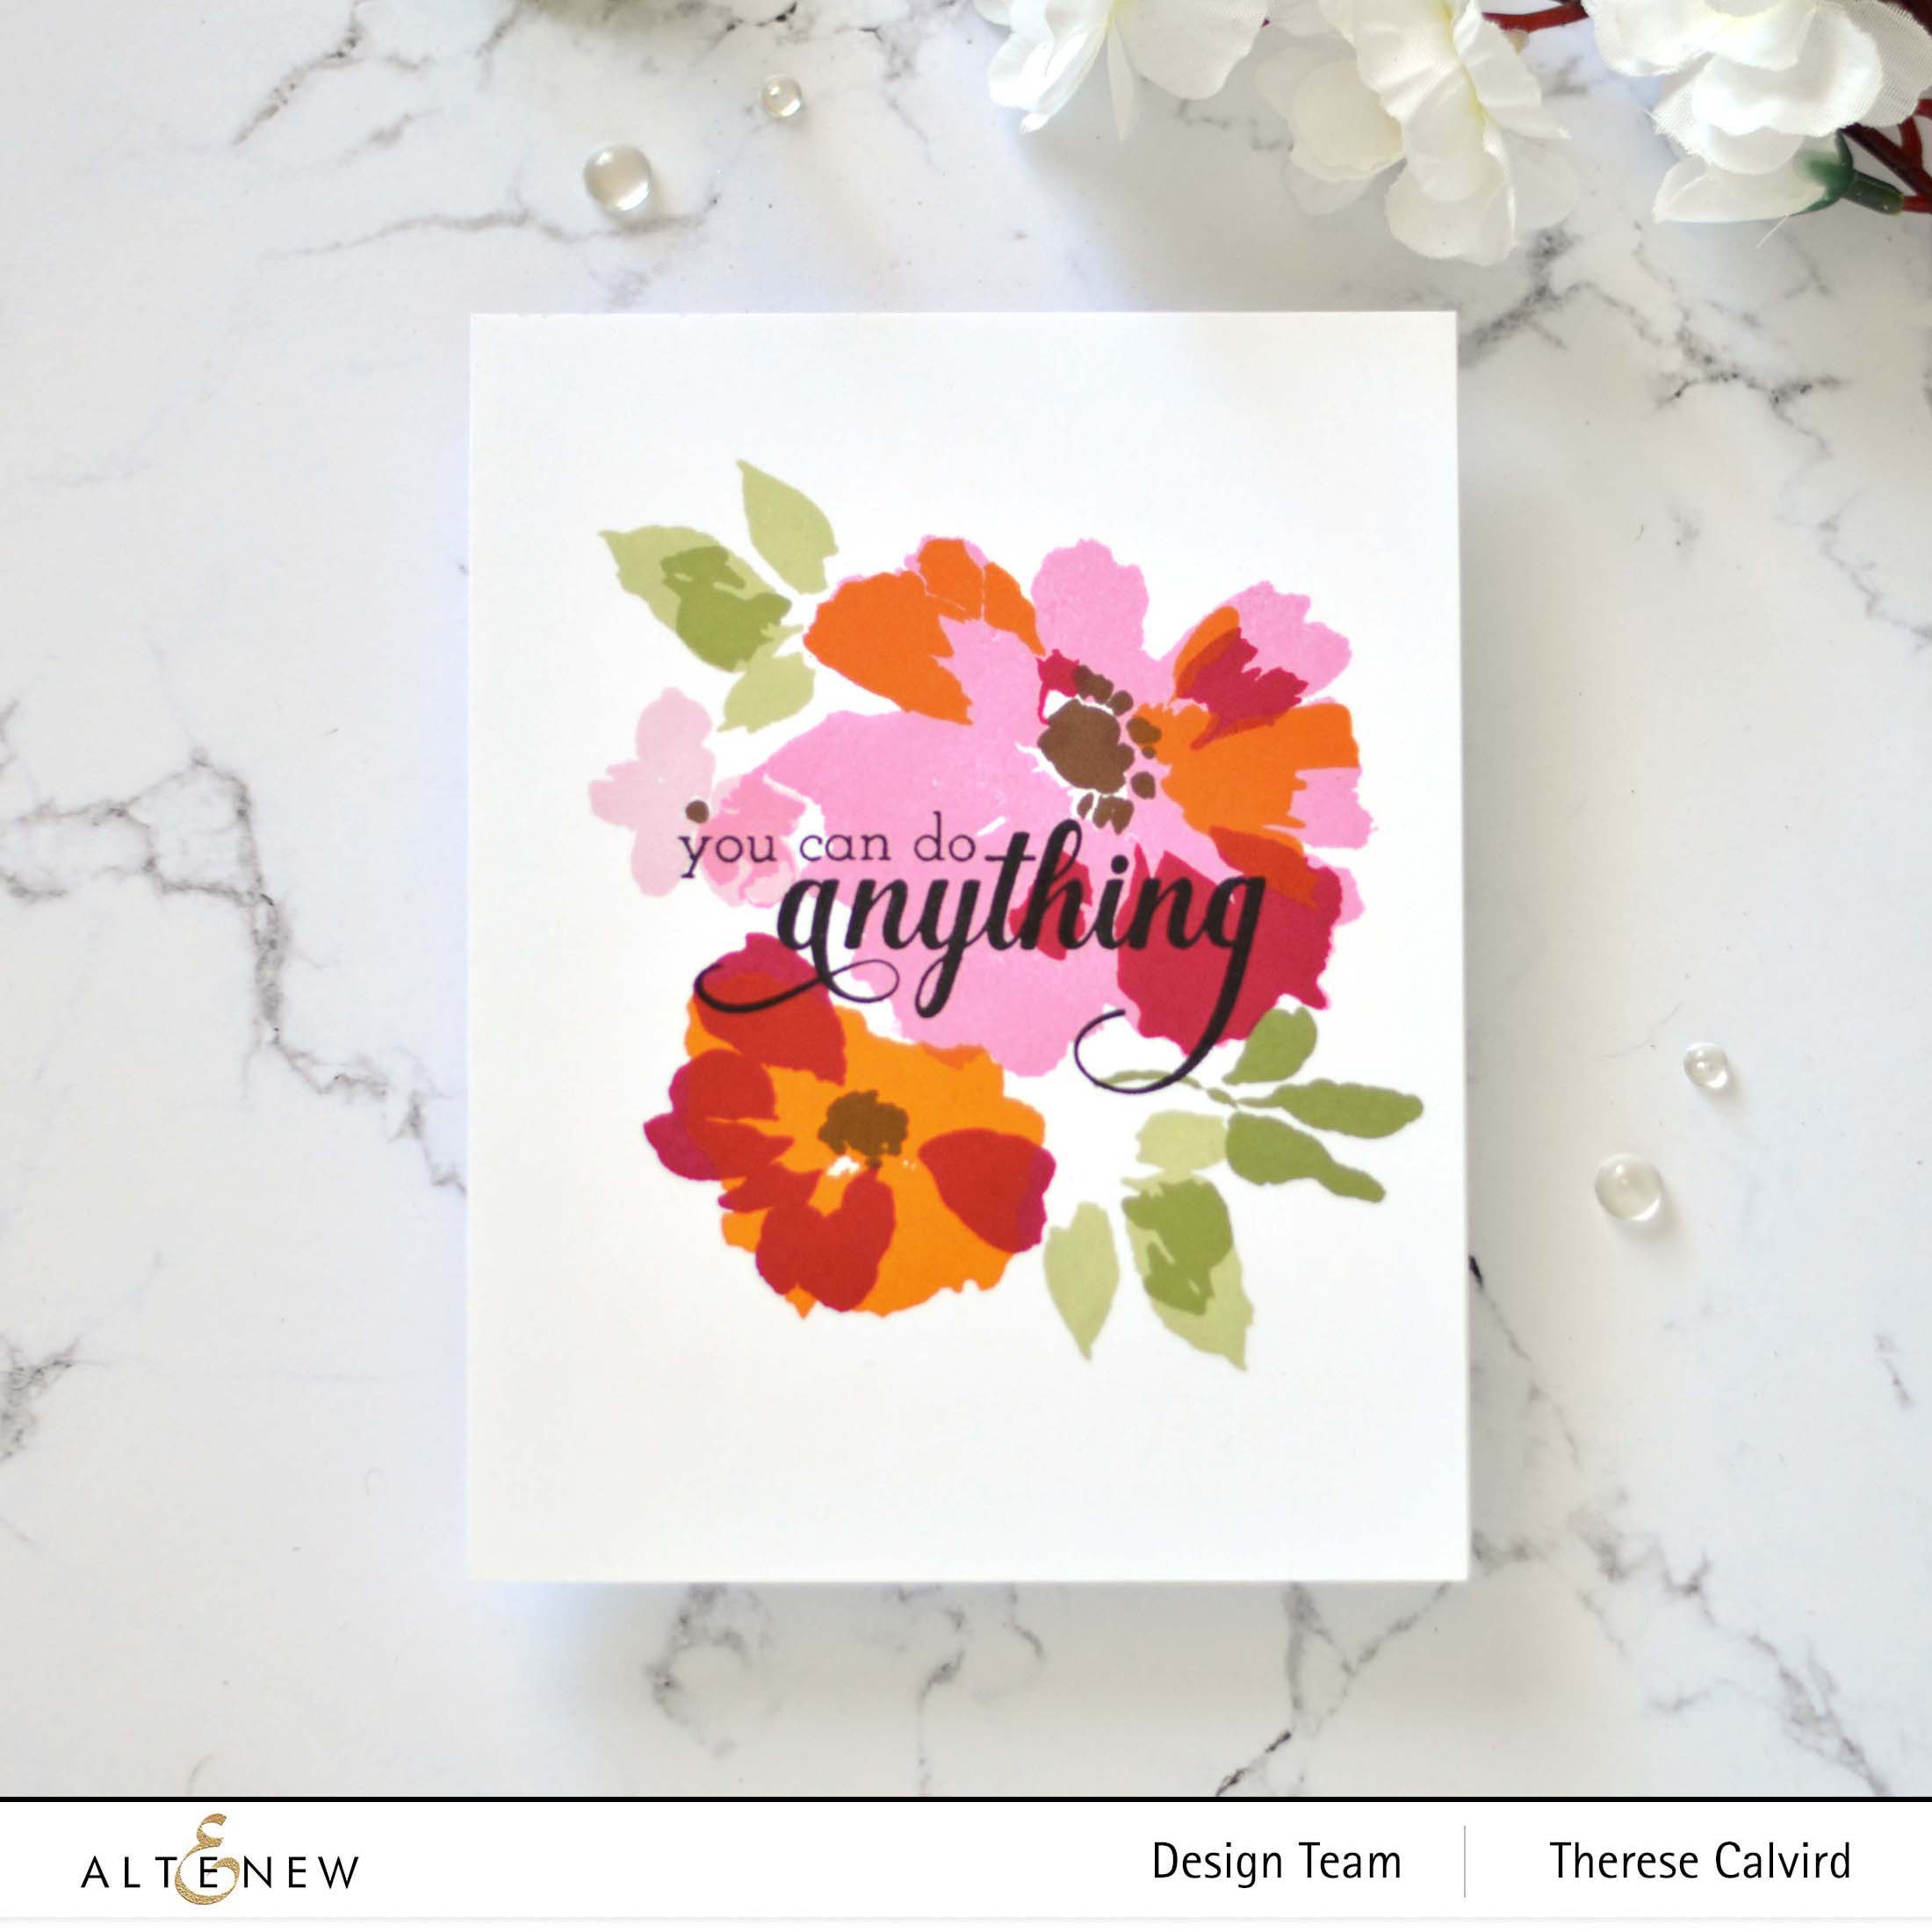
To create the watercolour ‘Look’ I simply used some fun Altenew products. I started with the Watercolor Wonders Stamp Set.
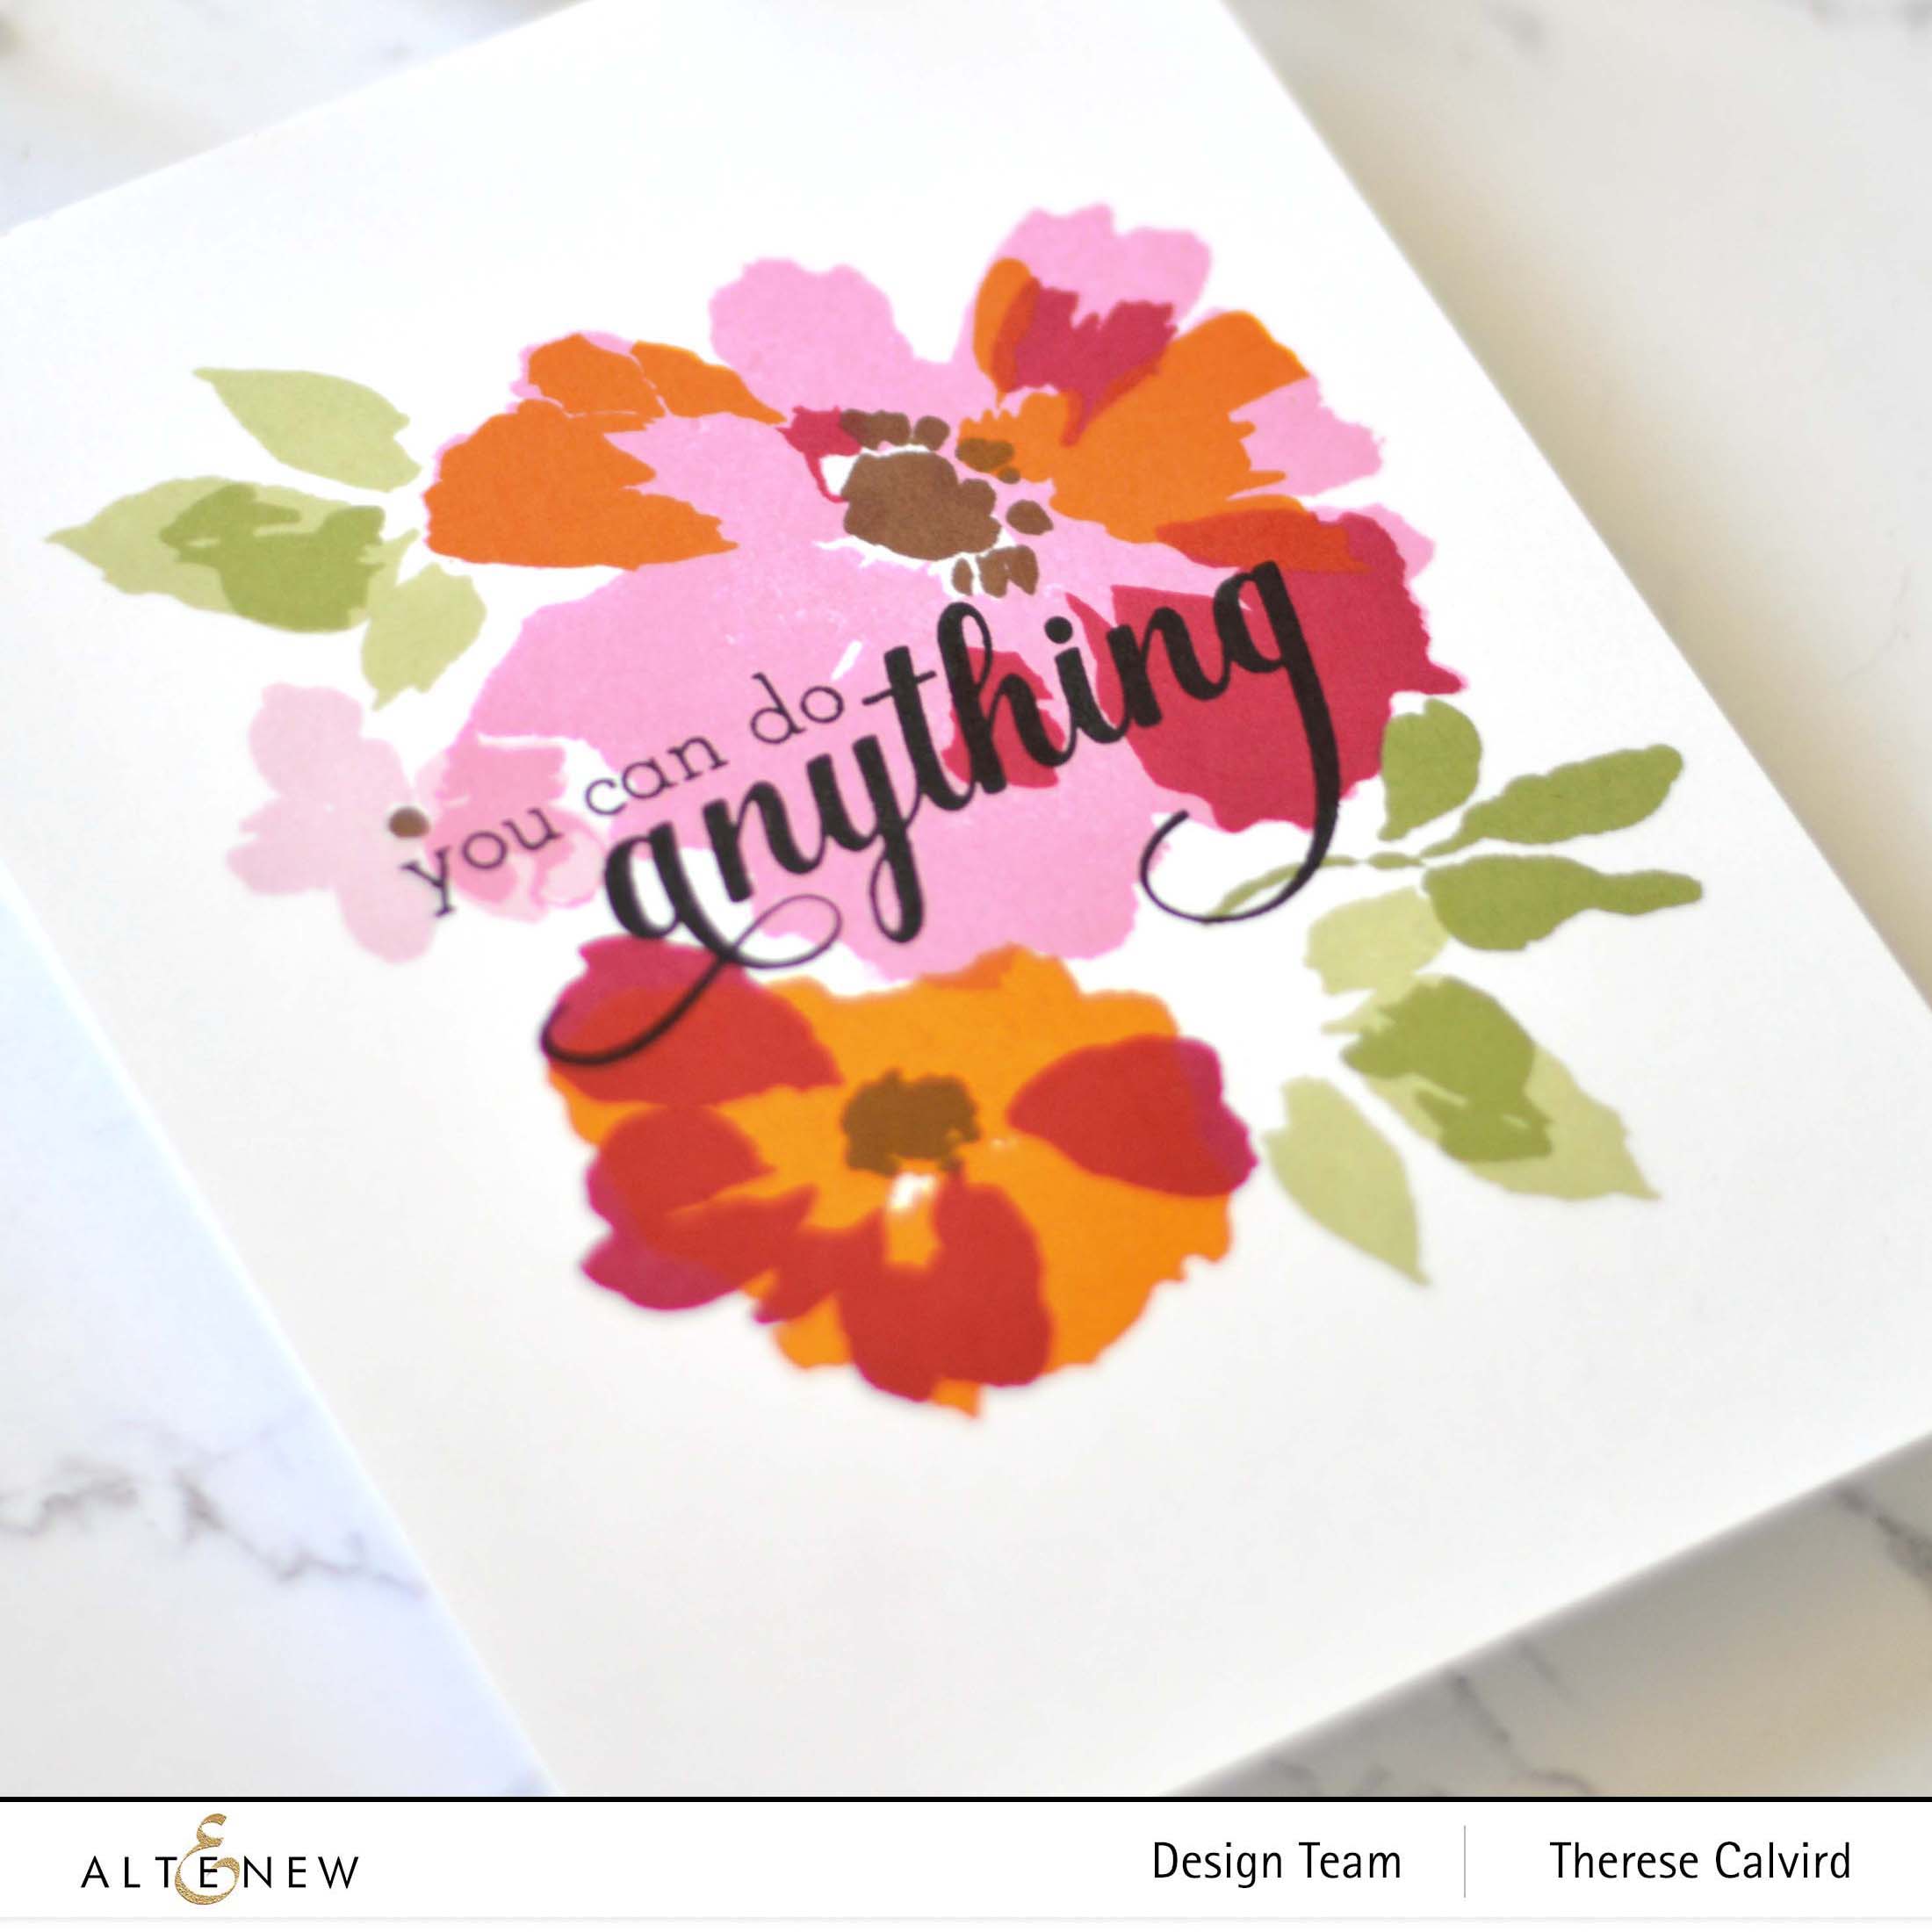
You could easily make multiples of this design using a MISTI tool or even change up the colours for a fun change.
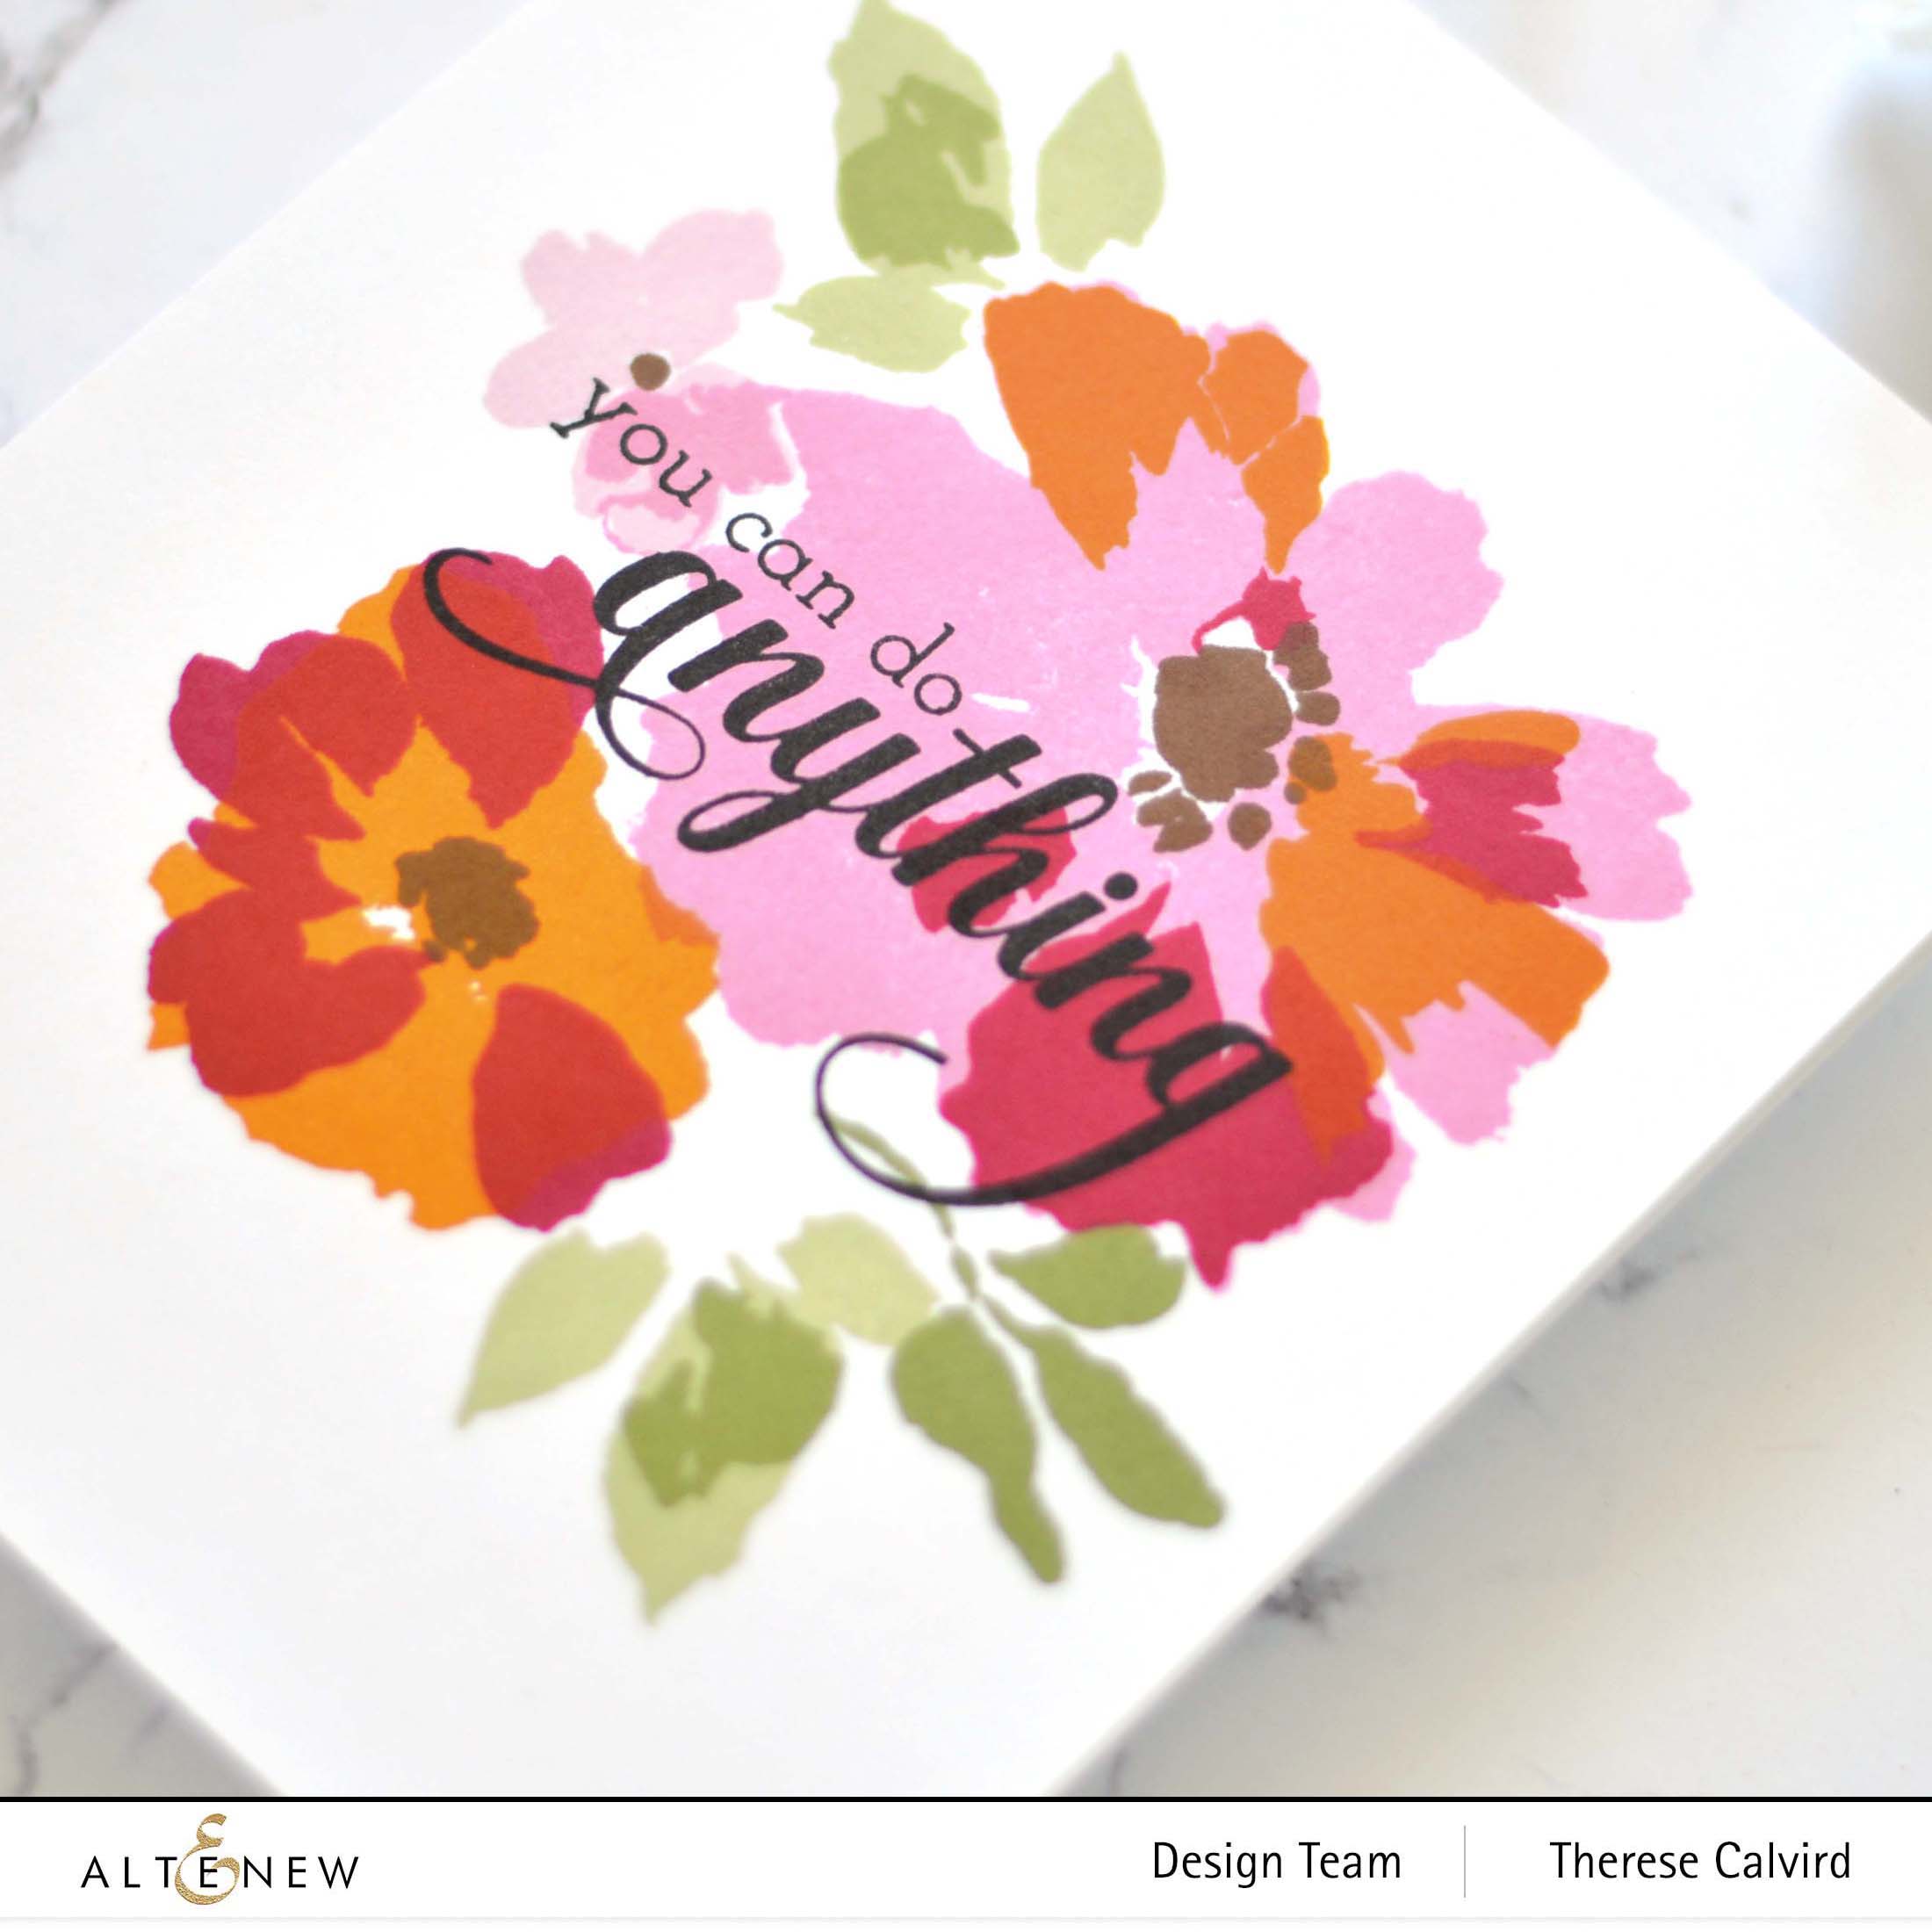
This sentiment came from the beautiful Fancy Greetings Stamp Set.
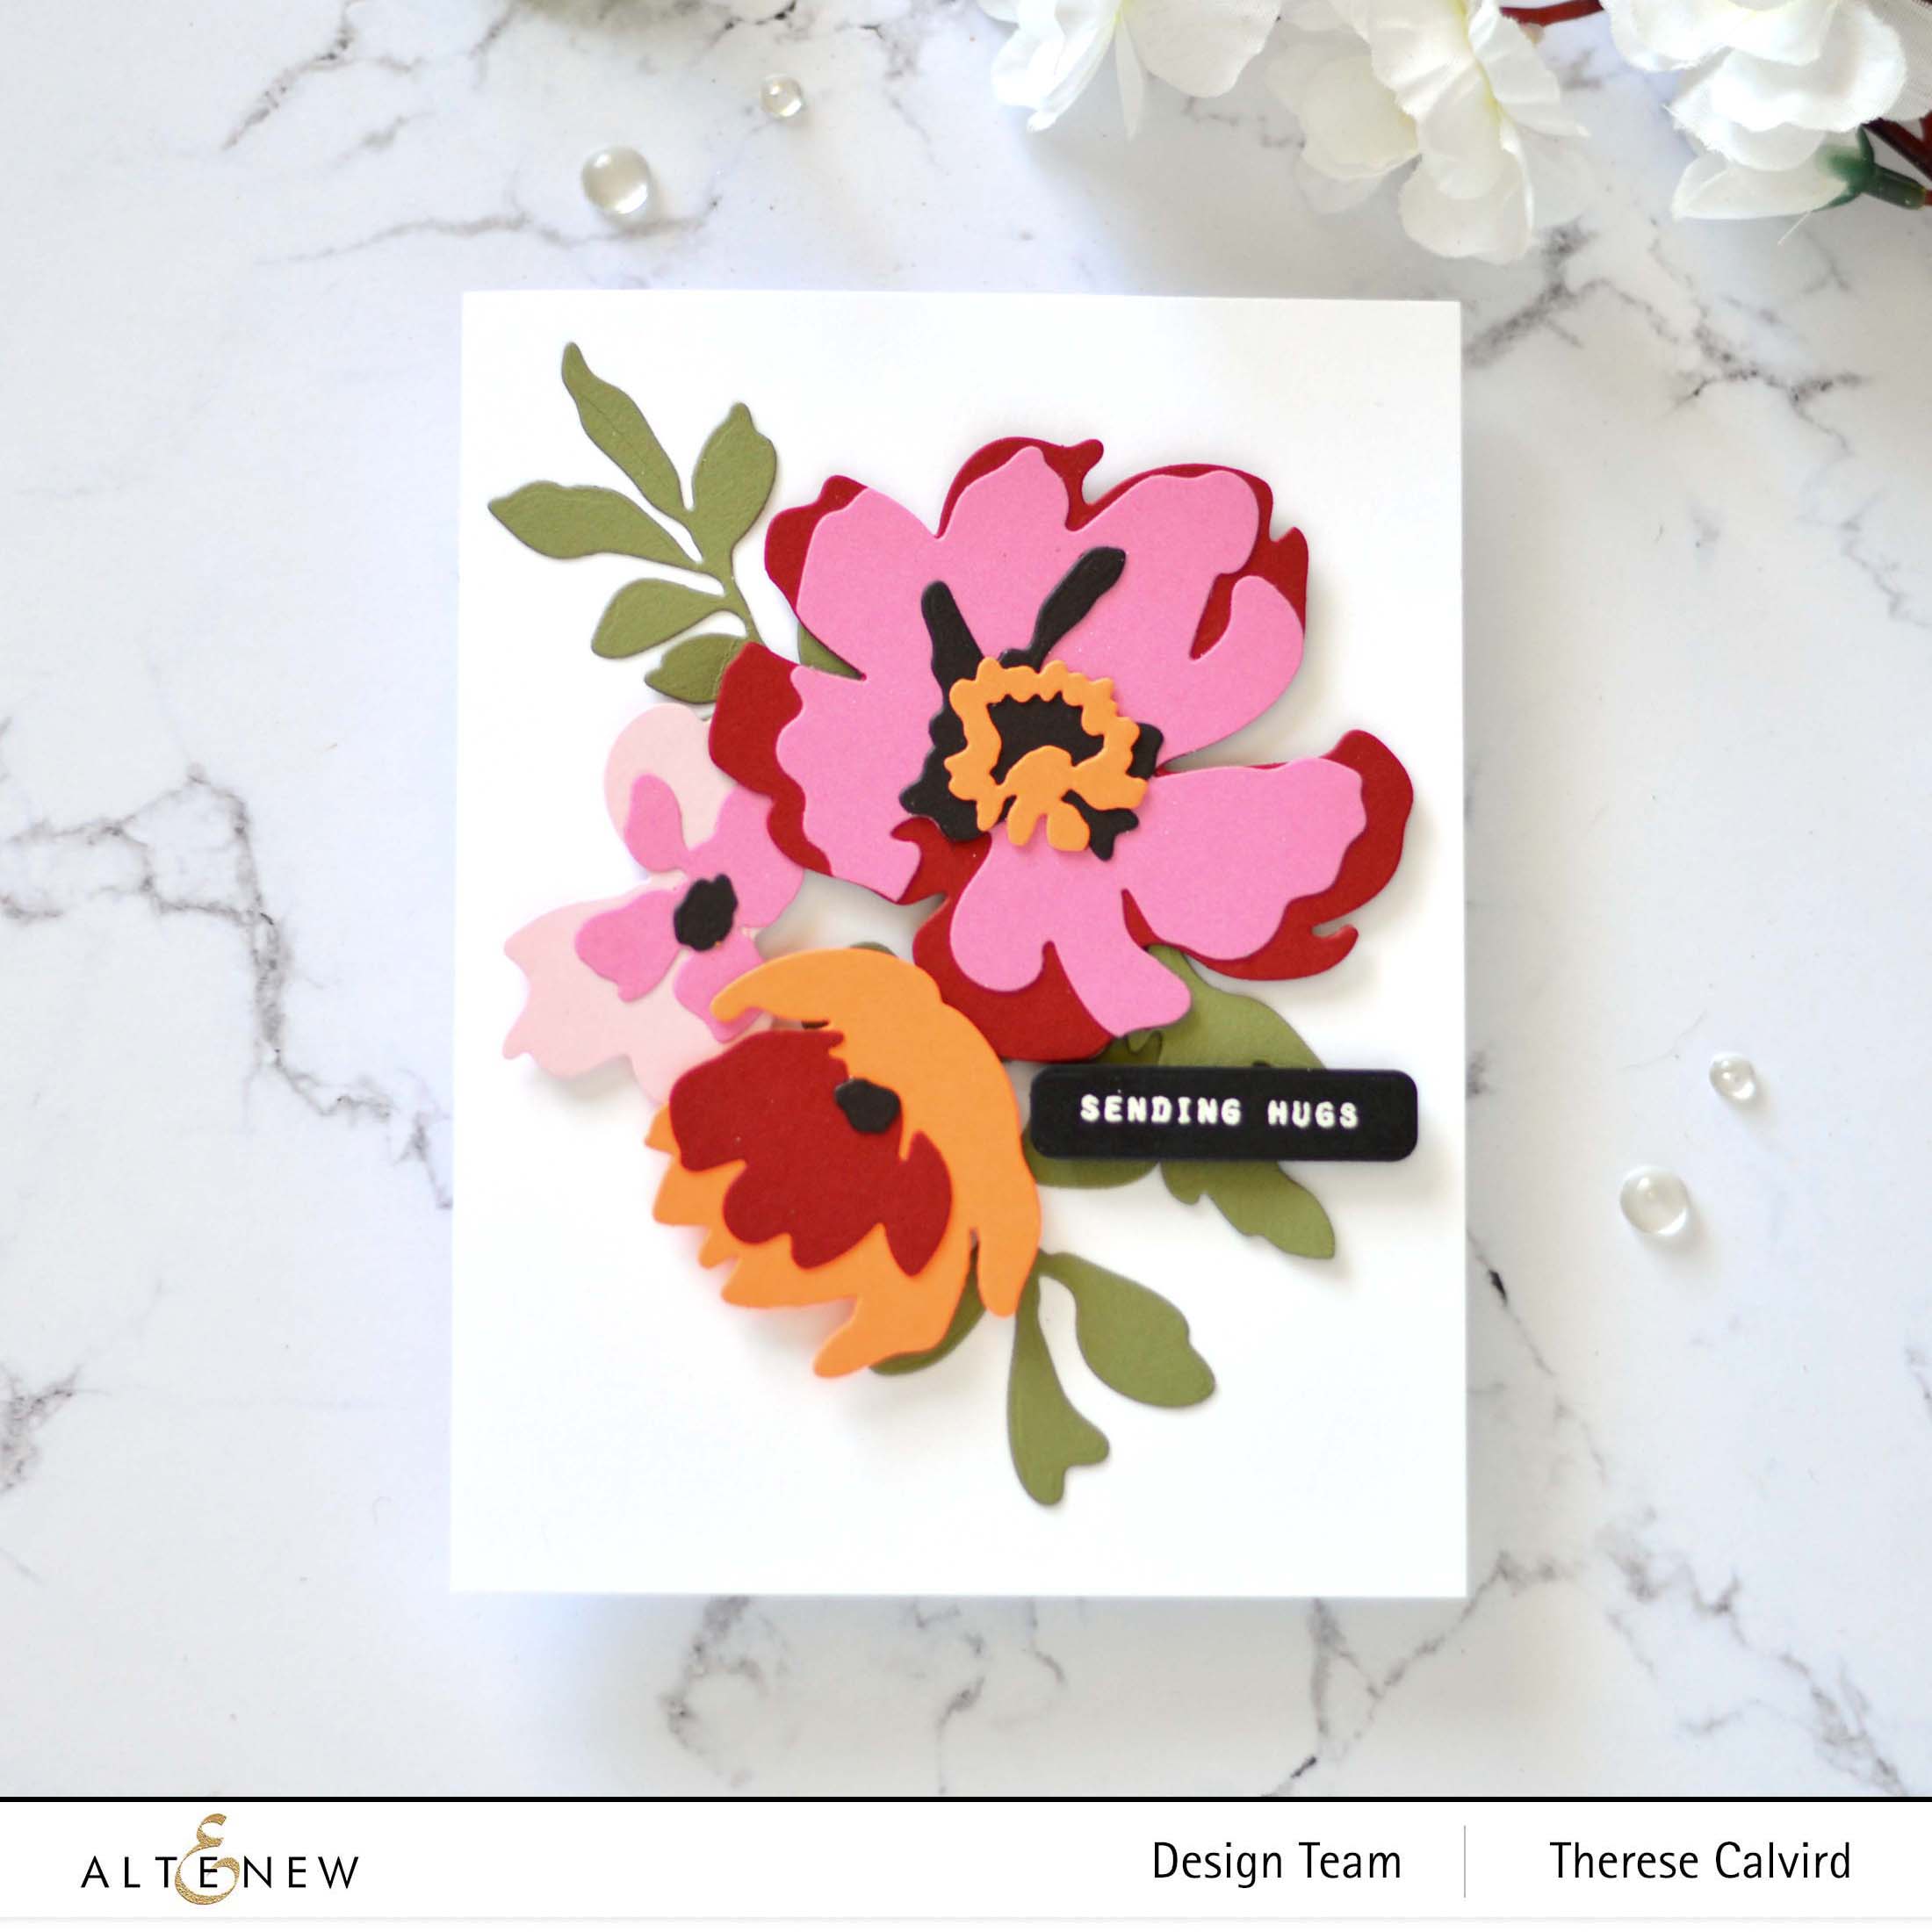
My next design uses dies to create the ‘Look’. I used the Watercolor Garden Layering Die Set but kept the same basic layout and colours from the first card design.

And I used some of the gorgeous Altenew cardstocks to match my inked version.
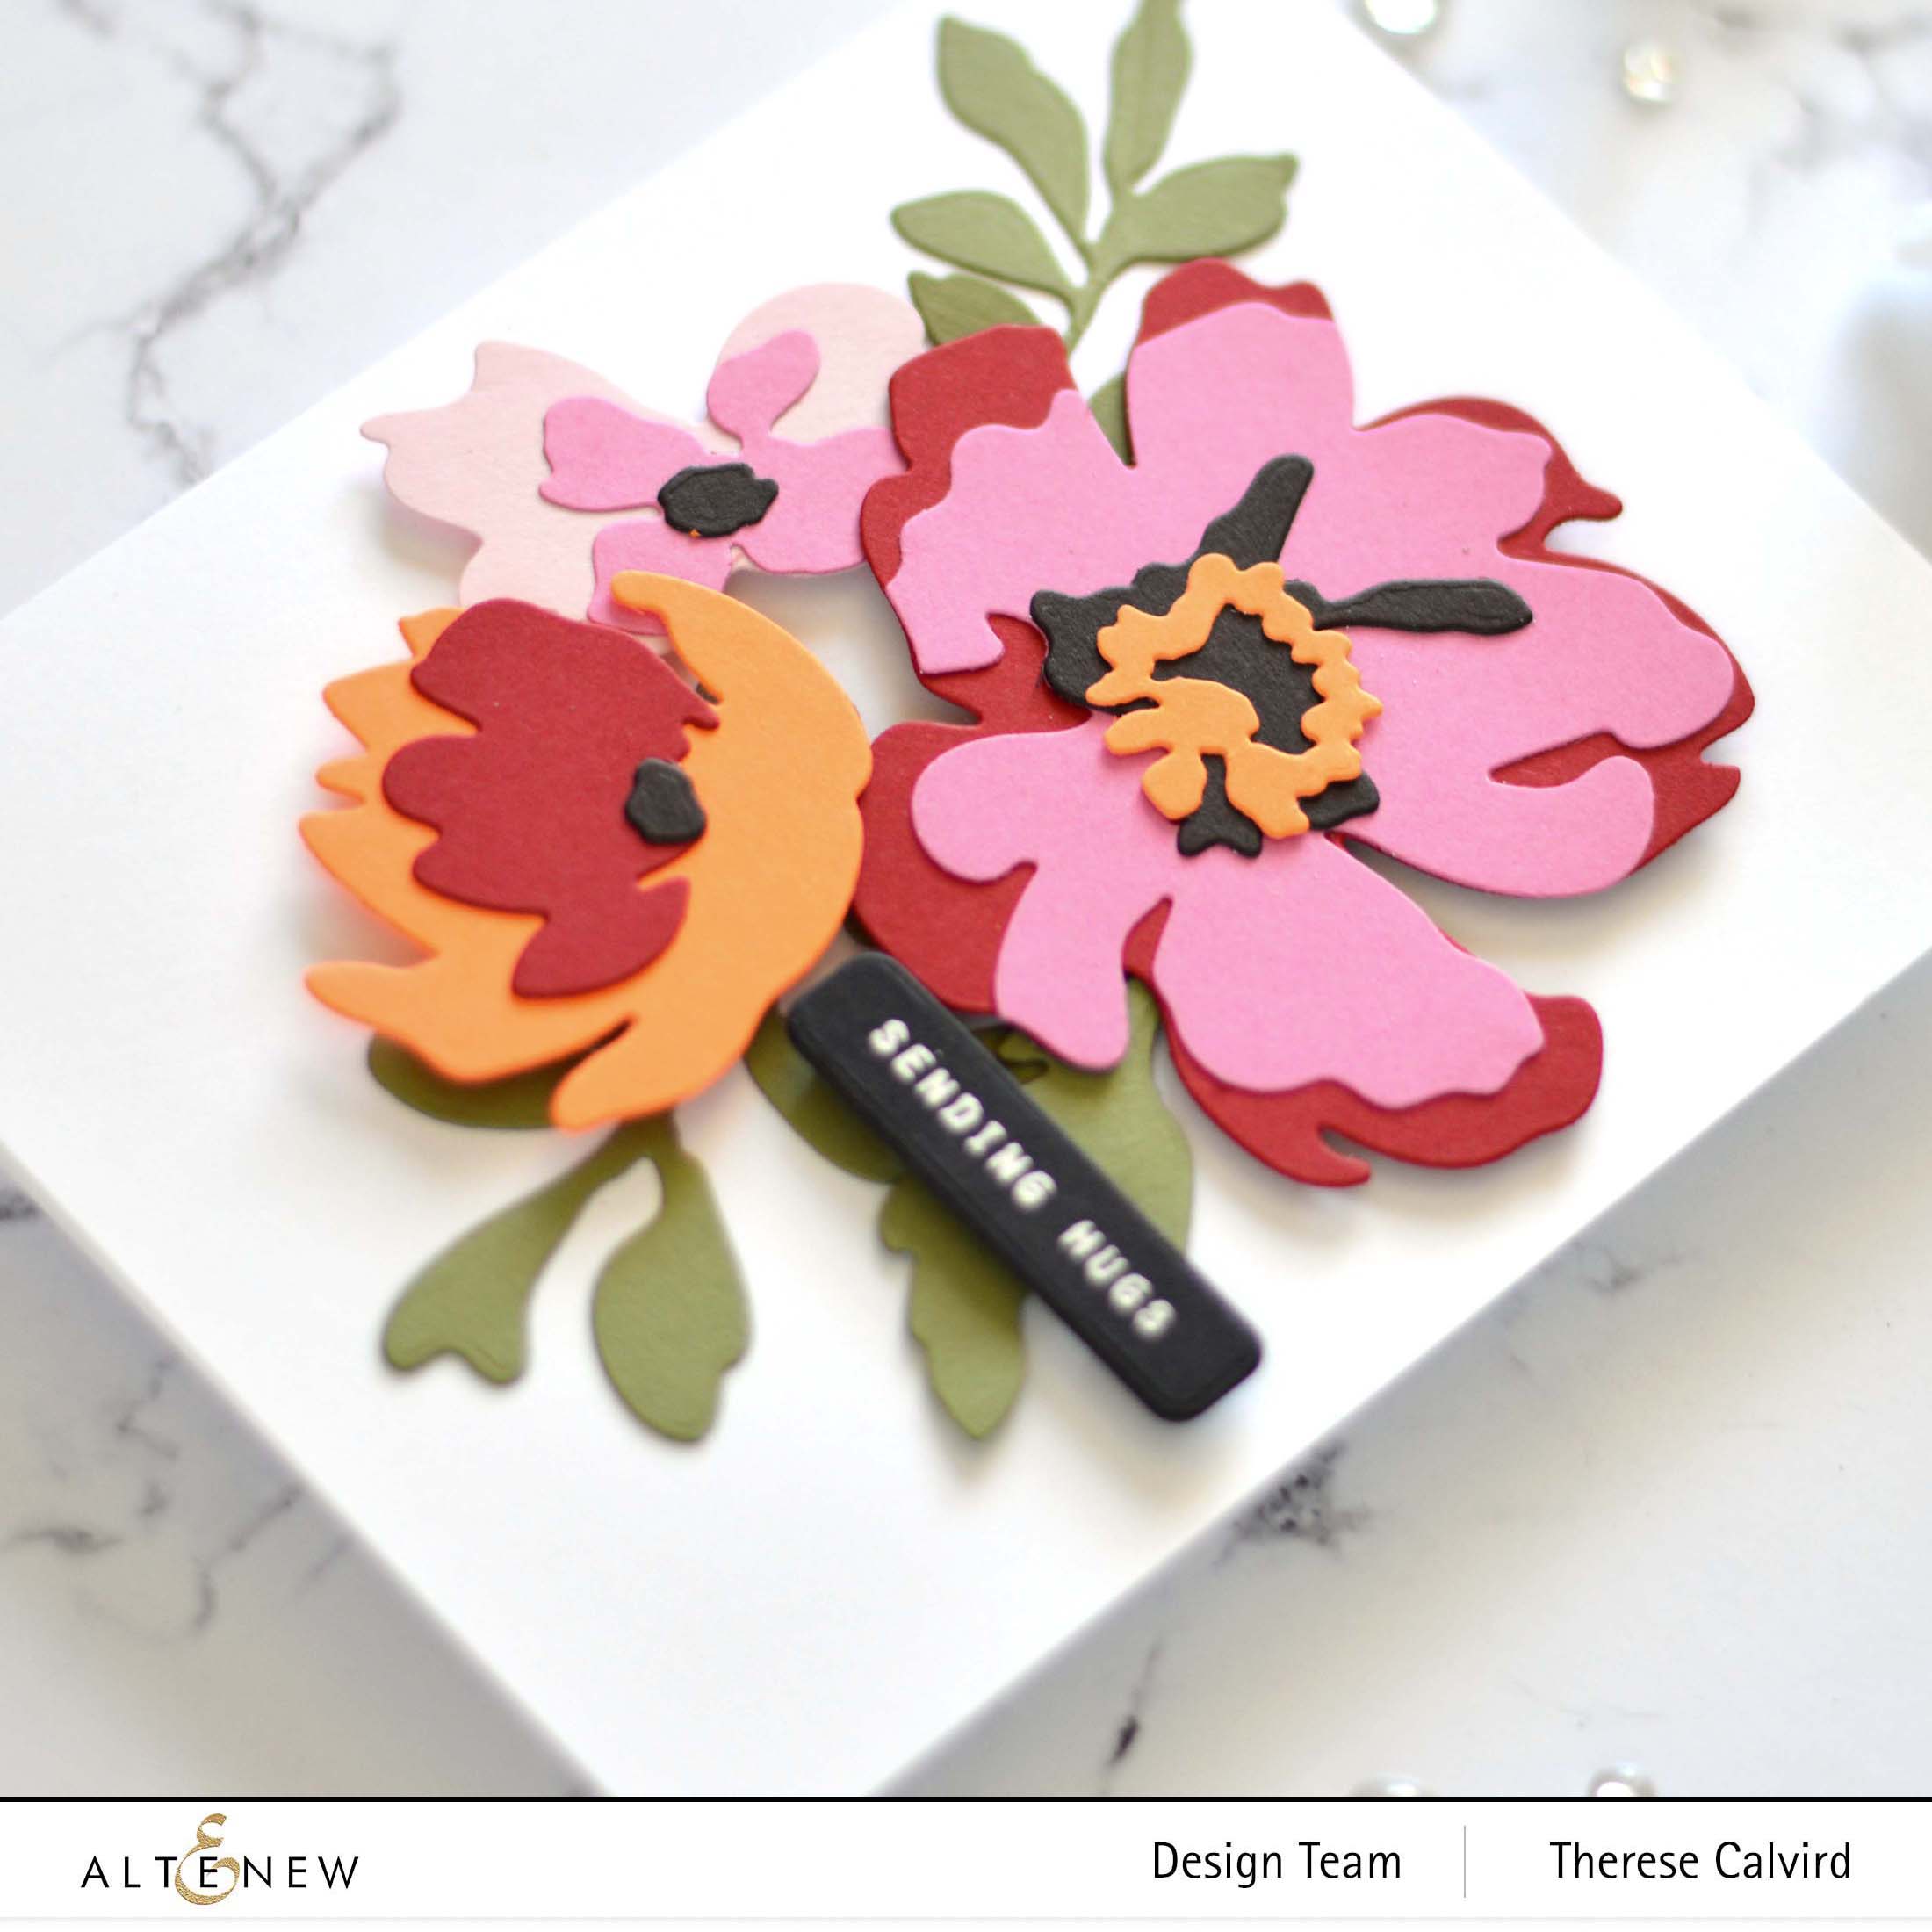
This time I wanted a smaller sentiment and I used one from the Tranquility Rose Stamp Set which I die cut with one of the Featured Sentiments Dies.
You can see my video here or Watch it in HD at YouTube.
I hope you are inspired to create some ‘watercolour’ flower cards! Thanks so much for stopping by today, hugs,

Affiliate links may be used below. This means if you click a link and make a purchase, I may earn a small commission at no extra cost to you.
I only recommend products I personally use and enjoy, and these commissions help support my channel and the crafty shops we love. Thank you! 🥰
Speaking of Shops We Love…

Oh Wow these are amazing. Love the colors. So vivid and vibrant.
Thanks so very much Michelle!
Sweet friend you always show me the most beautiful way to bring color to our craft rooms! For this color-phobe, that means a ton! Two gorgeous cards!
I just received my newest Craft-a-Flower layering die set – I may be following your lead! wink! xx
=]
I would not have picked you for a color-phobe… perhaps, it’s because you do colour your own way, your combinations always make my heart smile! Hope you have fun Crafting-that-flower!
I LOVE those colors! I would NEVER have combined them, but they are BEAUTIFUL! You are brave, inventive and a GENIUS! You have inspired me to try bolder colors– thank you!
Oooh, that is so wonderful, I hope you have fun with your colours!
Great color combination. Thanks for the video.
Thank you so much Talitha!
Beautiful cards – as always a fab colour combo. Might have to put that big sentiment set on my wishlist – love the font.
It’s such a pretty combination of fonts. I do find, that because I leave sentiment’s until the ‘last’ (mmmmm ie I add them as an afterthought) then I use this set less than I should, because of the size it feels like they need to be planned with the design… does that make sense?
These are really beautiful colors on your cards.
Thank you so very much Carolyn!
These were so close to each other, difficult to pick one over the other.
Thanks so much Angela!
These are just gorgeous
Thanks Gab!
Great ideas, Therese. I love the Craft-a-Flower dies. Now to branch out with the colors I use.
I think these ideas would look fabulous in all different colour combos!
Love that you showed the two ways to create the same/similar design. Both turned out beautifully. I also love the effect of stamping the sentiment on top of the stamped bouquet, altho I am one who typically chickens out from doing this myself. New year’s resolution – I will be brave and give it a try!! Thanks for the inspiration.
Yes, it took me a while to feel like I could stamp over top of an image, but that is where a stamp postioner like the MISTI really comes into its own! Glad to hear that you liked these, thanks so much Sue!
What clever idea for this combination! Both cards are bright and beautiful- great colours.
So happy you liked these, thank you Christine!
I love how you achieved the same look but two totally different ways. So beautiful. You are so brilliant.
Thanks so very much Lisa!
The colours you choose for this project are so gorgeous. Love these cards!
Thank you Nicole!