
Are you living in the dark? Today it’s time to LIGHT it up…
I love just how easy it is to make an interactive Light up Card, all you need is some lights and I was definitely not going down the track of creating my own, nope it had to be prepared and ready to use. And you will see why when you watch the video, who would have thought a battery…

TIPS:
- Plan a design for the front of a card that includes space for images, sentiments as well as somewhere to ‘hide’ the battery and wires.
- Choose images that will work with ‘lights’, for me the jellyfish from Seaweeds were perfect! But you could light up a star on a Christmas tree, street light, window or even a candle on a birthday cake.
- It is much easier if you have coordinating dies for the images but you can also use a small circle die or fussy cut a negative space for the light to shine through.
- Vellum is a great option to shine the light through as it diffuses and hides the mechanics of the light.
- You can either stamp on vellum or heat emboss as I did (I used heavier weight vellum to prevent warping). To add colour, use Copic markers or alcohol ink on the back of the vellum.
- Insert the battery / or remove the tab protecting the battery to test that the lights work before adding the front panel.
- Add the button and wiring ‘behind’ the panel so that they cannot be seen through the vellum.
- Use a double layer of foam tape to attach the panel to the card.
- Don’t forget to add instructions to ‘PRESS’ the button. If you don’t have a stamp for this, simply print from a computer or write it directly onto the card panel.
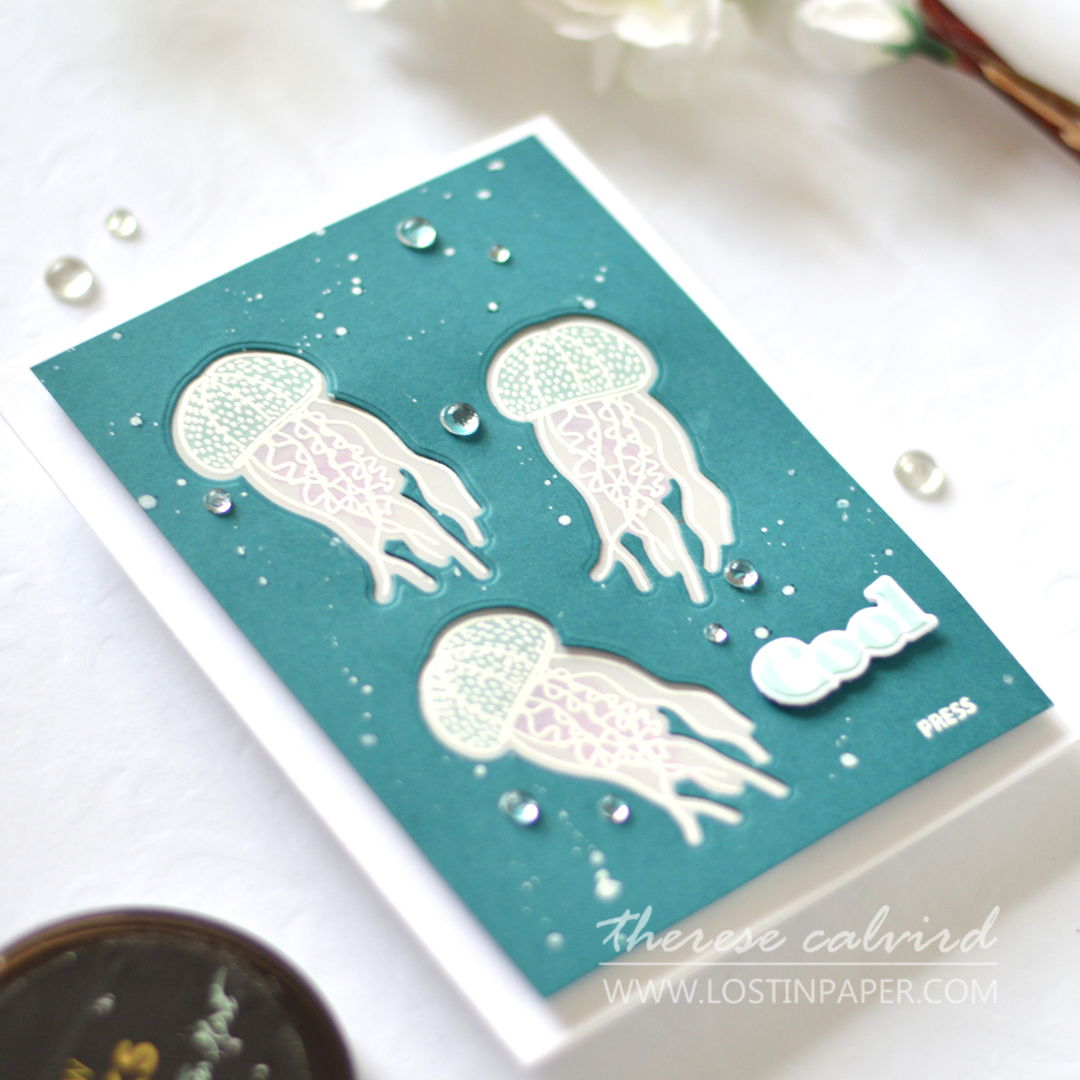
I decided to add some White Ink splatters as well as some Dew Drops… to make it look like they are under the sea.
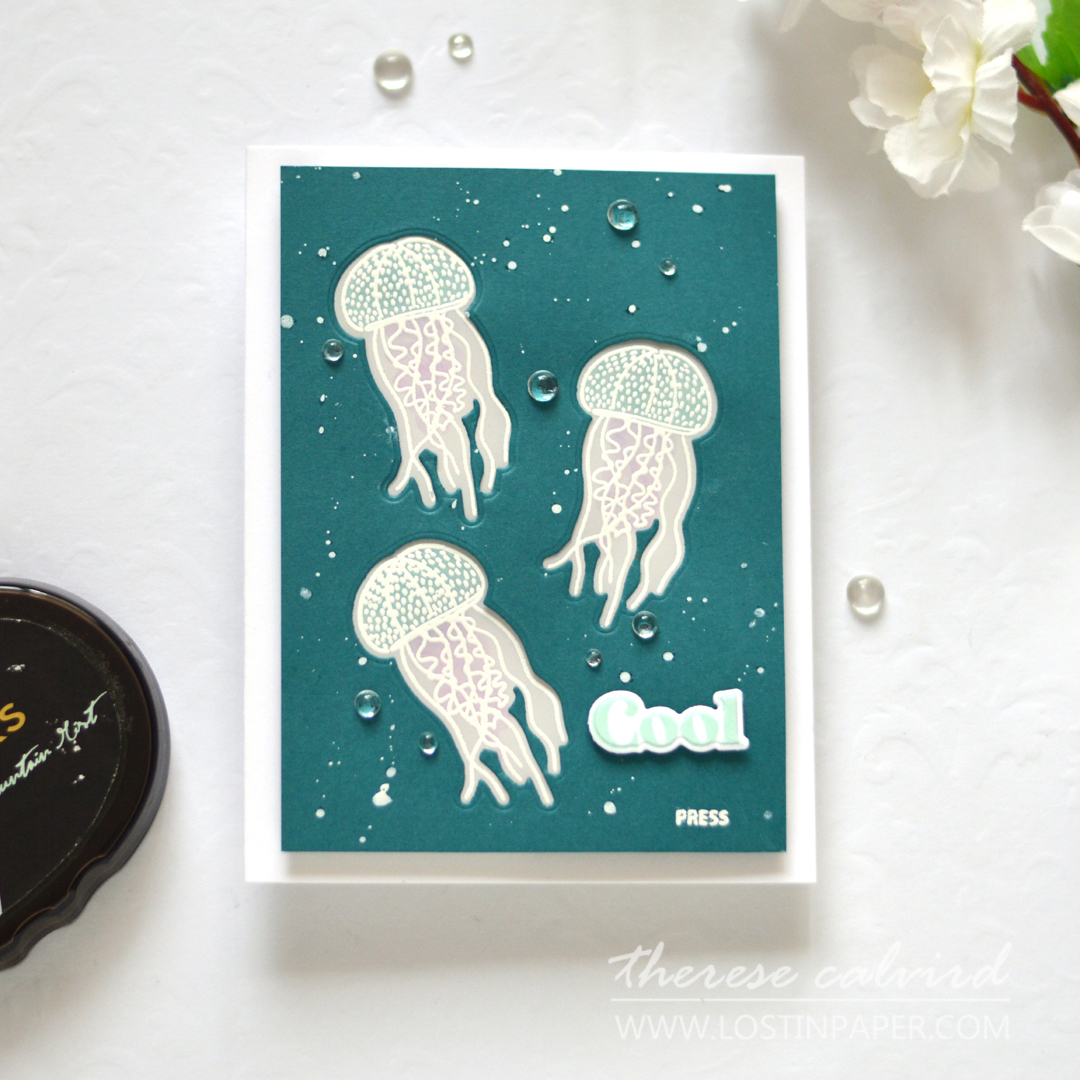
And a simple sentiment from the Stay Cool Set suited just fine. AND now, check this out!! SO much fun, right!

You can watch the video here or Watch it in HD on YouTube.
I hope this has been helpful and given you some tips and inspiration to light things up! And if you do, I’d love you to share them with me on Social Media, Crafty Hugs,

Also, just in case you want to do a little shopping I’ve added the links below (some of them are affiliate links which means that I will receive a small portion of the sale at no extra cost to you). I truly appreciate your support of my card adventures!
Other Supplies:
Stamp – Waffle Flower Crafts – Open Here
Concord & 9th Cardstock – Peacock
Copics – BG13 / V15
 Neenah Solar 110 SSS | AUZ | EH |
 Neenah Solar 80 AMZ | SSS | AUZ | EH |
 Vellum SSS | EH |
 Concord & 9th – Cardstock SSS | EH |
 Seaweeds EH |
 Seaweeds Dies EH |
 Stay Cool EH |
 Stay Cool Dies EH |
 Studio Light AUZ |
 EZ Light SSS | EH |
 Versamark Ink SSS | AUZ | EH |
 Mountain Mist ALT |
 Copic Markers SSS | EH |
 WOW Heat Tool AMZ | SSS | AUZ | EH |
 Opaque Bright White SSS | AUZ | EH |
 Anti Static Pad SSS | EH |
 Pure White Spray ALT |
 Dew Drops SSS | AUZ |
 Paper Trimmer SSS | EH |
 Scissors SSS | AUZ | EH |
 Mini Score Board SSS | AUZ | EH |
 Cutting Mat ALT | SSS |
 Acrylic Blocks SSS | AUZ |
 Mini MISTI SSS | AUZ | EH |
 Gemini Junior SSS | EH |
 Magnetic Pro Deck SSS | AUZ |
 Gemini Double Cutting Plates SSS | AUZ |
 Turntable AMZ |
 Bearly Art Glue SSS | AUZ | EH |
 Glue Tape ALT | SSS | AUZ |
 Foam Tape ALT | SSS | AUZ | EH |
 1/4″ Ultra Sticky Tape ALT | SSS | AUZ |
Those jelly fish are stunning with the lights! What a fantastic idea.
As long as they are not ‘electric’ jelly fish lol.
Thank you Theresa for the interactive card. Brilliant!
I couldn’t wait to try these lights and they are really such fun and much easier than I thought too lol.
Absolutely fabulous – as always!!
I feel like I haven’t seen videos from you lately…actually I was a little worried. So glad to see you again!! I am a devoted fan. You are brilliant and I am always inspired to try thing out after I see you do them. Thank you so much Therese!
Thank you so very much Amy! Yes, it has been a little quiet as I have been busy with some behind the scenes stuff and had a break over January. Looking forward to being back on track again real soon! Please let me know if there is anything specific you would love to see!
These jellies couldn’t be cooler – even if you added peanut butter, Therese!
So excited to watch this come together – thanks so much for sharing your process!
=] x
I’ve got some different lights to try (I haven’t been able to get the EZ lights here in Australia… that’s a lie, when they were available they were $26 each and I couldn’t do it lol) Anyhow the new lights have thinner wires so crossed fingers they will be easier to hide. Keep an eye out for the lights turning on again my friend.
Great tutorial Terese….love the lighted Jellyfish….Well done!!!
Thank you Vickie!
Your idea to light up those jellyfish was beyond clever! Thanks for the video, this is so much fun!
I was kind of thinking ‘light shining through’ but electric jellyfish would be fun too lol. Thank you Lisa!
What a fabulous card and I just love those jellyfish the lights really make a difference how clever.
Marie
Thank you Marie, it was fun hiding those wires, I have a different brand to try with ‘thinner’ wires, I hope that will be easier.
OH no! What an awesome card. WOW the places you can go with that. Thanks for yet more awesome inspiration and the link for the lights in AUS.
They were such fun to use!