
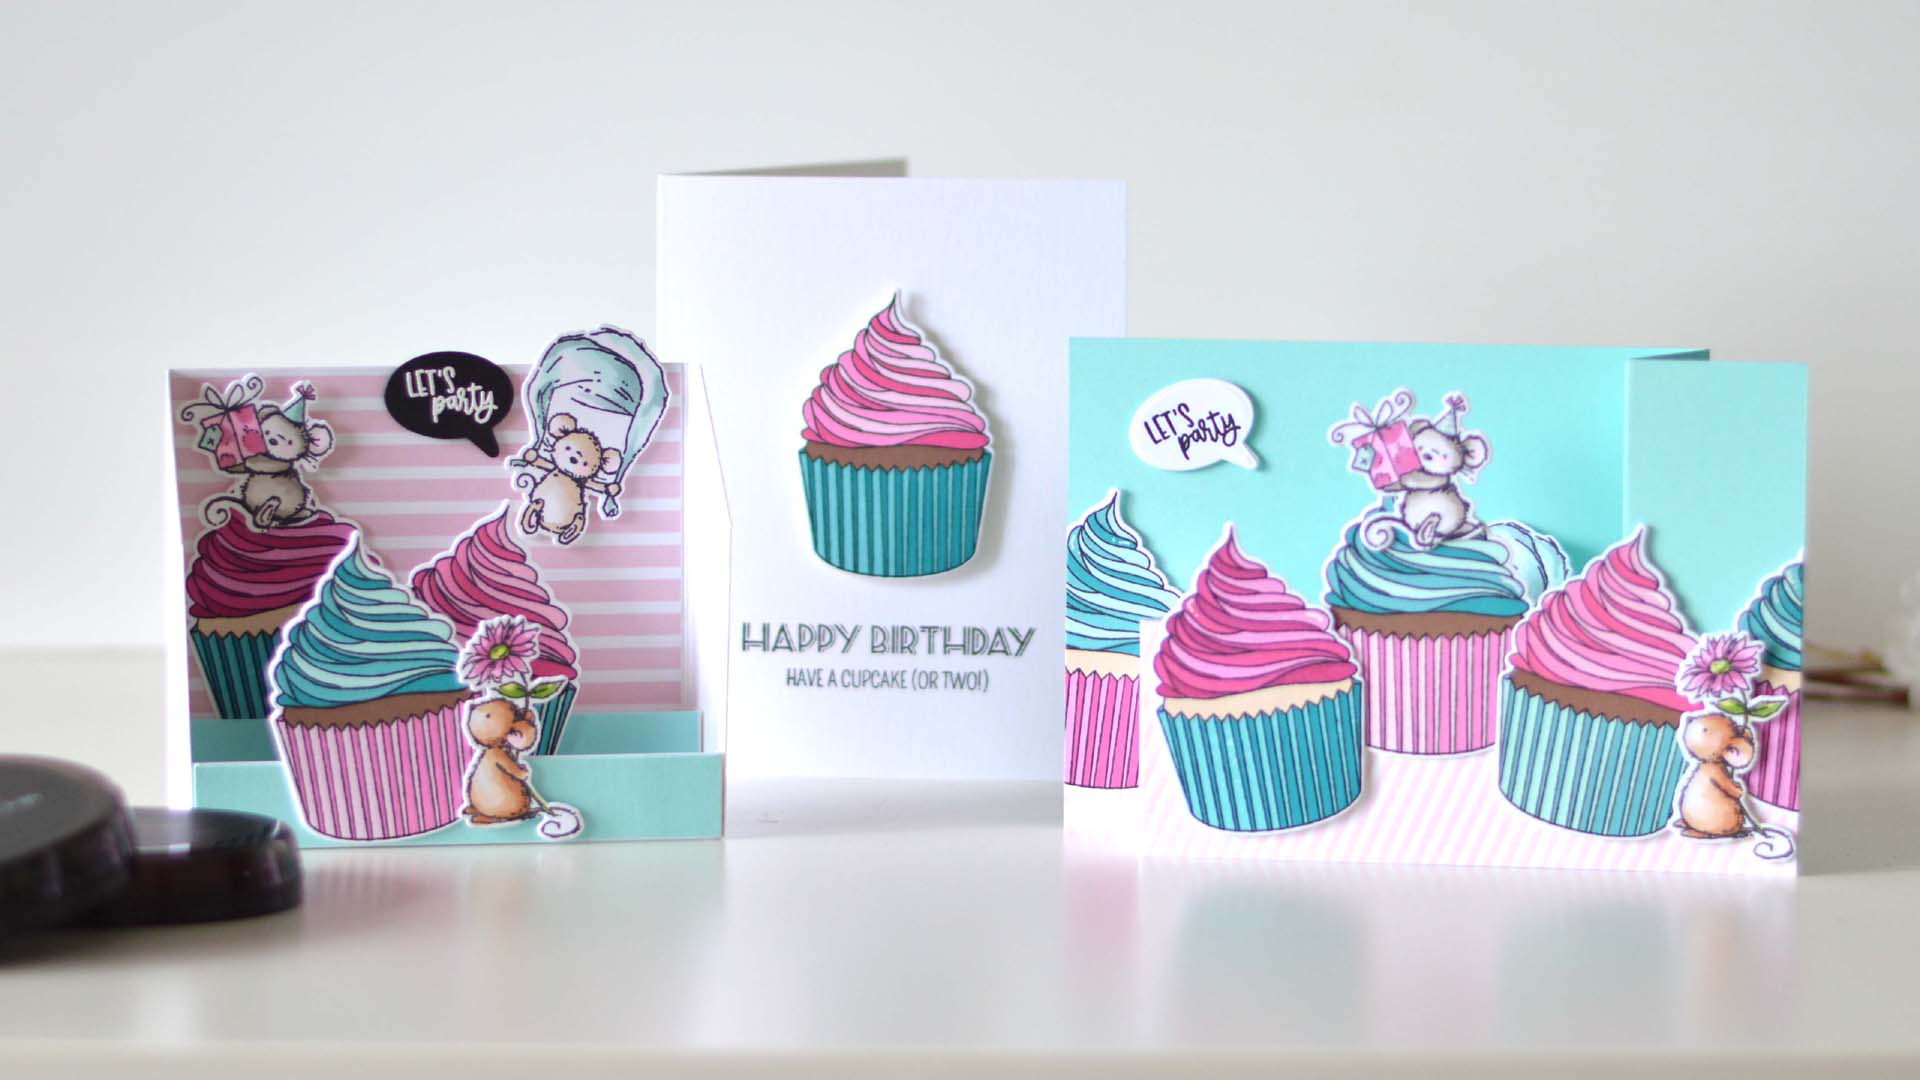
Have you made a Pop-Up card yet? What are you waiting for! I’ve got some great ideas to share with you today, including a BONUS, and I want to know from you if you have ever tried this bonus idea yourself?
Welcome back to another Same But Different video! Today I am ‘popping’ in to let you know a couple more EASY Pop-Up card techniques. And if you missed it, you can see my first inspiration HERE, as well as the video HERE. But, the BEST thing is that these techniques can be used with any of the images and items that you already have on hand.
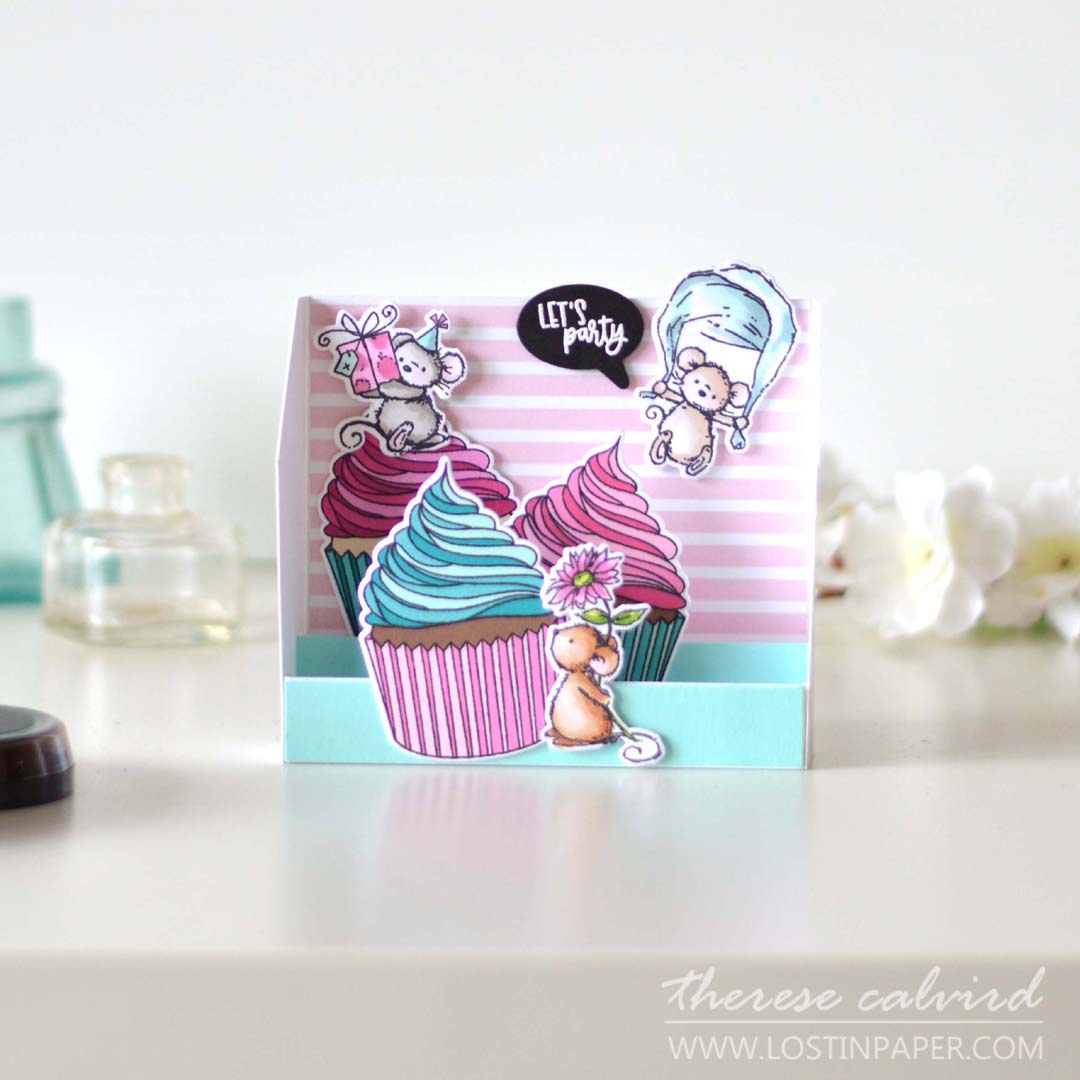
Idea #1 – Pop-Up Card Base
This card is full of dimension but still packs down and fits into an A2 envelope!
- Cut a base piece of cardstock 6 1/2″ X 4″ and score at 1″ on each end.
- To create the tabs cut 2 pieces of cardstock 5″ X 1″ and 5″ X 3/4″ and score at 1/4″ on each end.
- I like to use a heavier weight cardstock, but you can always decorate it with coloured cardstock or design paper of your choice.
- Use strong double sided adhesive or liquid glue to adhere the tabs to the bottom of the card base.
- Please note that any stamping onto these pieces will need to be done prior to assembly.
- When adding your choice of design elements to your card, use minimal dimension, this will ensure that it will still fold flat and fit into an envelope.
- Can’t be bothered measuring and ‘thinking’ then this fabulous die from Concord & 9th is for you!
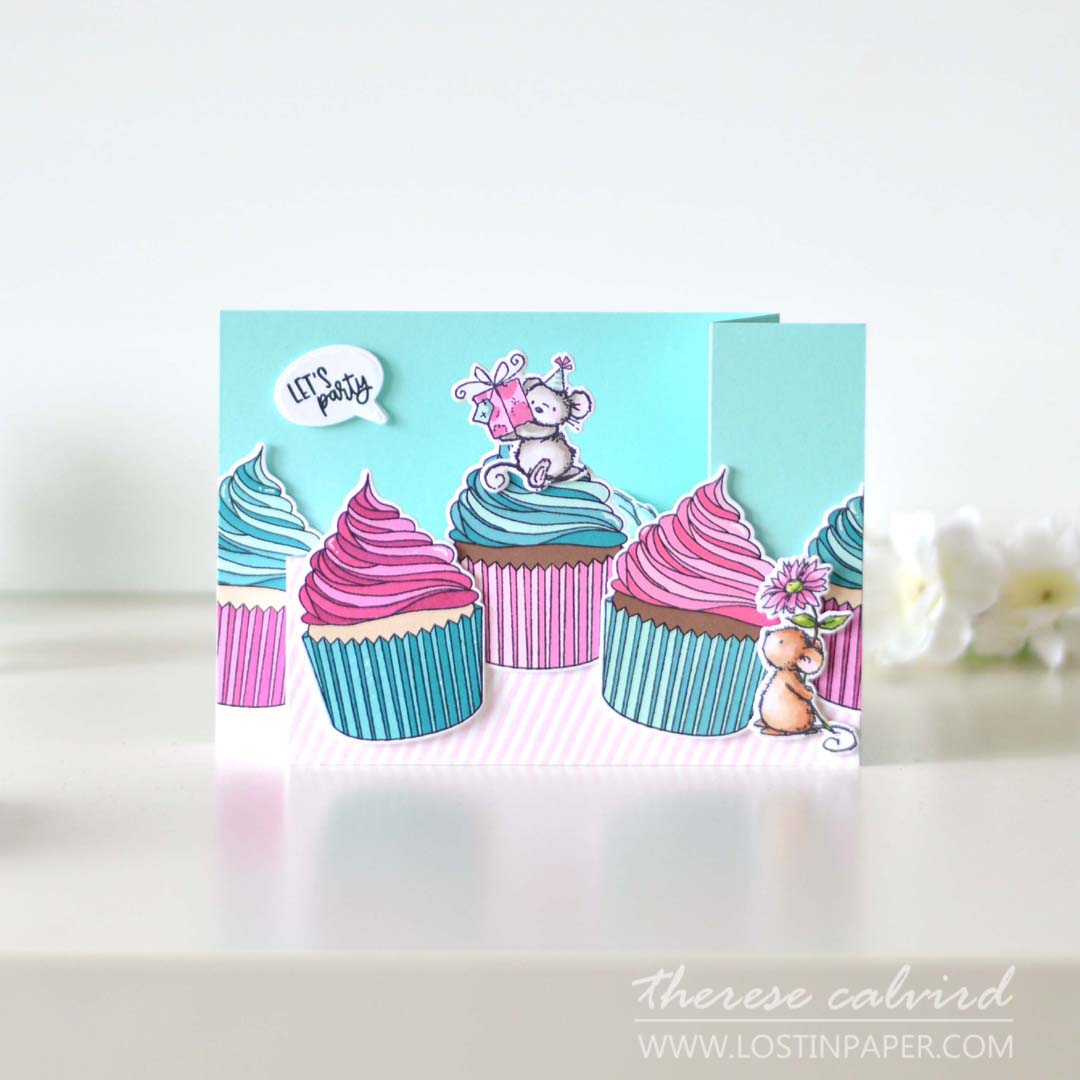
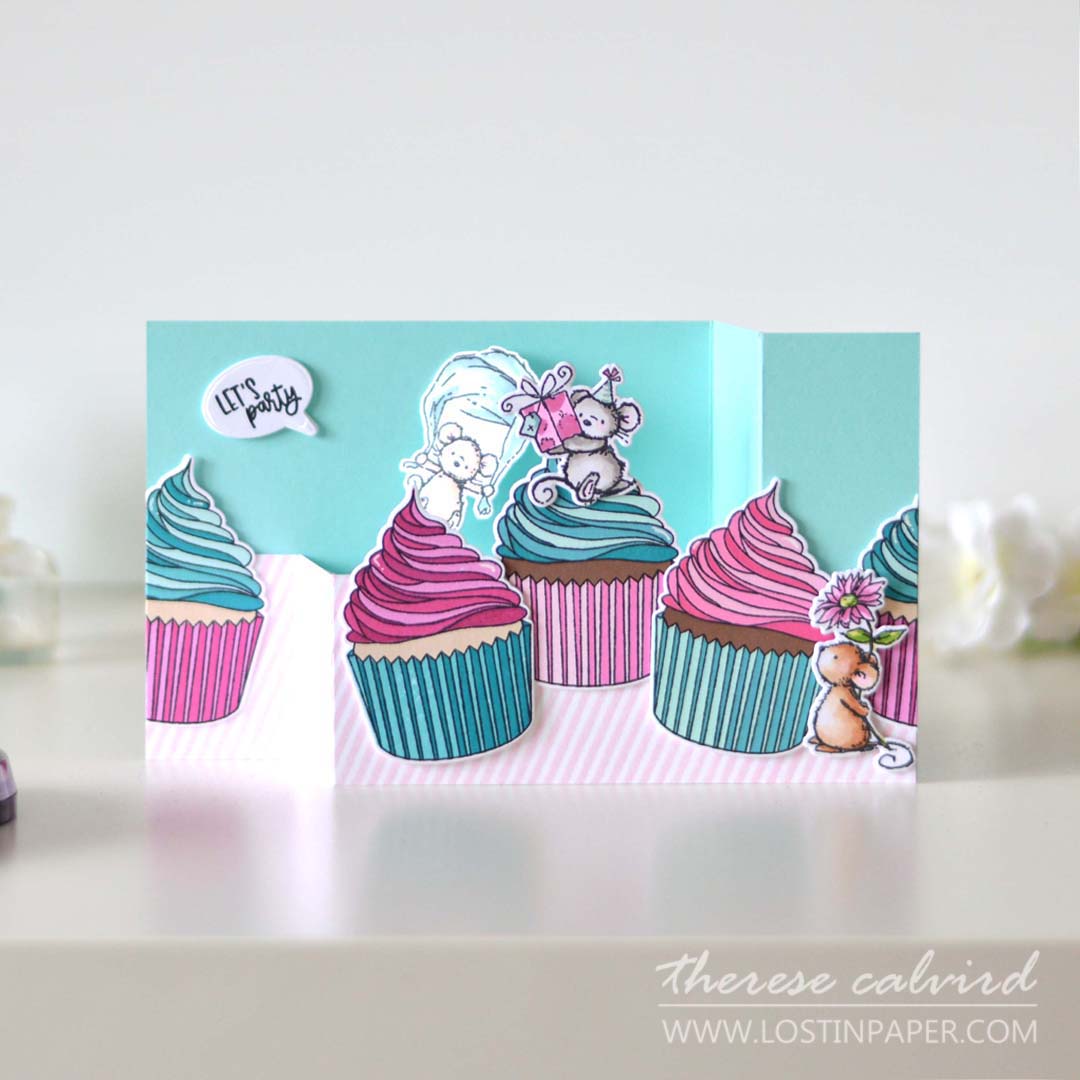
Idea #2 – Wiper Card
Seriously, this is a FUN interactive card, AND it is easier to make than it looks!
- Cut a card base 8 1/2″ X 4 1/4″ and score at 5 1/2″ & 7″
- Cut a ‘front panel’ 8 1/2″ X 2″ and score at 1 1/2″ & 3″
- To create the Wiper mechanism, cut a piece of card 2″ X 3/4″ and make a mark at 3/4 from each end. Score from this mark to each corner to create a ‘V’ shape.
- Add strong adhesive to each side of the left ‘V’, this will hold the image. Then, flip it over and add adhesive to the triangle corner of the right side, this will be adhered to the back of the front panel at top left side of the first score line.
- Attach the front panel to the bottom of the card base with strong adhesive or liquid glue at each end.
- Be sure to test your image when you attach it to the mechanism to make sure that the card will close correctly and that the image will not be seen outside the card when it is closed.
- Use an acetate strip to attach your image to the mechanism if you don’t want it to be seen.
- You can adjust the size of the front panel to suit the image you plan to use (so that it fits behind the panel)
- Do any stamping onto the cardstock prior to assembly.
- Don’t add too much dimension, especially where the mechanism/image will be moving as you do not want it to get caught.
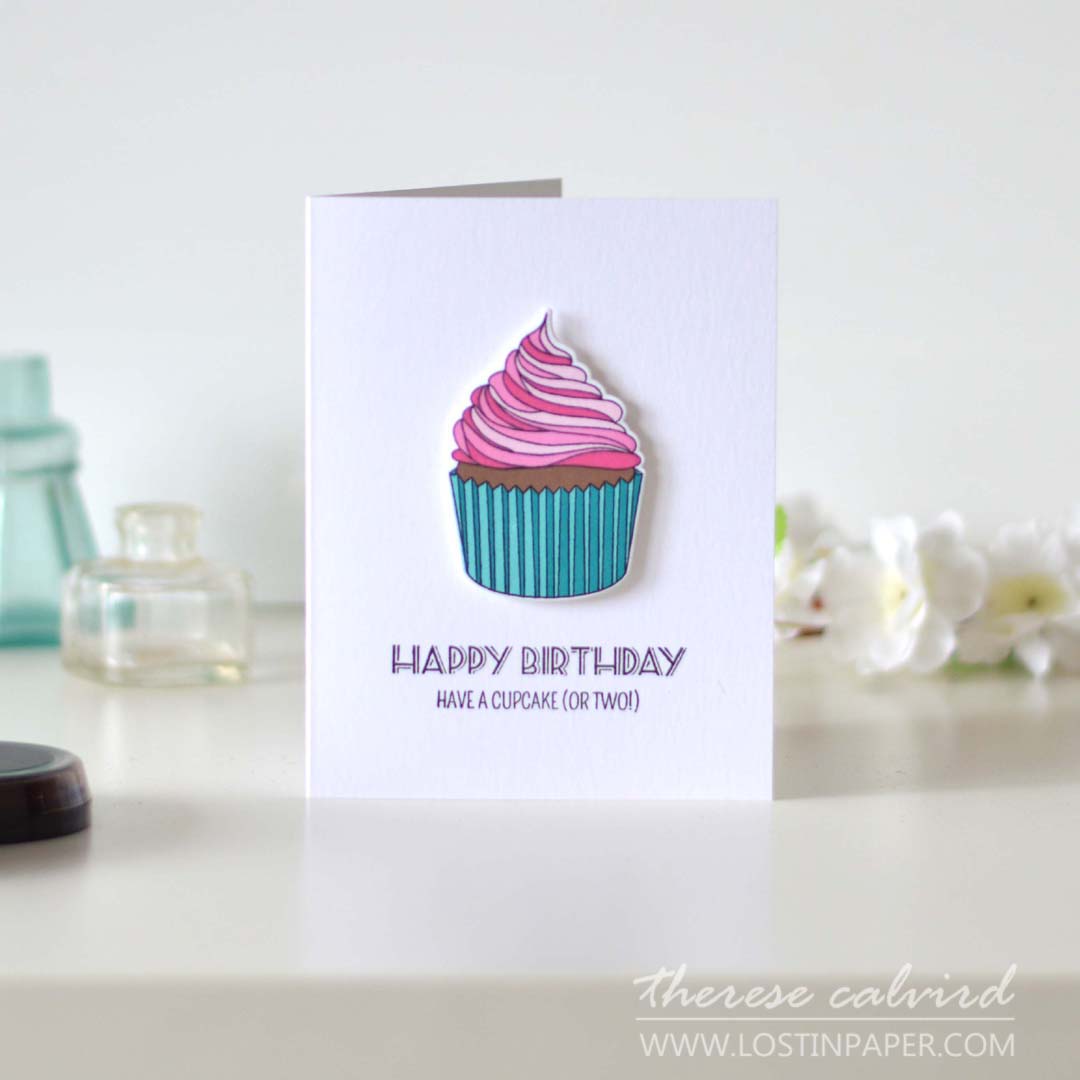
I made a ‘tray’ of Layered Cupcakes for todays cards along with some cute critters from It’s Your Day, but you can find all of the supplies that I used linked below. But, what do you do with leftover cupcakes…..
Bonus Idea – Action Wobble
I love using Action Wobbles but have never used them ‘inside’ a card before! The element of surprise when the inside of your card holds a fabulous Pop-Up Action Wobbling cupcake… could your day get any better!
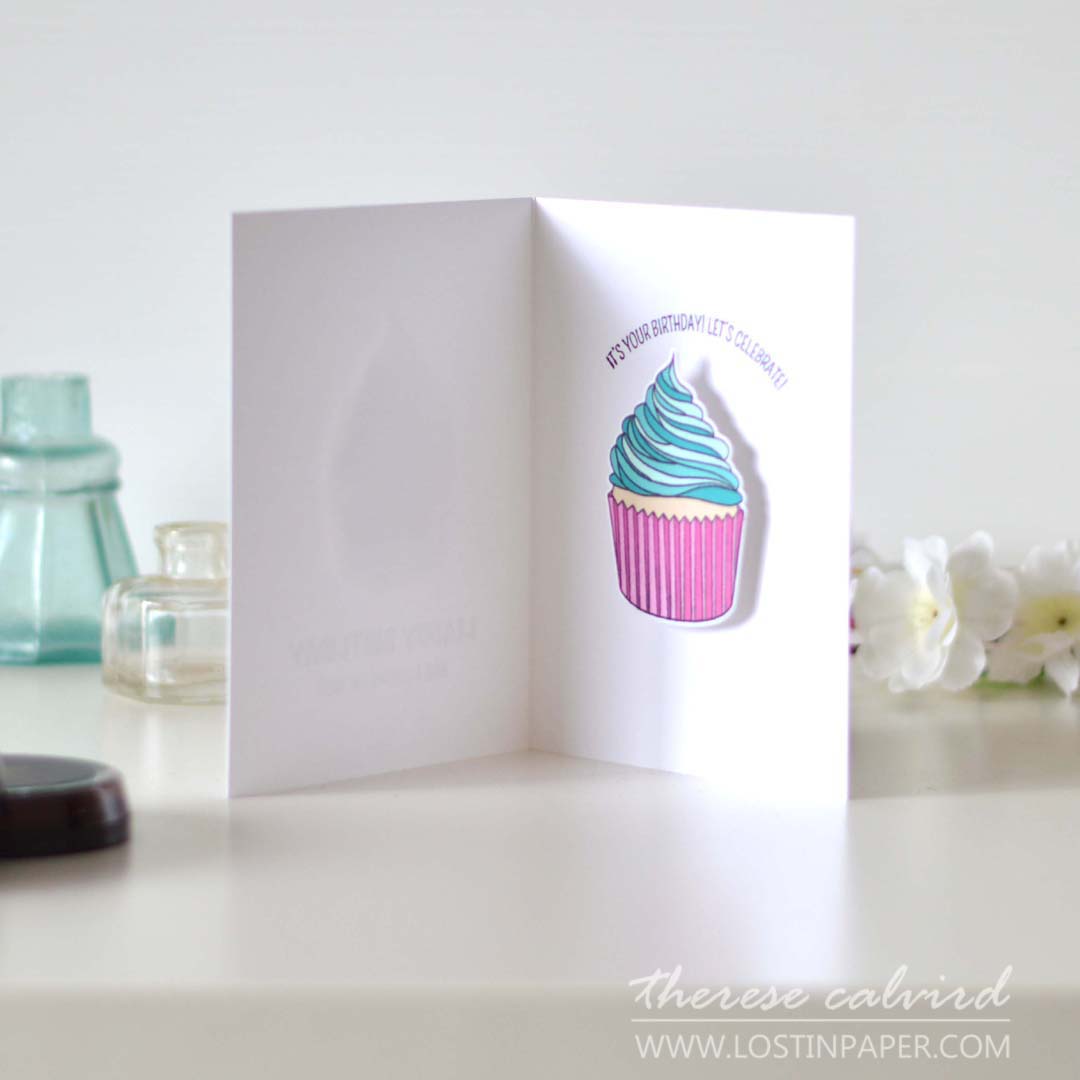
BONUS IDEA: Did you know that there are ‘mini’ Action Wobbles? Imagine having a kaleidoscope of butterflies popping up in the centre of your card!
Are you ready to watch all of these come together, with many more tips and tricks along the way? Then, watch the video here or Watch it in HD on YouTube.
And did you see that I have launched my FREEBIE/Design HACKS page at my blog, you can find the tab at the top of this page and I plan to add to it as I can. So please join me there and also if you have any ideas, requests don’t hesitate to contact me here
thereseatlostinpaperdotcom.
I hope this has been helpful and given you some tips and inspiration to create some Pop-Up cards. And if you do, I’d love you to share them with me on Social Media, Crafty Hugs,

Also, just in case you want to do a little shopping I’ve added the links below (some of them are affiliate links which means that I will receive a small portion of the sale at no extra cost to you). I truly appreciate your support of my card adventures!
Other Supplies:
Copics – 0 / RV00,02,34 / BG11,72 / YG00,03,17 / W0,2,4 / E31,33,40,42,44,50.
 Neenah Solar 110 SSS | AUZ | EH |  Neenah Solar 80 AMZ | SSS | AUZ | EH |  Aqua Sky EH |  Jet Black ALT | AUZ |
 A Love For Stripes Set A ALT |  Layered Cupcake Bundle ALT |  It’s Your Day OTH |  …your day Dies OTH |
 Skinny Stripes EH |  Heart Eyes Die EH |  Soak it Up Combo EH |  Card Stacks Base Die SSS | EH |
 Tuxedo Black SSS | AUZ | EH |  Nocturne SSS | AUZ | EH |  Versamark Ink SSS | AUZ | EH |  Dew Drops ALT | SSS |
 Aqualicious ALT |  Teal Cave ALT |  Rose Quartz ALT |  Sand Dunes ALT |
 Pink Diamond ALT |  Pinkalicious ALT |  Rubellite ALT |  Razzleberry ALT |
 Vanilla Cream ALT |  Dark Chocolate ALT |  Sweet Dreams ALT | AUZ |  Cherry Blossom ALT | AUZ |
 Copic Markers SSS | EH |  Action Wobble SSS | AUZ | EH |  WOW Heat Tool AMZ | SSS | AUZ | EH |  Opaque Bright White SSS | AUZ | EH |
 Powder Tool SSS | AUZ | EH |  T Ruler SSS | AUZ | EH |  Paper Trimmer SSS | EH |  Scissors SSS | AUZ | EH |
 Spring Scissors SSS | AUZ | EH |  Bone Folder Altenew ALT | SSS | AUZ | EH |  Mini Score Board SSS | AUZ | EH |  MISTI Sticky Mats SSS | AUZ | EH |
 MISTI SSS | AUZ | EH |  Magnets OTH |  Gemini Junior SSS | EH |  Bigshot SSS | EH |
 Gemini Double Cutting Plates SSS | AUZ |  Turntable AMZ |  Thin Foam Squares SSS | EH |  Bearly Art Glue SSS | AUZ | EH |
 ATG SSS | EH |  Tape 1/2 SSS | EH |  Glue Tape ALT | SSS | AUZ |  Foam Tape ALT | SSS | AUZ | EH |
 Wonder Tape 1/4″ SSS | AUZ |
You make it look so easy 😊
Oh yes, but it was easy lol.
Well Done Therese! Love all of your cards. Couldn’t get to your next tutorial after that one. Love watching your videos.
Thanks so much Vickie! Did you mean that the link isn’t working to the next tutorial? I will have to check it out, thanks for the heads up!
Full of fun and fabulous images to bring a little action to the card table, Therese!
=]
Yes, it’s all action stations here my friend x
How cute are those mice! These are delightful, cards Therese!
Glad you like them Lisa x
I love these ideas! and the colors are cheerfully brilliant 🙂
Just to clarify….on the wiper card, did you “sandwich” the acetate inside the triangular adhesive bits? thank you!
(btw- I NEVER have “leftover” cupcakes)
ahem… no leftover cupcakes in my house either, or any kind of cake for that matter lol. And yes, I did sandwich the acetate inside the fold, hope that made sense… if not, let me know. Crafty hugs Tx
I really need to give this a try. I love how fun your pop up cards look!
There are so many different versions of ‘pop’ I can’t wait to try some more lol.
I love your pop-up cards. I am so glad you did a video because, I have to admit , I had a little trouble following the written directions. Of course, if I had been at my craft table with my products in my hand and followed directions step by step, it would have made perfect more sense. Thank you for sharing your process and cards.
I agree, it’s much easier to ‘do’ by watching, so glad you like these Dana as they were fun to make!
Fabulously yummy,scrummy pop ups beautifully coloured and who doesn’t love a pop up especially with a little action wobble.! I’ve got a ton of them sitting in my drawer so thanks for the inspiration .
Marie
Would you believe that was my last ‘big’ wobble, it’s on the list though lol.
Firstly stunning photography, these designs are remarkable, wonderful and fresh !! Love it xxx
These are all amazing! and who wouldn’t love a cupcake card. Well done and thank you for your awesome inspiration.
Thank you my friend x