Do you waste time searching for the ‘perfect’ matching coloured cardstock? Today, I share how I take these cards from white to WOW, with 4 easy techniques!
I’ve been on a Dye Ink ‘stretching’ kick at the moment and, if you have been here before, you already know that I love to get more out of my supplies. Check out this release post from Altenew where I shared 4 EASY ways to add colour with Dye Inks. But, I couldn’t stop there, because today I have even more examples to inspire including a BONUS technique!
Would you like to see today’s cards?

This post contains affiliate links (which means that I will receive a small portion of the sale at no extra cost to you). I truly appreciate your support of these card adventures!
Technique #1 – Ink Blended Backgrounds – ALL the Ways!
I had to mention Ink Blending (again) as I used it in ALL of my designs today. But it is truly such an easy way to create quick and easy coloured cardstock that it couldn’t be missed.
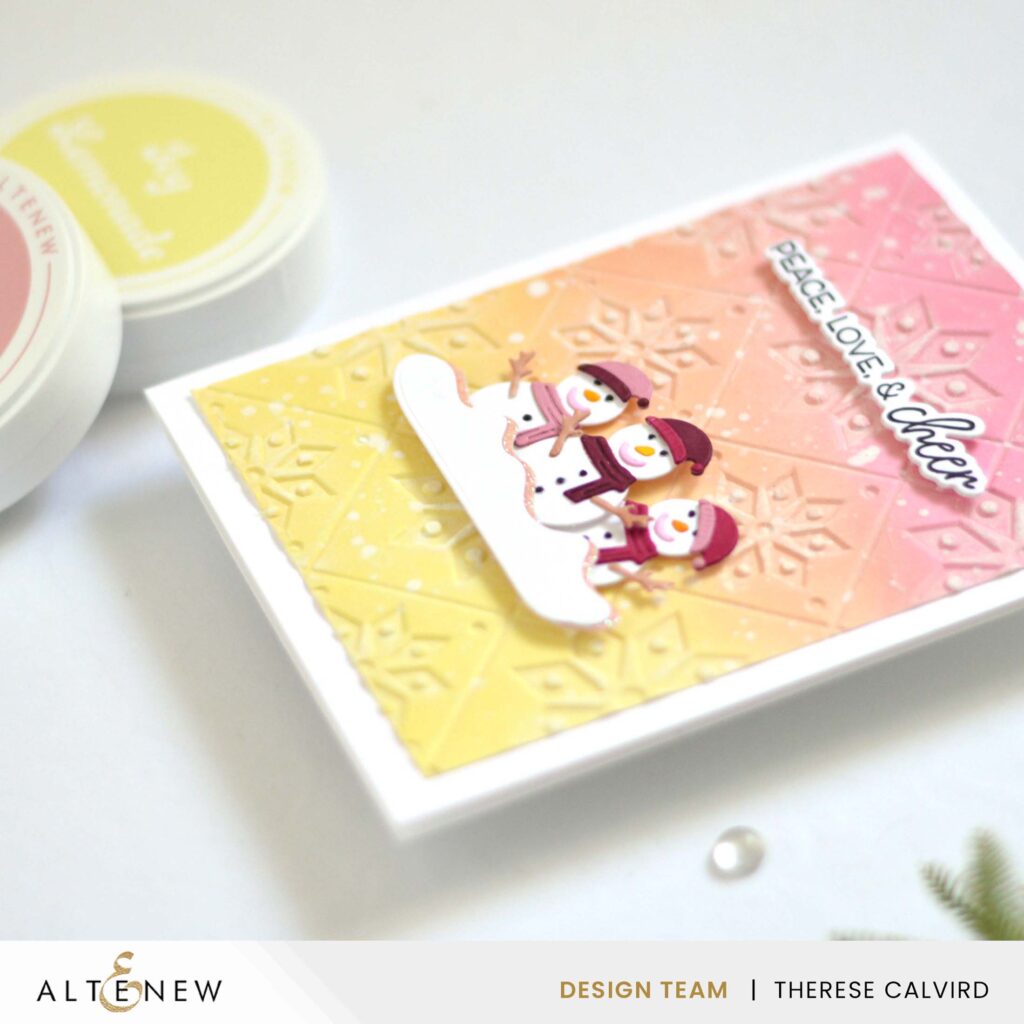
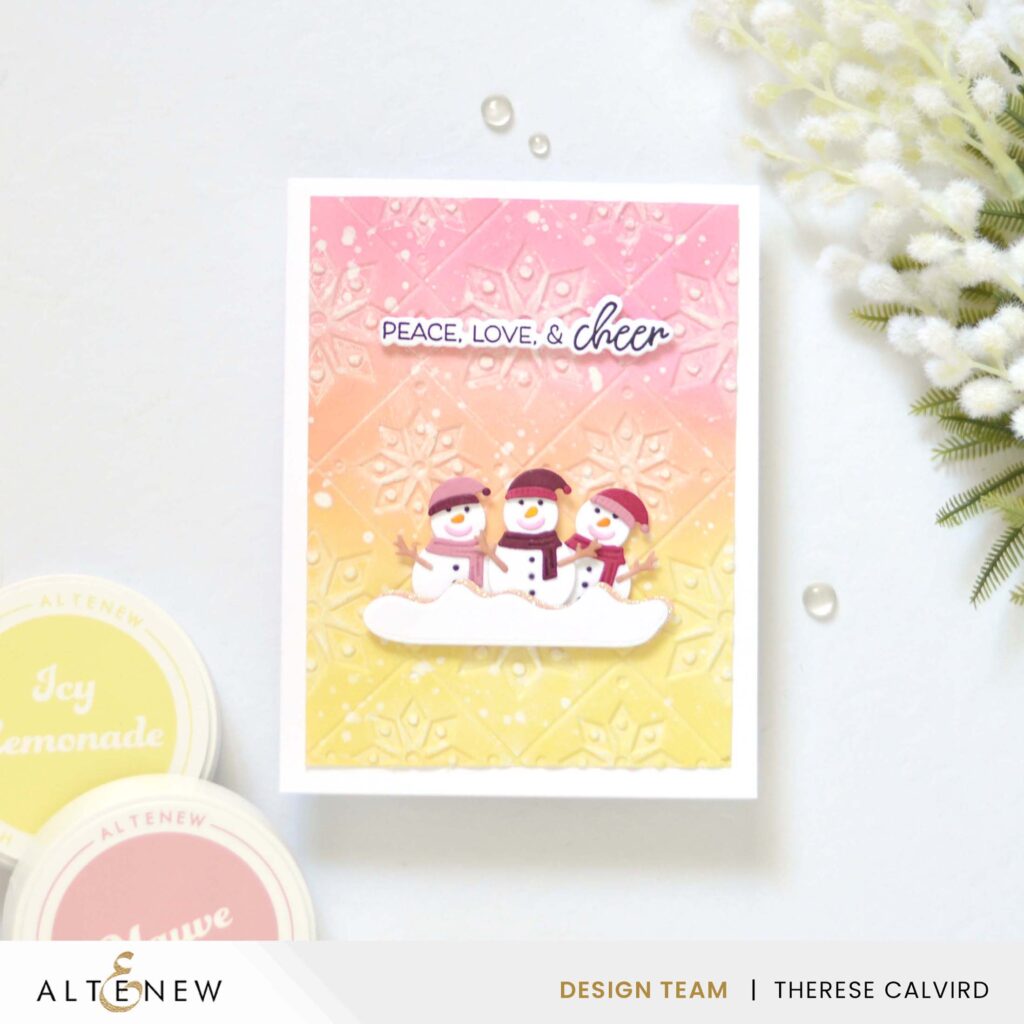
And, it doesn’t have to be boring, inks can be layered as a single colour, add depth with extra layers of the same colour or darker versions. It’s also easy to mix and blend multiple colours, making for a fun background technique, such as in my first design here, where I also added some dimension with an embossing folder.
PRO TIP: To get a smooth result, practice with different types of cardstock and brushes. For me, I get the best results using the Altenew Large Blending Brushes, but everyone is different.

Technique #2 – Ink Swiping
Have you ever tried Ink Swiping? It is exactly what it sounds like, and very easy to do, simply ‘swipe’ any ink pad directly onto white cardstock. Can you imagine the possibilities of adding perfectly matching cardstock with your stamped images? These little snowmen are decorated with die cut ‘ink swiped’ hats and scarfs!
PRO TIP: I like to wait a few minutes for the dye ink to dry into the paper before I do any die cutting.

Technique #3 – Ink Blended Die Cuts!
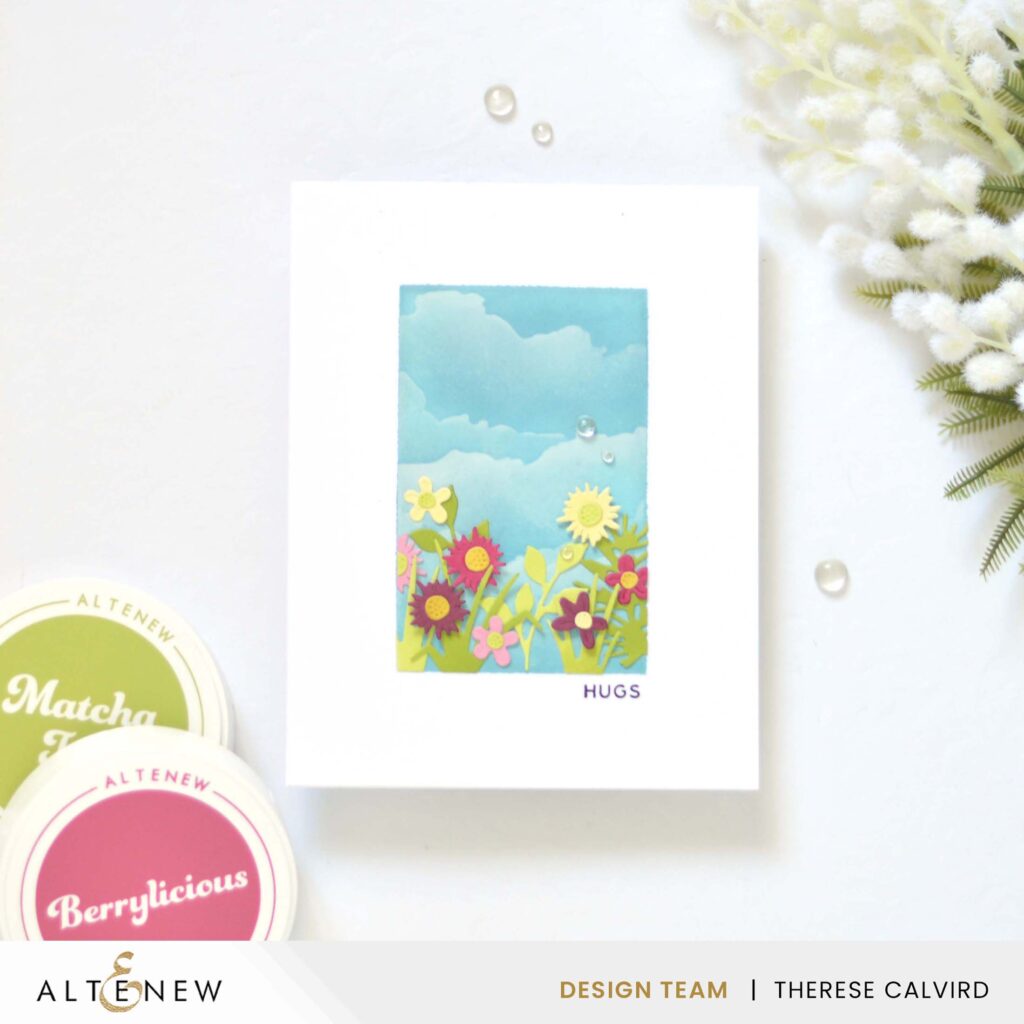
More ink blending? Yes, why not ‘pre-colour’ cardstock to die cut, you can achieve nice soft subtle colours, ombre, bold or even multi coloured cardstock. Use the pre-coloured cardstock to die cut shapes such as the flowers in my second card design here, or take it a step further and use them for a layered die cut design.

You may have noticed that again I have ink blended the background, but this time I masked off a window and then added a second layer using a stencil to create some subtle clouds.

Technique #4 – Handmade Design Paper!
Create your own Design Paper! I started with a lightly blended single colour in the background and then I added a repeated random pattern using a flower and leaves. Note, that if you are stamping on coloured cardstock then the original colour that you are stamping over top will look slightly different so make sure to test on a practice piece first.
PRO TIP: To get a continuous pattern/design paper look make sure that you stamp some of the images over the edge, this makes the pattern look like it is meant to continue.

BONUS Technique – Alcohol Markers!
This one never gets old for me. And you now have coloured cardstock as large as your marker selection 😉! Just grab your marker colour of choice and literally scribble onto the cardstock. I also like to wait a few seconds for the cardstock to dry before die cutting to get a nice crisp die cut edge.
OR, you can also use option number 2 which is to die cut the cardstock first and then colour it with your markers… you can even add multiple shades like I have here on the wood in the fireplace.

Phew! That was huge, I hope you are inspired to stretch some Dye Inks yourself! Crafty Hugs,

Other Supplies: Altenew – SHOP the New RELEASE HERE
Altenew Artist Markers – Y911 | Y207 | Y 612 | Y634 | Y762 | R601 | S
Altenew Glitter Cardstock – Sparkling Peach
 Neenah Solar 110 SSS | AUZ |  Neenah Solar 80 SSS | AUZ |  Fairy Dust Glitter Cardstock ALT | SSS | AUZ |  Through The Window ALT |
 Snowy Stars 3D ALT |  Cloud Scene Stencil ALT |  Linear Life: Poinsettias Bundle ALT | AUZ |  Linear Life: Poinsettias ALT | SSS |
 Linear Life: Poinsettias Dies ALT | SSS |  Wood Stove Fireplace ALT |  Rainforest Leaves ALT | SSS |  Vintage Roses ALT |
 Vintage Flowers ALT |  Obsidian ALT | SSS | AUZ |  Cloud White ALT | SSS | AUZ |  Dried Petals Ink Set ALT |
 Pink Crystal ALT |  Mauve ALT |  Berrylicious ALT |  Acai Berry ALT |
 Forest Trail Ink Set ALT |  Aloe Vera ALT |  Matcha Tea ALT |  Swamp Green ALT |
 Oak Moss ALT |  Wood Warbler Ink Set ALT |  Icy Lemonade ALT |  Oolong Tea ALT |
 Citronella ALT |  Green Gold ALT |  Dew Drops ALT | SSS | AUZ |  Ocean Waves ALT | SSS | AUZ |
 Ink Blending Tool ALT | SSS | AUZ |  Mini Blending Brush Set ALT | SSS | AUZ |  Artist Markers – Set A ALT | AUZ |  Artist Markers – Set B ALT |
 Artist Marker Set D ALT |  Sunshine Valley Garden Set F ALT |  Water Garden Set G ALT |  Tweezers ALT | SSS | AUZ |
 Stampwheel Square Grid Flip Plate ALT |  Stampwheel ALT | SSS | AUZ |  Score Board ALT | SSS | AUZ |  Sticky Grid Mat ALT | SSS | AUZ |
 Sticky Grid Mat Ultra ALT |  Cutting Mat ALT | SSS |  Paper Trimmer SSS |  Mini Blossom ALT |
 Bigshot SSS |  Gemini Junior SSS |  Satin Masking Tape ALT | SSS | AUZ |  Bearly Art Glue SSS | AUZ |
 Glue Tape ALT | SSS | AUZ |  1/2″ Ultra Sticky Tape ALT | SSS | AUZ |  Foam Tape ALT | SSS | AUZ |

Hi Therese, I like your cards, but my favourite is the fire place one ” Have a beautiful day”, is it possible to have the size of the card please? Cheers and Thankyou, Marilyn.
Hi Marilyn, the finished size of the card is A2 which is 4 1/4″ X 5 1/2″ Hope this helps, Crafty hugs, Therese
Such fun ideas, Therese – with darling results! [Your fireplace is STILL in our little paper log cabin]
=]
You know that makes my heart happy Michele!
Beautiful cards! I love each of them, the colours are gorgeous!
Thank you so much Giselle!
Wonderful ideas and pretty cards! I love how cheerful those little snowmen are!
I think they are adorable too Lisa!
Beautiful cards and beautiful colors!
Thank you Lisa!
Such clever post, really interesting to read and I took on your ideas, I’m forever wasting time matching cardstock together. Bring on more ideas like this Therese. I love your work so much, these designs are incredible . Hugs xx
Me too lol. I hear you, the colour match has to be just right…
So many great designs. Live then all. I know it’s a bit more work but much easier to have bulk white or cream card stock paper and custom blend.
I agree Lisa, I can search for ages looking for the perfect colour matching cardstock lol.
More fabulous tips! and cards.