
Did you know that you can easily create a reverse image of a stencil, or what about layering stencils for a new and bold look? Today I share 2 cards with you showing how it can be done!
But first, I wanted to let you know that this is part of my Take 2 Series with Altenew and I’m so excited that you are joining me for another video today. Let’s begin with a peek at today’s cards…
You can see my video here or watch it HD at YouTube.
I use affiliate links which means that I will receive a small portion of the sale at no extra cost to you).
I truly appreciate your support!
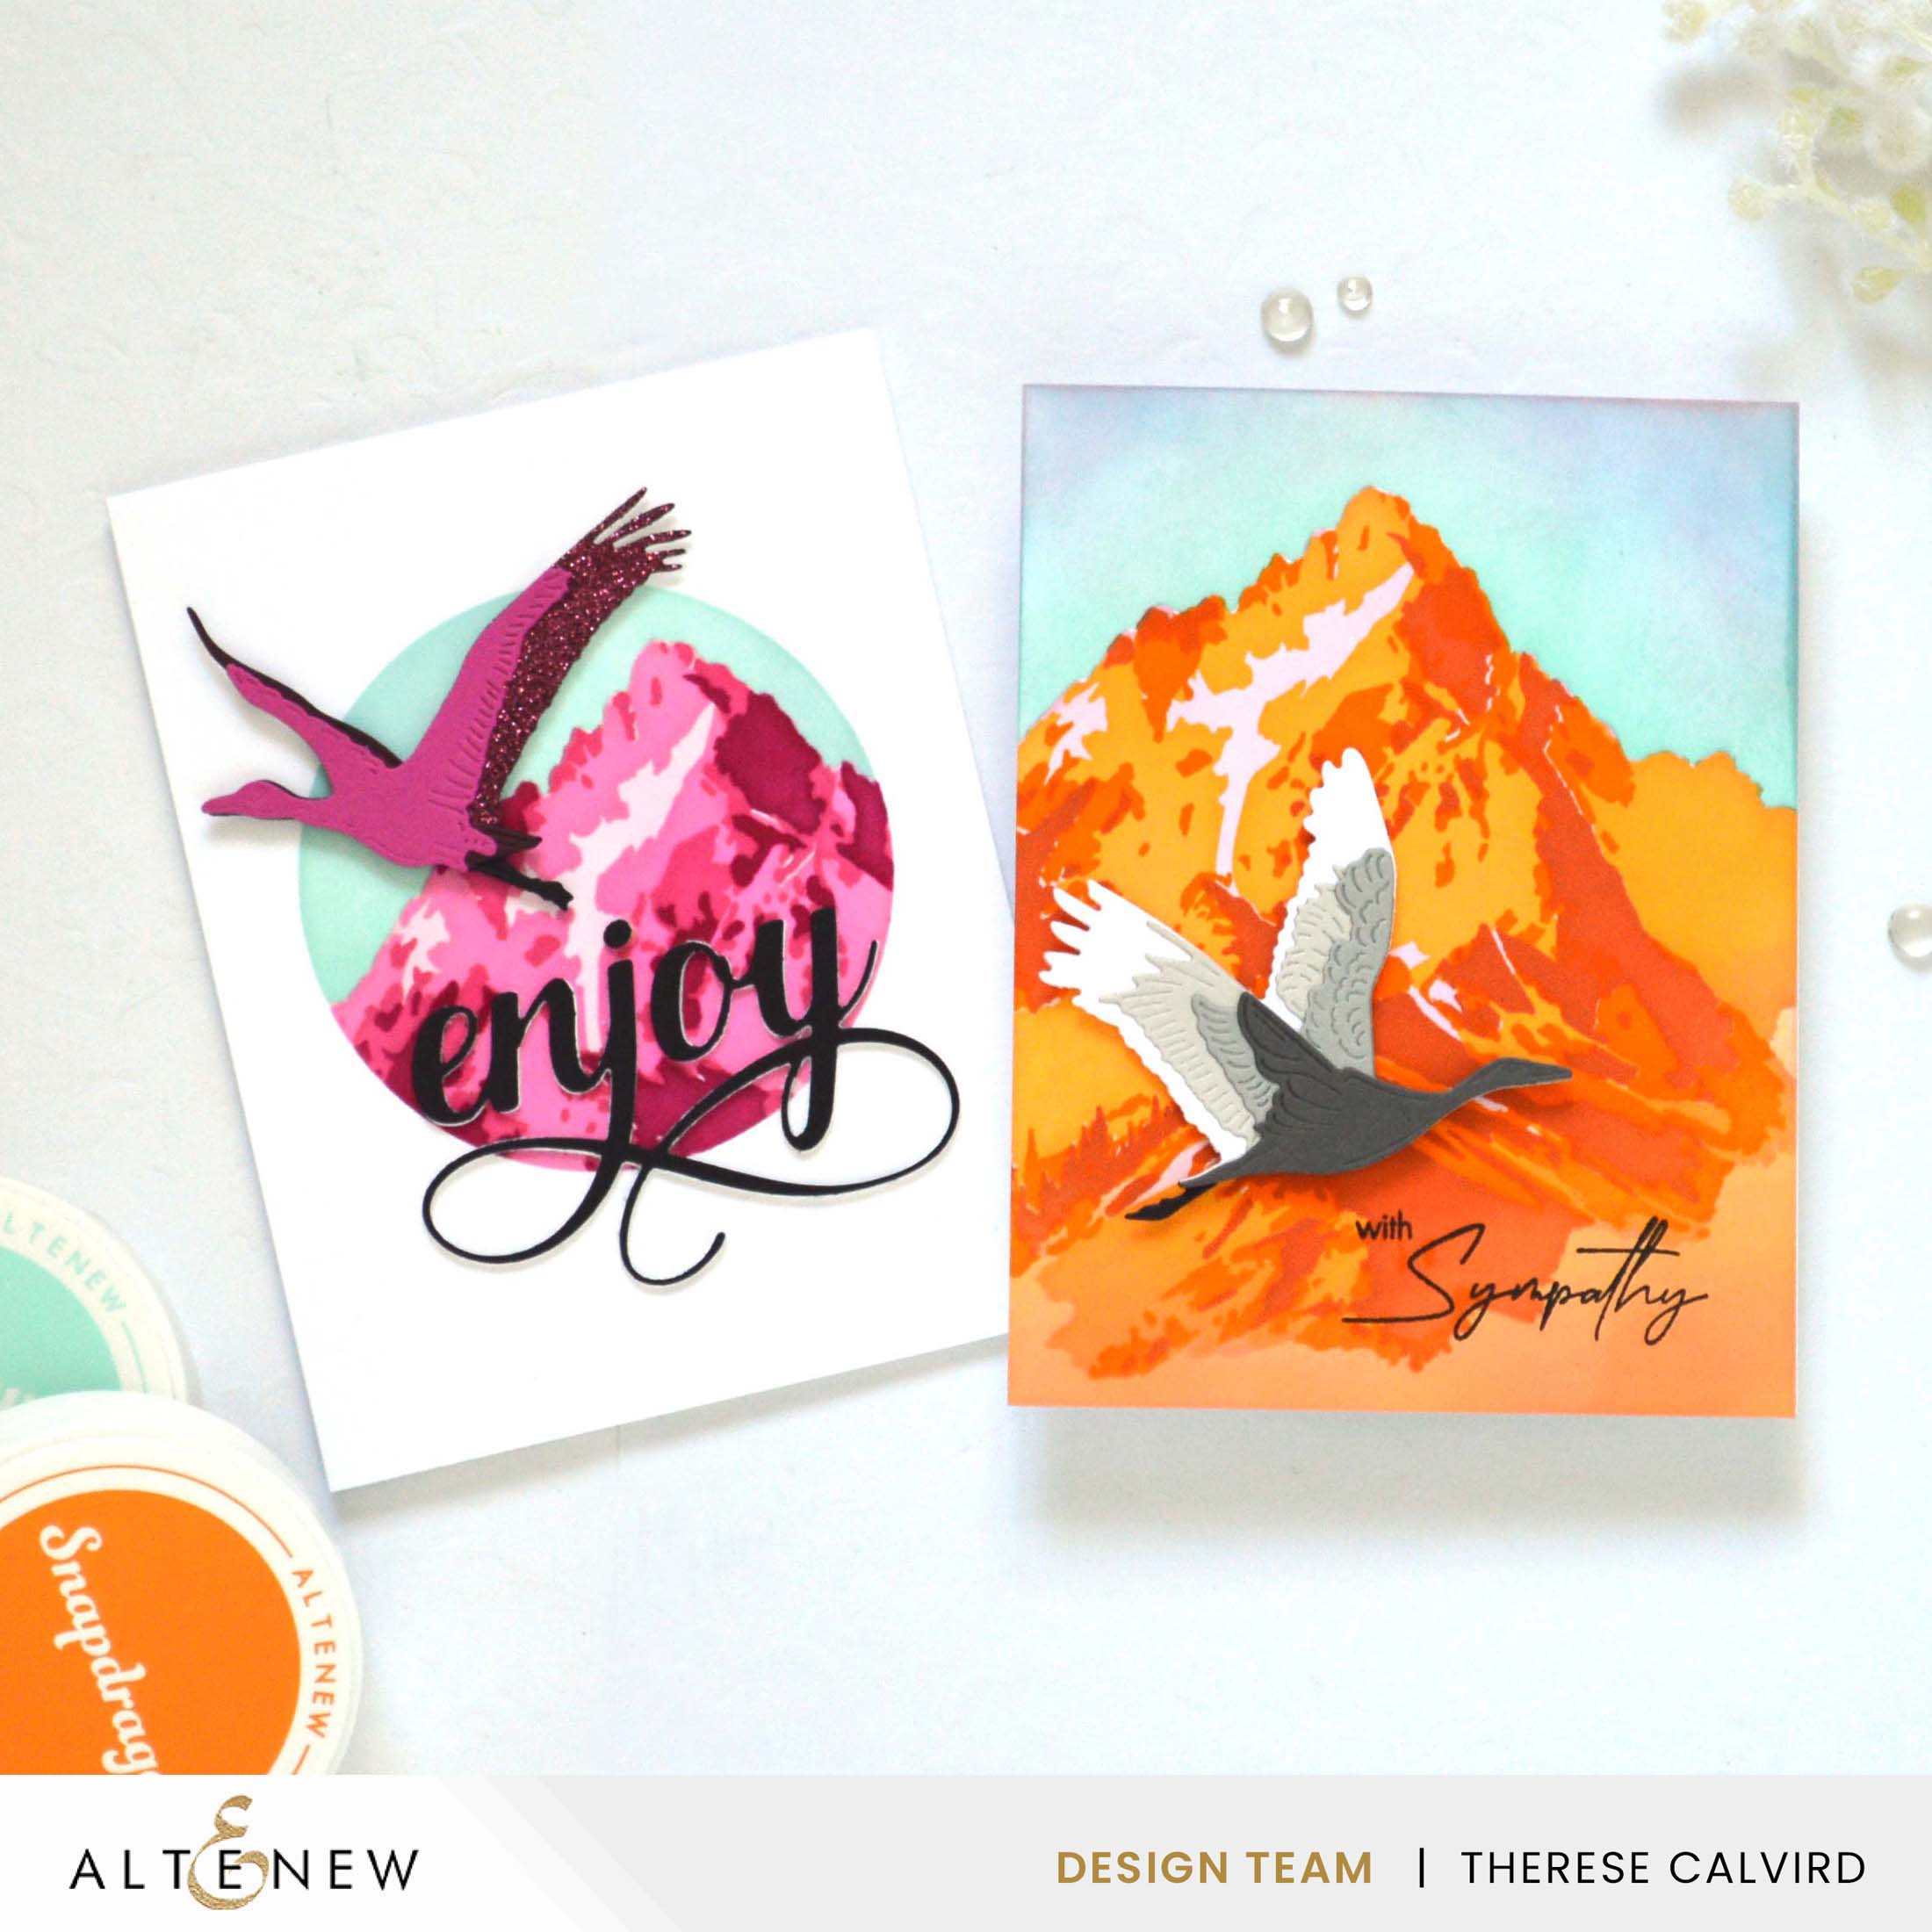
Stencils are an easy way to add color quickly, and with layering stencils such as the Majestic Mountains Set you can achieve a fabulous realistic look. But, today I decided to change up the color combinations to make the mountains less realistic and more bold and bright. But I wanted more…
Idea #1 – Reverse Image!
I wanted to blend a sky behind the mountain but didn’t have the postitive portion of the image to do this. So, to create the reverse image of the mountain I created a quick mask using a pencil and Masking Paper. It was easy to fussy cut this out with some Fine Blade Scissors and the best thing is, that I can re-use this mask if I want to.

I started with some pale pink ink and then layered up some bold oranges!
PRO TIP:
The Stampwheel Sticky Mat: Grid is the perfect companion to hold stencils in place when blending!

I added one of the Red-Crowned Cranes from the layering die set, as well as a sentiment from the Elegant Saying. But why stop at one bright mountain when you can have two, and my next color choice is pink!

Idea #2 – Layering Stencils
Why not create a unique focal point using a second stencil. For example, today I used the Circle Frame Stencil as a base to add the Majestic Mountains image, it changes the look completely and actually makes it more like a focal point.

This time I added a hot pink glittery Red-Crowned Crane!
BONUS IDEA! If you don’t have any ‘shaped’ stencils why not mask a square/rectangle or even die cut one!

This sentiment is one of my faves, I just love the ‘swirls’!

Let me know in the comments below which card is your fave today and if you think you might create a stencilled card design? You know you want to lol. Crafty hugs,

Also, just in case you want to do a little shopping I’ve added the links below (some of them are affiliate links which means that I will receive a small portion of the sale at no extra cost to you). I truly appreciate your support of my card adventures!
Other Supplies:
Altenew – Cardstock – Razzleberry | Cosmic Berry | Rhodolite.
 Neenah Solar 110 SSS | AUZ |  Neenah Solar 80 SSS | AUZ |  Pale Gray ALT |  Real Gray ALT |
 Dark Gray ALT |  Pink Brilliance Glitter Cardstock ALT | SSS | AUZ |  Rose Petal ALT | AUZ |  Cherry Blossom Cardstock ALT | AUZ |
 Masking Paper ALT | SSS | AUZ |  Majestic Mountains Stencil ALT | SSS |  Red-Crowned Cranes ALT | SSS |  Elegant Sayings ALT | SSS | AUZ |
 Circle Frame ALT | SSS |  Fancy Enjoy Die ALT | SSS |  Obsidian ALT | SSS | AUZ |  Golden Sunset ALT | SSS | AUZ |
 Chamomile ALT | SSS |  Snapdragon ALT | SSS |  Terracotta ALT | SSS |  Pink Diamond ALT |
 Pinkalicious ALT |  Rubellite ALT |  Razzleberry ALT |  Sea Glass ALT |
 Dew Drops ALT | SSS | AUZ |  Ink Blending Tool ALT | SSS | AUZ |  Mini Blending Brush Set ALT | SSS | AUZ |  Fine Blade Scissors ALT | SSS | AUZ |
 Stampwheel Square Grid Flip Plate ALT | SSS |  Stampwheel ALT | SSS | AUZ |  Score Board ALT | SSS | AUZ |  Sticky Grid Mat ALT | SSS | AUZ |
Sticky Grid Mat Ultra ALT |  Cutting Mat ALT | SSS |  Paper Trimmer SSS |  Mini Blossom ALT |
 Bigshot SSS |  Gemini Junior SSS |  Satin Masking Tape ALT | SSS | AUZ |  Bearly Art Glue SSS | AUZ |
 Glue Tape ALT | SSS | AUZ |  1/2″ Ultra Sticky Tape ALT | SSS | AUZ |  Foam Tape ALT | SSS | AUZ |
Well. Must I say it? Of course, my favorite HAS to be the grey crane soaring over your majestic glowing mountains! But, hey, I like the pink, too! lol
Off to watch you soar…
=]
Thank you so much Michele!
These are so lovely, Therese.
Yay! Glad you liked them Lisa!
hmmm… I’m not having such good luck with leaving comments on WordPress lately, Therese! I’m glad I popped back to check!
Of course, for my favorite I chose the grey Crane! But your majestic mountains are truly the star of your cards today!
Thanks so much for sharing your tip for fussy cutting a mat!
=]
Your cards are beautiful! Leave it to you to come up with an ingenious way to fix not having the left over stencil (reverse stencil) part to the layering stencils!! You are so smart!!
Thank you sooo much! I am happy that you enjoyed this and hope it may come in handy one day!
The bright mountains are both great but I do like the effect with the circle stencil.
So glad you liked them Christine. Hope you had a lovely Christmas my friend, thank you for my amazing card!!
Two beauties, Therese! Terrific color choices for your mountains!
Thank you so very much!
Love those colours. The cranes pretty spectacular.
Your stenciled mountains are a beautiful backdrop for those majestic birds, Therese.
It’s an easy and beautiful stencil to use, I am totally enjoying it (it was from the last retreat). Hugs to you x
The grey crane! What a clever technique.
This crane set is wonderful I agree!