
It’s Watercolor Month… so what are you doing? Well, I’m colouring with Marker’s 🤣! But these antique flowers certainly have an almost ‘watercolour’ look, what do you think 😉?
But first, I wanted to let you know that this is part of my Take 2 Series with Altenew and I’m so excited that you are joining me for another video today. Let’s begin with a peek at today’s cards…
Dust off those Alcohol Markers. Today I share 2 different techniques to create some beautiful ‘antique floral’ cards and fall in love with your markers again! Here’s a peek at today’s cards,

You can see the video below or watch it HD at YouTube.
I use affiliate links which means that I will receive a small portion of the sale at no extra cost to you).
I truly appreciate your support!
How long has it been since you used your markers?
Today I am sharing 2 ideas that will make you want to get your markers out and color! Alcohol Markers offer such a variety of coloring techniques! And I have 2 ways to use Altenew’s Artist Markers to create some stunning antique flowers that you can add to your card designs. If coloring is not your thing, then make sure to check out today’s second technique, because anyone can do this one!
#TOPTIPS
- Use ink that is compatible with alcohol markers – usually dye or hybrid inks are best (Pigment inks will smudge)
- Cardstock – a smooth finish and not too thick! And practice on the cardstock you have because each will react a little differently. You can buy specialty cardstocks for alcohol ink blending, but typically I use Neenah 80lb to keep things simple.
- For the antique look – I like using multiple styles of flowers and the more petals the better lol. Use an open style of flower and smaller filler flowers. A prestamped bouquet will make this process easier but you could easily create your own, either die cut and layer flowers or mask flowers and leaves to get the look in one layer.
- Choose colours that have that antique vibe. I like the look of multiple coloured flowers in one bunch and use a combination of subtle/pretty or bright/bold colours. It’s easy to search the web for combinations for inspiration if you don’t know where to start!
- Colouring technique: Use a light touch and don’t overwork the markers. Allow time for the cardstock to dry between layers, as it will dry a little lighter. This will give you time to look at the overall design and work out exactly where you think the deeper shadows will be (don’t be scared). You can also add folds into the petals with marker strokes if you want.
- Use a loose colouring style and leave some white space. This gives the flowers an ‘antique’ feel and almost looks like they have been watercoloured.
- Sometimes I like to add 2 colours to one flower, just like I did in today’s examples (practice combinations on scrap cardstock first).
- Finally, don’t forget that you can always mix any brands of alcohol markers to get the colours you like. And if you don’t have the colour you want, you can always colour with markers first and then add more colour/shading with pencils.
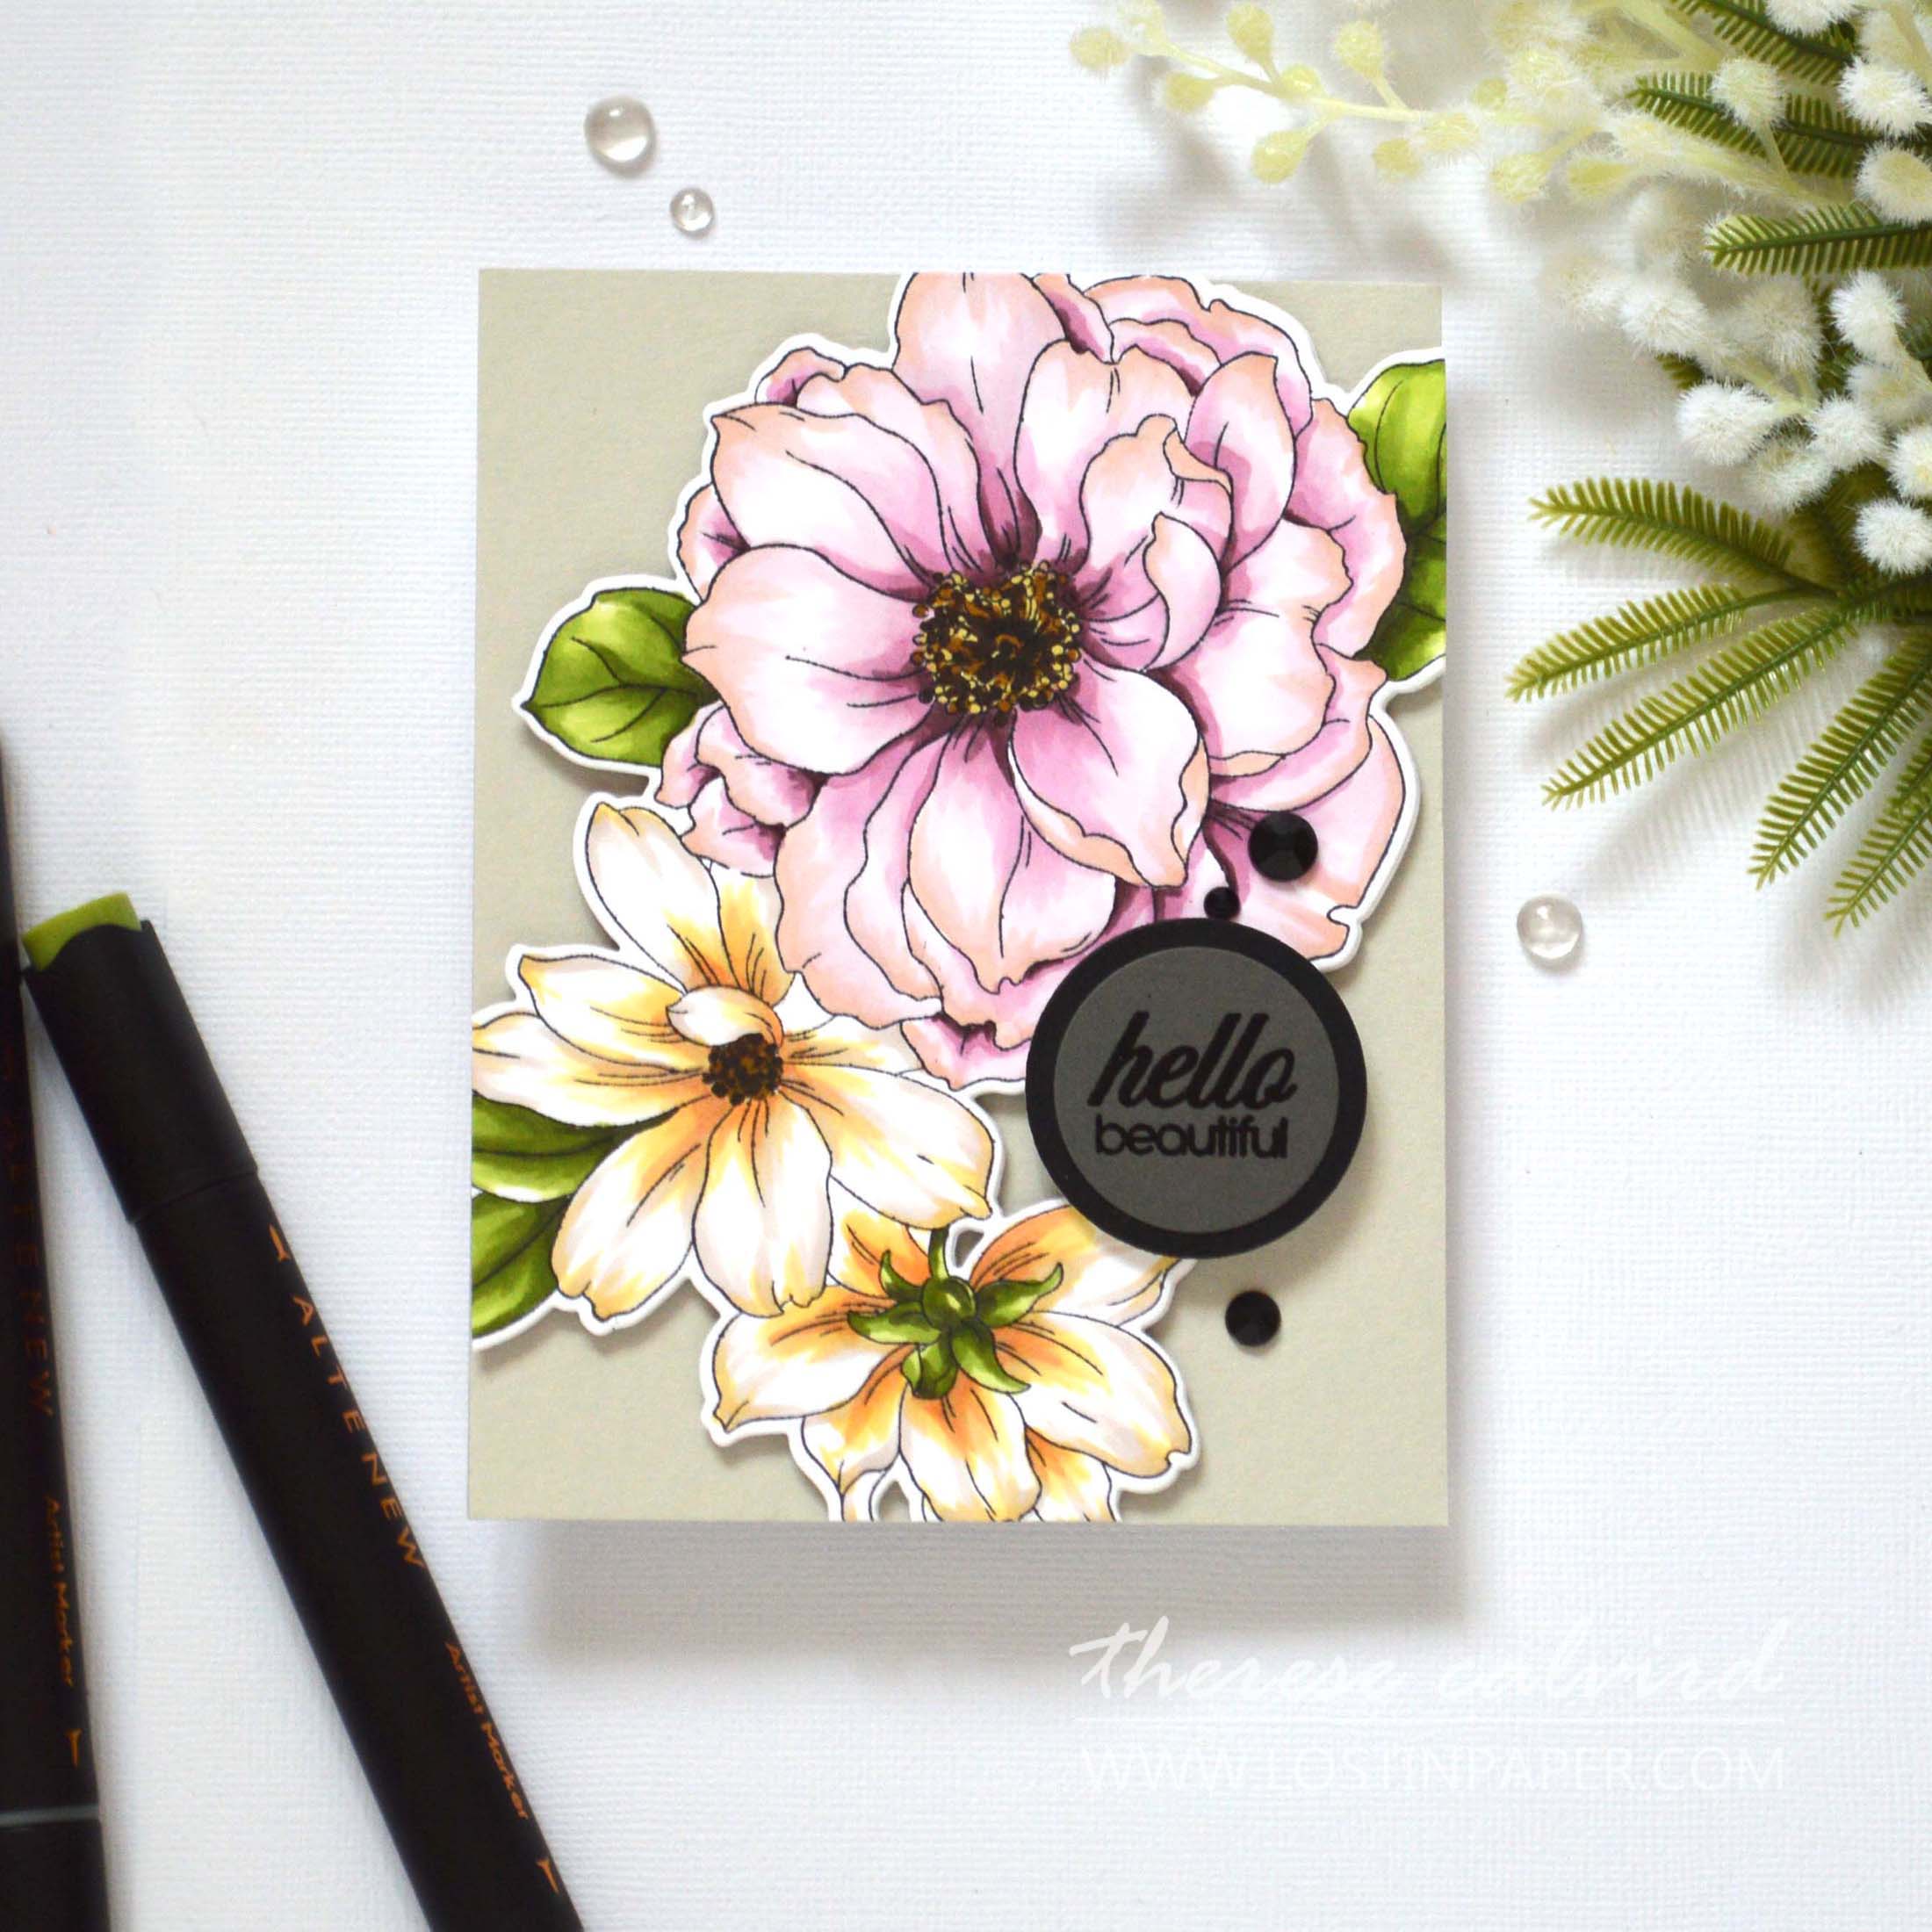
Technique #1 – Marker Coloring
The most obvious technique is simply coloring. But, I know that this can be intimidating for some, so in my video today, I am going to walk you through how to get the ‘antique floral’ look. And, if you are game, how you can step it up and achieve greater depth and that watercolour look.
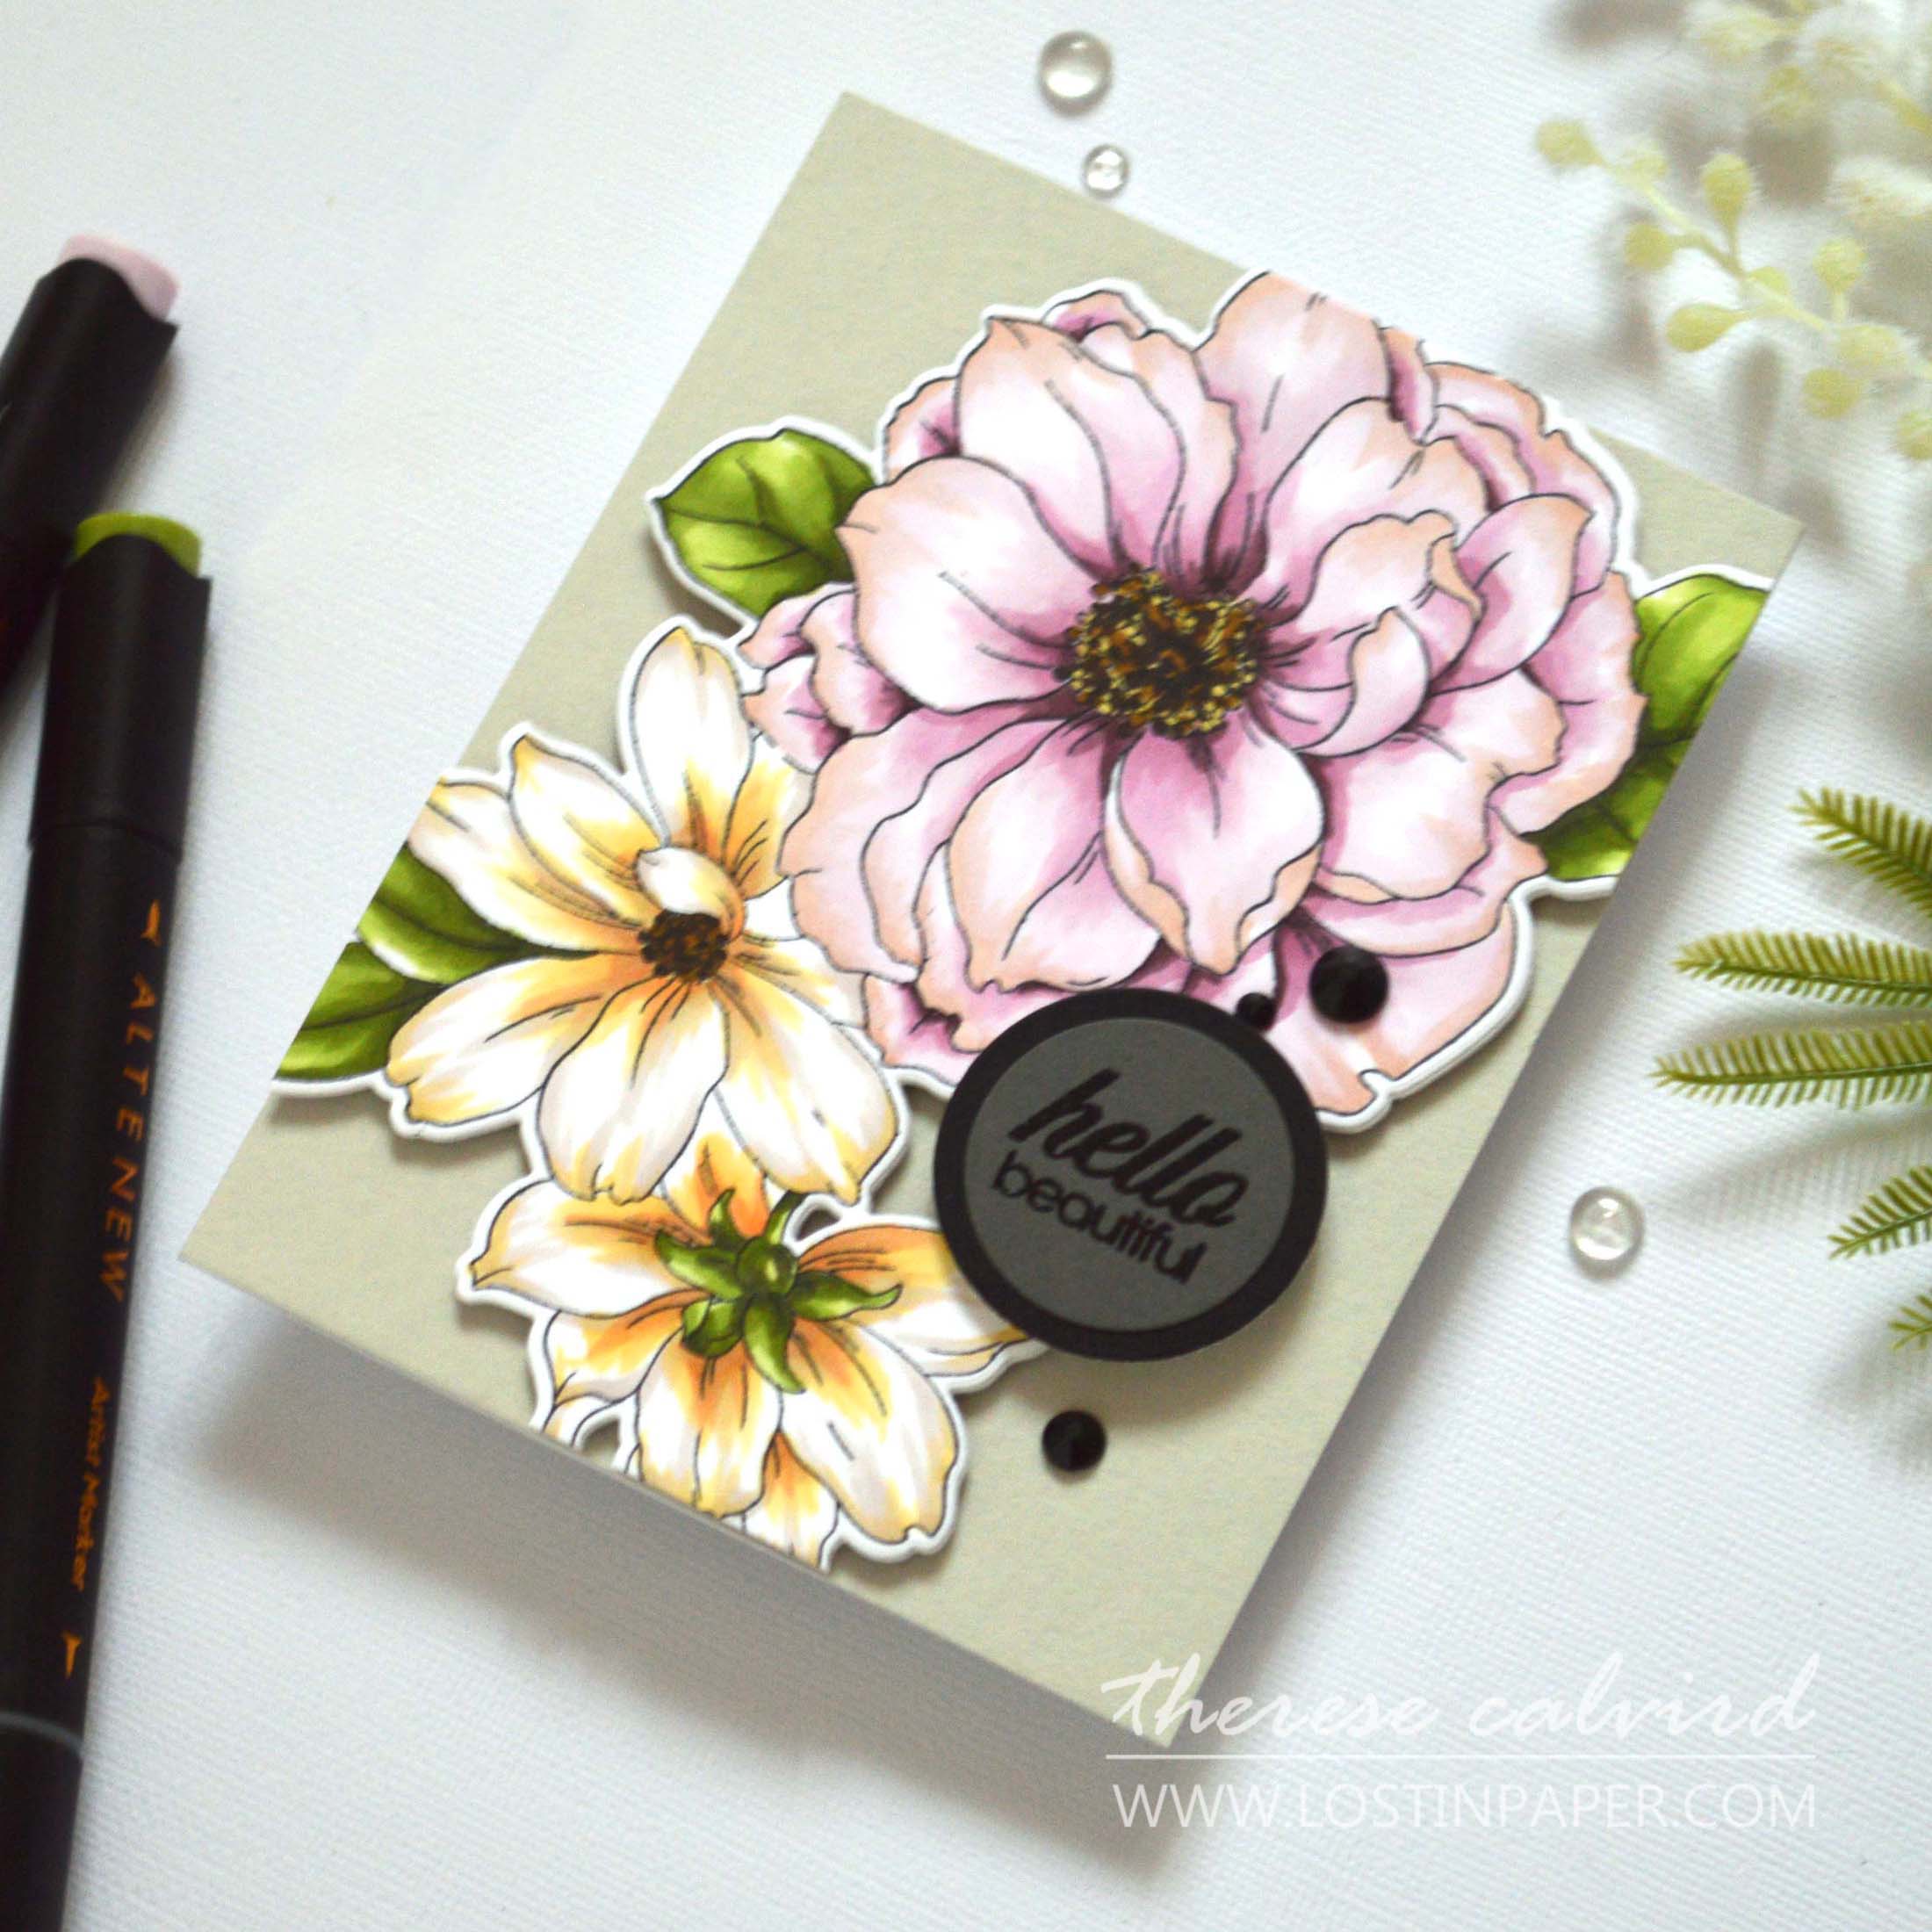
Stamping a bouquet, like this one is a quick and easy way to get colouring real quick.
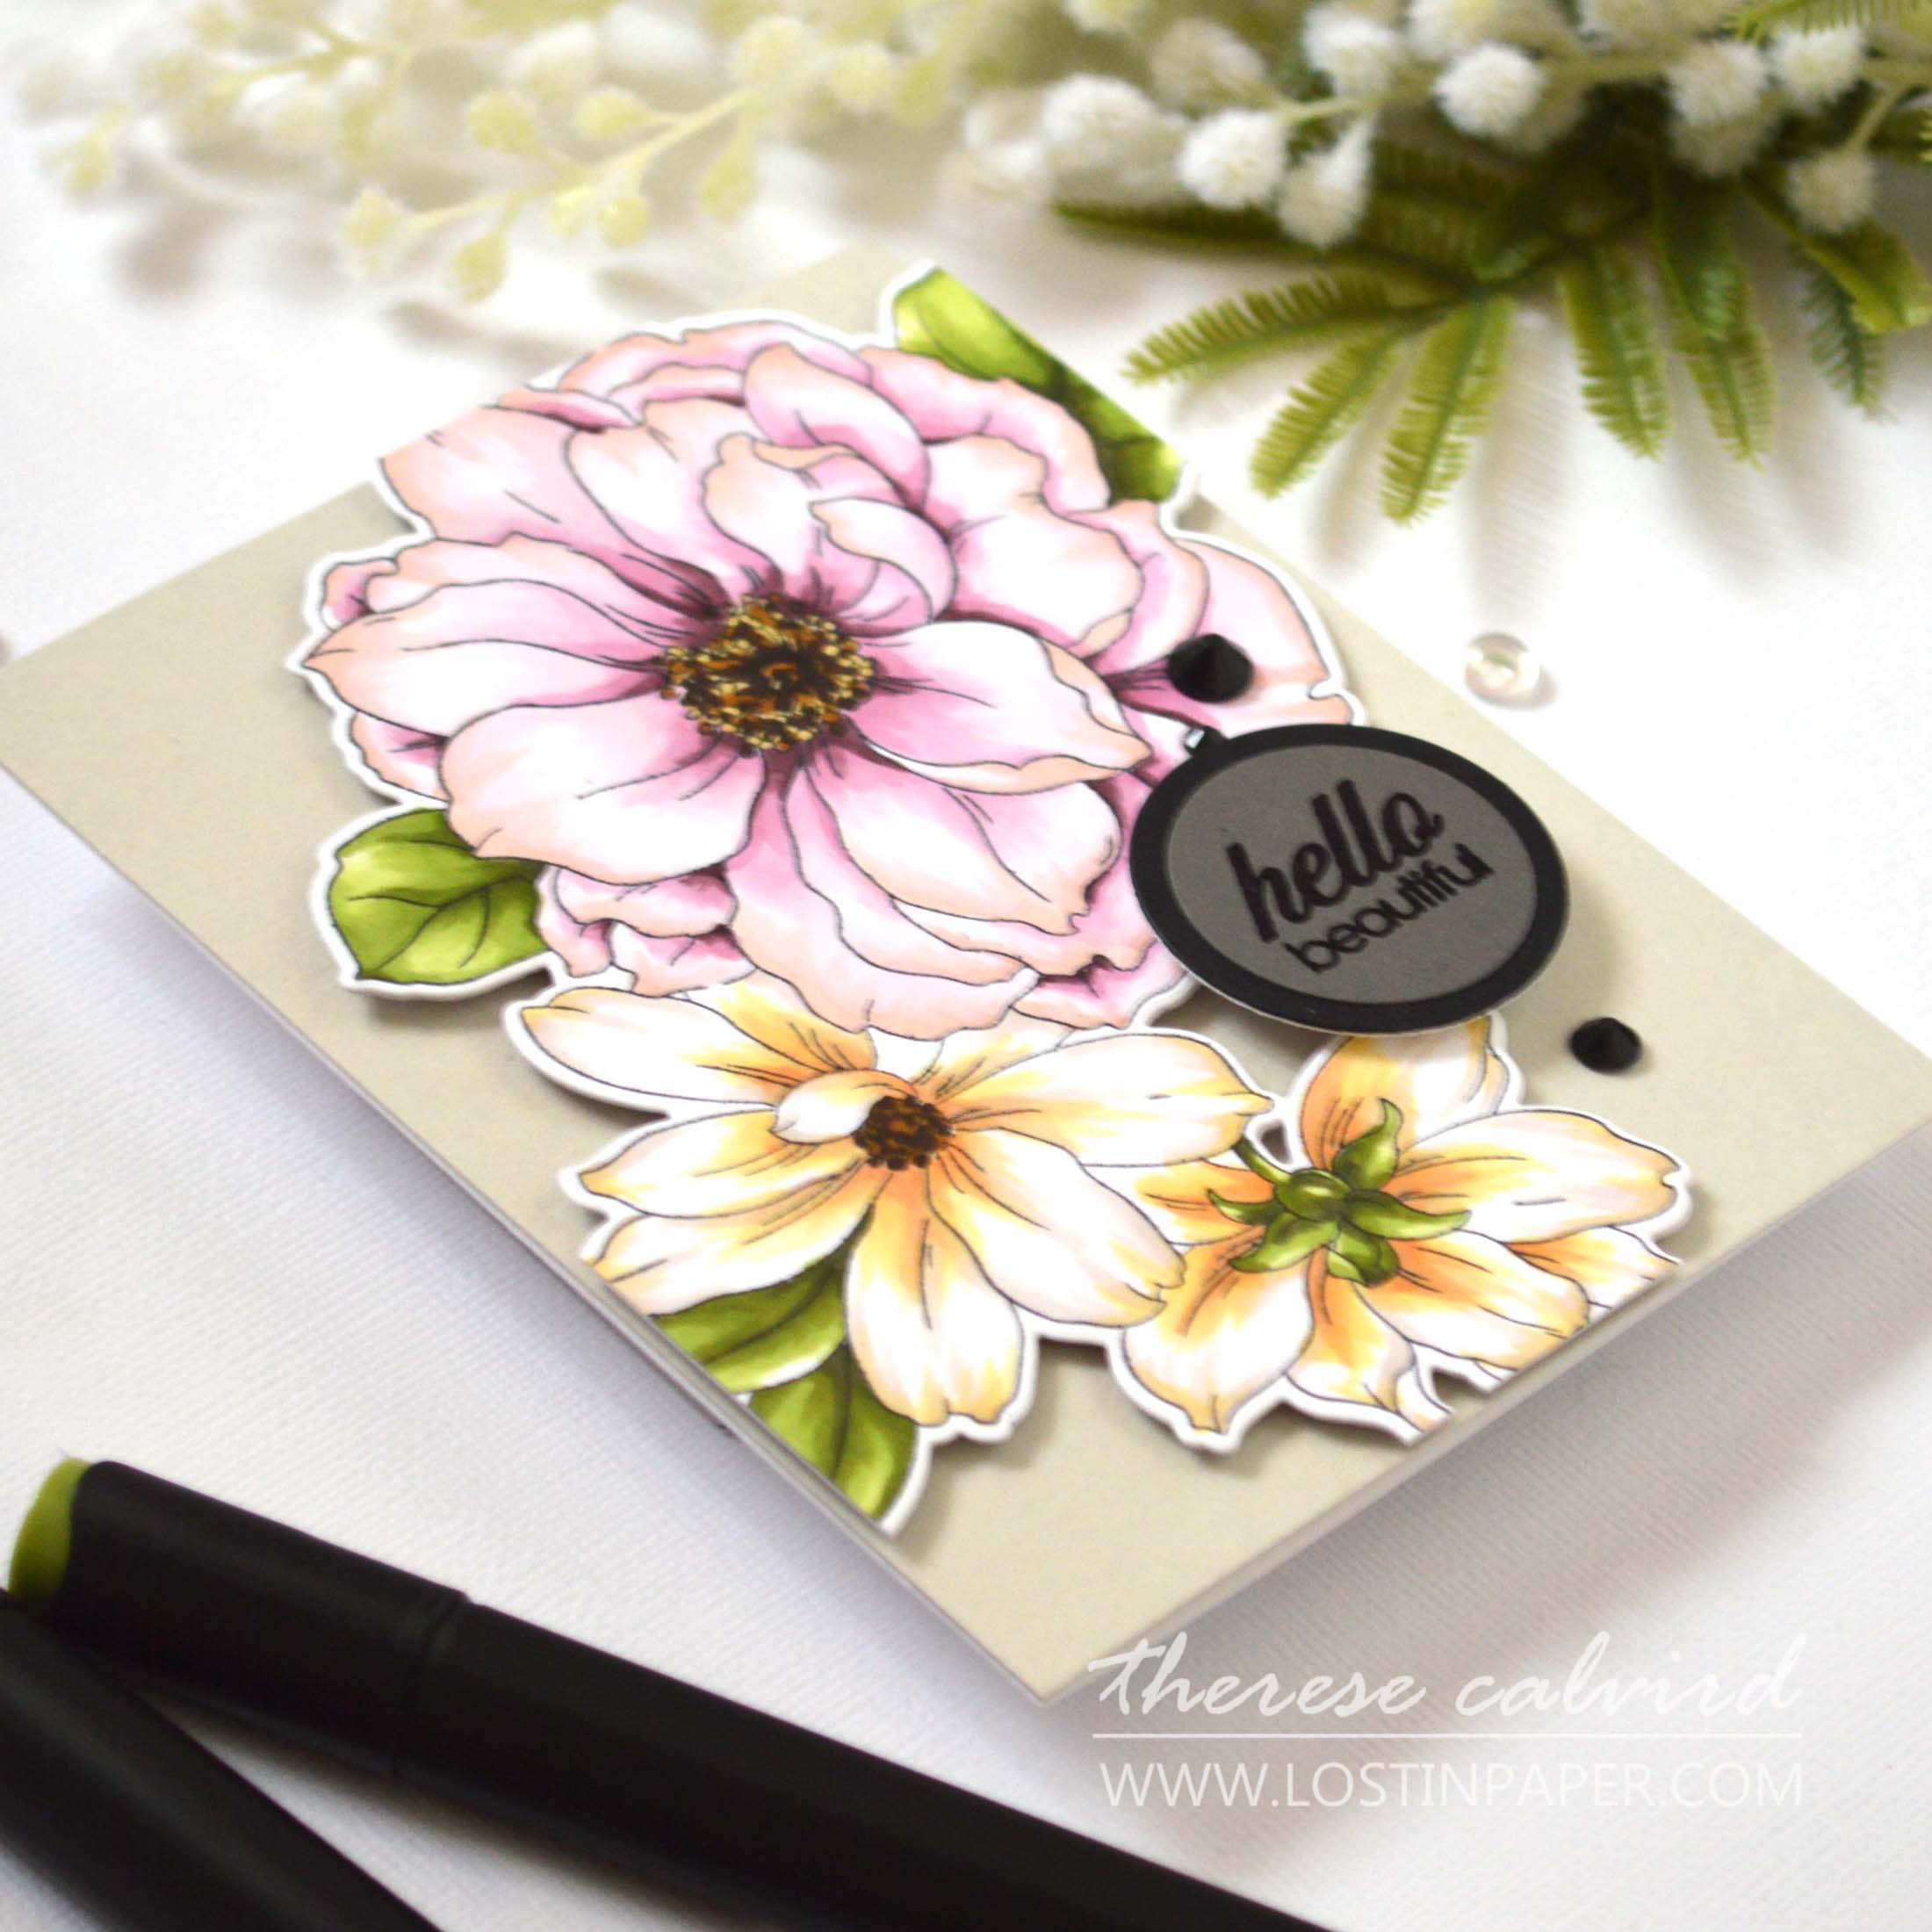
I typically will keep my cards very clean and simple, but you can add as many elements and details as you like!
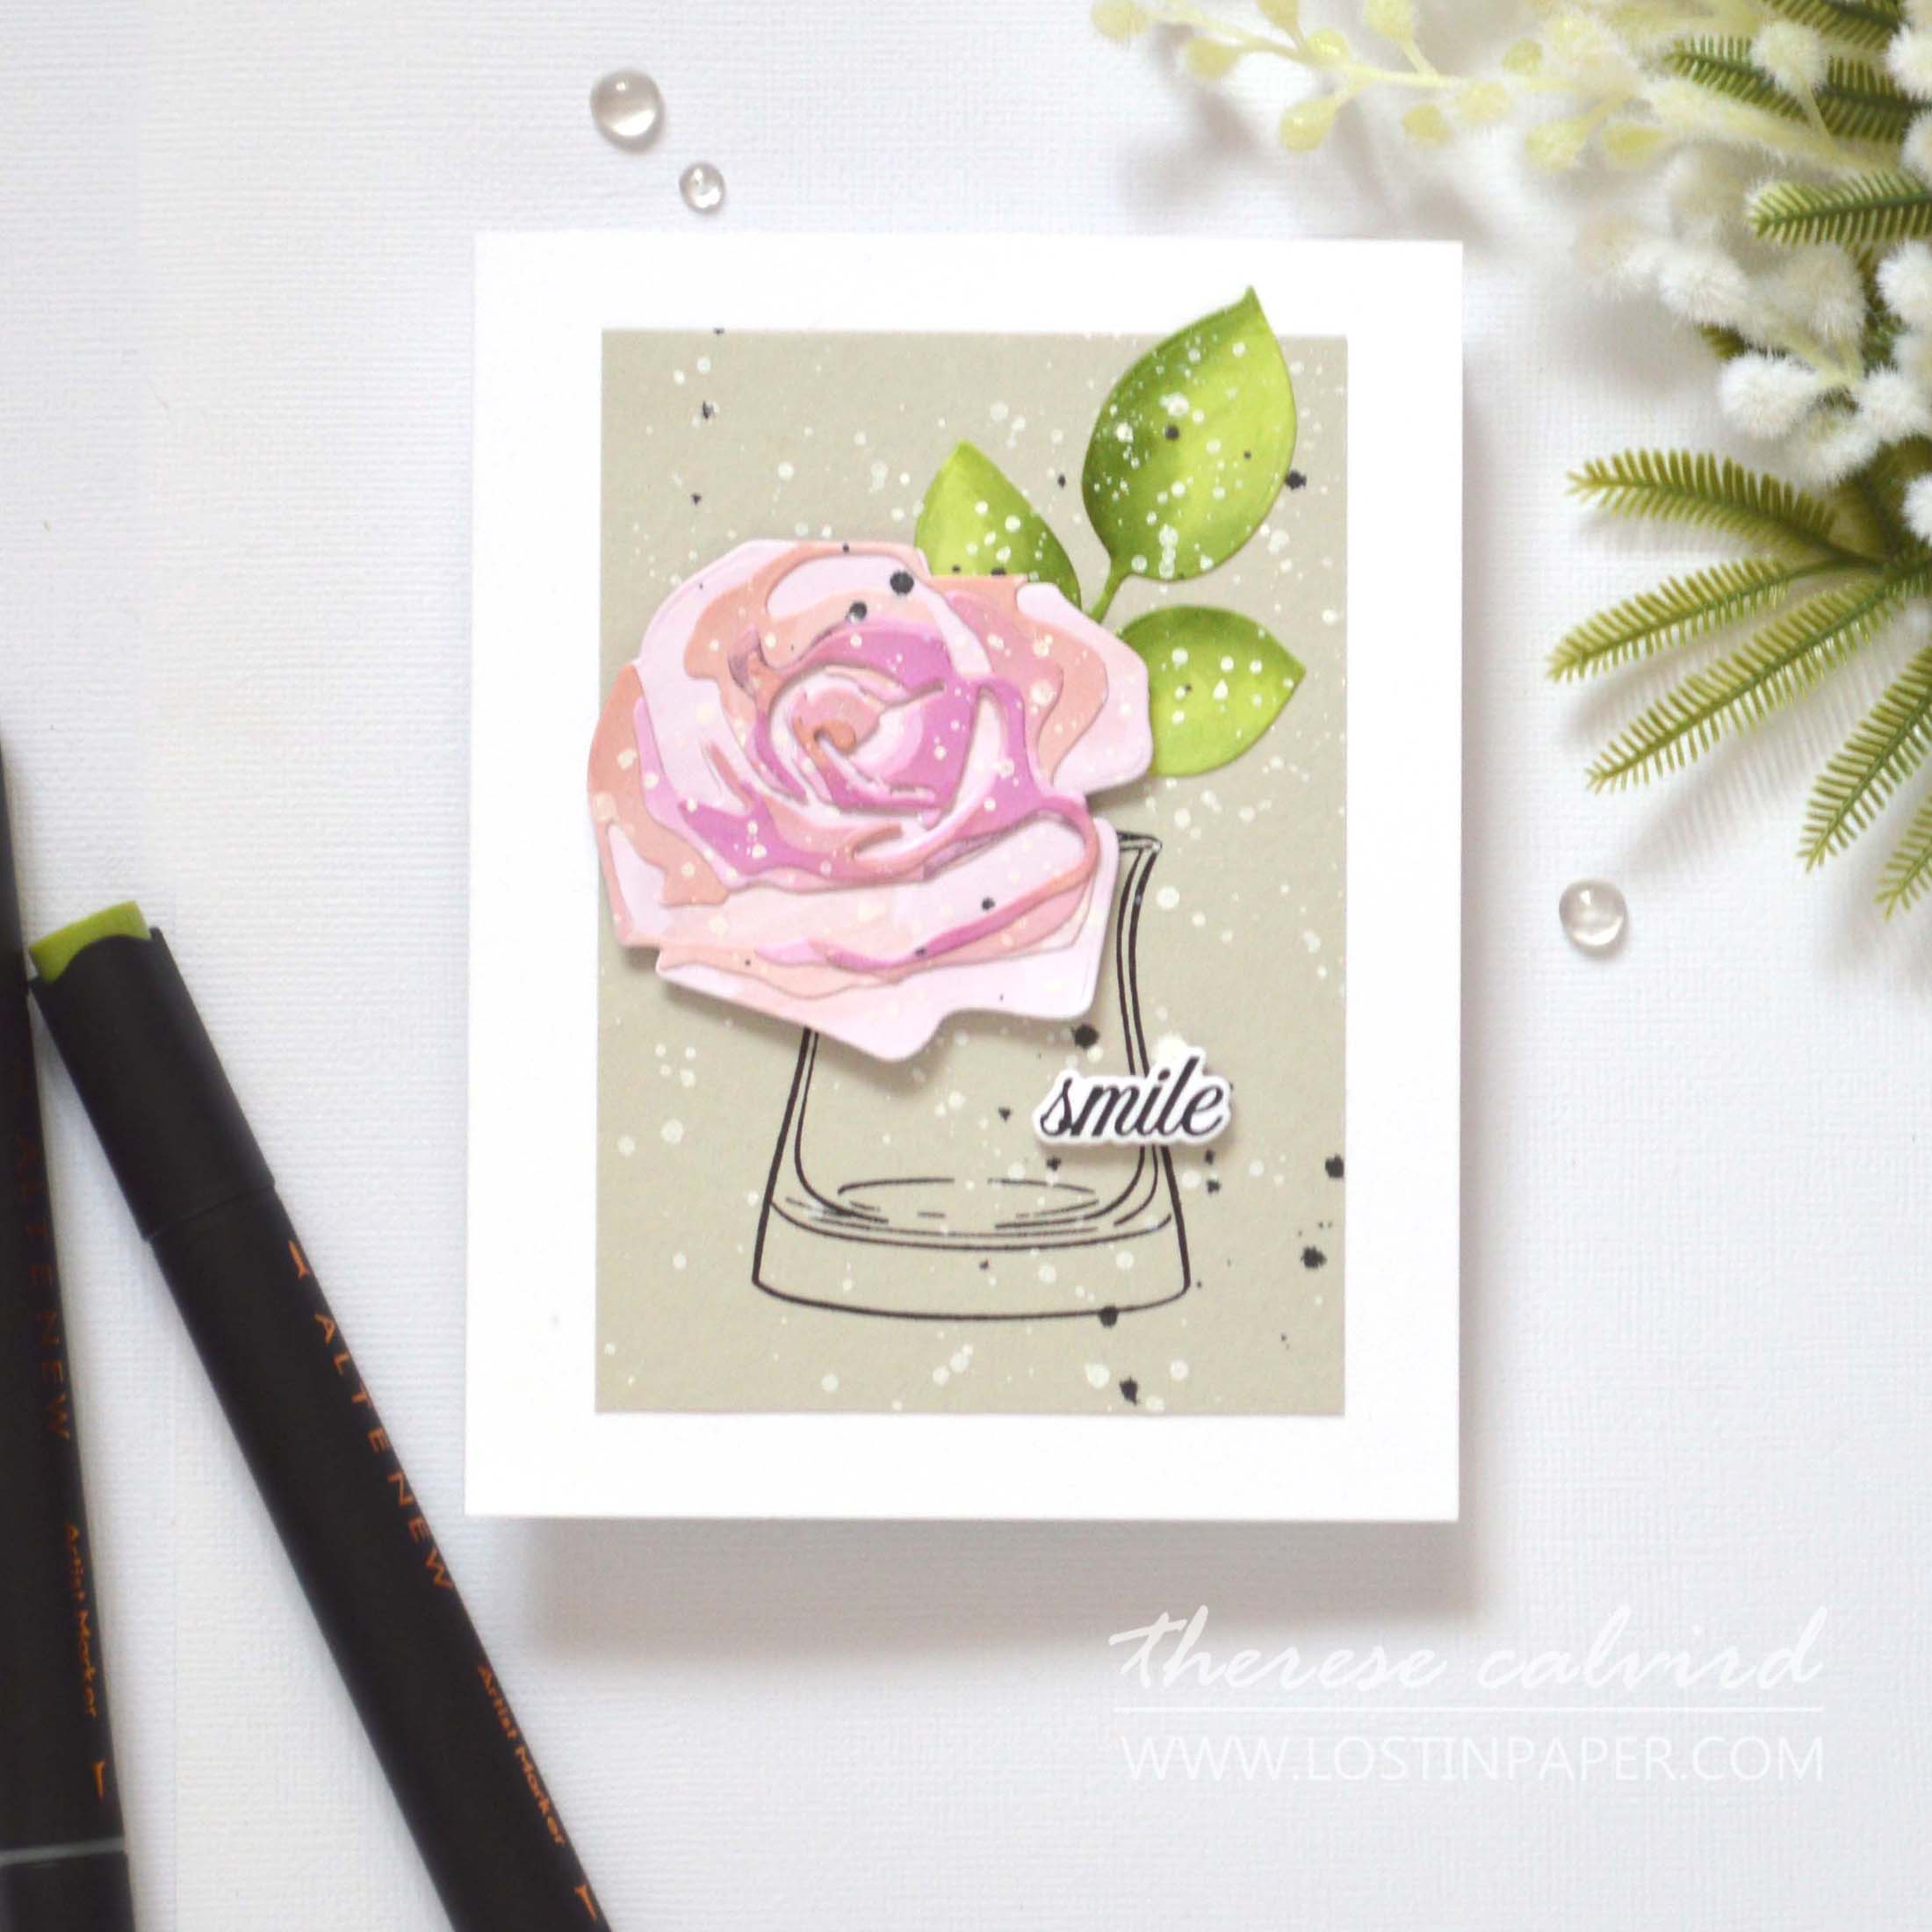
Technique #2 – Layered Die Cut Flower
So you bought markers and haven’t really bonded with them… or maybe, you just want to try something a little different. Why not create your own marker coloured cardstock and then add further depth and color after die cutting them! That’s exactly what I did here with this layered rose.
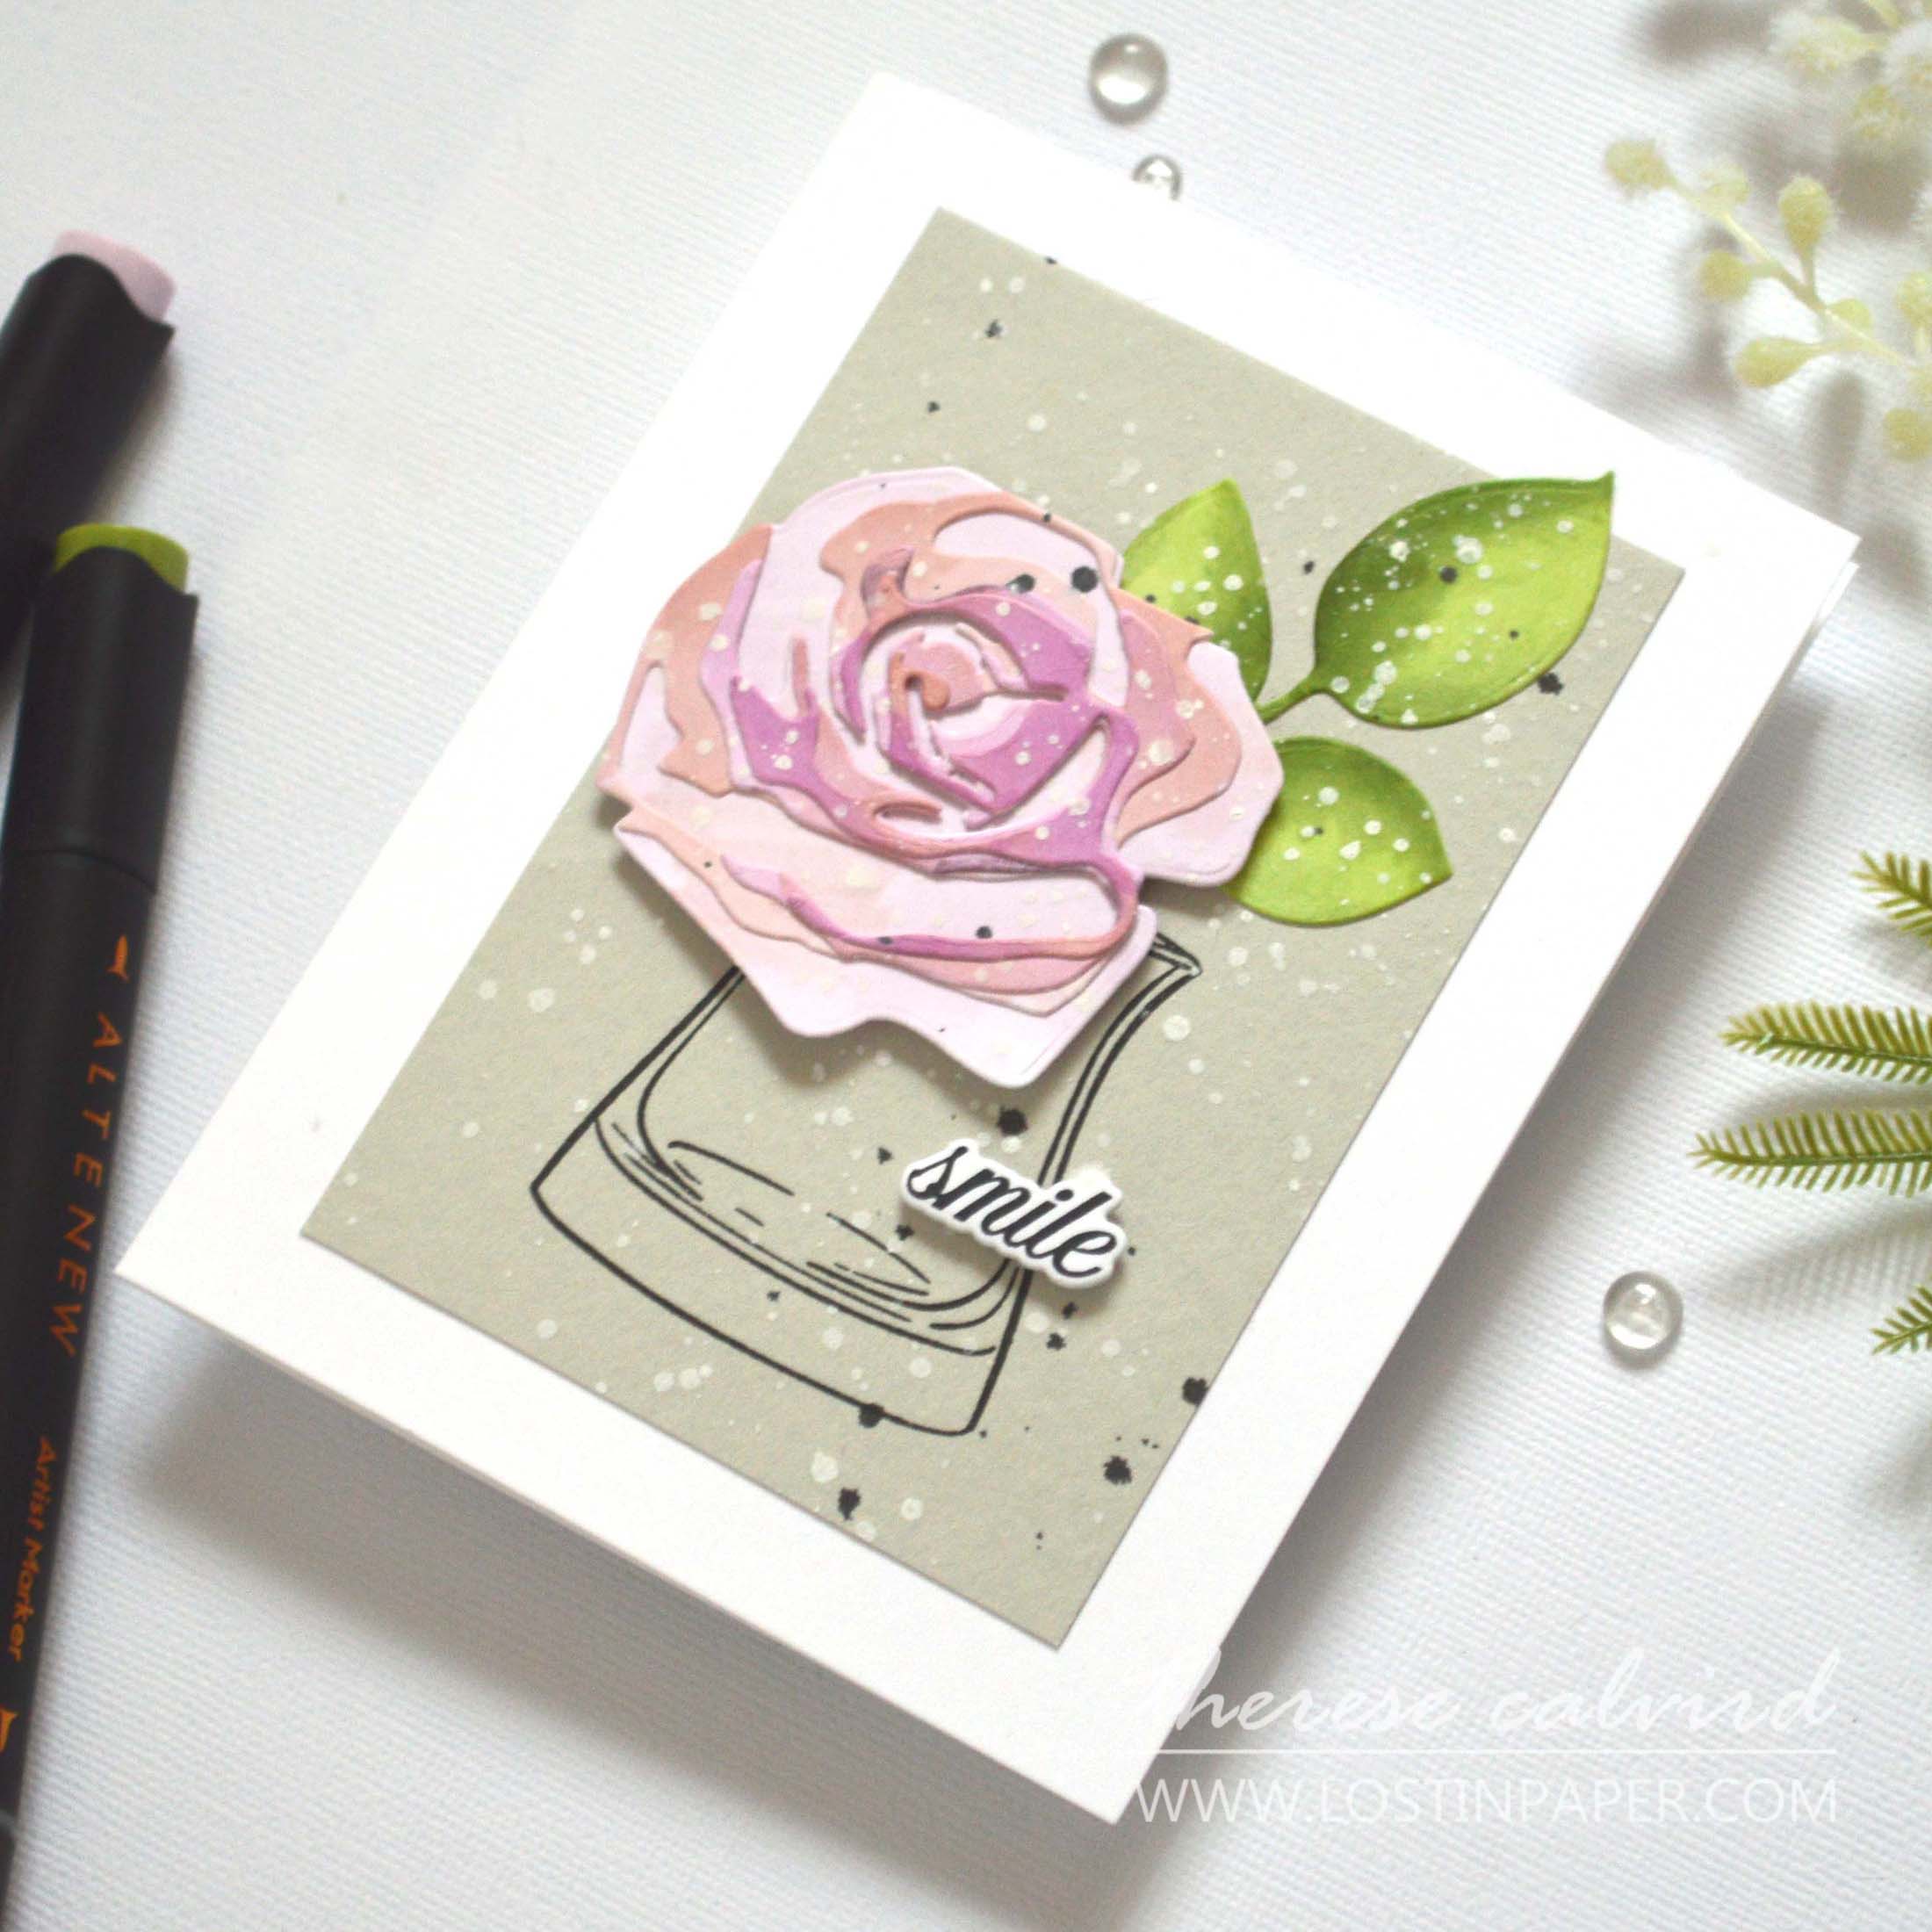
I kept the colors very similar, but of course you can use whatever colors you have or prefer. Remember to use the guide on the package to work out which of the layers need to lightest to darkest.
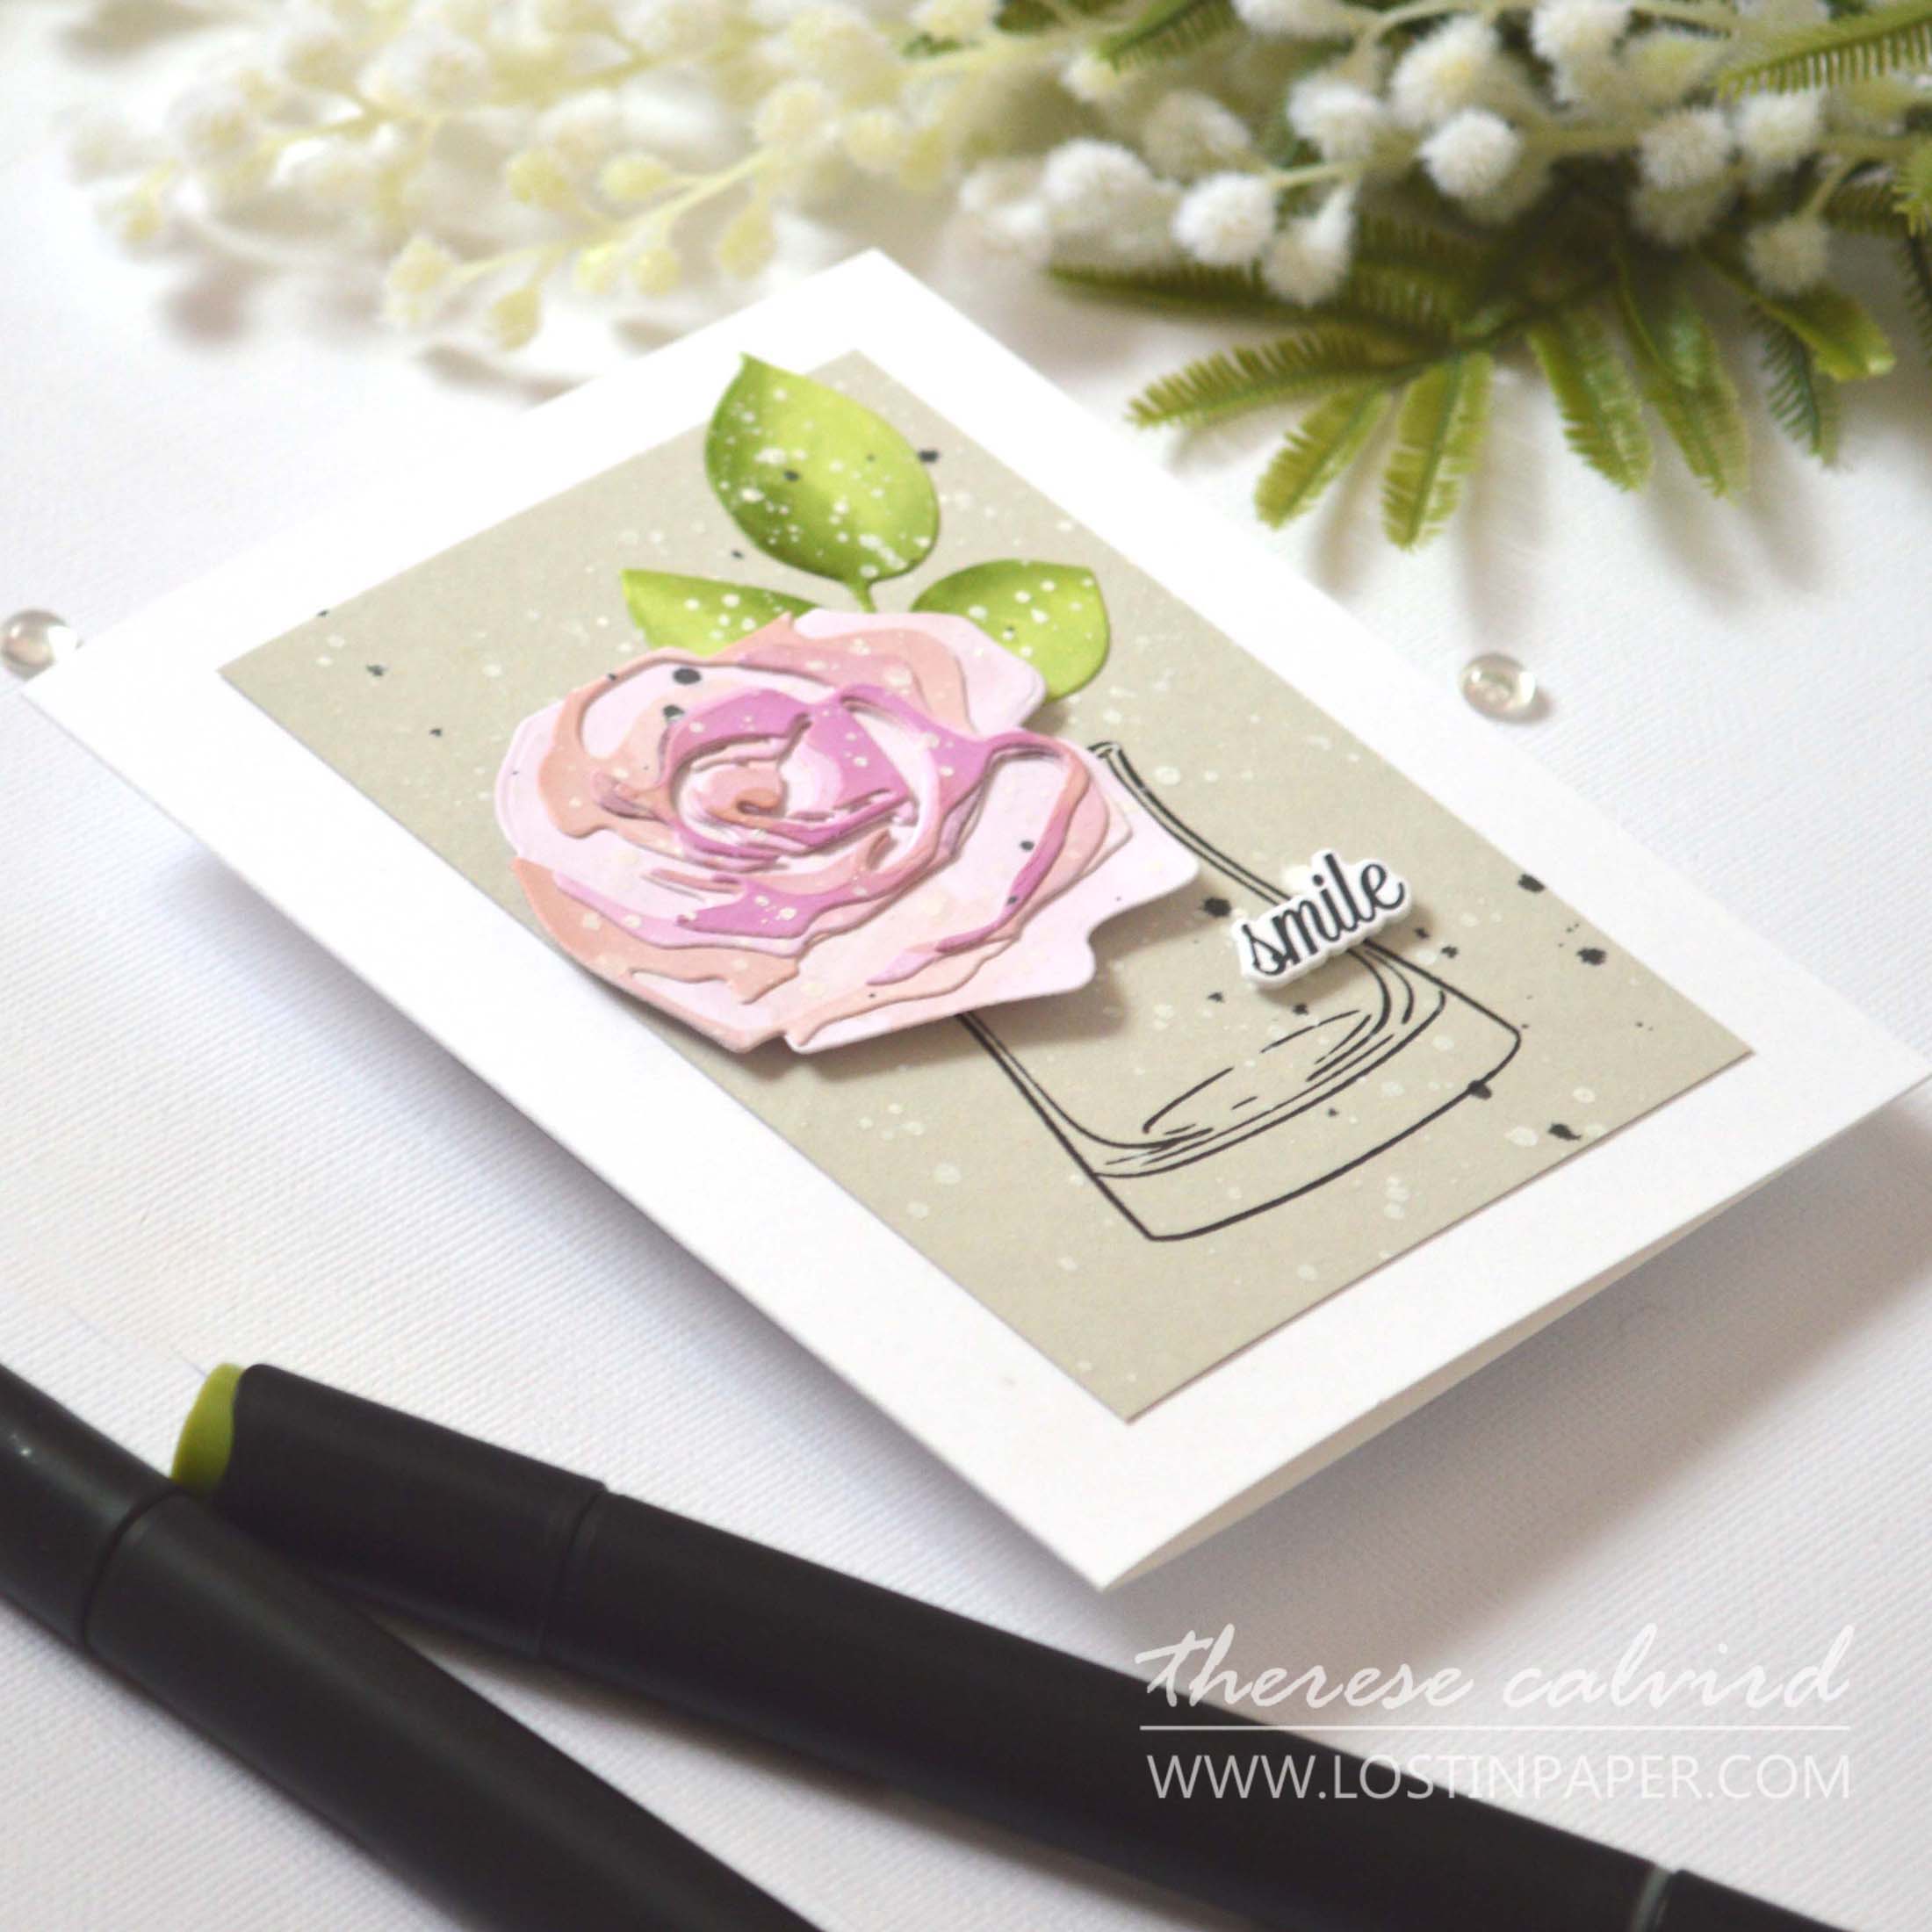
And using ink sprays to add splatters also adds a soft ‘antique’ feel.
I hope you are inspired to add some Alcohol Marker antique flowers on your next handmade card project! If you do, don’t forget to share them on social media with me, I’d love to see what you make!
Sending crafty hugs your way today,

Also, just in case you want to do a little shopping I’ve added the links below (some of them are affiliate links which means that I will receive a small portion of the sale at no extra cost to you). I truly appreciate your support of my card adventures!
Other Supplies:
Altenew Artist Markers: R300 | R602 | R603 | R111 | C008 | C001 | Y337 | Y762 | Y612 | WG01 | C016 | G801 | G713 | G735 | G743 | 0
Cardstock: Dark Grey | Black
Embossing Powder: WOW – Primary Ebony
 Neenah Solar 110 AMZ | SSS |  Neenah Solar 80 AMZ | SSS |  Pale Gray ALT |  BAG Blooming Delight ALT | SSS |
 Fine Rings: Circles Die ALT | SSS |  Halftone Circles ALT |  Cupped Flowers ALT | SSS |  CAF Rose ALT |
 Versatile Vases Bundle ALT |  Artist Markers ALT | SSS |  Colorless Blender ALT |  Permanent Black ALT | SSS |
 Embossing Ink ALT | SSS |  Obsidian ALT | SSS |  Black Onyx ALT | SSS |  Jet Black Spray ALT |
 Pure White Spray ALT |  WOW Heat Tool SSS |  Tweezers ALT | SSS |  Fine Blade Scissors ALT | SSS |
 Bone Folder Altenew ALT |  Score Board ALT | SSS |  Stampwheel ALT | SSS |  Stampwheel Square Grid Flip Plate ALT | SSS |
 Mini Blossom ALT |  StampPerfect Conditioner ALT | SSS |  9″ Fiskars Paper Trimmer AMZ | SSS |  Bigshot SSS |
 Satin Masking Tape ALT | SSS |  Bearly Art Glue SSS |  Glue Tape ALT | SSS |  Foam Tape ALT | SSS |
Two really beautiful cards with your ‘vintage’ colors, Therese! Loved watching you color again!
=] Michele
Thank you my friend x
I’ve loved coloring since I was a little girl! Beautiful makes, Therese!
Thank you so very much!
These are gorgeous, Therese. I would never have thought to mix in a little apricot but it does give the blooms a vintage feel.
Thank you Bobby, I love mixing up the colours lol.
Yes it’s been a while since I’ve played with my markers.
I’ve been spending more time organizing them then creating.
Love these vintage flowers, gorgeous colours as well.
Crafty hugs
I was the same, so it’s nice to be using them again!
Love those antique rose cards! Such a pretty, calm, peaceful set of colors.
Thank you so much, they were relaxing to colour too!
So stunning! You nailed the watercolor look with those markers!
So glad you enjoyed these cards!
Both beautiful cards. You make colouring look so easy.
Thanks so much Christine!
Two absolutely gorgeous cards (as always!).
I can’t even remember the last time I coloured! Well over due 🙁
I am so enjoying my markers right now!