
Do you feel the power?? It’s time to share the POWER of the Sketch…
I am back with another Same But Different Christmas Series 2024 set of cards, and today I am sharing 5 Ways to Make 5 Different Cards using ONE Sketch, and I have a video walking you through these techniques. For MORE Holiday inspiration check out my first video sharing how to use BASIC SHAPES to make Christmas Cards, Click HERE, and to see how to use 1 STAMP SET 5 WAYS Click HERE (after you have seen today’s cards 😉).
Now let’s get to it… would you like to see today’s cards?

You can watch the video here or in HD on YouTube right HERE.
I use affiliate links, this means that if you click on a product that is linked to an affiliate shop then I will receive a small portion of the sale at no extra cost to you).
This is a great way to support me as well as the shops that we love 🥰!
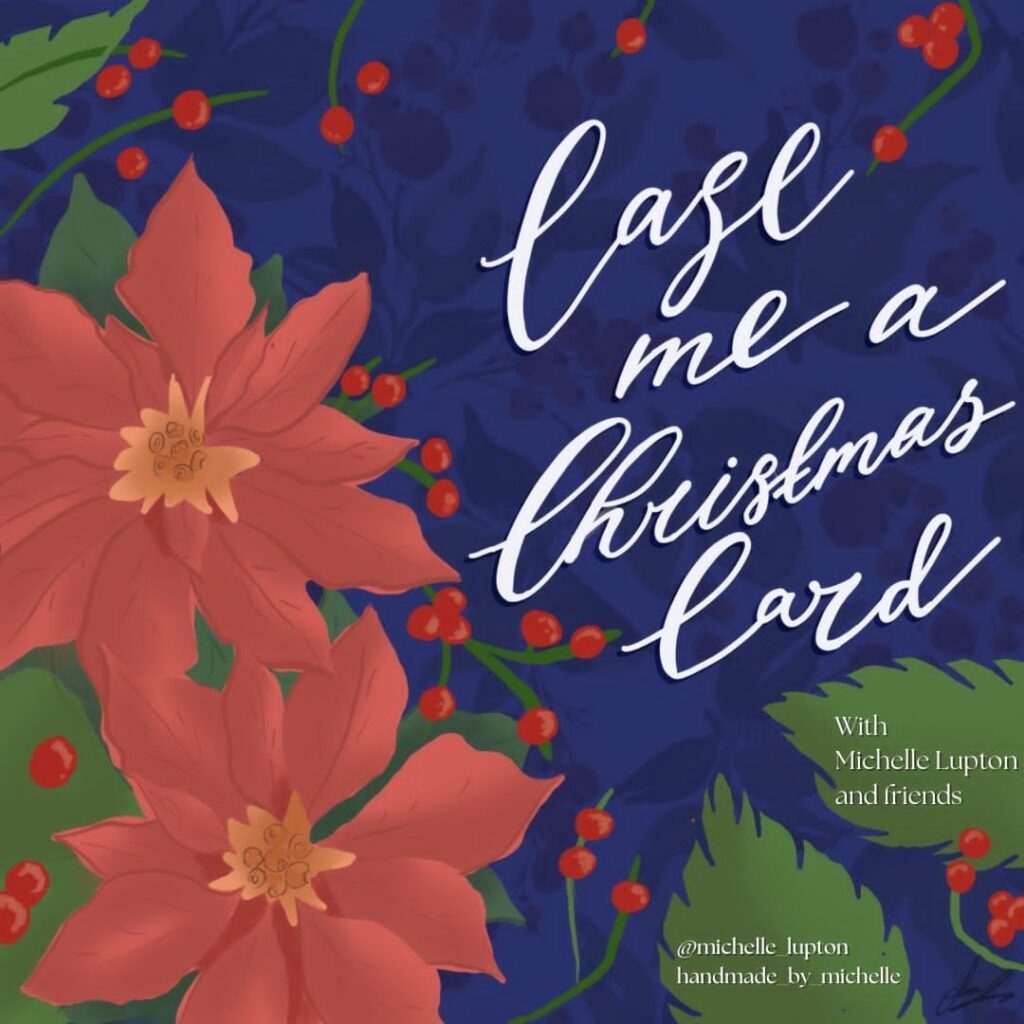
I am very excited to be joining Michelle Lupton for this year’s Case Me a Christmas Card and I chose a beautiful bright card from her designs to inspire us.
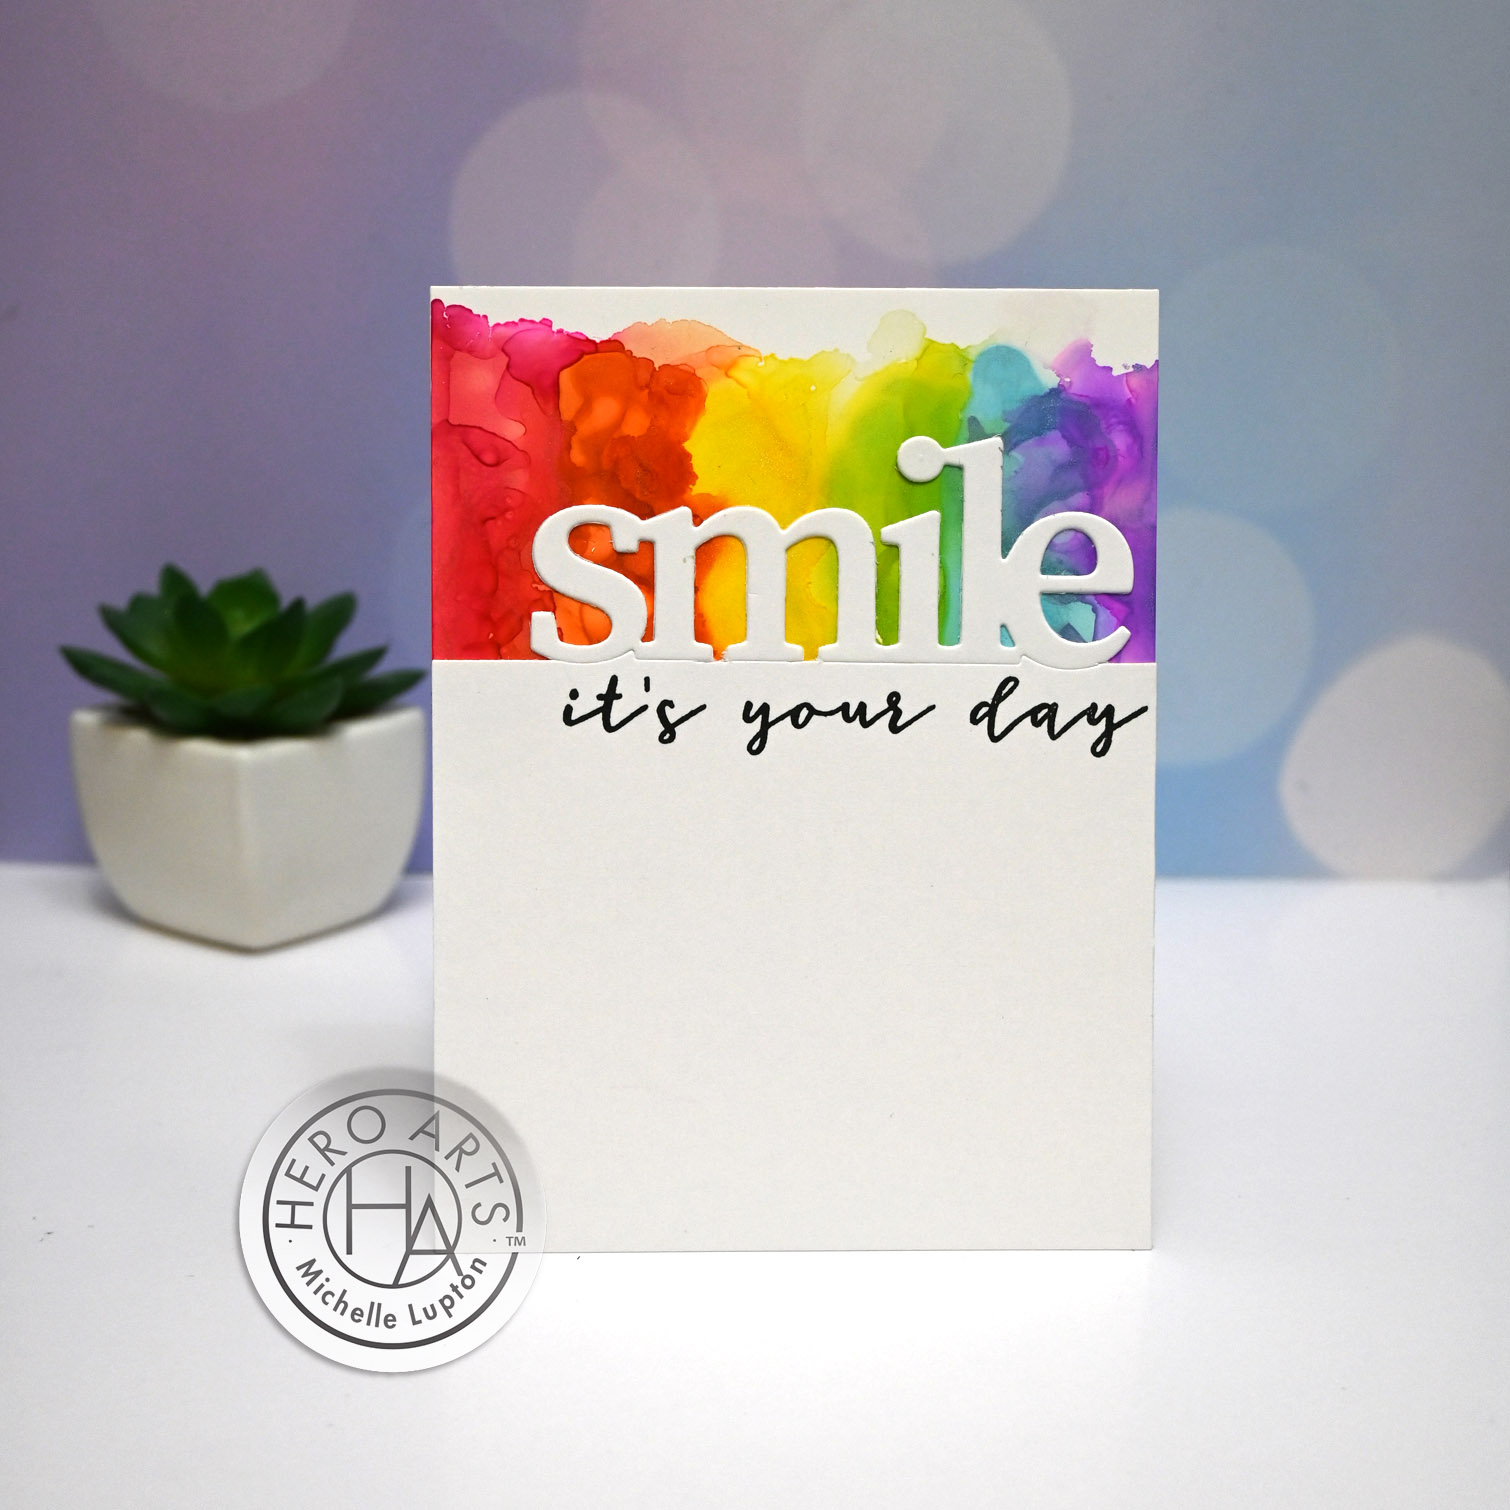
But instead of making just one card today, I thought it would be fun to share how you can turn a card into a sketch… and then adapt the sketch and be inspired in different ways. Indeed, I am sharing the POWER of the sketch… Scroll down for the links to see how Michelle was inspired by me (including her VIDEO)!
#SKETCH
Want to make a card? Don’t know where to start? Did you know that you do not have to reinvent the wheel each time? By simply creating a ‘sketch’ design of a card, you can CASE it, but you can also adapt it again and again! And I have 5 different ways to inspire you today, using the same basic sketch!
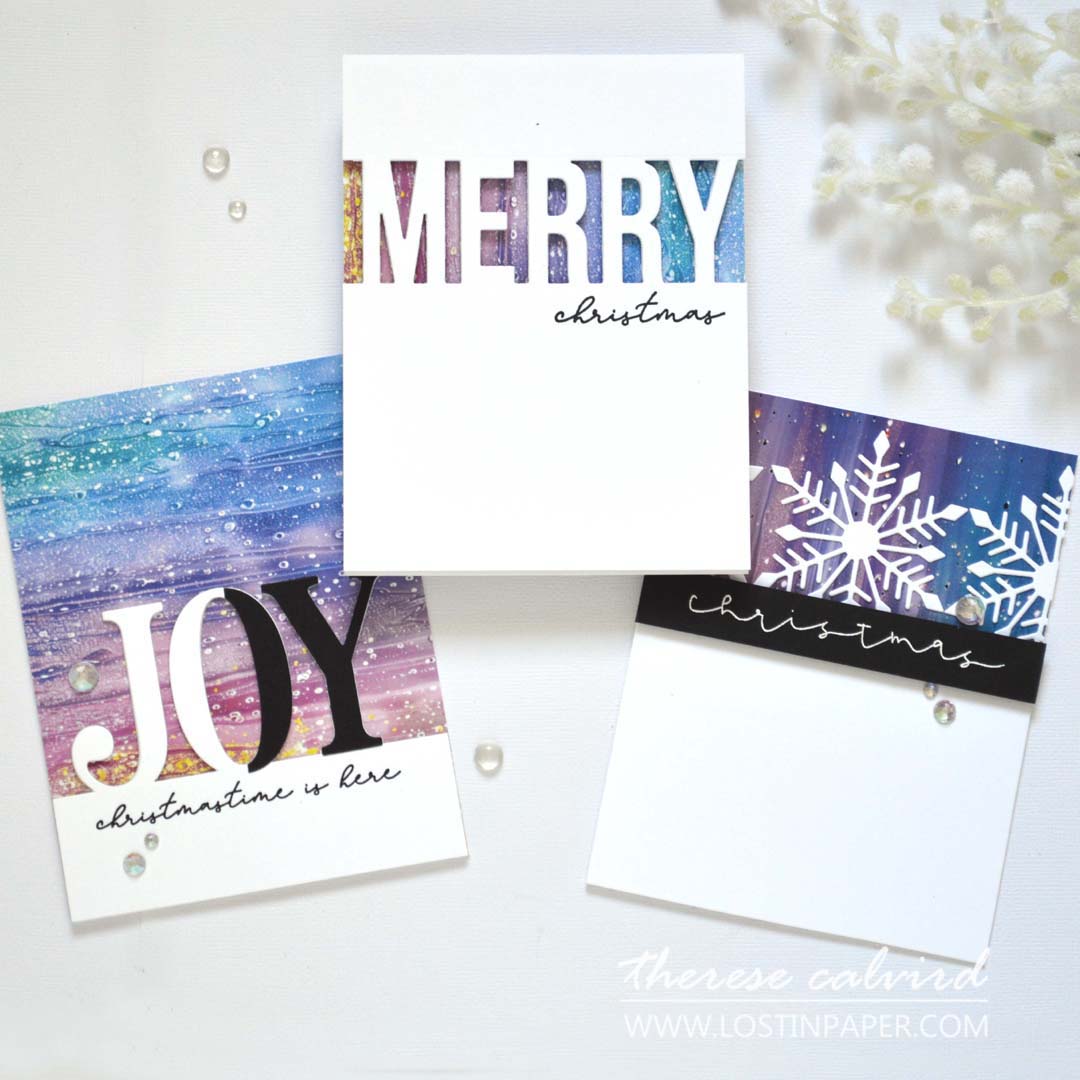
Idea #1 – Original
When I say that I am using the ‘original’ design of Michelle’s card, I am using that term loosely. Because as you may notice, it is very similar to her original card, but I have also changed it up (ie CASE’d it).

My changes:
- I used a window sentiment die
- Design Paper (in fact, I used Design paper on all of today’s cards)
- Added dimension to the card panel

Idea #2 – Use of Images
I love the idea of the font of a sentiment surounded by the background colour, but why not try images instead. Initially I was going for a slightly different look, but this card did not go to plan… you can watch how that went for me in the video 😟.

My Changes:
- Images (Snowflakes) instead of a sentiment
- Embossed sentiment on black cardstock
- Popped up the sentiment
- Added bling

Idea #3 – Reverse Panel
Instead of using the Design Paper behind the panel, I used it FOR the panel.
My Changes:
- Reversed the Design Paper
- Used images instead of the die cut sentiment
- Heat embossed sentiment on the panel

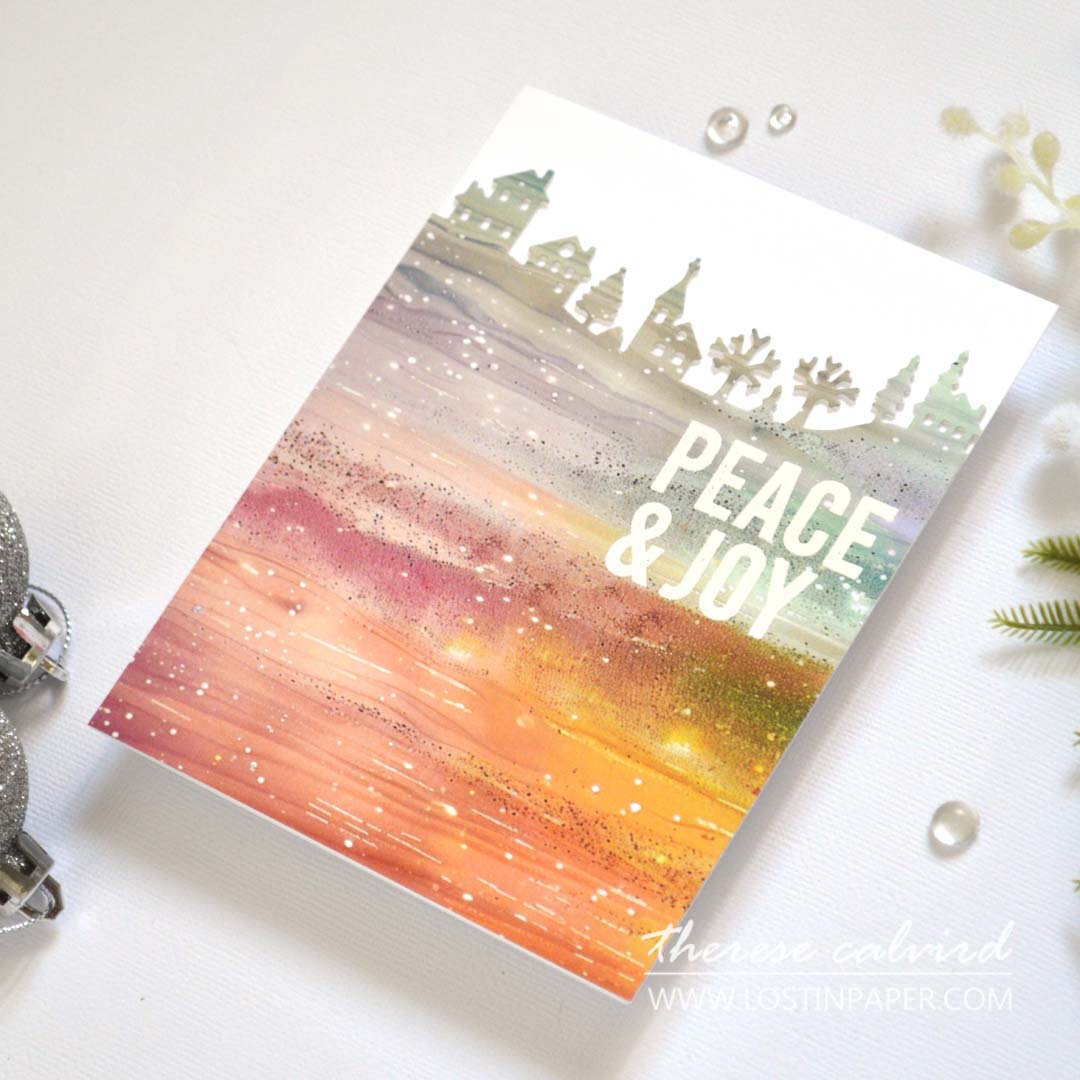
Idea #4 – Landscape
This time I flipped the sketch to a landscape design.

My Changes:
- Landscape Card
- Layered cardstock for a modern look
- Torn edge of design paper
- Added a large popped up sentiment as a ‘focal’ point
- Added bling

Idea #5 – Flip It!
This time the sketch is totally upside down!

My Changes:
- Totally flipped out on this one
- Design paper covers the larger surface area
- Partial die cut of the sentiment
- Added an extra layer of black cardstock on some of the letters
- Added bling

You can see how Michelle was inspired by me right HERE and watch her video HERE!
Don’t forget to tell her G’day from me… she is also an Aussie!
Let me know if you are going to try a ‘sketch’ design! And if YOU have a favourite card today, let me know in the comments below. Don’t forget to share your creations with me on Social Media, it would be fabulous to see what you make!
Thank you for spending your time with me today, sending crafty hugs your way!

Also, just in case you want to do a little shopping I’ve added the links below (some of them are affiliate links which means that I will receive a small portion of the sale at no extra cost to you). I truly appreciate your support of me and the stores that we love 🥰!
Other Supplies:
Altenew Cardstock: Tide Blue
Stamps & DIes: Penny Black – Jumbo Joy | Winter Village (retired) My Favorite Things – Merry (Similar to this die from Paper Rose Studios – Merry Peek-a-Boo Die)
Tools: Metal Ruler | Craft blade
 Christmas Sentiments SSS | OTH |  Snowflake Trio OTH |  Timeless Sentiments 3 Dies ALT | SSS |  Winter Village OTH |
 Neenah Solar 80 AMZ | SSS | Neenah Solar 110 AMZ | SSS |  Altenew Cardstock Bundle ALT |  Brushed Silver ALT | SSS |
 Pastel Backgrounds Pp0013 OTH | Foam Sheets AMZ | SSS |  Nocturne SSS |  Versamark Ink SSS | OTH |
 Iridescent Crystals ALT | SSS |  WOW Heat Tool SSS |  Opaque Bright White SSS |  Powder Tool SSS |
Mechanical Pencil Papermate HB#2 (0.7) AMZ | OTH |  Tweezers ALT | SSS |  Scissors SSS |  Bone Folder Altenew ALT |
 MISTI SSS |  Mini MISTI SSS | 9″ Fiskars Paper Trimmer AMZ | SSS |  Bigshot SSS |
 Foam Squares – Black mix SSS | Bearly Art Glue AMZ | SSS |  Glue Tape ALT | SSS |  Foam Tape ALT | SSS |
 Satin Masking Tape ALT |
Therese these are just stunning.
I just love everything about the cards. Clean, simple but such a wow factor. I think partly because of the design paper you have used.
Great tutorial and yes I’m going case today.
Cheers
Yay! How wonderful, thank you Lisa!
OH, yes! I DO love a SKETCH! Especially one that can be so versatile as you’ve proven to us today, Therese! Gorgeous design paper, my friend!
I’m off to see your wizardry!
=]
Yay! See you there!
I couldn’t pick a favorite if I tried, they’re all marvelous!
How wonderful! Thank you so very much!!
Love them all! Each one has a fantastic twist on the original sketch!
Thank you Lisa, it was fun to do!
So simple yet simply lovely, Therese. Thanks for the inspiration.
So happy you enjoyed them Bobby!