
Do you struggle to get images exactly where you want them? Today, I share how perfect placement is possible!
But first, I wanted to let you know that this is part of my Take 2 Series with Altenew and I’m so excited that you are joining me here for another video.
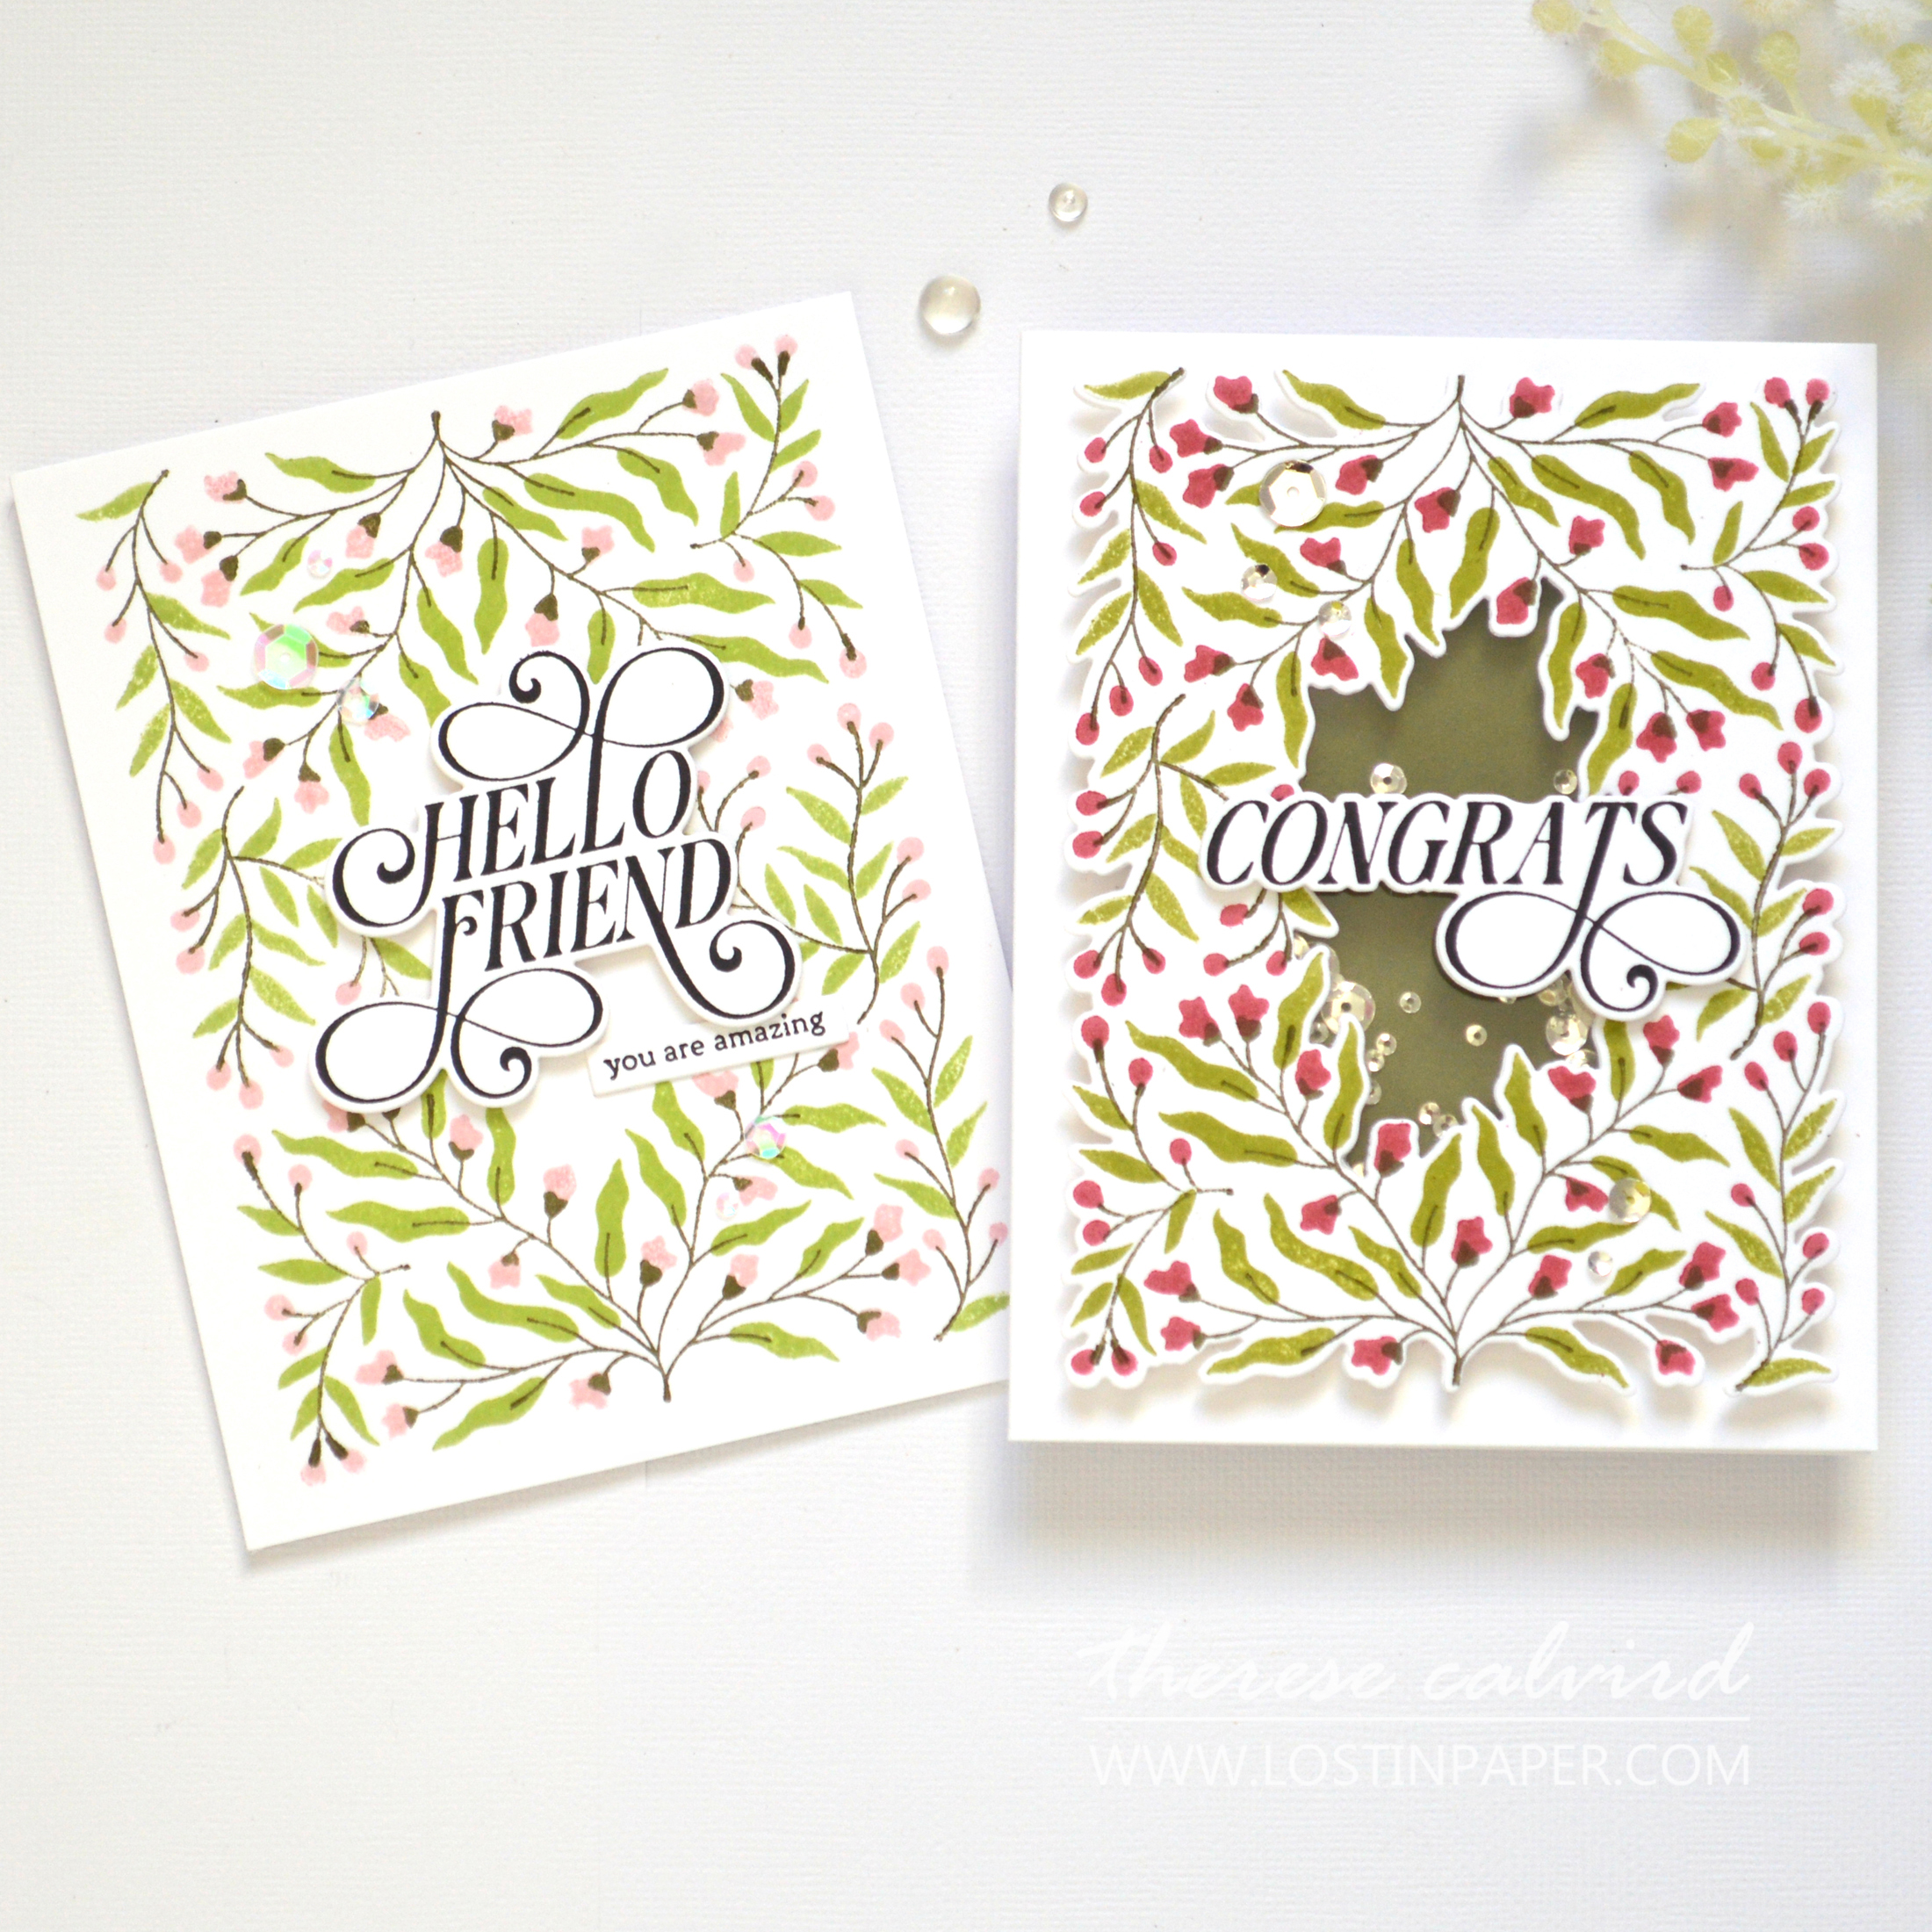
Would you like to see today’s cards?
#THE SECRET’s OUT
Have you ever tried layering multiple colors using Press Plates, it can be a little daunting, but today I share a secret with you! Altenew has made it easy, because included in this set, is an alignment guide.
You can watch the process in the video HERE where I share 2 ways that this guide can be used, or scroll down for more information.
I use affiliate links, this means that if you click on a product that is linked to an affiliate shop then I will receive a small portion of the sale at no extra cost to you).
This is a great way to support my channel as well as the shops that we love!
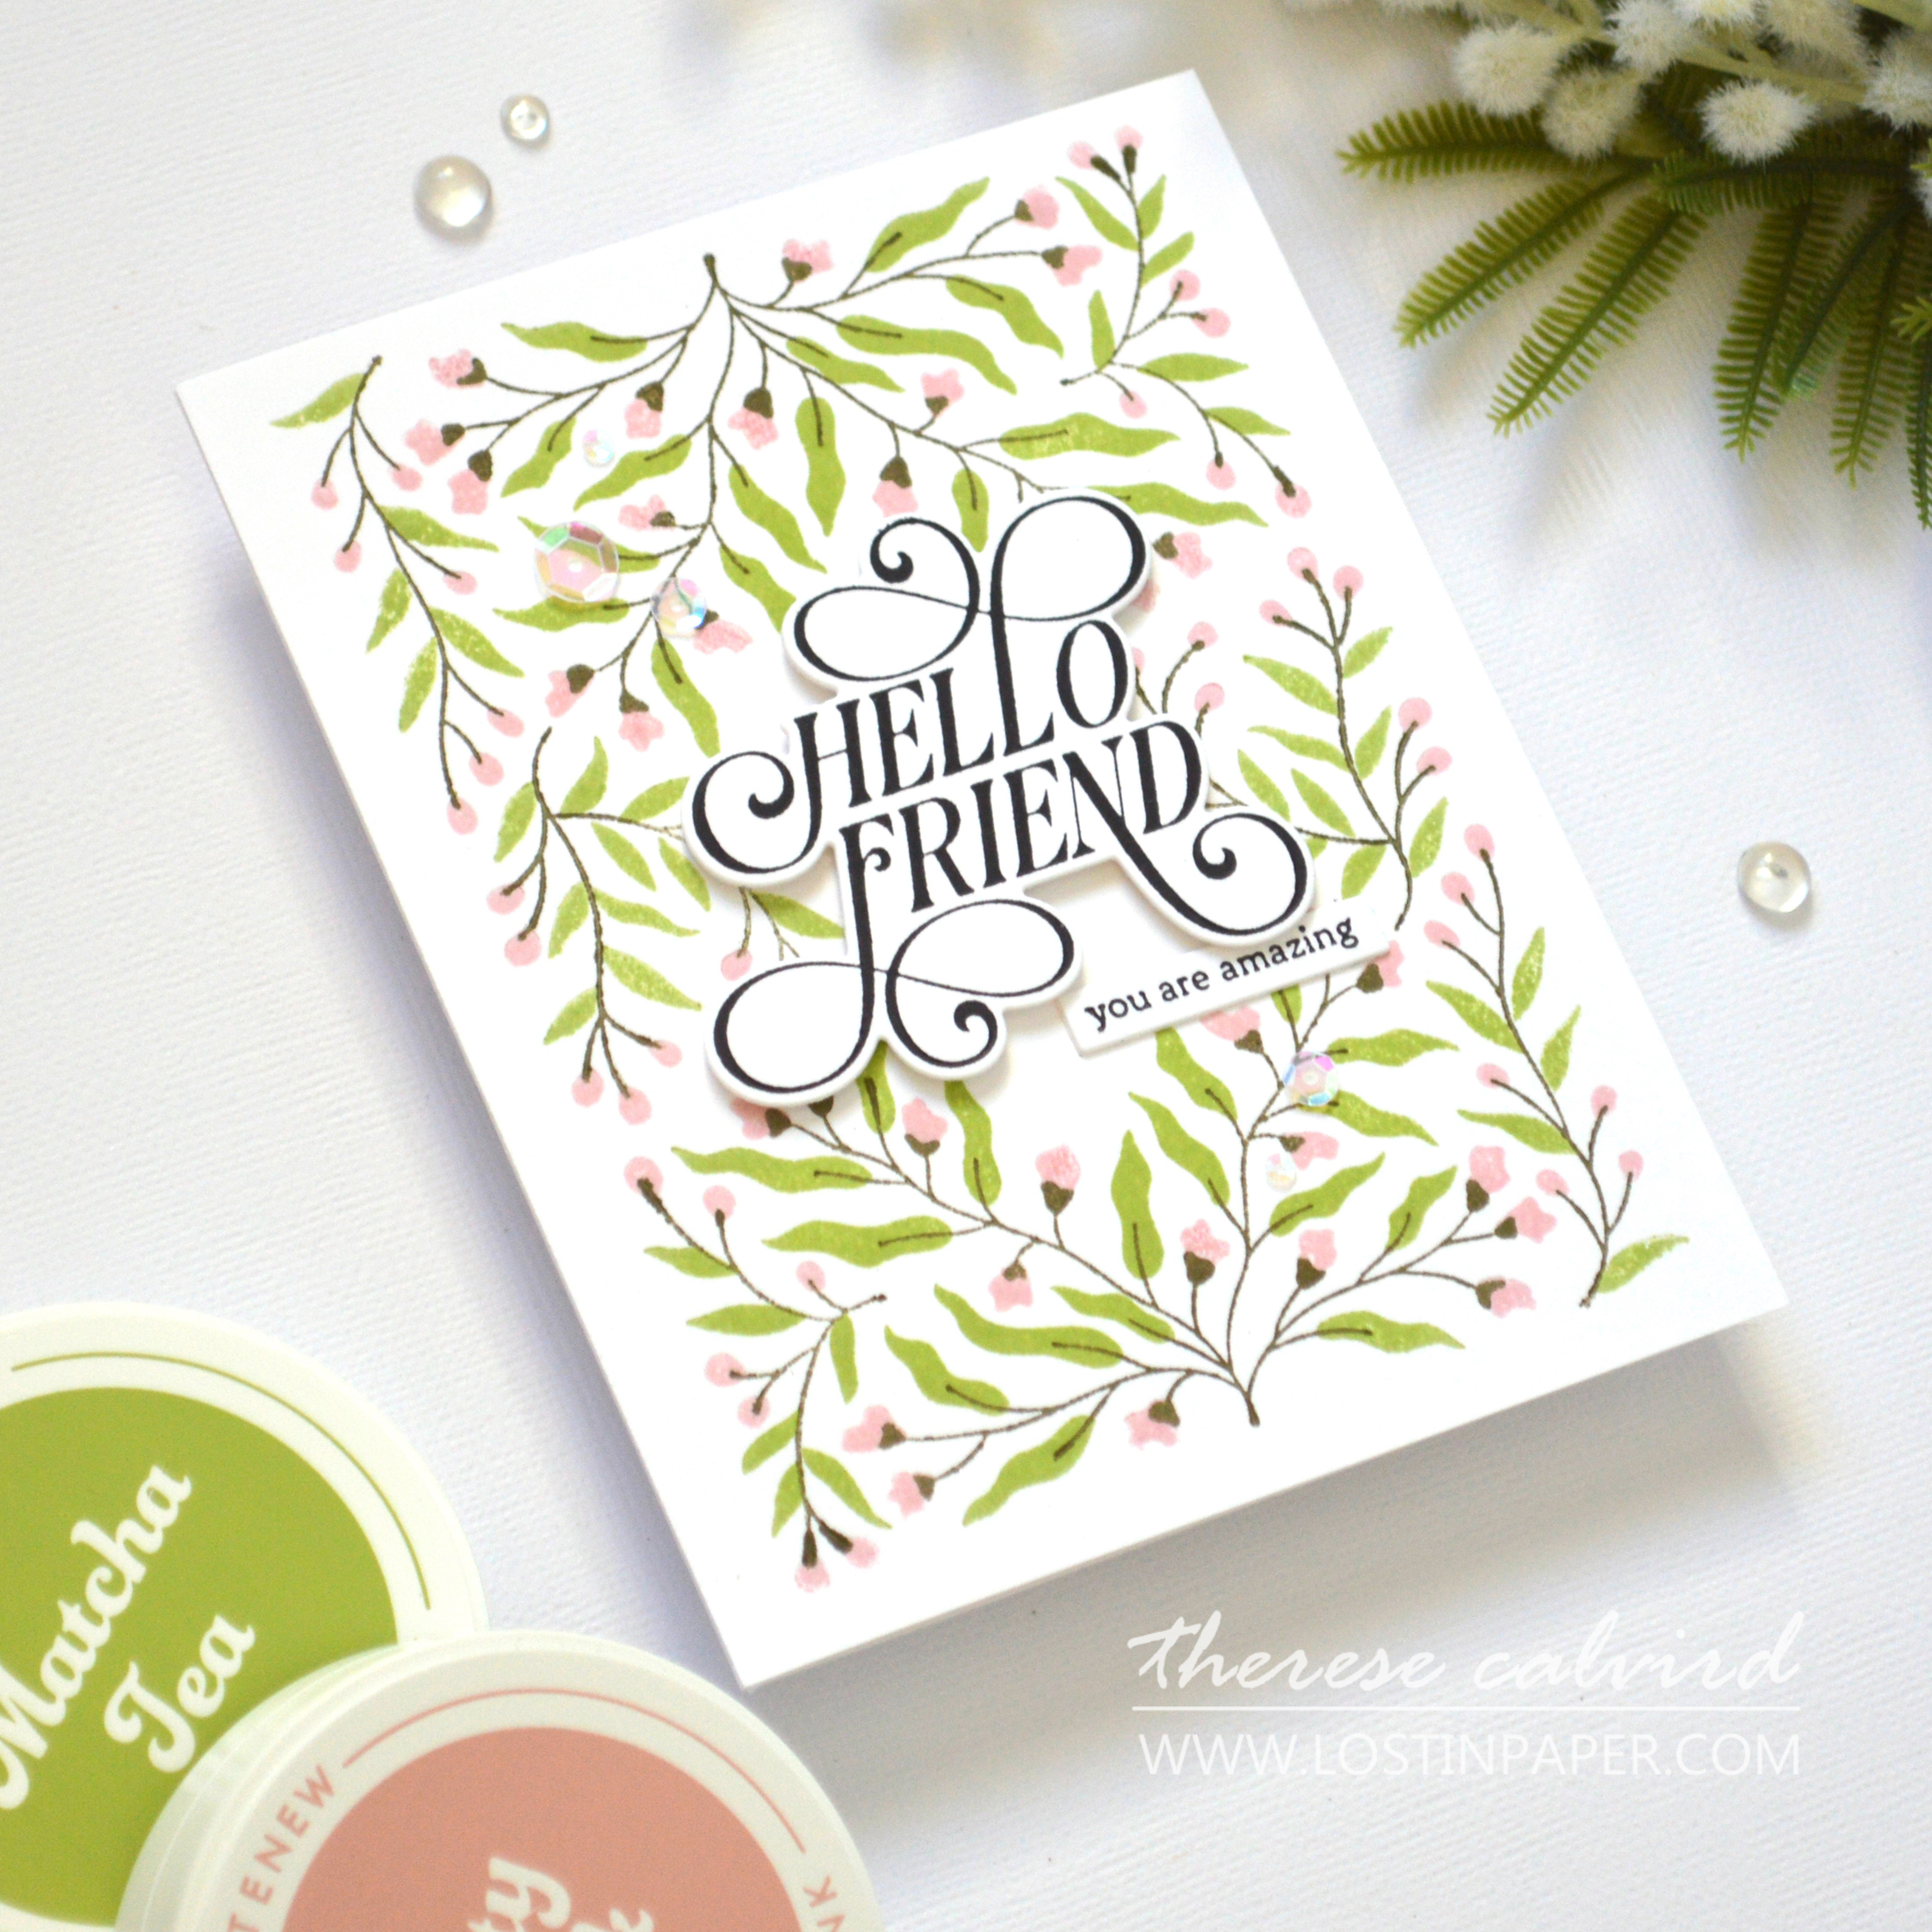
This beautiful Press Plate set has 3 layers of plates for each side of the image, so, to create the floral frame as intended that means that all three layers need to be stamped twice. Why is this fantastic? Because, now you can create these beautiful trailing flowers in any combination of colors that you choose.
Technique #1: Align Indepentently
The alignment guide has each of the Press Plates outlined on a clear acetate piece. Each plate is color coded so it is easy to match the three layers.
PRO TIP: But, if you need some extra guidance, you can also download the layering guide which is located with the product information.
For this first technique, I used some low tack tape to attach the guide directgly to the chase of the BetterPress and lined up each of the layers separately, to create the Flowering Hedge. Yes, that means lining it up 6 times, but the guide did make this very easy to do.
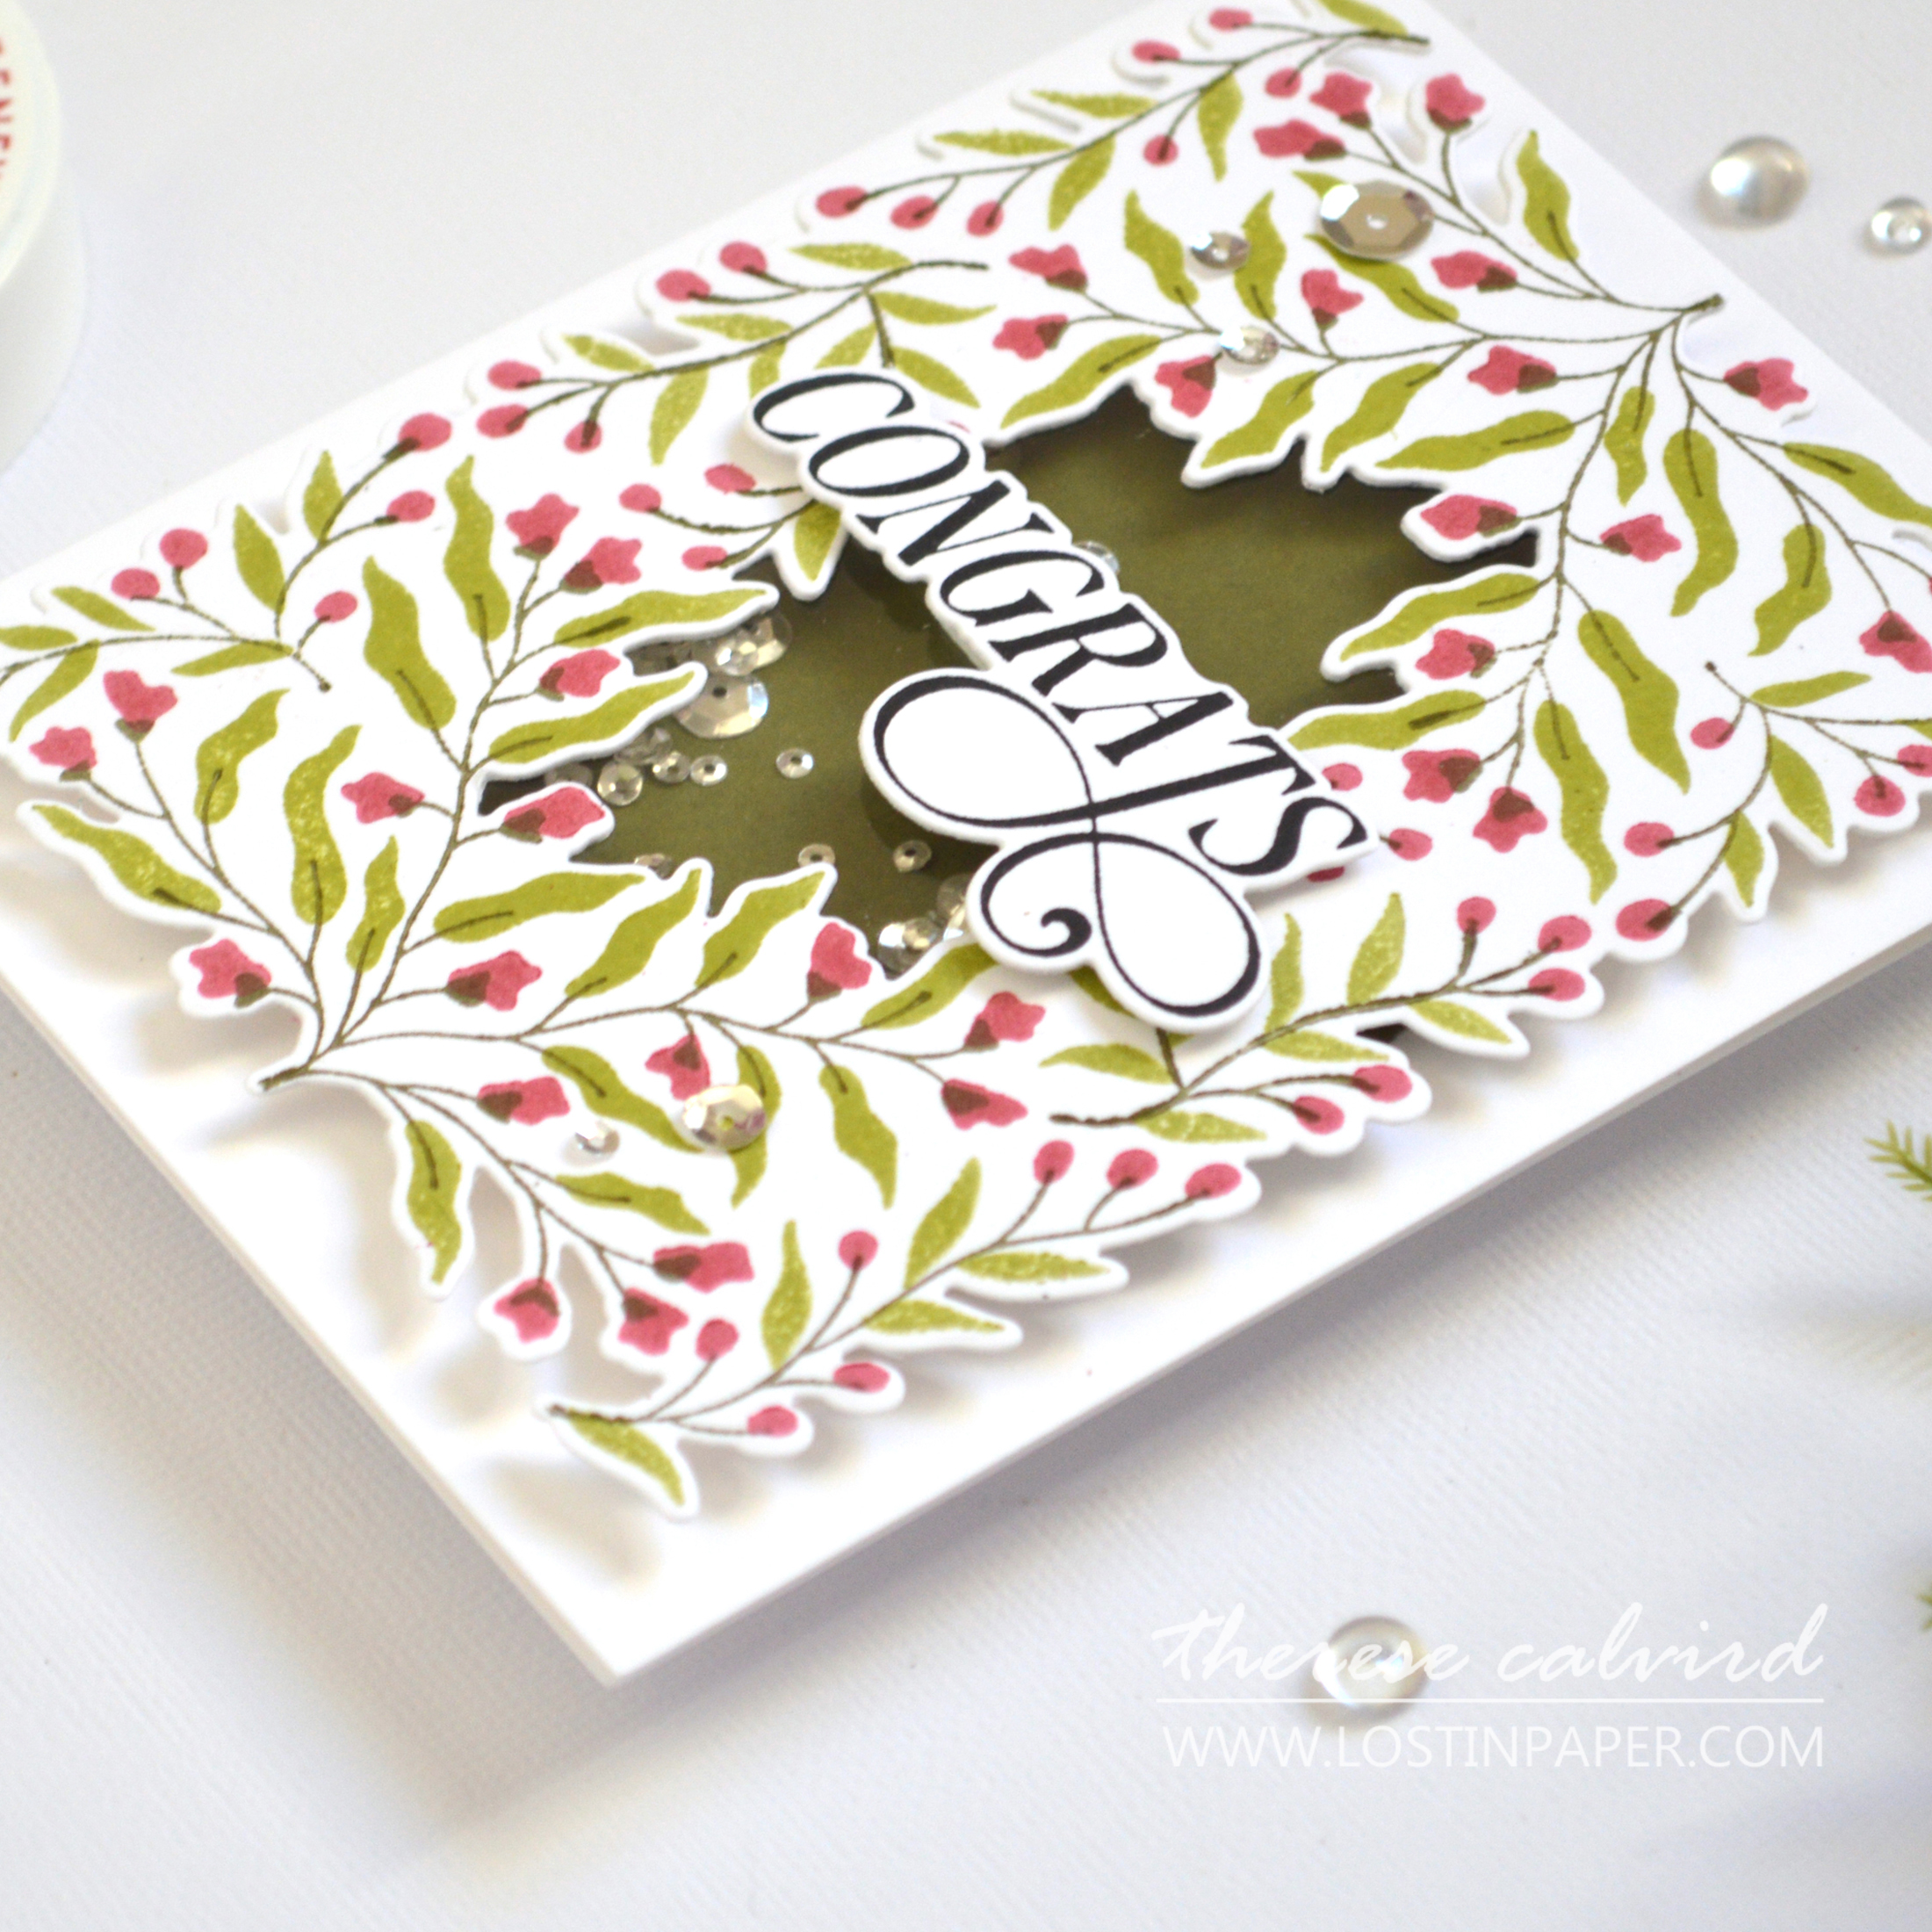
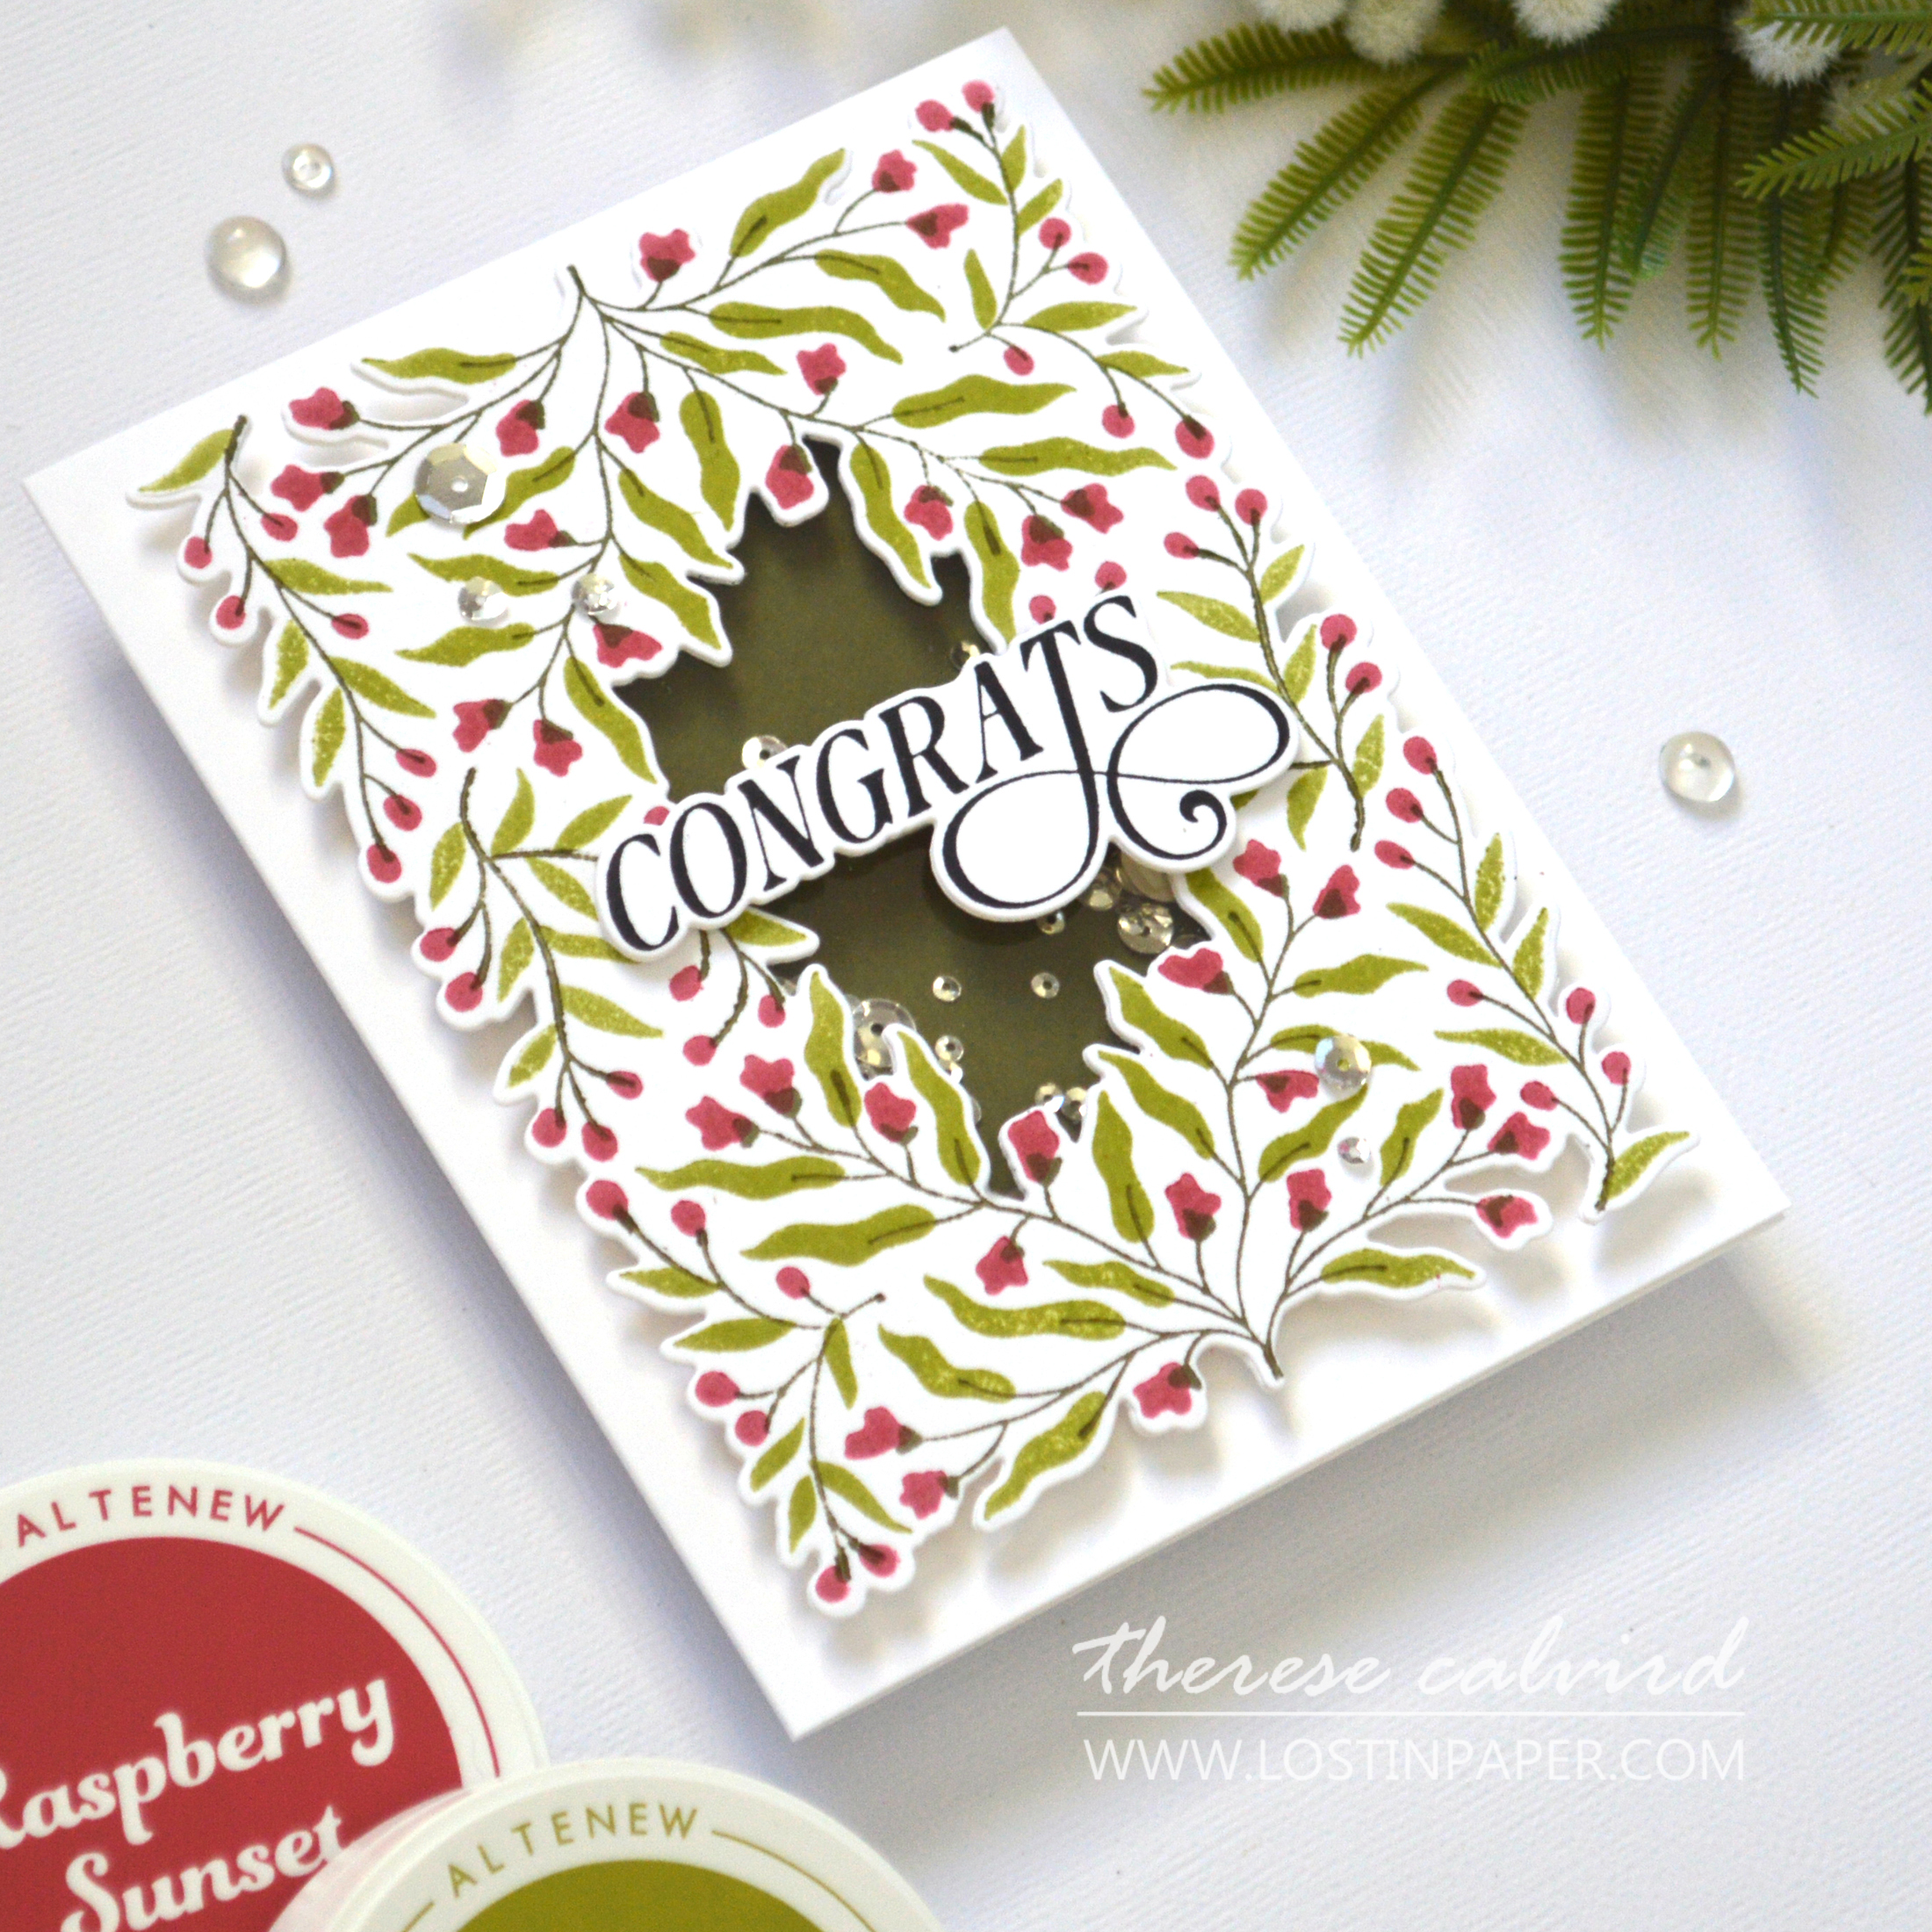
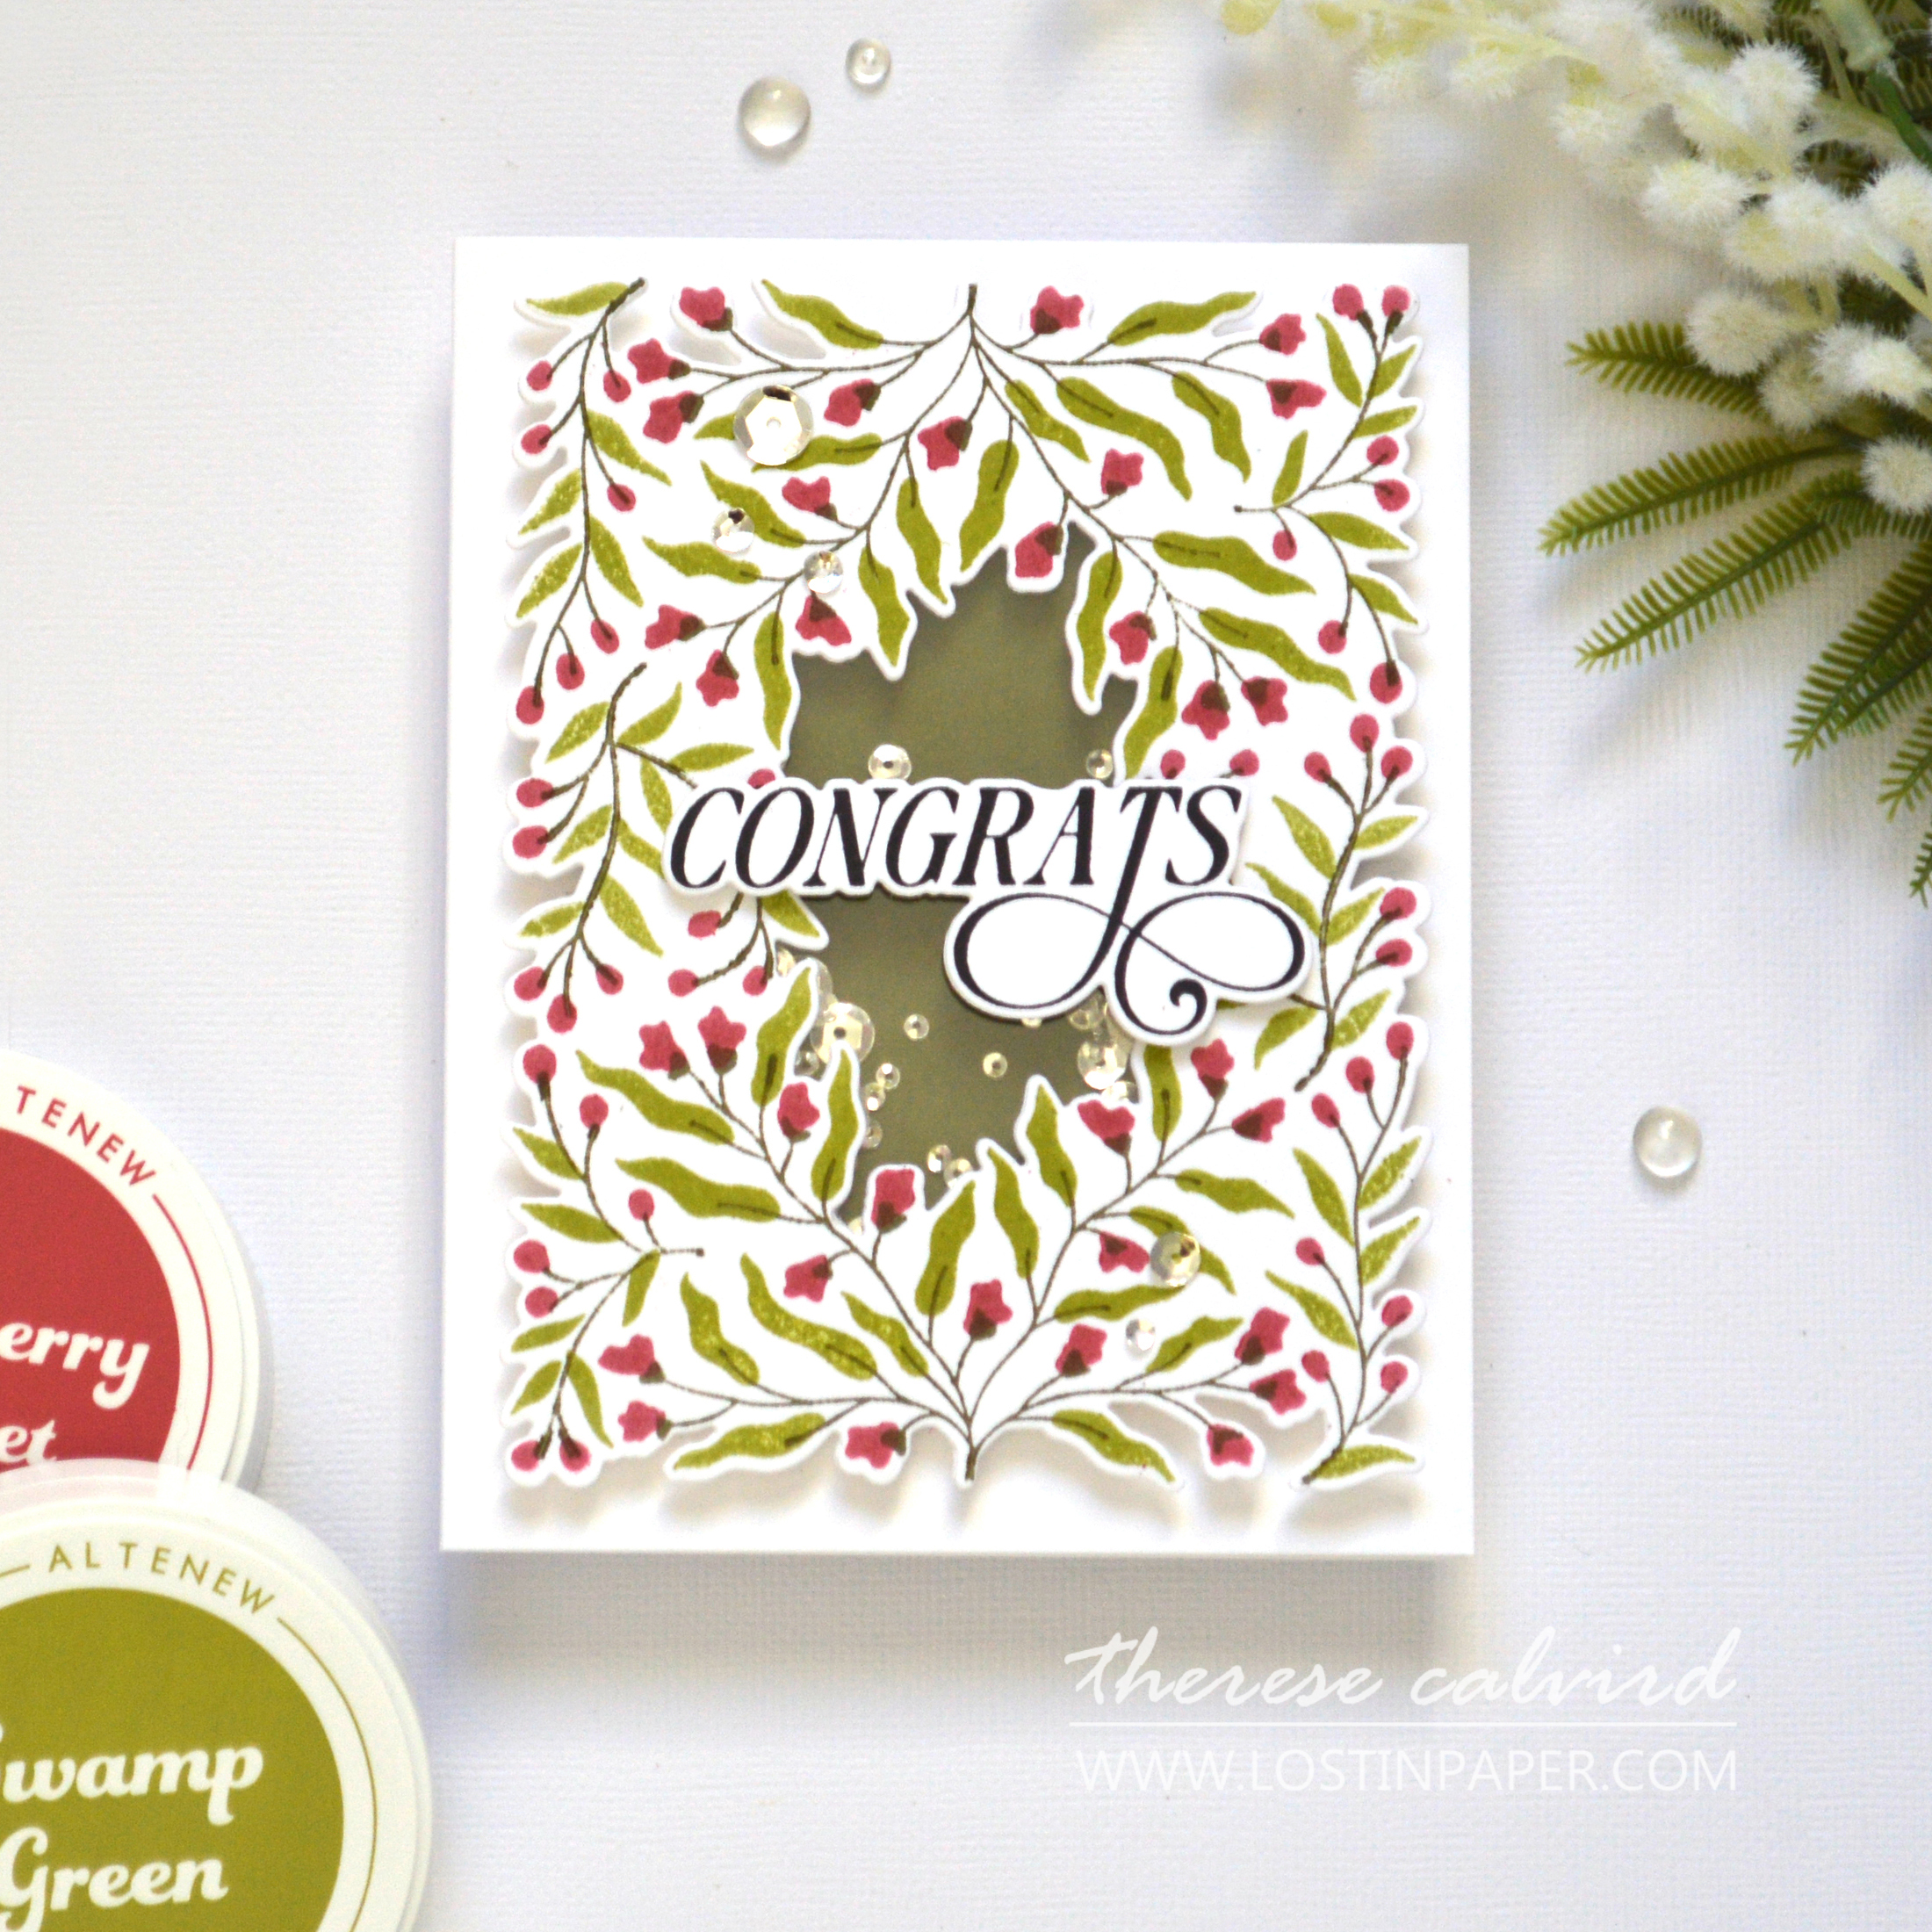
Using this technique meant that I could confidently use the co-ordinating die to create a frame and make it into an interactive shaker card.
Technique #2 – Flipping It
This technique provides a quicker way to create the image! It’s perfect if you do not plan to die cut the finished ‘hedge’, as I found the result was not as accurate because I was ‘flipping’ the plates.
What do I mean? Instead of lining up each plate independently, I lined one at a time but stamped it twice by flipping the Platen (clear top plate) to stamp the image on the opposite side of the panel. This saved me time as I only had to line up each plate once.
This time I added the alignment guide to the Chase, but used only two pieces of low tack tape at the bottom. This created a ‘hinge’ that allowed me to ensure that the plates did not move between adding colors.
TROUBLESHOOTING: The hinge technique is also a great alternative if you are having trouble with the plates moving on the acetate whilst adding the ink to them.
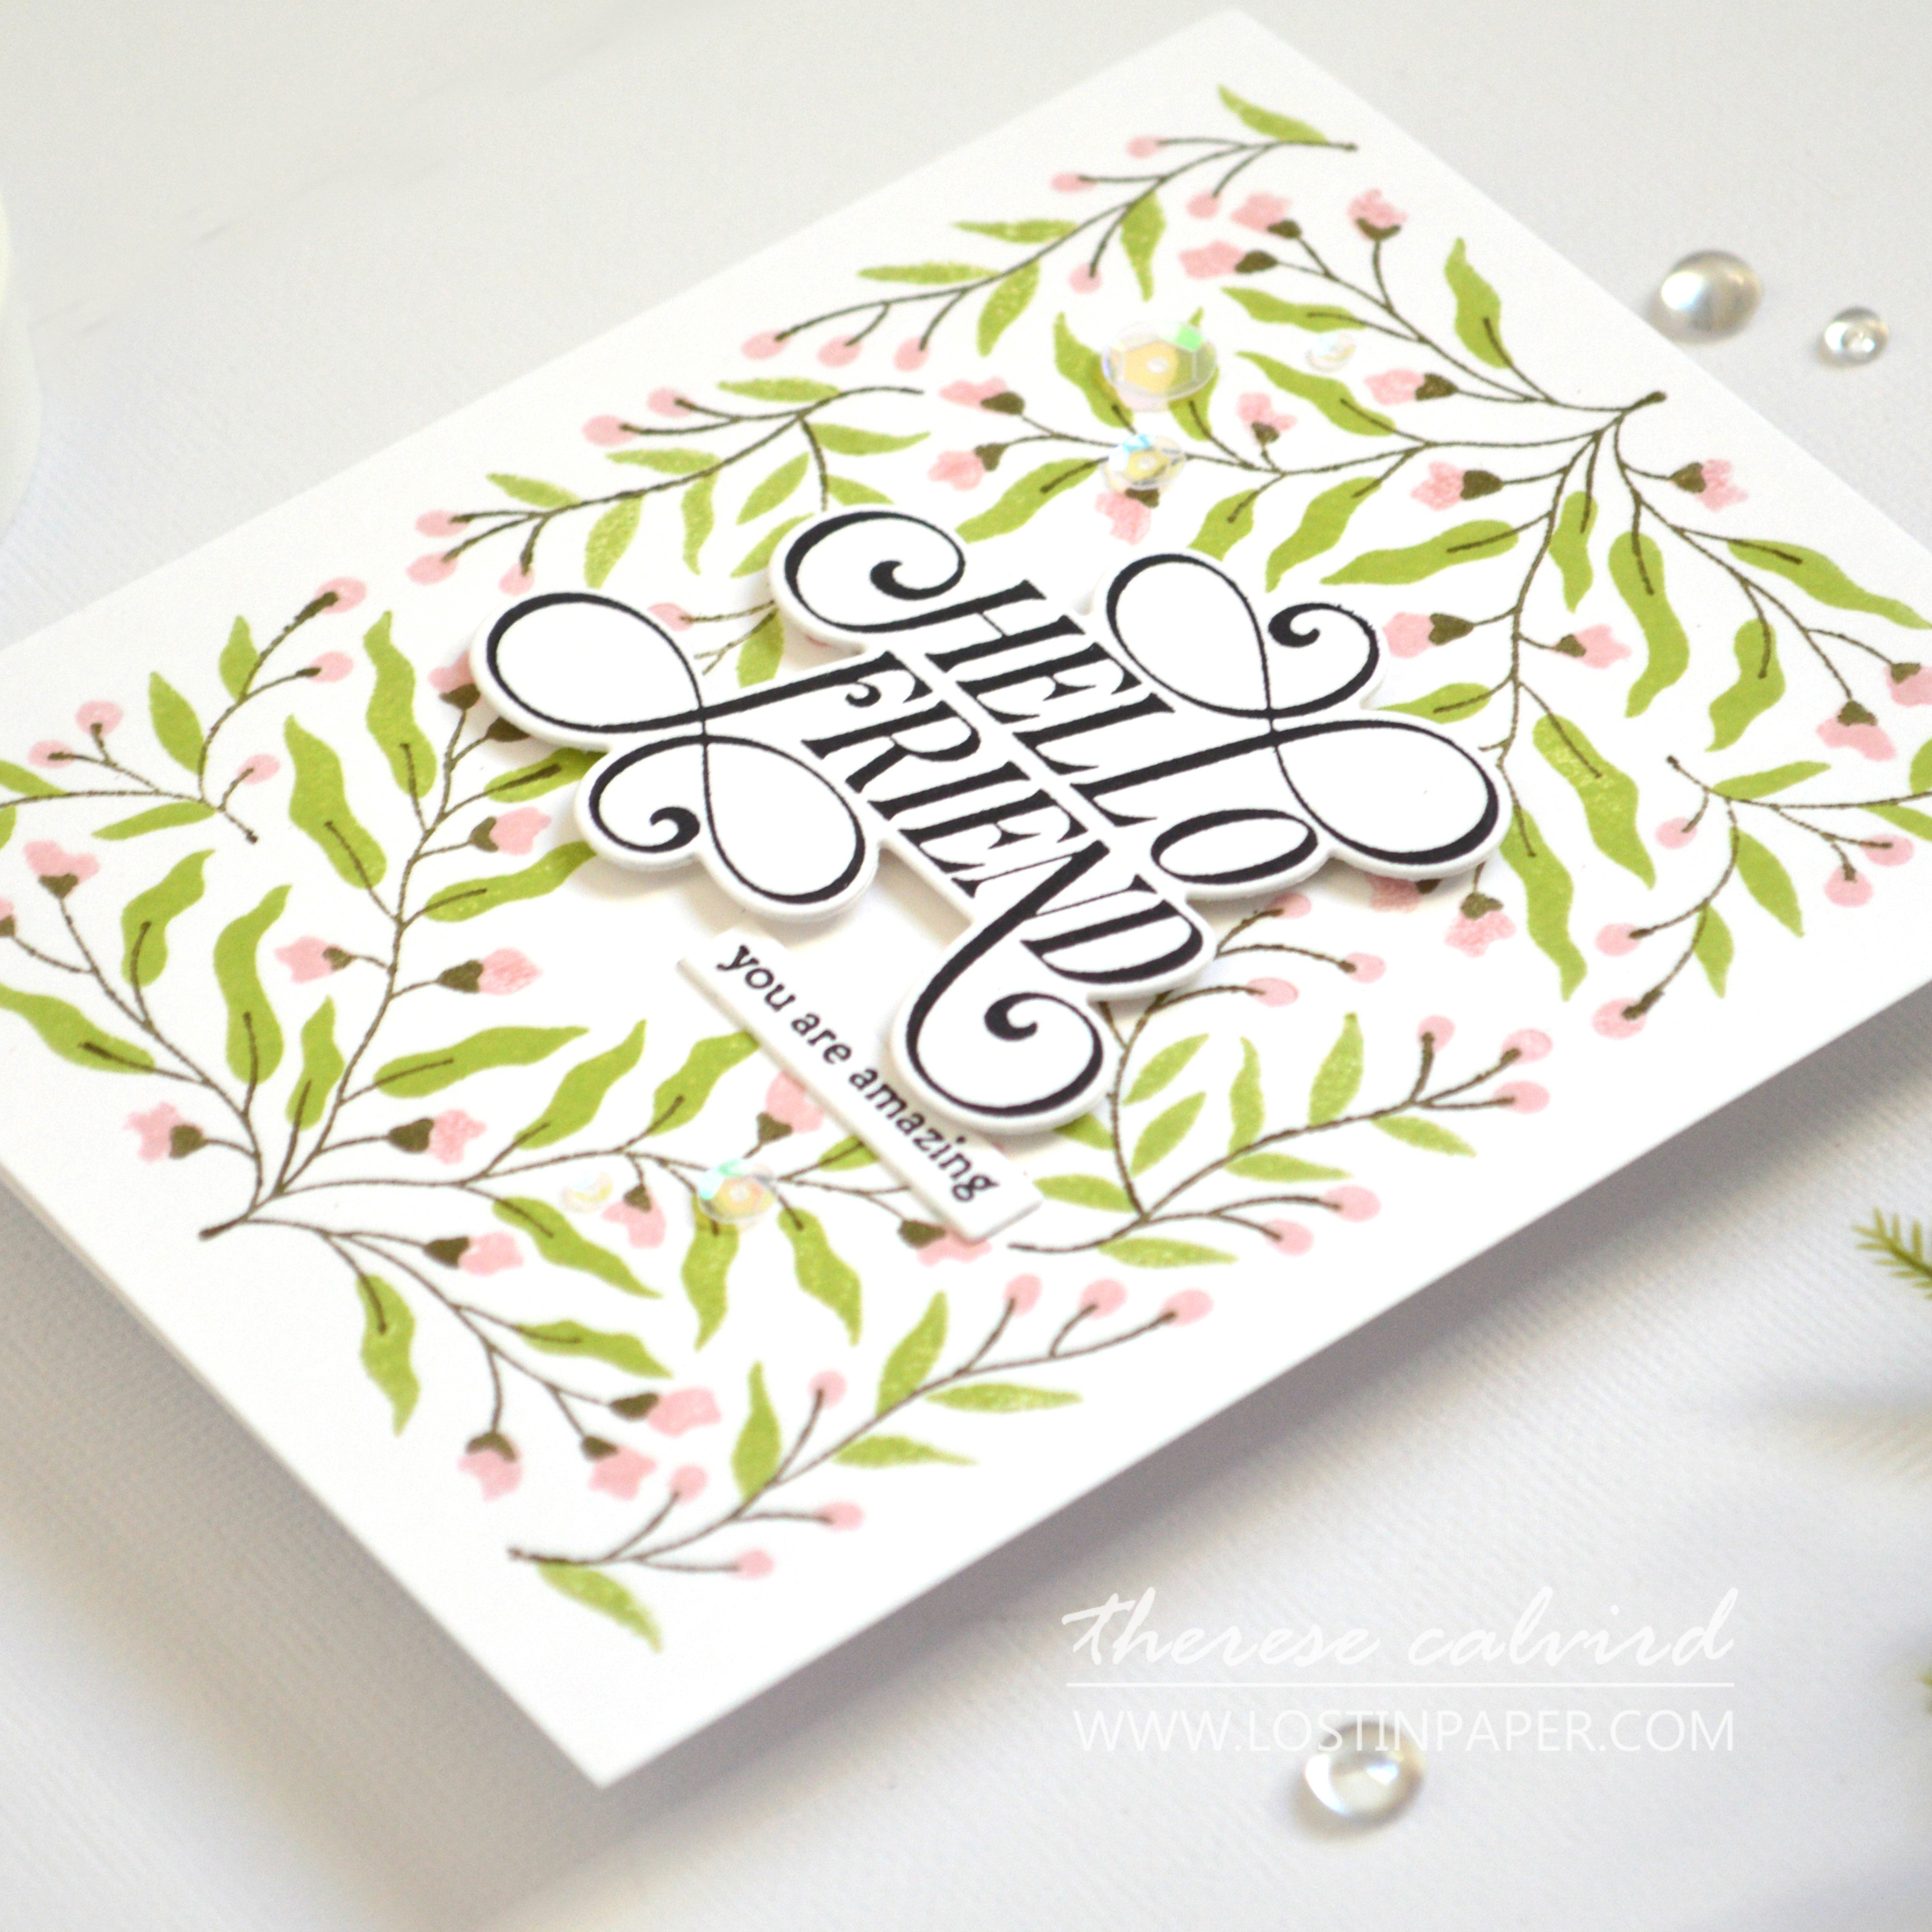
Both of today’s cards feature the beautiful sentiments that are also included in the set. And having the co-ordinating dies made easy work for me to be able to pop them up for some added drama.
BONUS IDEA: Did you know that Press Plates can be used with a Hot Foil machine? Wouldn’t these look amazing in ‘gold foil’?

I hope you are inspired to create using BetterPress plates using one of these techniques on your next project! If you do, don’t forget to share them on social media with me, I’d love to see what you make!
Have fun crafting!

Other Supplies:
Altenew Cardstock: Moss.
Altenew Inks: Raspberry Sunset | Blush Rose | Swamp Green | Match Tea.
Sequins: Clear Iridescent | Dazzling Diamond.
*Certain content that appears on this site comes from Amazon, this content is provided as is and is subject to change or removal at any time.
 Flowering Hedge ALT | SSS |  Altenew Cardstock ALT | SSS |  Acetate SSS |  Obsidian ALT | SSS |
 Blushberry Bliss ALT | SSS |  Forest Trail ALT | SSS |  Neenah Solar 110 AMZ | SSS | Neenah Solar 80 AMZ | SSS |
 Perfect Picker ALT | SSS |  Tweezers ALT | SSS |  Fine Blade Scissors ALT | SSS |  Bone Folder ALT |
 Score Board ALT | SSS |  Platinum 6 ALT | SSS | SB |  BetterPress SB ALT | SSS | SB | 9″ Fiskars Paper Trimmer AMZ |
 Glue Tape ALT | SSS |  1/2″ Ultra Sticky Tape ALT | SSS |  Foam Tape NEW sizes! ALT | SSS | Bearly Art Glue AMZ | SSS |
 Satin Masking Tape ALT |
I LOVE Press Plates, and this design is BRILLIANT!
Thank you for demonstrating this… it will be in my stash very soon 🙂
I agree June, it makes layering so easy!