
Interactive or Not?… Yes, you say, and I knew you would. Who doesn’t love an interactive POP-UP card, and NO special supplies required, I promise!
Welcome back to another Same But Different video! Today I am ‘popping’ in to let you know a couple of EASY Pop-Up card techniques. You can seriously use any of today’s techniques with any of the images and items that you already have on hand.
So let’s get to it, starting with,
Idea #1 – Insert Pop-Up Tab
This is one of the easiest ways to make a pop-up design element.
- Simply cut a second piece of cardstock to fit within the cardbase.
- I cut it to the same size and out of a lighter weight cardstock.
- When you decide where you need to pop up your image cut and score a tab, then fold it inwards.
- Adhere the two panels together ensuring that the is no glue where the tab will be.
- Adhere your image to the tab with strong tape or liquid glue.
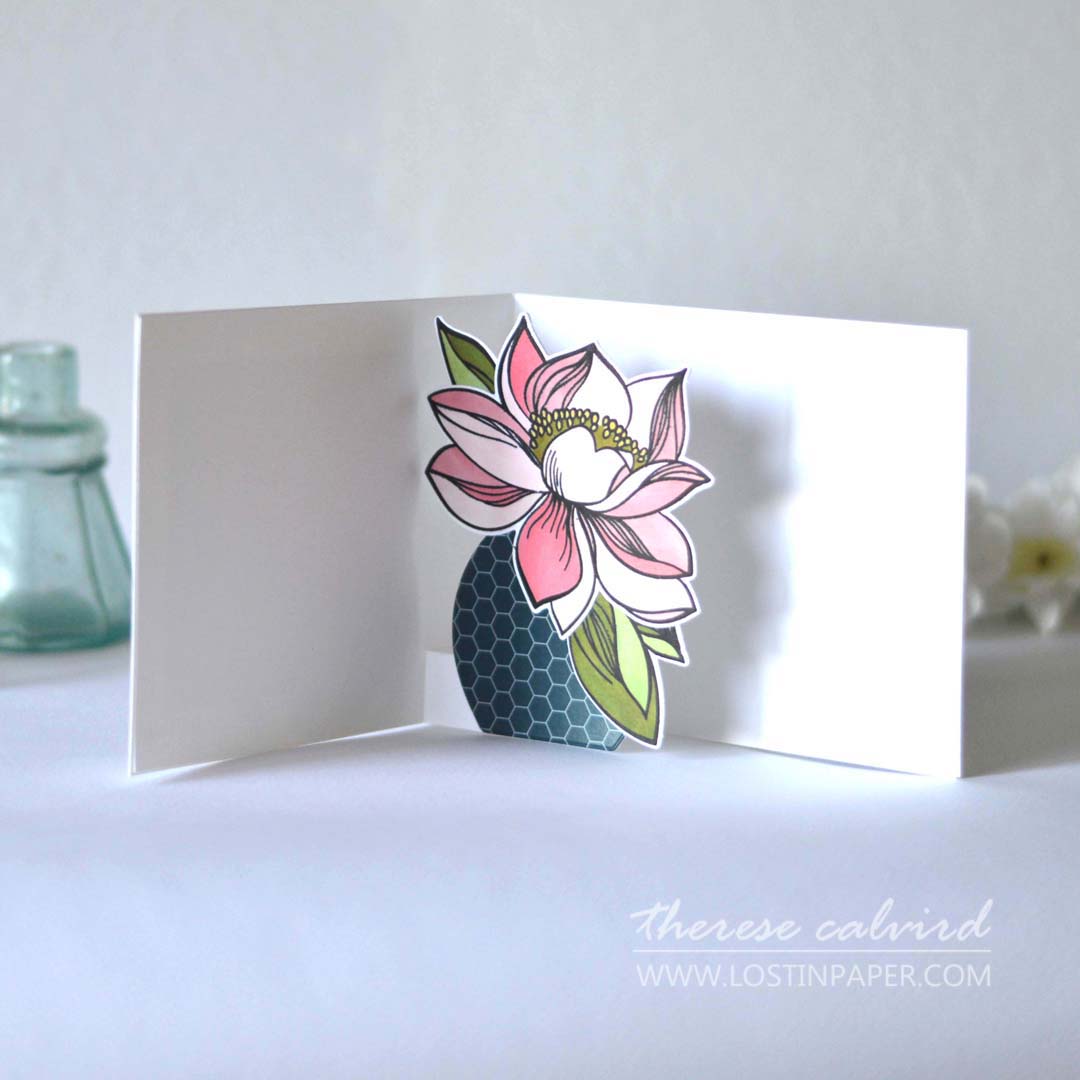
If you have a large image like I used today it’s easiest to add it to the base of the insert, but you could certainly cut your insert ‘higher’ and pop up a fun image such as a butterfly or bird!
PRO TIP: Why not add that little extra colour to your design by using coloured cardstock for the inside panel… just like I did in this card & video HERE.

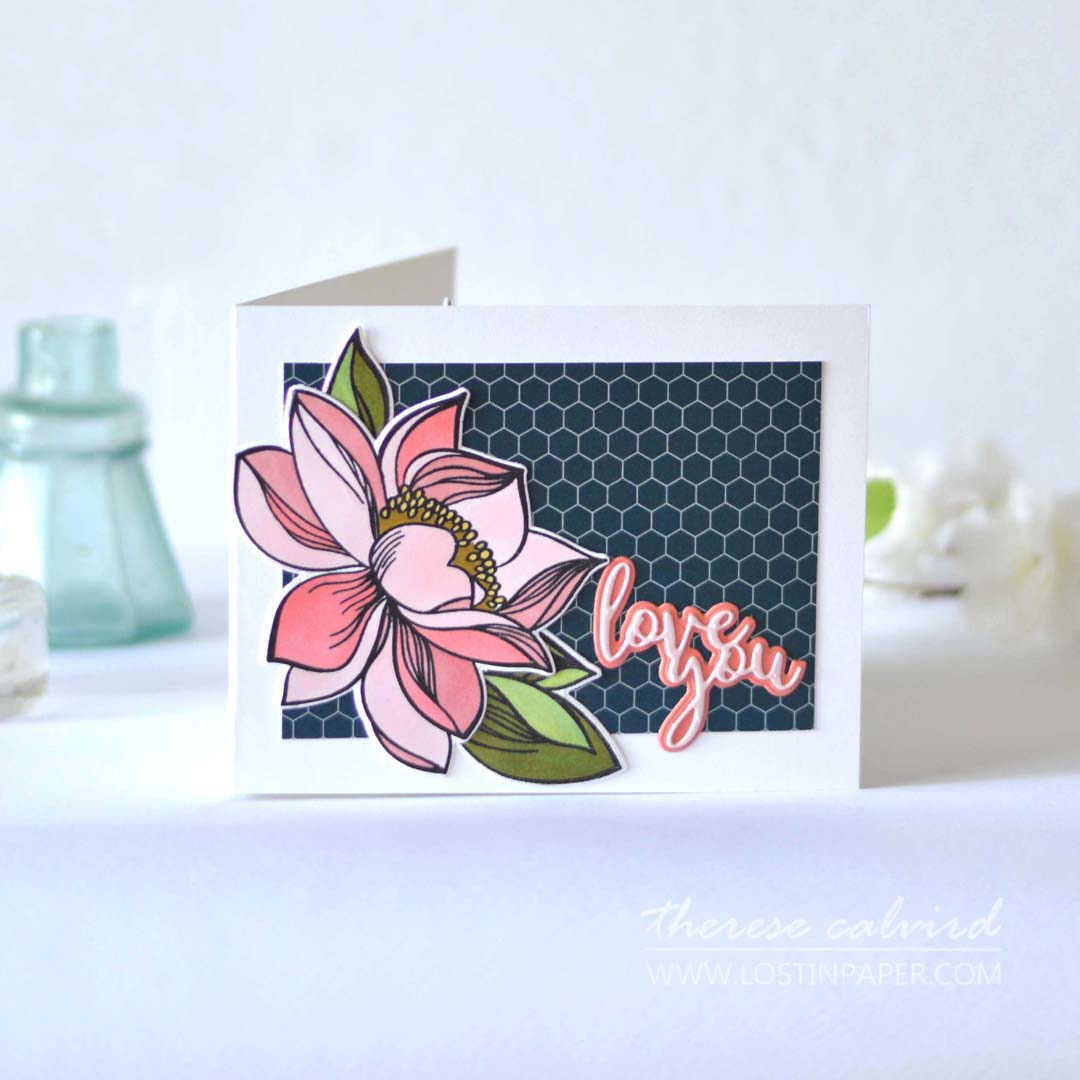
I used one of the Striking Flowers and a Mod Vase from Altenew but you can use whatever images you have on hand. AND you can decorate the front of your design as you desire.
Idea #2 – Multi Pop-Up Tabs
Did you know that you can also use ‘tabs’ to pop up images? In fact you can pop up more than one as I did here.
- Create 2 tabs by cutting thin strips (0.5-1cm) of cardstock and score 5 equal score lines. Cut on the 5th line and fold each score line inwards and adhere the last tab to create a square.
- These strips can be sized to fit the images.
- Join the 2 squares together side by side. Then adhere these squares, where they join, along the centre of the card base score line.
- Adhere the images on top of these square tabs, so that as the card is opened they pop up.
- Be sure to test your images to make sure that the card will close correctly and that the image will not be seen outside the card when it is closed.
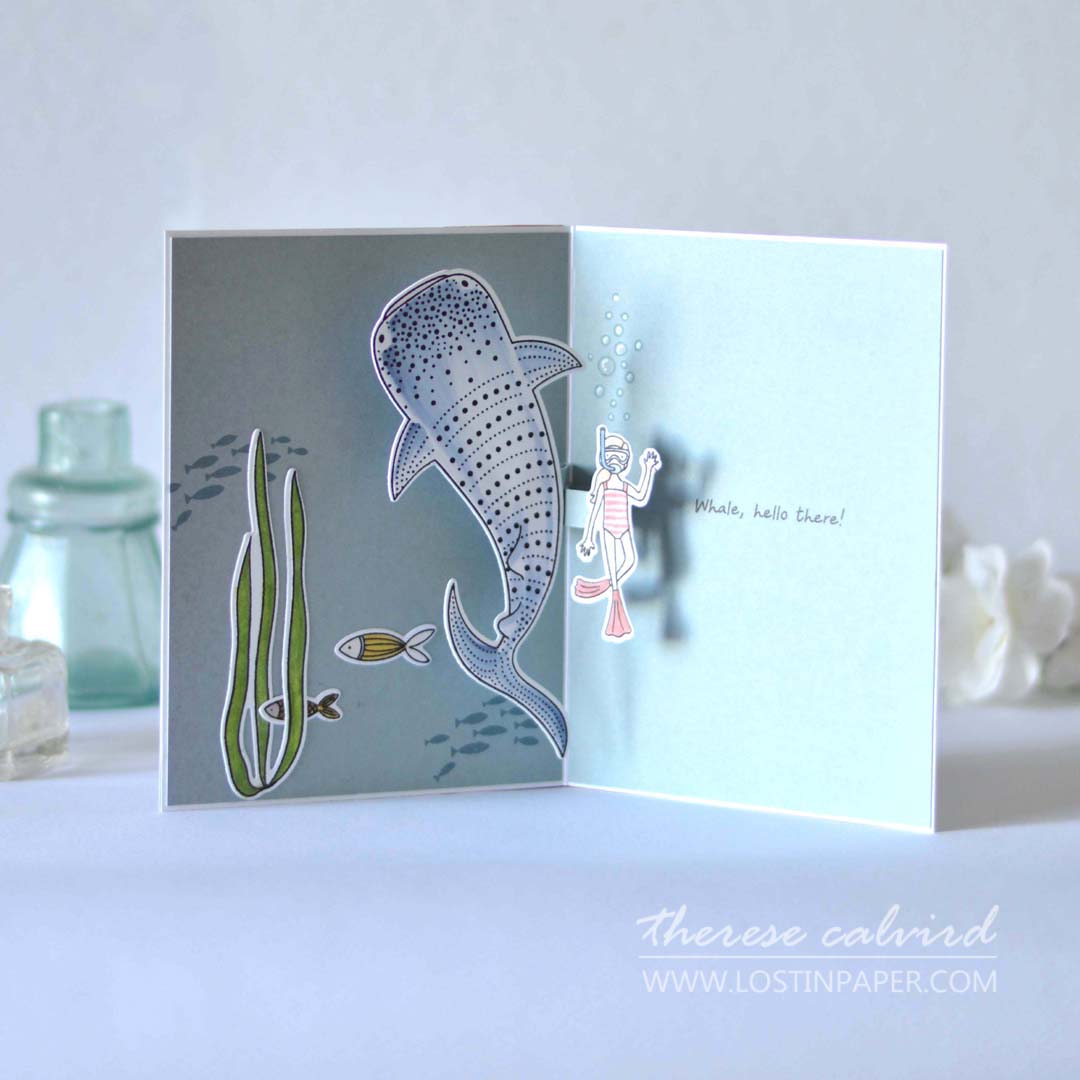
I decided to create a little underwater scene today using the Whale Shark set. I added some blue cardstock to the inside of my card (and also created the tabs with this) but you could certainly add your images directly to the inside of the card without this extra layer.

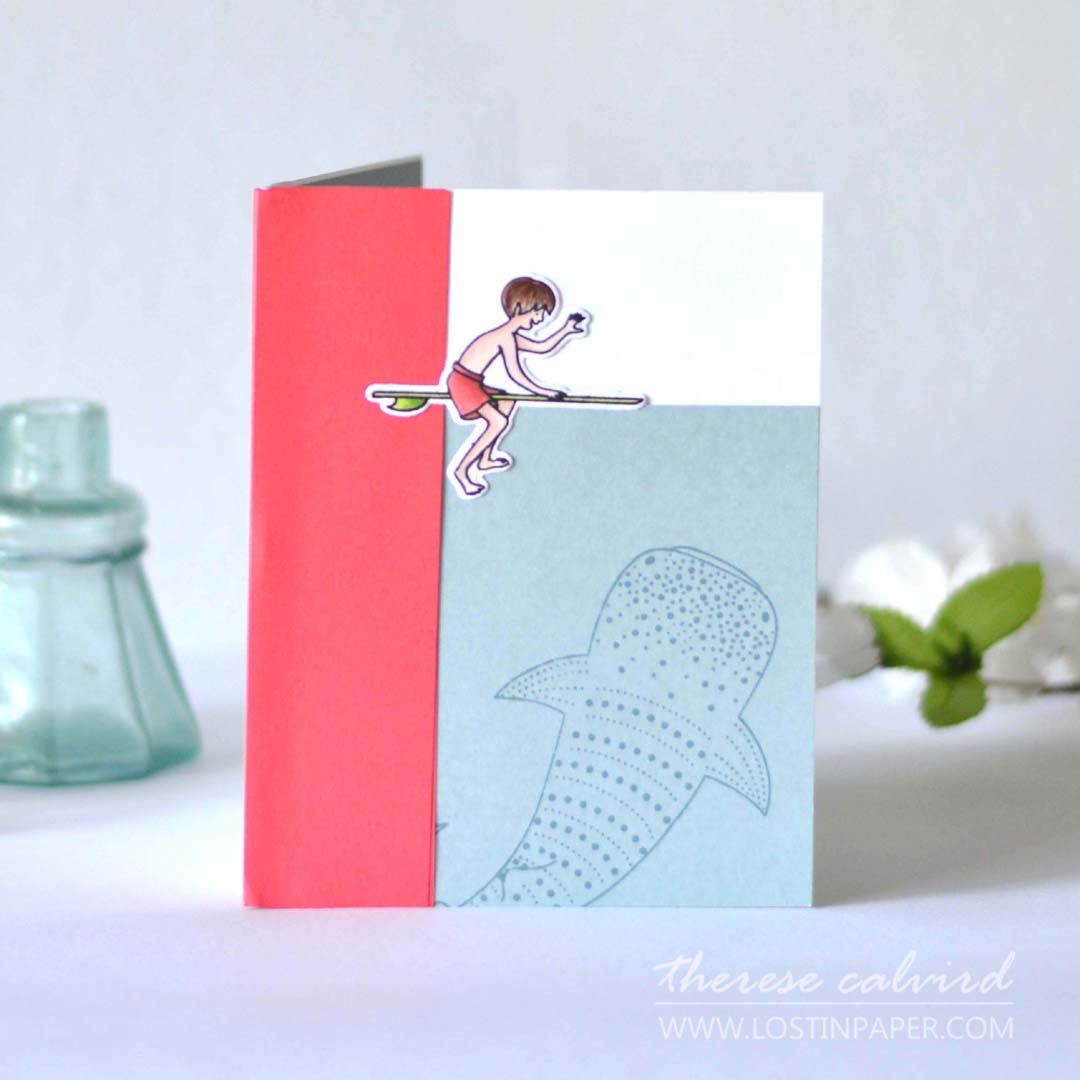
And of course I had to decorate the front of the card too… lucky these sharks are filter feeders.
Idea #3 – Shadow Box (BONUS Pop-Up)
Would you like your ‘whole card’ to pop-up? That is exactly what a Shadow Box card does and you can make this without any specialty dies!
- Cut 2 pieces of 110lb cardstock 6 1/4″ X 5 1/2″ and score each on both sides at 1/2″ and 1″. Fold on these score lines.
- Die cut a window in the front of one of the sections.
- Then decorate and stamp as desired ( I added some Dancing Poppies today).
- Use a liquid glue or strong tape to adhere both sides.
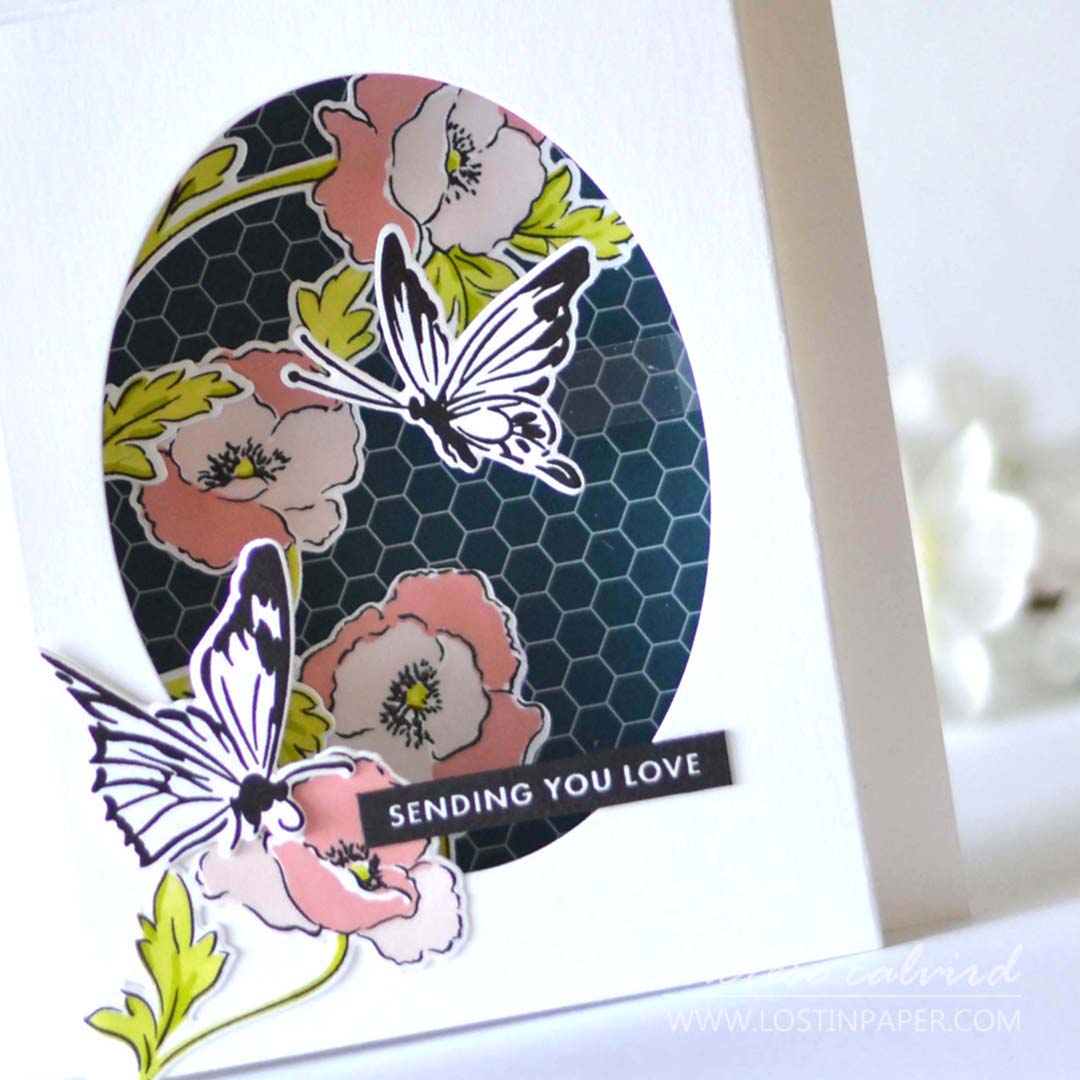
Did you see that I added an extra BONUS pop up idea, a sweet butterfly from Meadow Reflections, which moves when the card is folded in and out. I was inspired by Jennifer McGuire and was so excited about this technique that I just had to use it again (HERE are my first cards)!
PRO TIP: Even though this card has a LOT of dimension it still folds flat and fits inside a regular envelope.

Are you ready to watch all of these come together, with many more tips and tricks along the way? Then, watch the video here or Watch it in HD on YouTube.
Did you see that I used some Design Paper today…. aren’t you proud of me! Now, I challenge you to use your design paper too, I know you can, just take a breath and know that you can always buy more (wink).
I hope this has been helpful and given you some tips and inspiration to create some Pop-Up cards. And if you do, I’d love you to share them with me on Social Media, Crafty Hugs,

Also, just in case you want to do a little shopping I’ve added the links below (some of them are affiliate links which means that I will receive a small portion of the sale at no extra cost to you). I truly appreciate your support of my card adventures!
Other Supplies:
Copics – 0 / YG03,17 / E11,25,37 / C0. Sketchmarker Brush Pros – Y73,74,81 / G92 / R63,64,92. – Altenew Artist Markers – CG01, C022.
 Neenah Solar 110 SSS | AUZ | EH |  Neenah Solar 80 AMZ | SSS | AUZ | EH |  Concord & 9th – Cardstock EH |  Blushing Blooms Paper Pack ALT |
 Fresh Aqua AUZ | EH |  Acetate SSS | AUZ |  Striking Flowers Bundle ALT | SSS | AUZ | EH |  Mod Vase Die ALT |
 XOXO & More Dies ALT | SSS |  Whale Shark EH |  Whale Shark Dies EH |  BAG Dancing Poppies ALT | SSS |
 Meadow Reflections Bundle ALT |  Meadow Reflections ALT | SSS | EH |  Meadow Reflections Die ALT | SSS | AUZ | EH |  Essential Ovals EH |
 Bold Sentiments ALT | SSS | AUZ |  Parrot ALT |  Bamboo ALT |  Blush ALT |
 Rouge ALT |  Stone Blue AUZ | EH |  Mini Blending Brush Set ALT | SSS | AUZ | EH |  Sketchmarkers EH |
 Copic Markers SSS | EH |  Artist Markers Set J ALT | SSS | AUZ |  Gelly Roll White Pens SSS | AUZ | EH |  Tweezers ALT | SSS | AUZ | EH |
 T Ruler SSS | AUZ | EH |  Paper Trimmer SSS | EH |  Scissors SSS | AUZ | EH |  Spring Scissors SSS | AUZ | EH |
 Bone Folder Altenew ALT | SSS | AUZ | EH |  Mini Score Board SSS | AUZ | EH |  Cutting Mat ALT | SSS |  Media Grip Mat SSS | AUZ | EH |
 Mini MISTI SSS | AUZ | EH |  Magnets OTH |  Tool") Chuckie (pressure) Tool OTH |  Magnetic Pro Deck SSS | AUZ |
 Gemini Double Cutting Plates SSS | AUZ |  Turntable AMZ |  Thin Foam Squares SSS | EH |  Bearly Art Glue SSS | AUZ | EH |
 ATG SSS | EH |  Tape 1/2 SSS | EH |  Foam Tape ALT | SSS | AUZ | EH |
Wow Theresa
These are all amazing and very beautiful.
Thank you Lisa x
I agree with Lisa, Therese! They ARE very beautiful, amazing, and may I add very clever!
=]
Yay! You know you are my FAVE!!!!
I love the whale card but your colors on the vase of flowers are incredible.
Thank you Carolyn, I loved these colours together!
I don’t often do pop up cards but you have inspired me to give them a try, Therese. I love all of your cards but the shadow box is my favorite and one I want to make.
YES, make that one and you will LOVE it I promise!
Simply marvelous, Therese, ALL of them!!
Thanks Lisa, I am a little addicted right now!
Wow!! These pop up card designs are amazing and beautiful!! I will have to try one in the near future. Thank you for sharing! You
Yay! Thank you Dana!
WOW these are amazing! thanks for the tips!
Clever and beautiful.
Thank you Christine x