
Are you ready to party? Today I have my final technique using the Sprinkles stencil… BUT, I have also added a BONUS technique, because I love you!
I love stencils (they are so affordable) so I thought I would give you 4 technique ideas over the next few weeks to stretch your stencils. Did you see my first idea HERE, and what about stretching the tone-on-tone concept HERE, OR try heat embossing like I did on this card HERE! I have been inspired by the new release from Ellen Hutson, and my birthday card stash is growing strong!
And here it is, the star of the show, the ‘Sprinkles’ Stencil set!
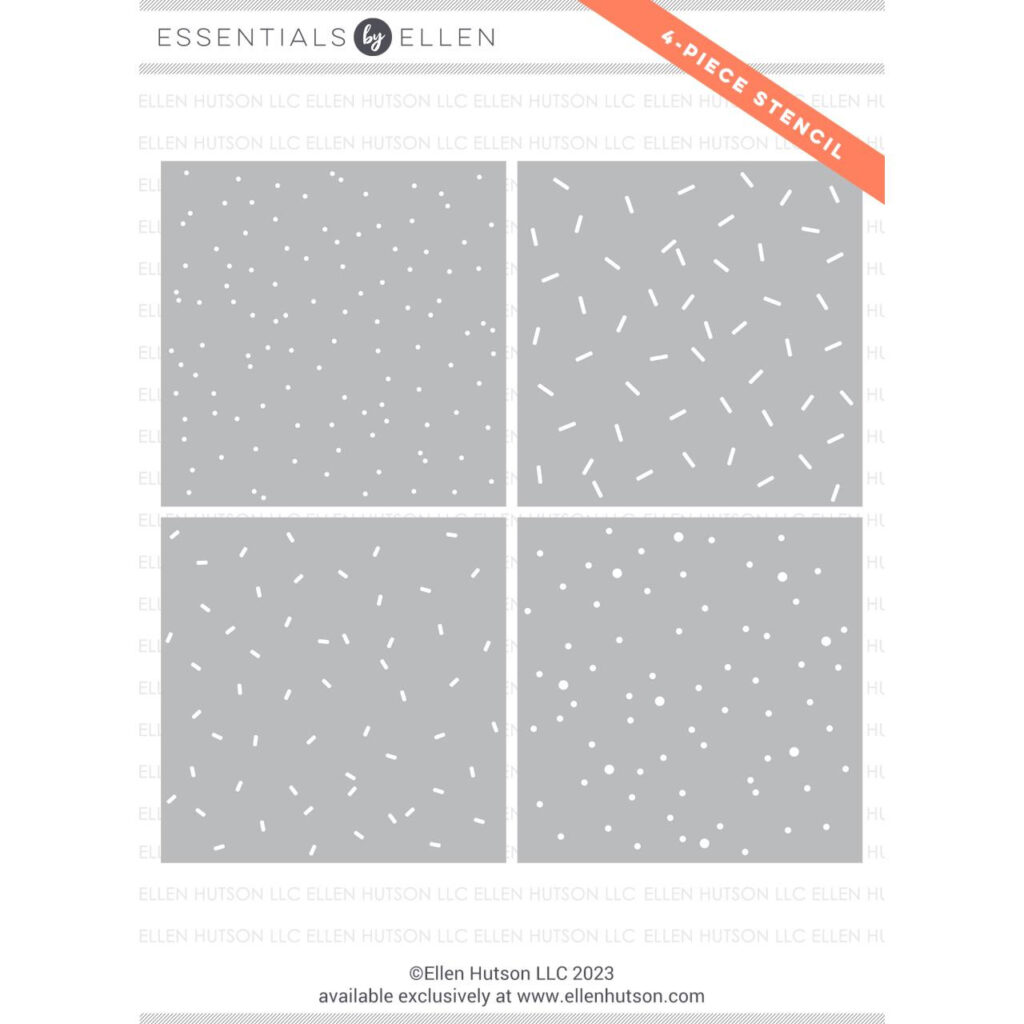
Stencil Idea #4 – Dry Embossing!
Did you know that you can use your stencils to add an ’embossed’ pattern into cardstock? The only ‘special’ equipment necessary is a silicon/rubber/tan mat to use with your die cutting machine. Sometimes this is included when you buy your machine!
Simply create the sandwich appropriate for the machine you have. I use a Bigshot and find that I need to add a shim as well as the rubber mat to get a better impression. But it is just a matter of playing around until you are happy, but remember NEVER FORCE your machine. In face dry embossing sometimes feels like nothing is happeing lol.
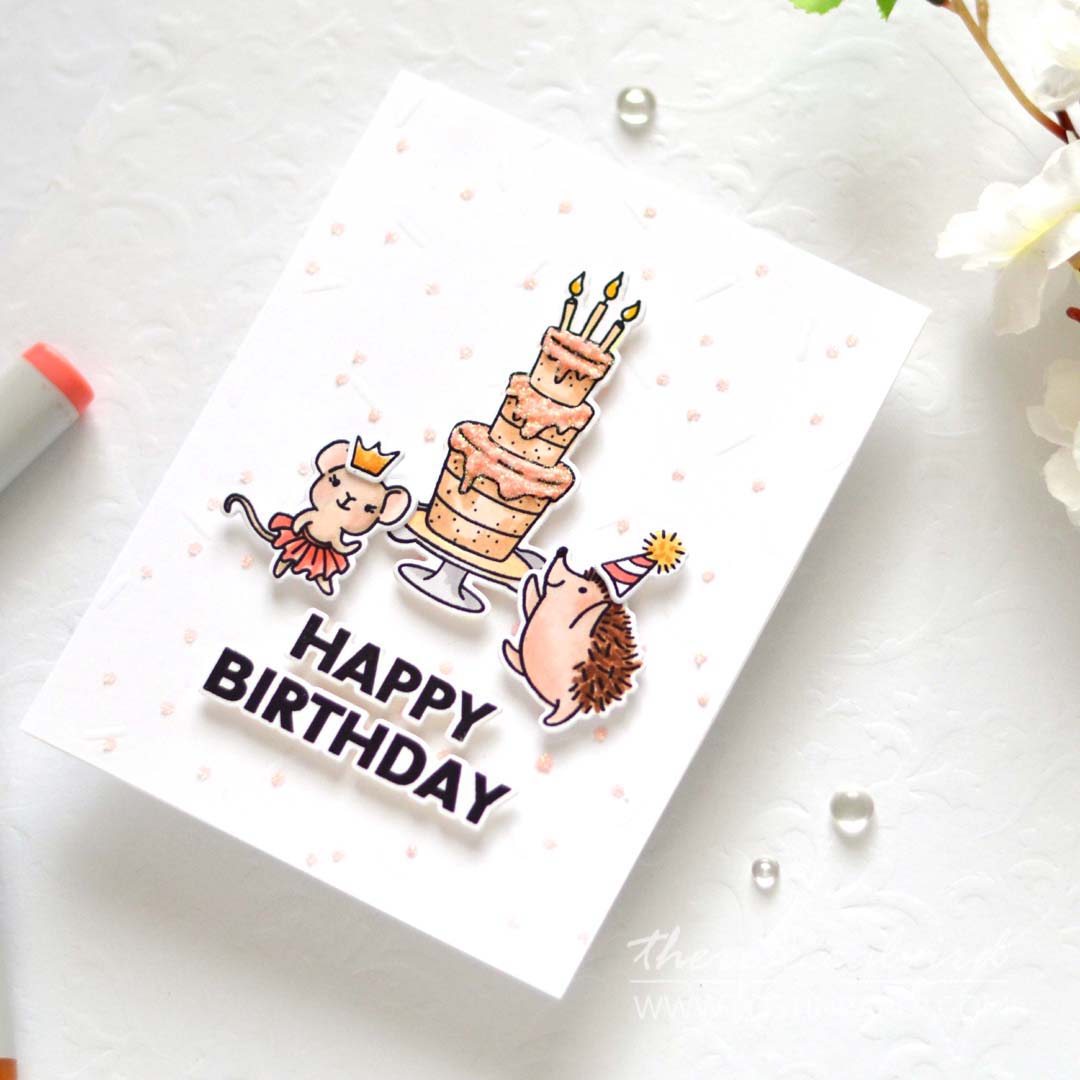
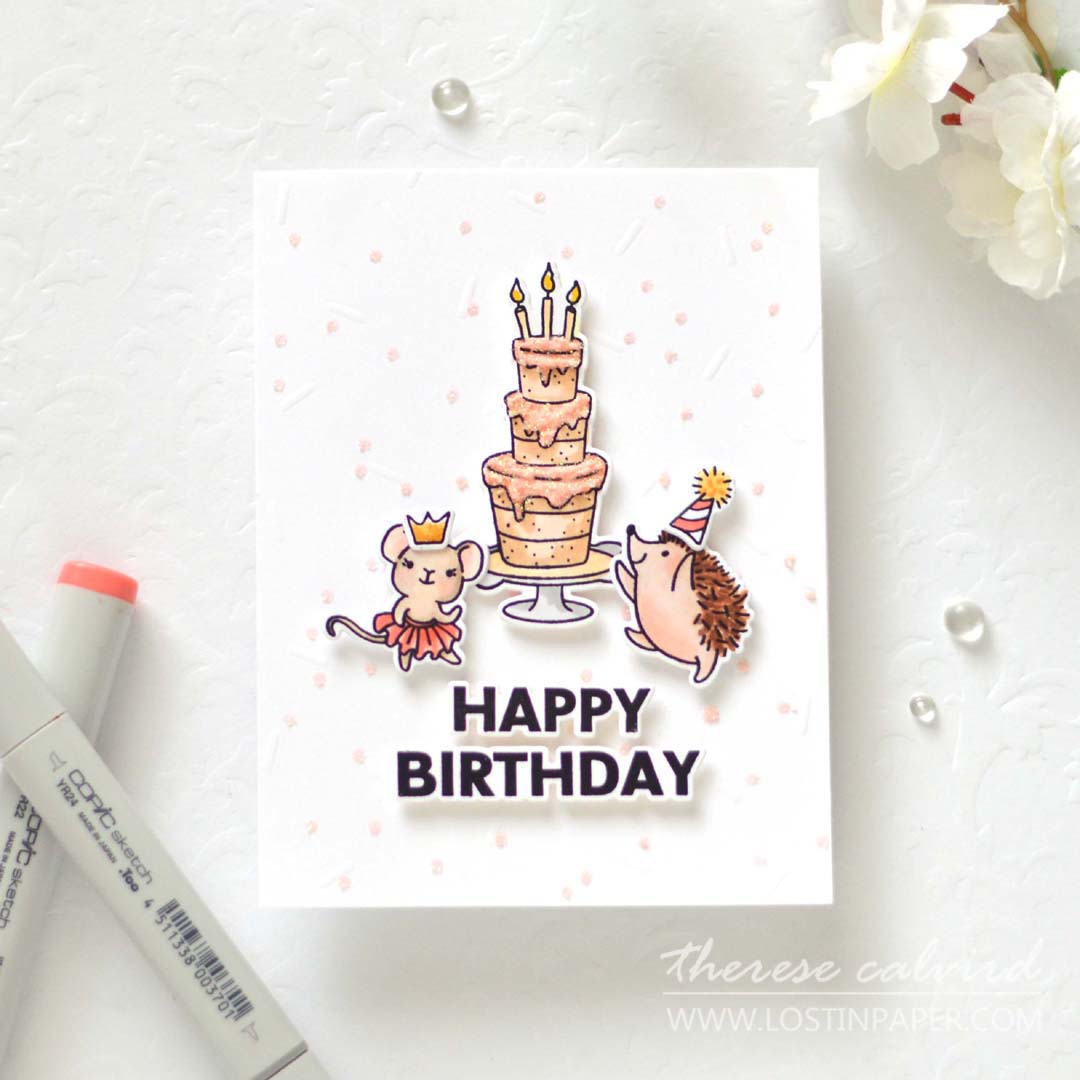
Ir is difficult to see in these pictures, but I promise you it’s there lol. And did you see my little party scene using these cute critters and BIG cake from the Party Time Combo?
PRO TIP: You will only be able to dry emboss one layer of the design as repeated embossing will probably flatten out previously embossed layers.

Bonus Idea – Bespoke Coloured Glitter!
Yes, I created my own coordinating glitter! I used the Glitz Glitter Gel and mixed it with some of the Coral Cabana ink to make my glittery pink dotty background. But, I couldn’t stop there, I also had to add it to the icing on the cake!
And this sentiment is from the HB2U Combo (told you I am loving this set)!
Hope you have been inspired to try some of the Stencil techniques from the past few weeks. If you missed any of them, I have them all linked above and if you do create something I’d love you to share it with me, simply link me on Social media and I will find you….. I promise x
Crafty hugs,

Also, just in case you want to do a little shopping I’ve added the links below (some of them are affiliate links which means that I will receive a small portion of the sale at no extra cost to you). I truly appreciate your support of my card adventures!
Other Supplies: Copics – 0 / T2 / R02,11,22 / E000,25,33,40,42,50/59 / Y19,21 / YR24.
 Neenah Solar 110 EH |  Neenah Solar 80 EH |  Sprinkles EH |  Party Time Combo EH |
 Party Time EH |  HB2U Combo EH | HB2U EH |  HB2U Dies EH |
 Tuxedo Black EH |  Nocturne EH |  Coral Cabana EH |  Glitz Glitter Gel EH |
 Copic Markers EH |  Paper Trimmer EH |  Scissors EH |  MISTI EH |
 Gemini Junior EH |  Bigshot EH |  Silicon Mat EH |  Bearly Art Glue EH |
 ATG EH |  Foam Tape EH |
Now THAT is a birthday cake! So cahUTE!! So confetti-worthy!
=]
thank you my friend x
Great the 4 stencil idea. I never tried embossing powder (I am a newbie). I am glad you shared it.
Awesome! Welcome Lalla, but beware… cardmaking is addictive lol. So glad you are here!
This is extra sweet, Therese! Fabulous color choices!
Thanks so much Lisa x
Love the glittery frosting,
Thank you Bobby!
Fun idea to combine dry embossing with glitter paste! This is definitely a party in a card.
Thank you Lisa, it was a fun card to make!
What a gorgeous card your critters are coloured beautifully and love the frosting looks so lovely and gooey .
Marie
Yes, that cake made me hungry lol.