My BEST 5 Tips & Techniques to MASTER the BetterPress (+ Video)
Bought but don’t use it? Not getting the BEST results? Then stick around as I am sharing my BetterPress SECRETS with you today!
But first, I wanted to let you know that this is part of my Take 2 Series with Altenew and I’m so excited that you are joining me for another video today. Let’s begin with a peek at today’s cards…
I use affiliate links which means that I will receive a small portion of the sale at no extra cost to you). I truly appreciate your support!
Both of today’s cards were made using the Rustling Leaves Press Plates, but this technique could easily be stretched to any other Press Plates that you have.
Don’t know what ‘Press Plates’ are? These are the plates/images used with the BetterPress system, and the results are divine! These images work almost like a stamp, it’s as simple as adding ink to the image attaching the cardstock to the ‘Platen’ (the clear plastic plate), snapping it onto the corner magnets, and running it through a die cutting machine.
Why the BetterPress? If you love intricate designs and the ‘letterpress’ look, then this machine is for you. There is actually an impression made with the ink when the image is pressed into the cardstock, and stamped images struggle to get the crisp, fine lines that you can achieve with this system.
How to Get The BEST Results with BetterPress!
Do you want to see today’s card examples?
The BetterPress truly is an easy device to use, but today I am going to share 5 Tips & Techniques to ensure that you get GREAT results as well as achieve MORE with your machine.
Both of today’s cards were made using the beautiful Rustling Leaves Press Plates, but these techniques could easily be stretched to any other Press Plates that are available.
Tip #1 – Cardstock
For the absolute best results, use the Cotton Card Panels that have been created specifically to be used with this system. They are the perfect thickness and texture to create a beautiful Letterpress impression every time. And, if you like to ink blend or watercolor, then you will love these panels!
PRO TIP:
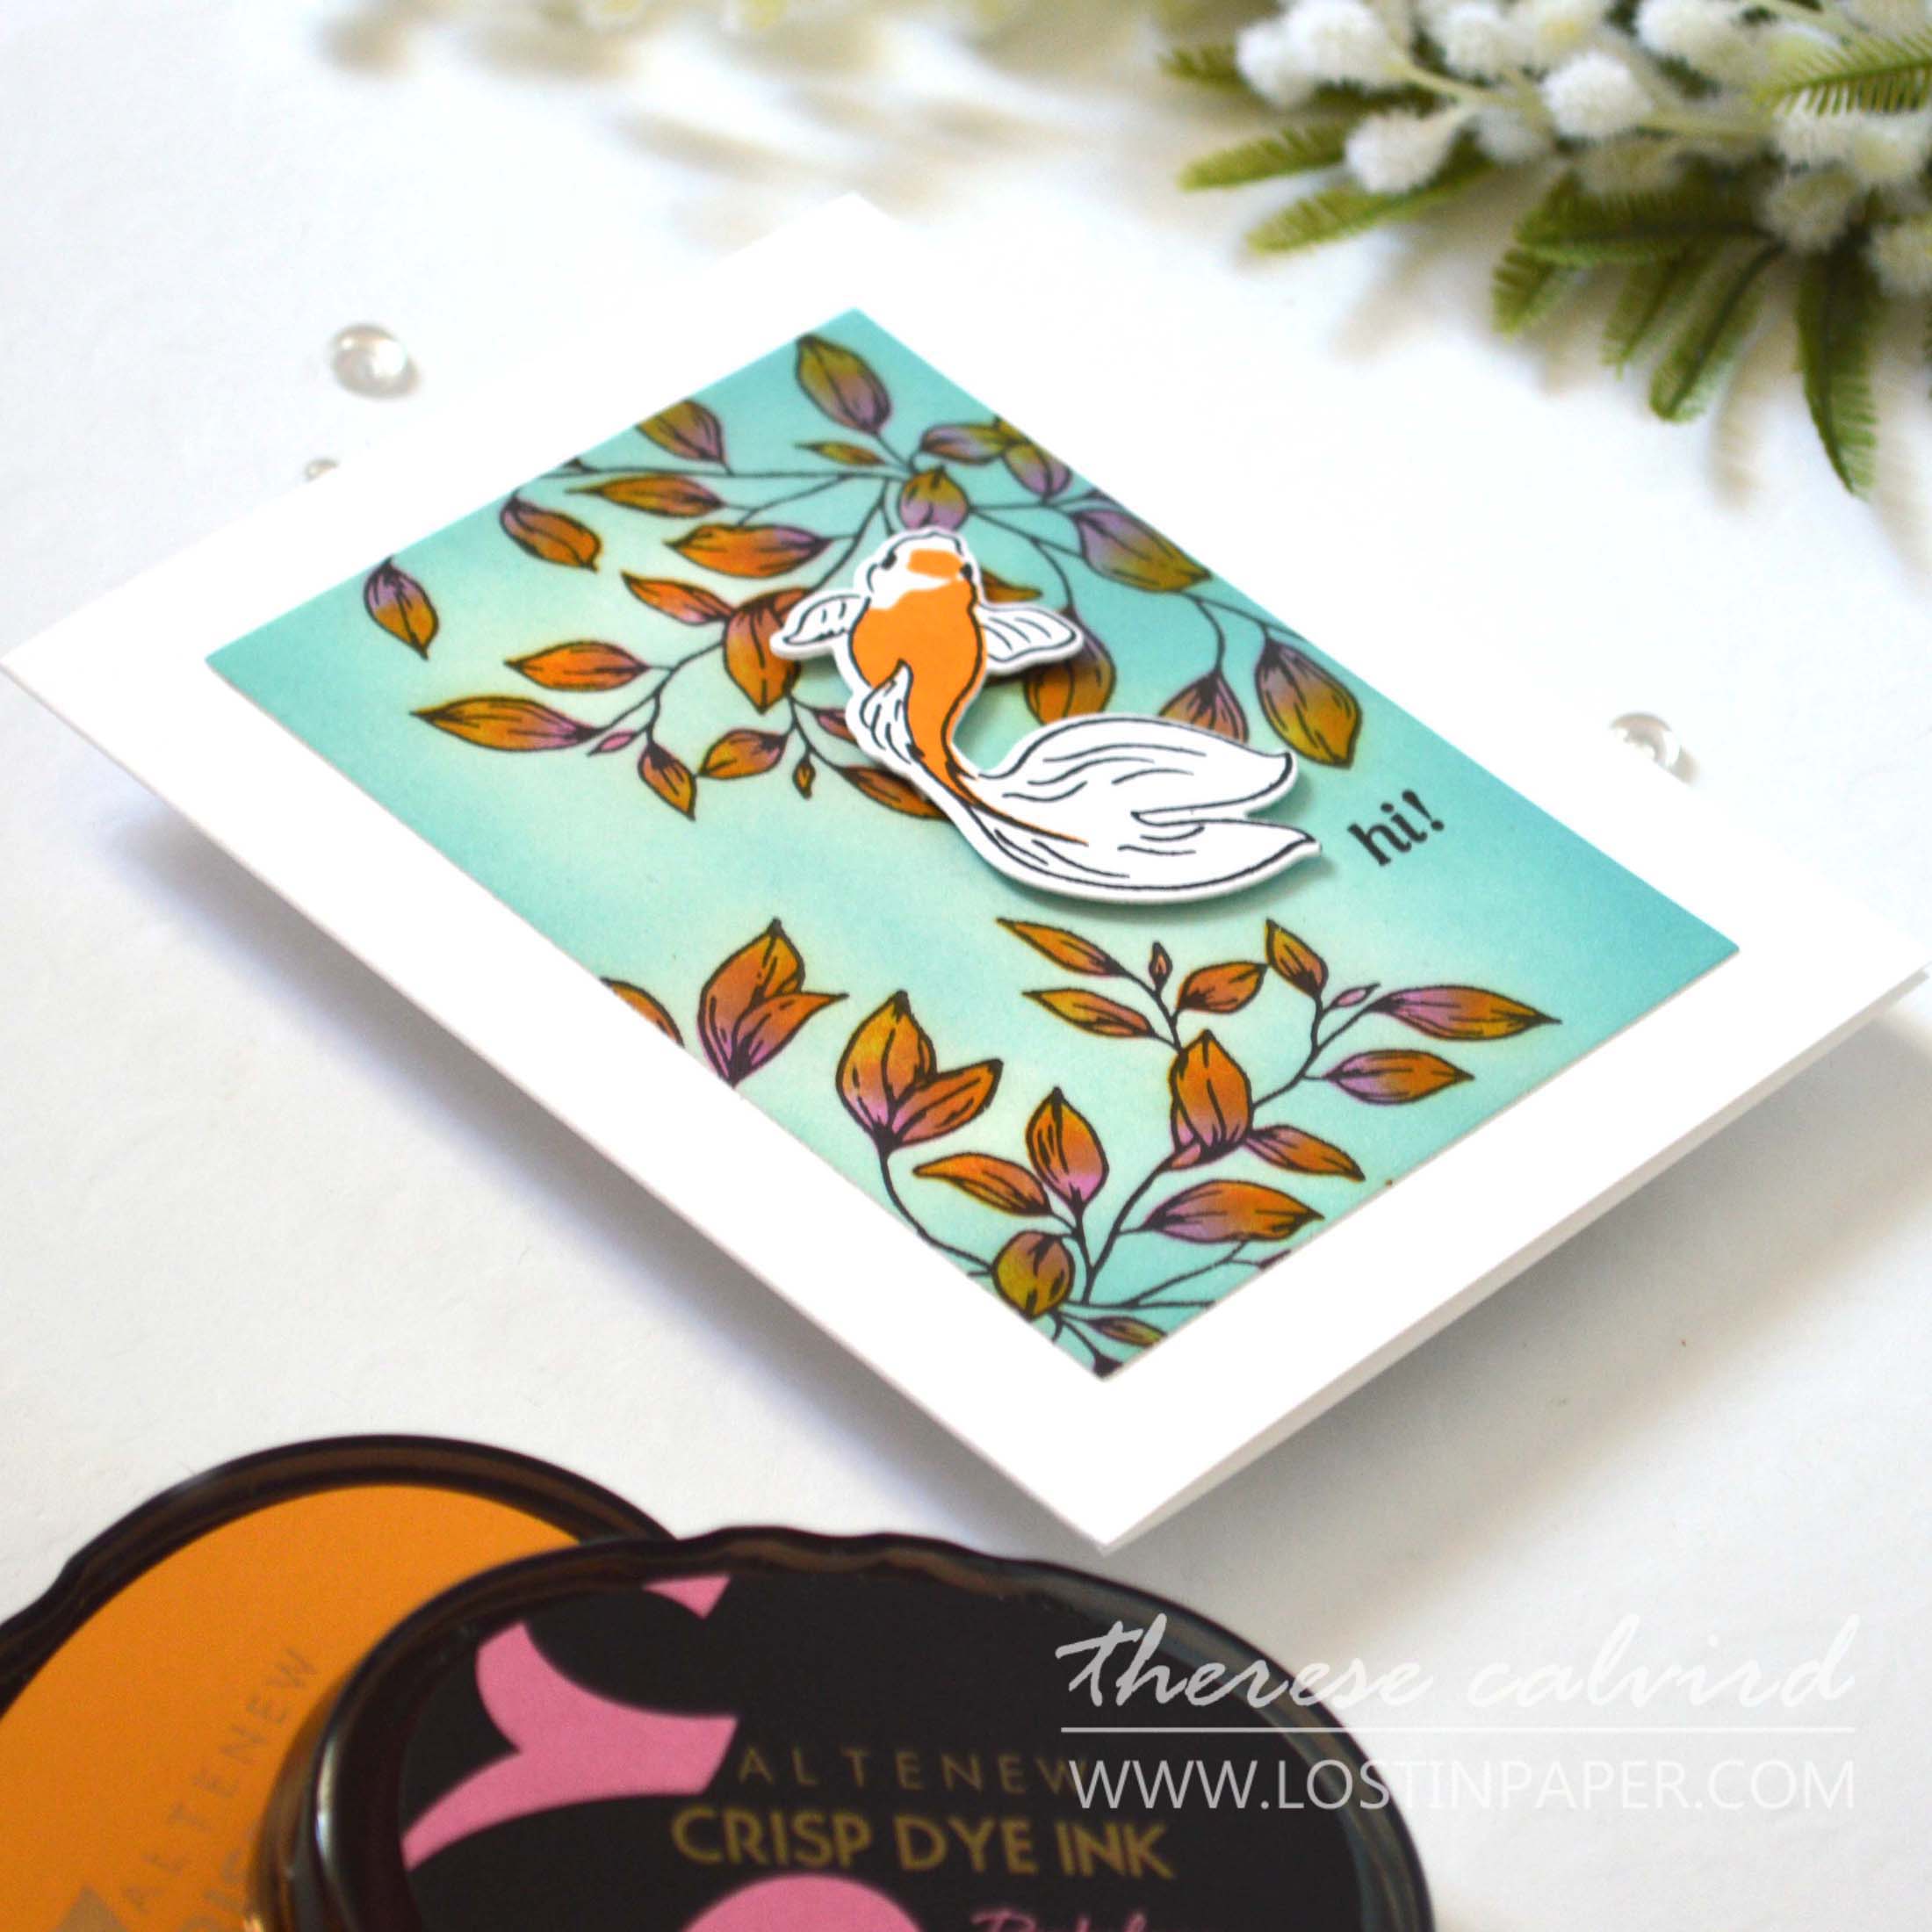
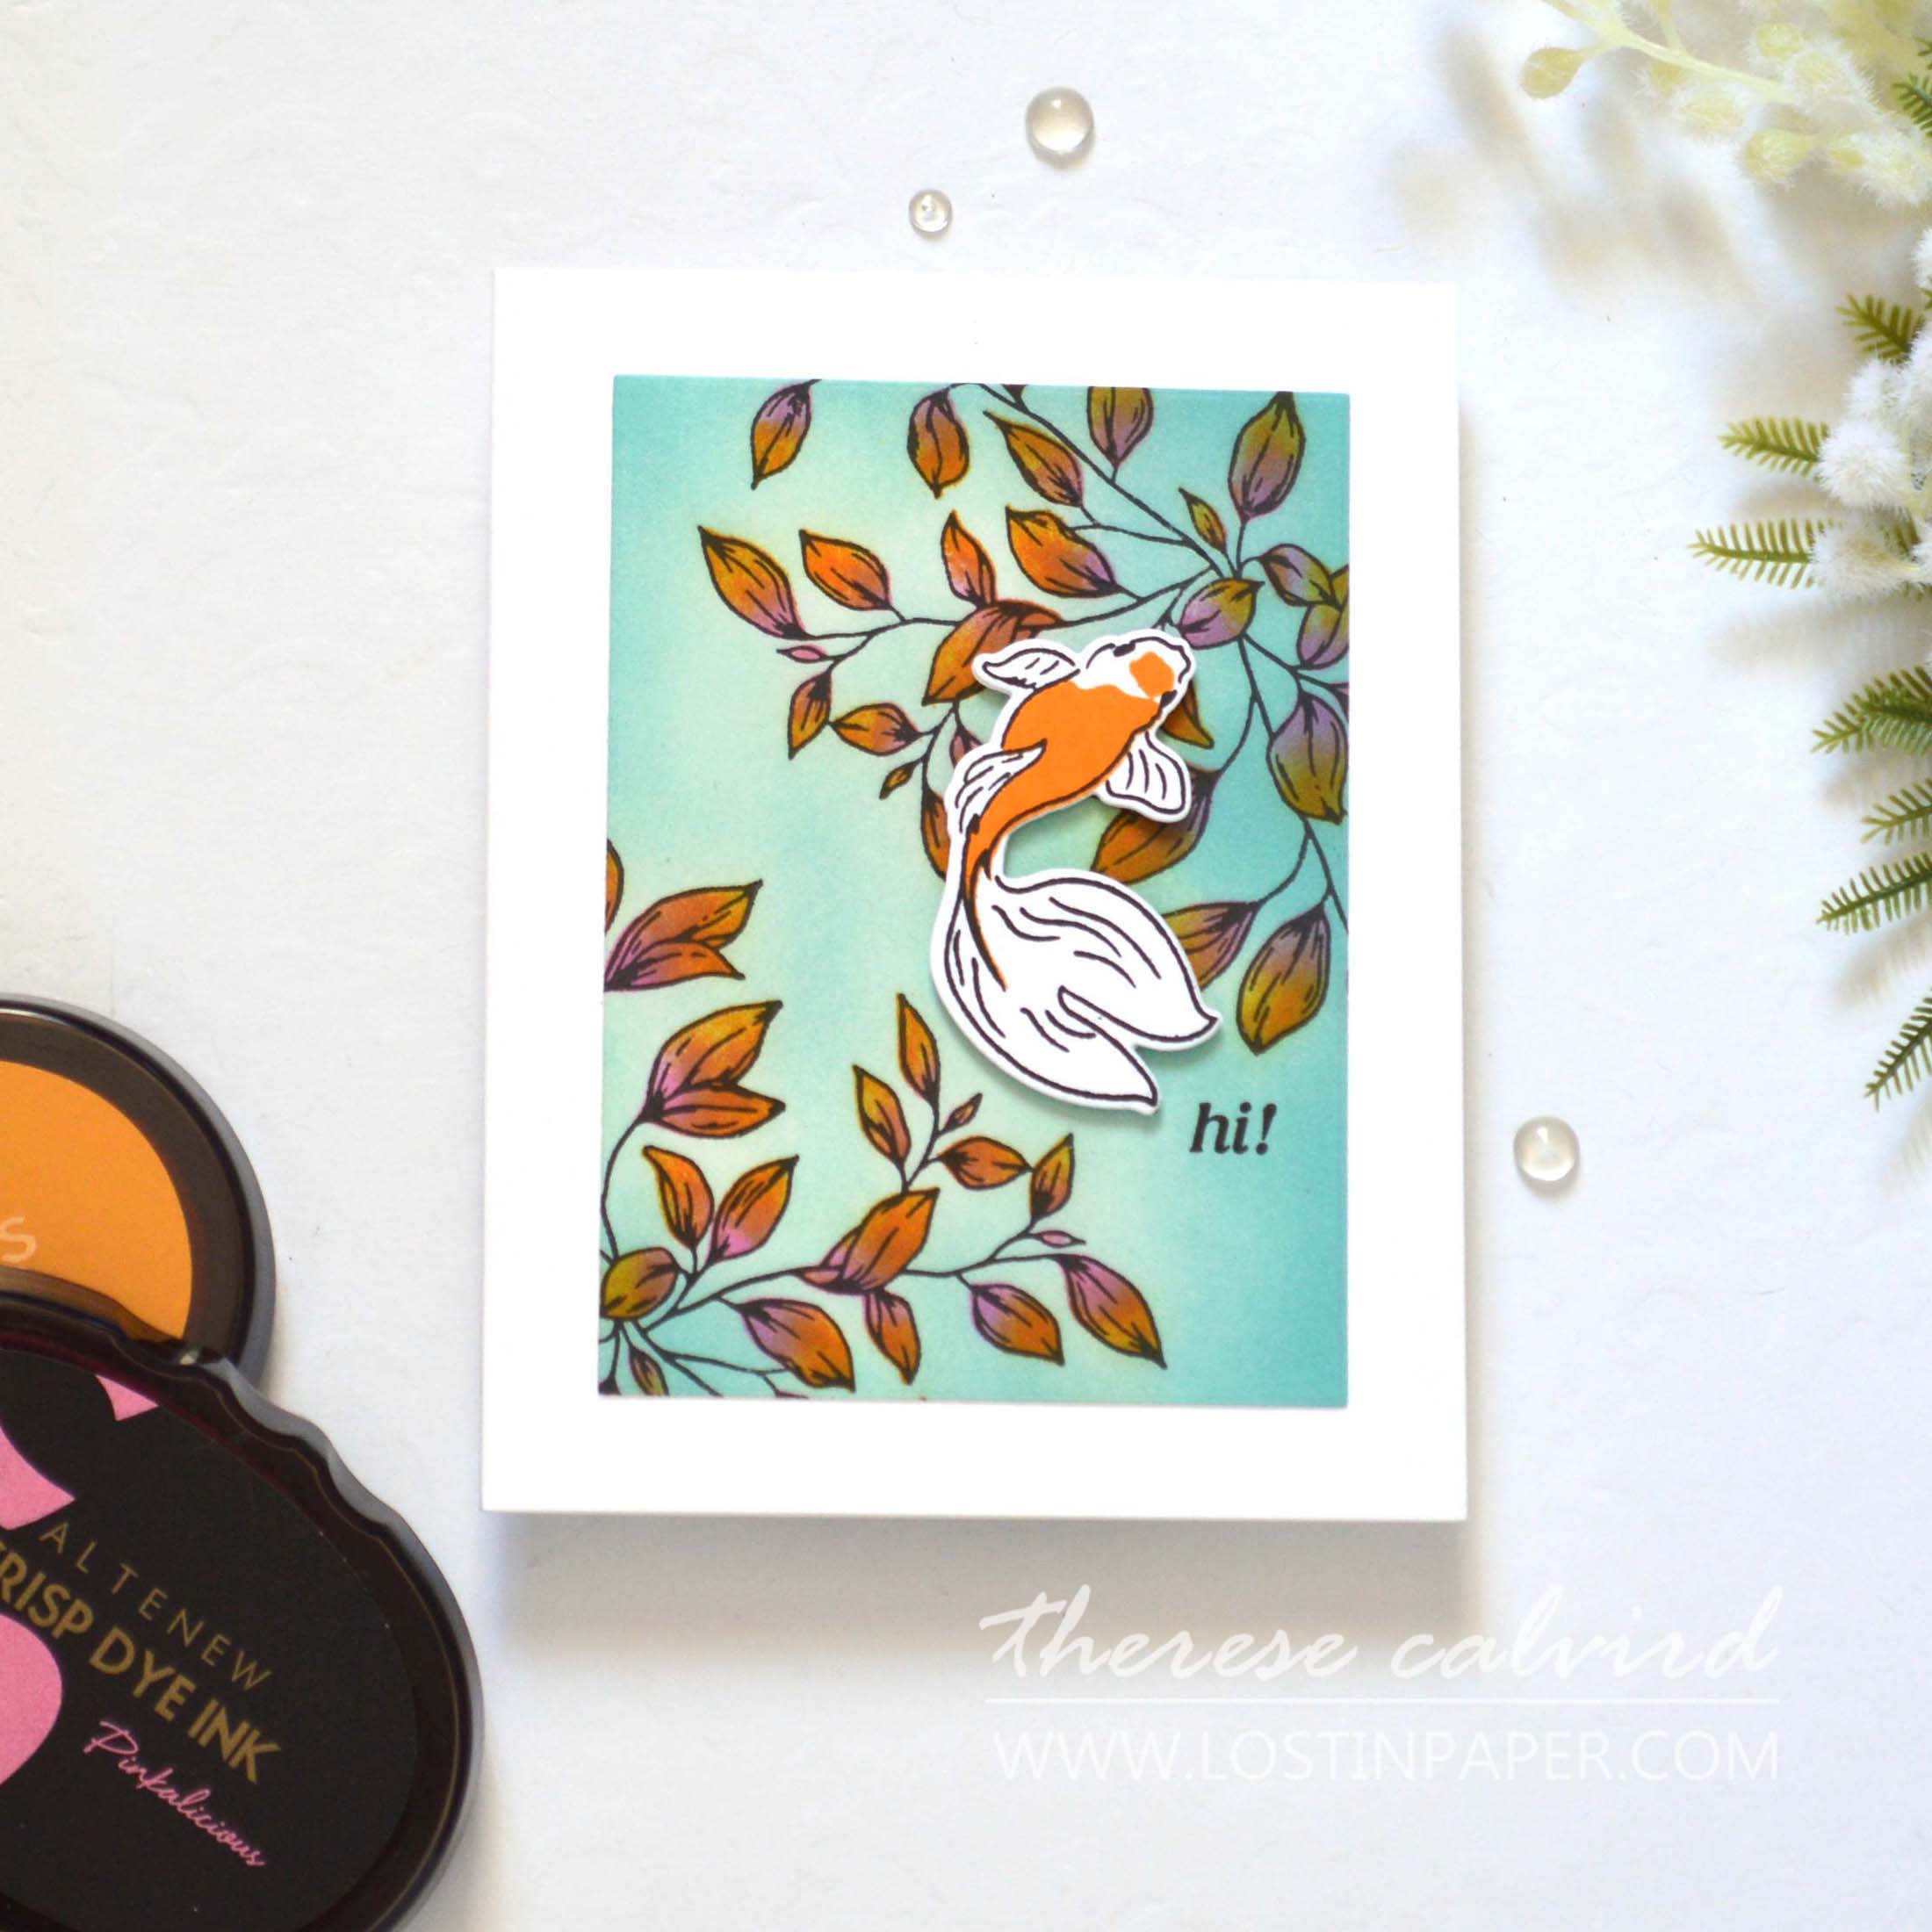
Try what you have on hand. I have also successfully used Altenew’s Watercolor Cardstock with a very similar impressed result (see the second card below). But, did you know that you can also use regular cardstock too?
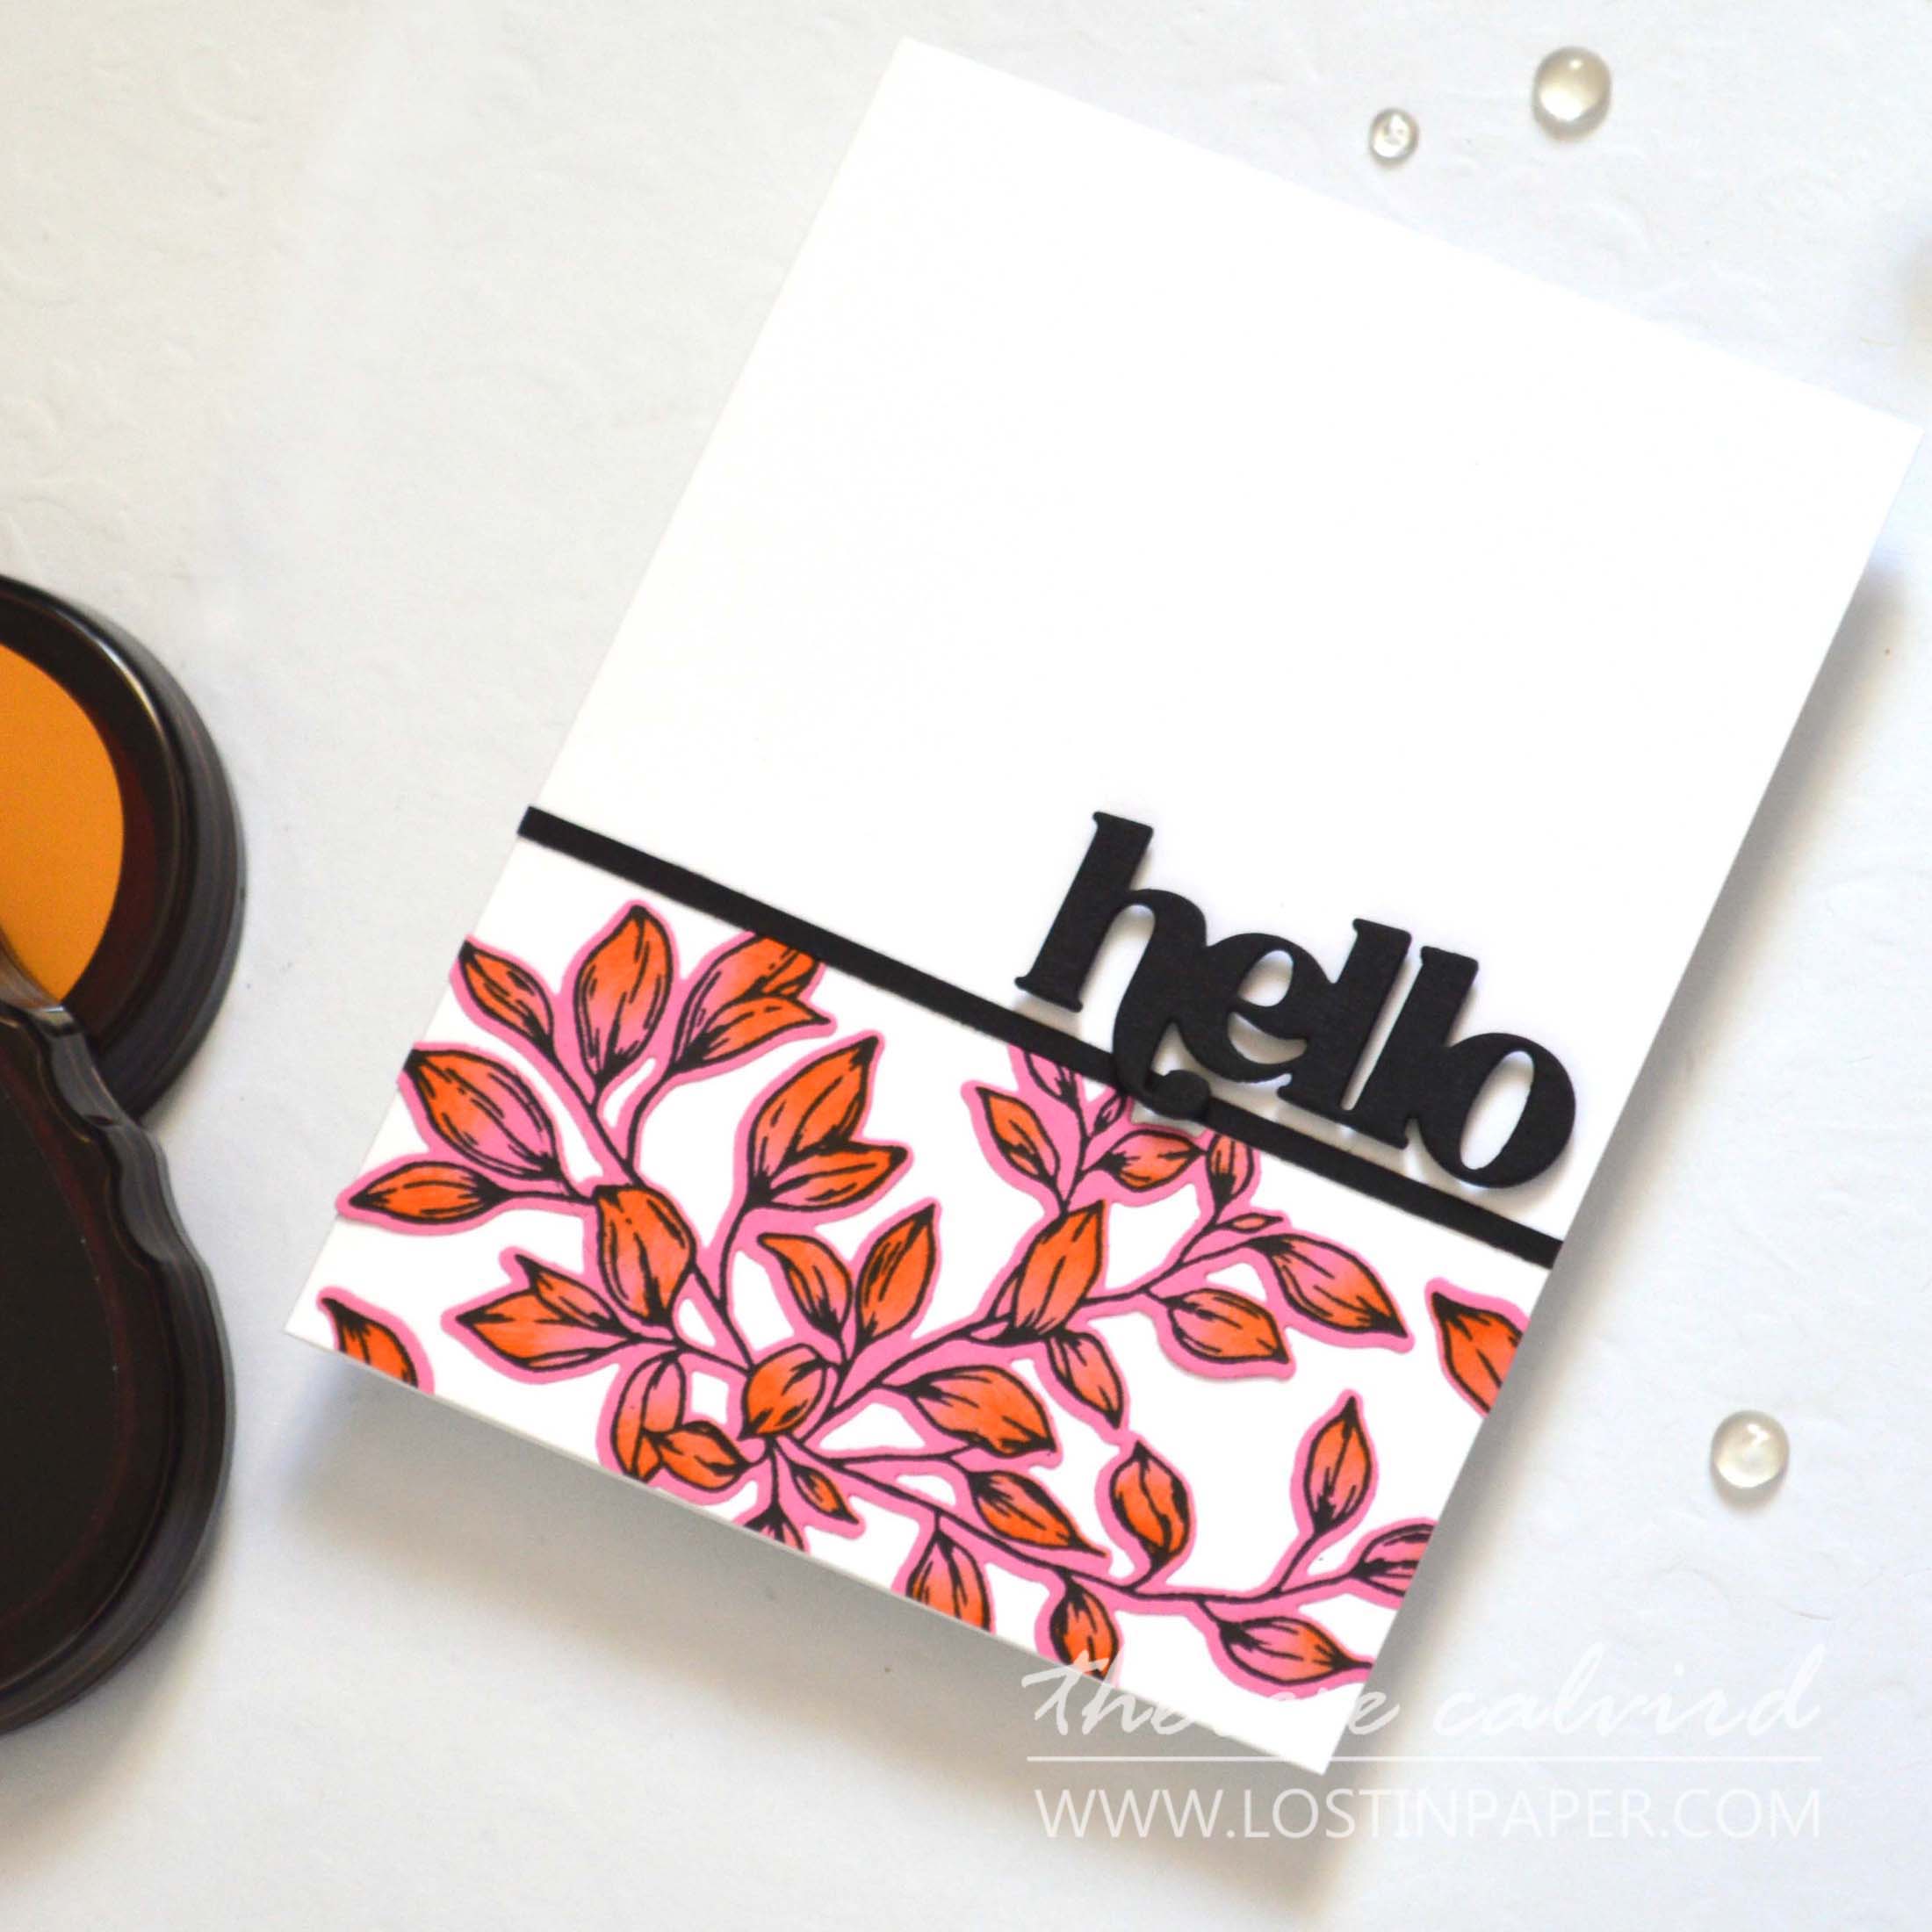
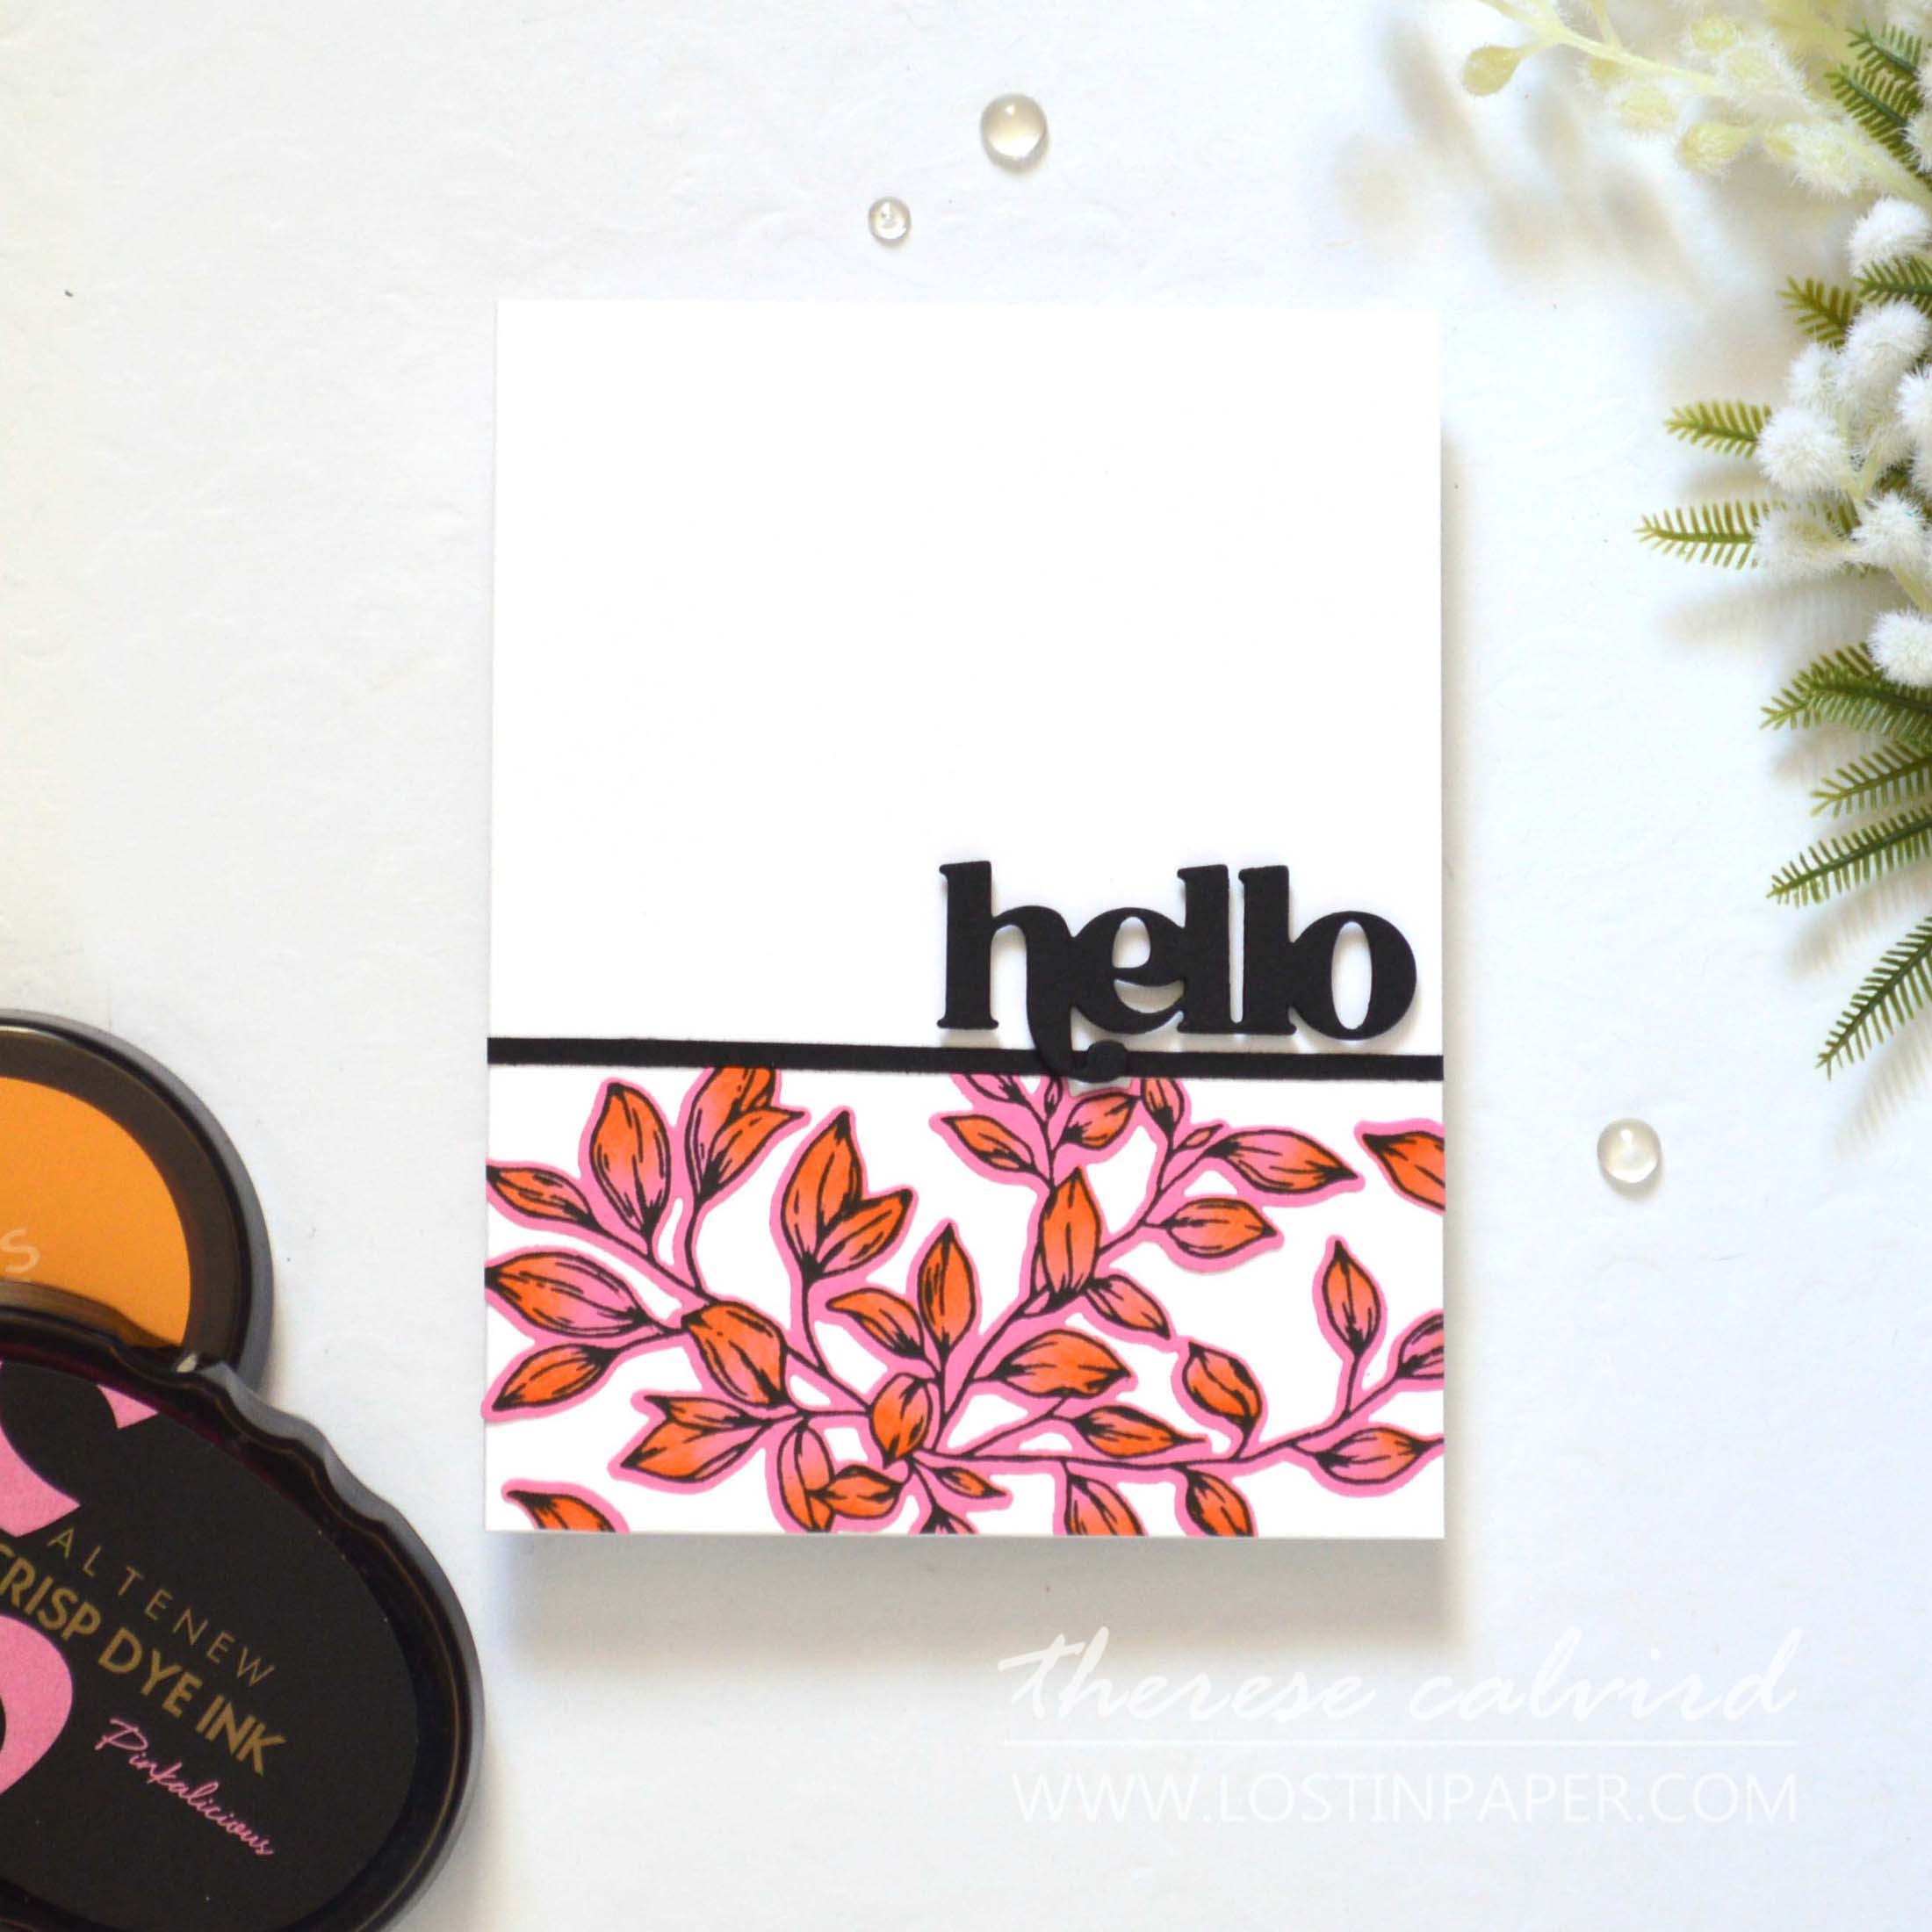
These leaves were pressed onto a Rubelllite card panel. And even though there is no ‘impression’ into the cardstock the image stamped crisp and clear. Don’t be afraid to try what you have, watercolor cardstocks, colored cardstock or even ink blended cardstock.
Tip #2 – Ink
The BetterPress Ink is specially formulated to be slow drying and give even coverage when using the Press Plates, with crisp clear pressed results.
Obviously, this would be the ink of choice for the best results, but did you know that you can use other inks with this system? In fact, for this card design I used Obsidian Pigment Ink (which is also slow drying), but I have also had good success using the Fresh Dye Inks with the BetterPress. I would suggest to try what inks you have and keep note of the results for future reference.
Tip #3 – Arrangement
It may sound funny but a little bit of pre planning can go a long way when arranging your design with the Press Plates on the Chase (magnetic platform).
Remember that the image will be in ‘reverse’ on the cardstock. Use the grid lines on the Chase (platform) and the Registration Marks on the Platen (clear plate) to help align your image correctly. And, if you are not sure, why not try a test run on a scrap piece of cardstock first.
PRO TIP:
Double up the image? Create a quick background by flipping the clear plate and impressing the image a second time on the opposite corner of the cardstock panel.
Tip #4 – Attaching Card
Use the Registration Marks on the Platen (clear plate) to ensure that the cardstock is attached exactly where it needs to be. Then use a small amount of low tack tape to adhere the cardstock panel to the plate.
The tape can be added over each corner but I prefer adding it directly to the ‘back’ of the panel by rolling a small piece of tape over and adhering it on each corner. This helps decrease the chance of tearing the paper when removing the tape after creating the impression.
Tip #5 – Applying Ink
Once your image is correctly placed on the platform, apply the ink by ‘tapping’ the ink pad to the Press Plates as you would to any stamp. Ink pads should be juicy and I use a slightly heavier application than I would for a photopolymer stamp.
Also, ensure that the whole image is covered with ink, as a second pass of the image through the die cutting machine may not be successful. Then, it’s as simple as snapping the clear plate onto the magnets and rolling the BetterPress once through a compatible manual die-cutting machine. Be careful not to accidently press down on the clear plate when adding and removing the BetterPress through the die-cutting machine.
BONUS TIP!
Did you know that Press Plates can also be used in Hot Foil systems, can you imagine these gorgeous Rustling leaves in gold foil… maybe I need to try that next!
Today’s cards focus on achieving the best results using the BetterPress system, but also how beautiful and easy it is to use the images with some simple ink blending techniques!
I hope you are inspired to get the ‘letterpress’ look using the BetterPress system! Let me know in the comments below if you are going to try any of these tips and techniques. Have fun crafting!
Also, just in case you want to do a little shopping I’ve added the links below (some of them are affiliate links which means that I will receive a small portion of the sale at no extra cost to you). I truly appreciate your support of my card adventures!
Gorgeous results, Therese! You have such wonderful tips for success using this system! I love my Betterpress – and will be adding this wonderful leafy plate to my wishlist!
=]
It’s the perfect addition to go with the couple of flower stamps that we have lol.
Thanks for the tips AND the fabulous cards! Love that goldfish!
I love how these fish look on a card design too, especially on masculine card designs.
I have to admit I’ve been sitting on the fence about the letterpress system.
I received a beautiful card from my friend in the uk last week and am absolutely smitten with the foiling element. Yet again you’ve sold me. Just waiting for auzztrinklets web site to be up and running to order.
I can’t even begin to imagine the amount of work involved in setting up an online shop… she is amazing! Crossed fingers there may be a reopening sale!
This is very tempting to a girl who basically needs all the things! lol. Beautiful inspirations and ideas, Therese!
The struggle is real, I agree Lisa lol.
Thanks for all of your top tips,I really love my press plates and your tips will ensure that I get great results every time.
Marie
You are so sweet my friend, I’m sure your designs are perfect every time!
Thank you for your tips!
So glad you enjoyed them, have fun creating!
I love both of these beautiful cards, Therese. The fish one is my favorite, because I love the colors you used for the leaves & fish against that light aqua background. That fish just has to be happy!
Yes, I agree, it wouldn’t be to have an unhappy fish lol.


")
")


Gorgeous results, Therese! You have such wonderful tips for success using this system! I love my Betterpress – and will be adding this wonderful leafy plate to my wishlist!
=]
It’s the perfect addition to go with the couple of flower stamps that we have lol.
Thanks for the tips AND the fabulous cards! Love that goldfish!
I love how these fish look on a card design too, especially on masculine card designs.
I have to admit I’ve been sitting on the fence about the letterpress system.
I received a beautiful card from my friend in the uk last week and am absolutely smitten with the foiling element. Yet again you’ve sold me. Just waiting for auzztrinklets web site to be up and running to order.
I can’t even begin to imagine the amount of work involved in setting up an online shop… she is amazing! Crossed fingers there may be a reopening sale!
This is very tempting to a girl who basically needs all the things! lol. Beautiful inspirations and ideas, Therese!
The struggle is real, I agree Lisa lol.
Thanks for all of your top tips,I really love my press plates and your tips will ensure that I get great results every time.
Marie
You are so sweet my friend, I’m sure your designs are perfect every time!
Thank you for your tips!
So glad you enjoyed them, have fun creating!
I love both of these beautiful cards, Therese. The fish one is my favorite, because I love the colors you used for the leaves & fish against that light aqua background. That fish just has to be happy!
Yes, I agree, it wouldn’t be to have an unhappy fish lol.