
Do you have any BIG Sentiments, and do you struggle to use them? If so, then check out these 3 ideas to inspire you!

But first, I wanted to let you know that this post contains a ton of affiliate links (which means that if you choose to click on my links and buy something nice then I receive a small commission at no extra cost to you – this is a great way to support me and the shops that I love 🥰).
#BIG-GREETINGS
I don’t know if you are like me, but more often than not, the sentiment is the ‘last thing’ that I think about when I am making a card. I find myself scratching around looking for one that will fit and suit the design that I have made. But, it’s a whole ‘nother story when it comes to using large sentiments. These are not so easy to add as an afterthought, because of their size the placement needs to be right… otherwise your design may be hidden, maybe the balance isn’t right, or your card may look like it’s too busy!
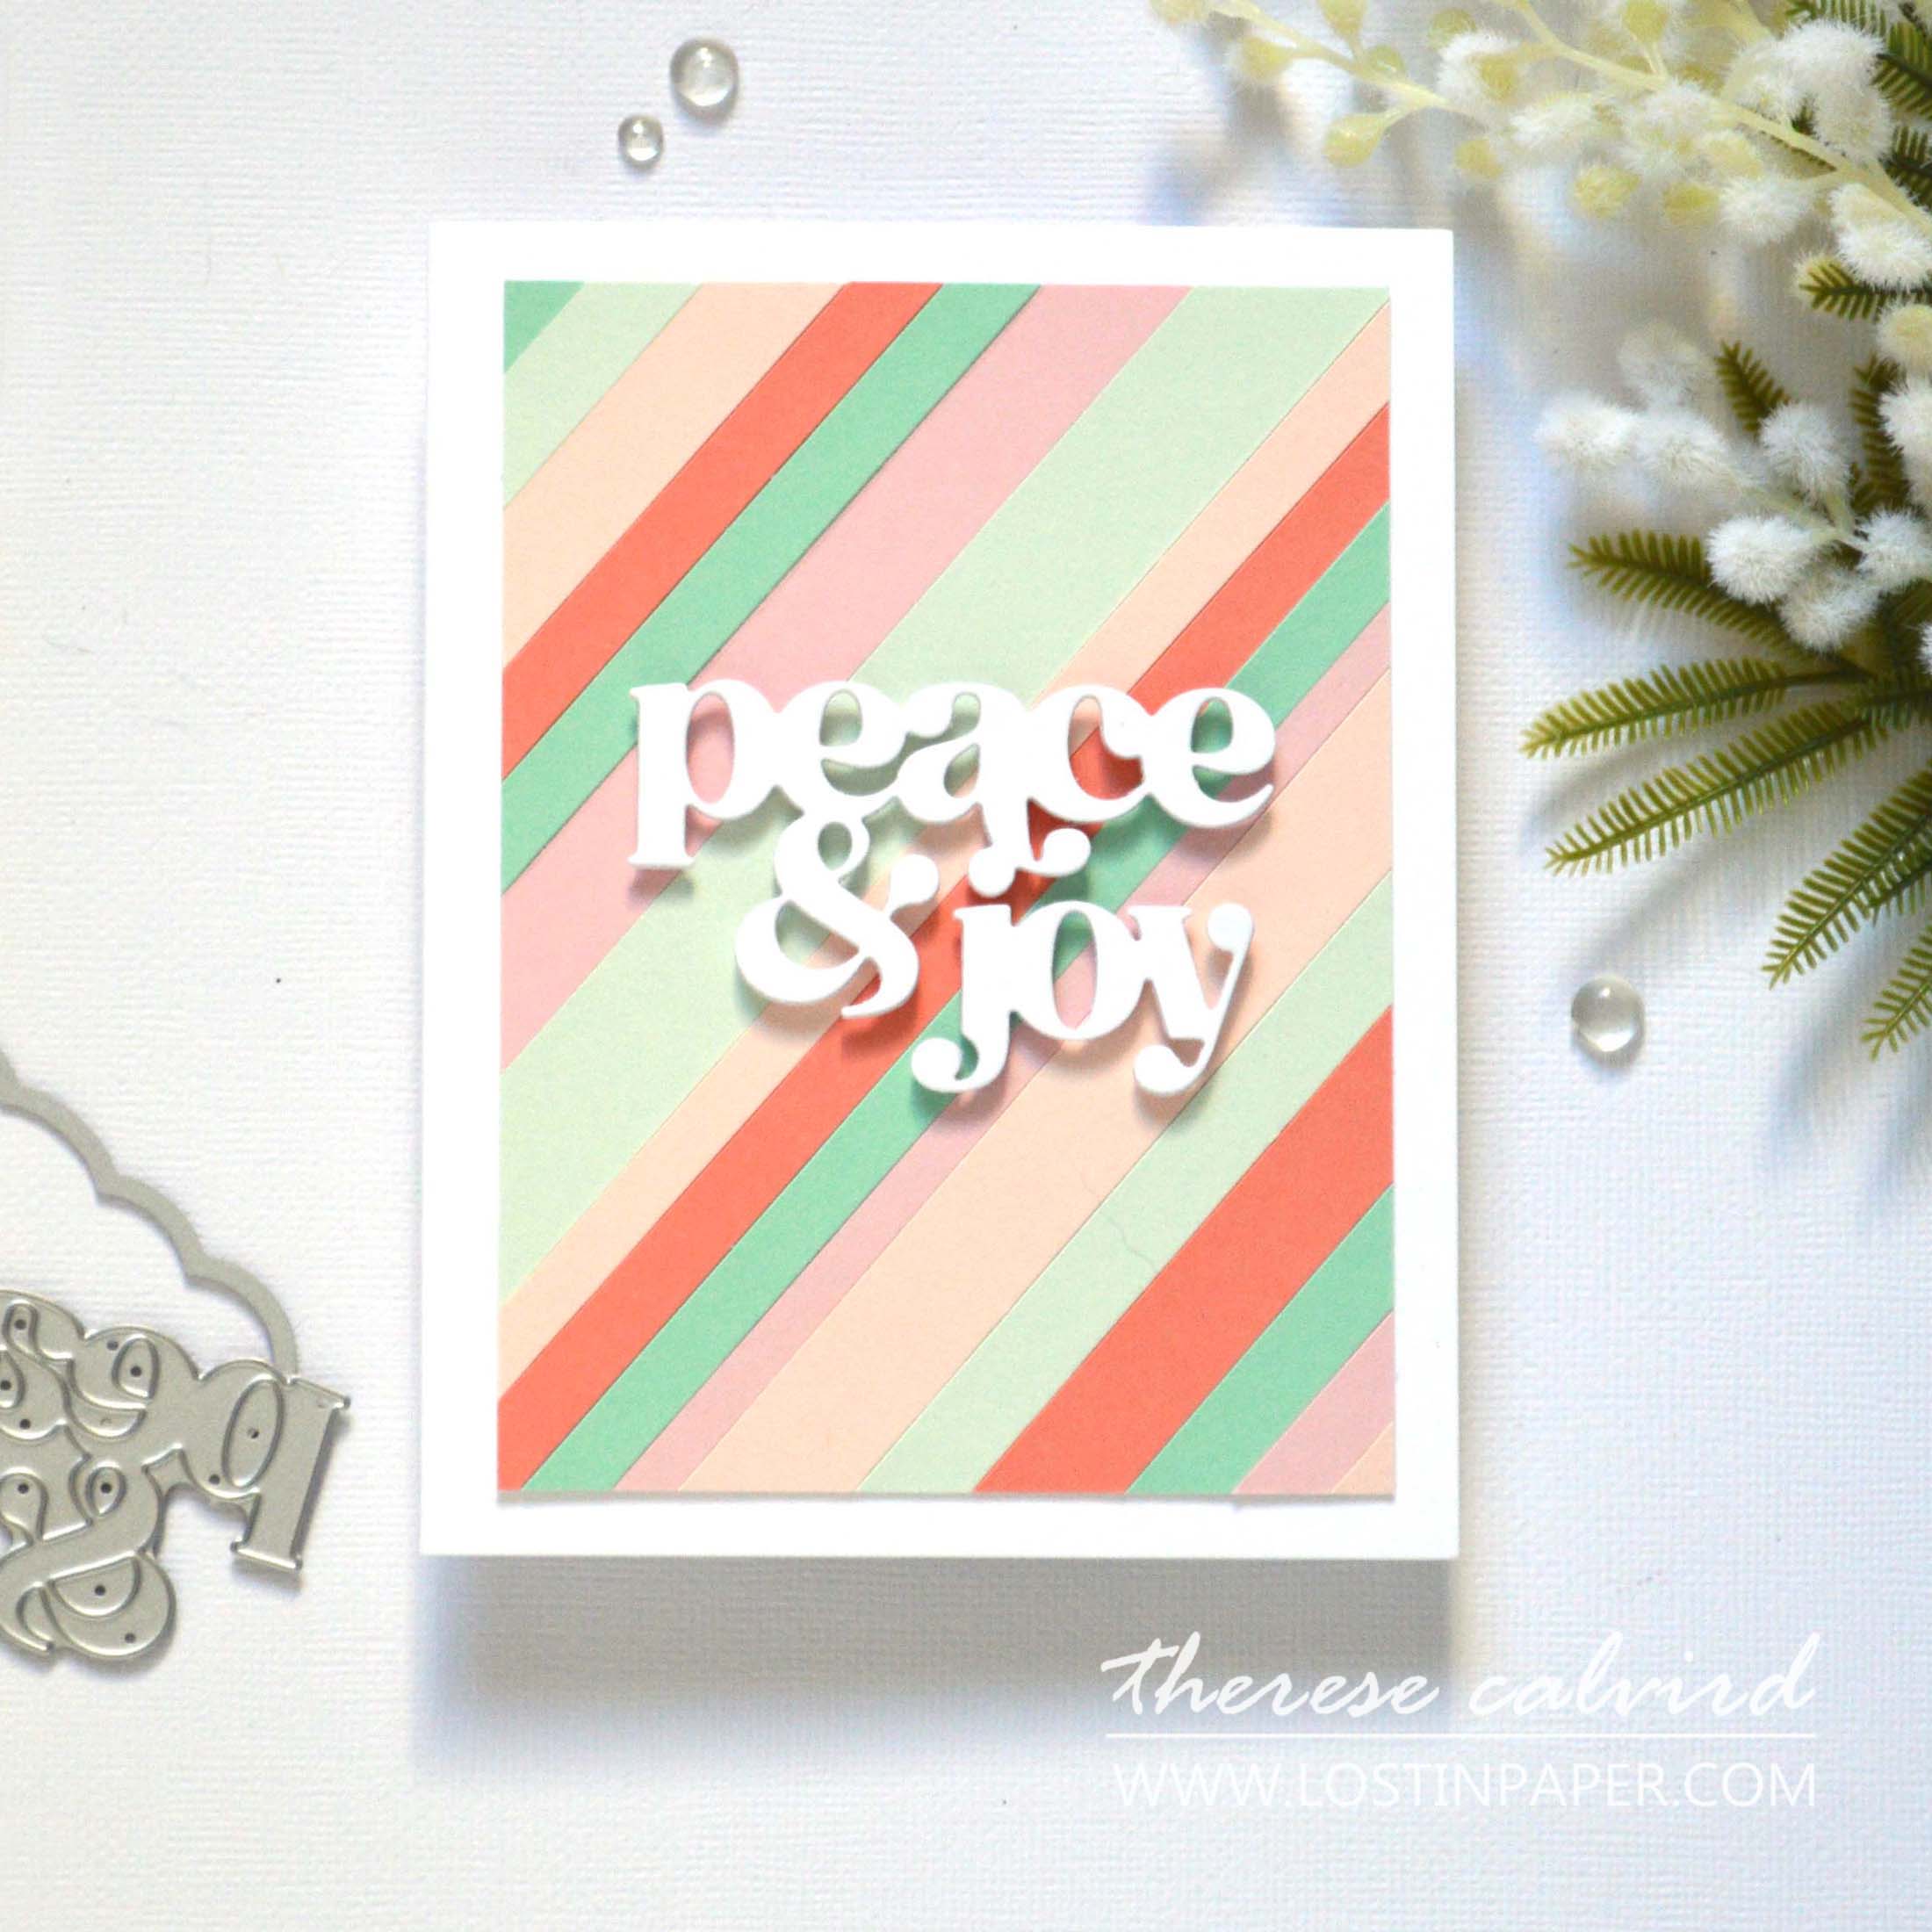
Idea #1 – Focal Point
Typically when I use larger sentiments, I start with them in mind for the design, rather than the other elements or images that I will be using. And, if you like a clean & simple card, then this one is for you. Why not make the sentiment the focal point? You can easily dress up the design like it did by creating my own striped cardstock strips background (one of my fave techniques), though you can speed things up and add some design paper instead.
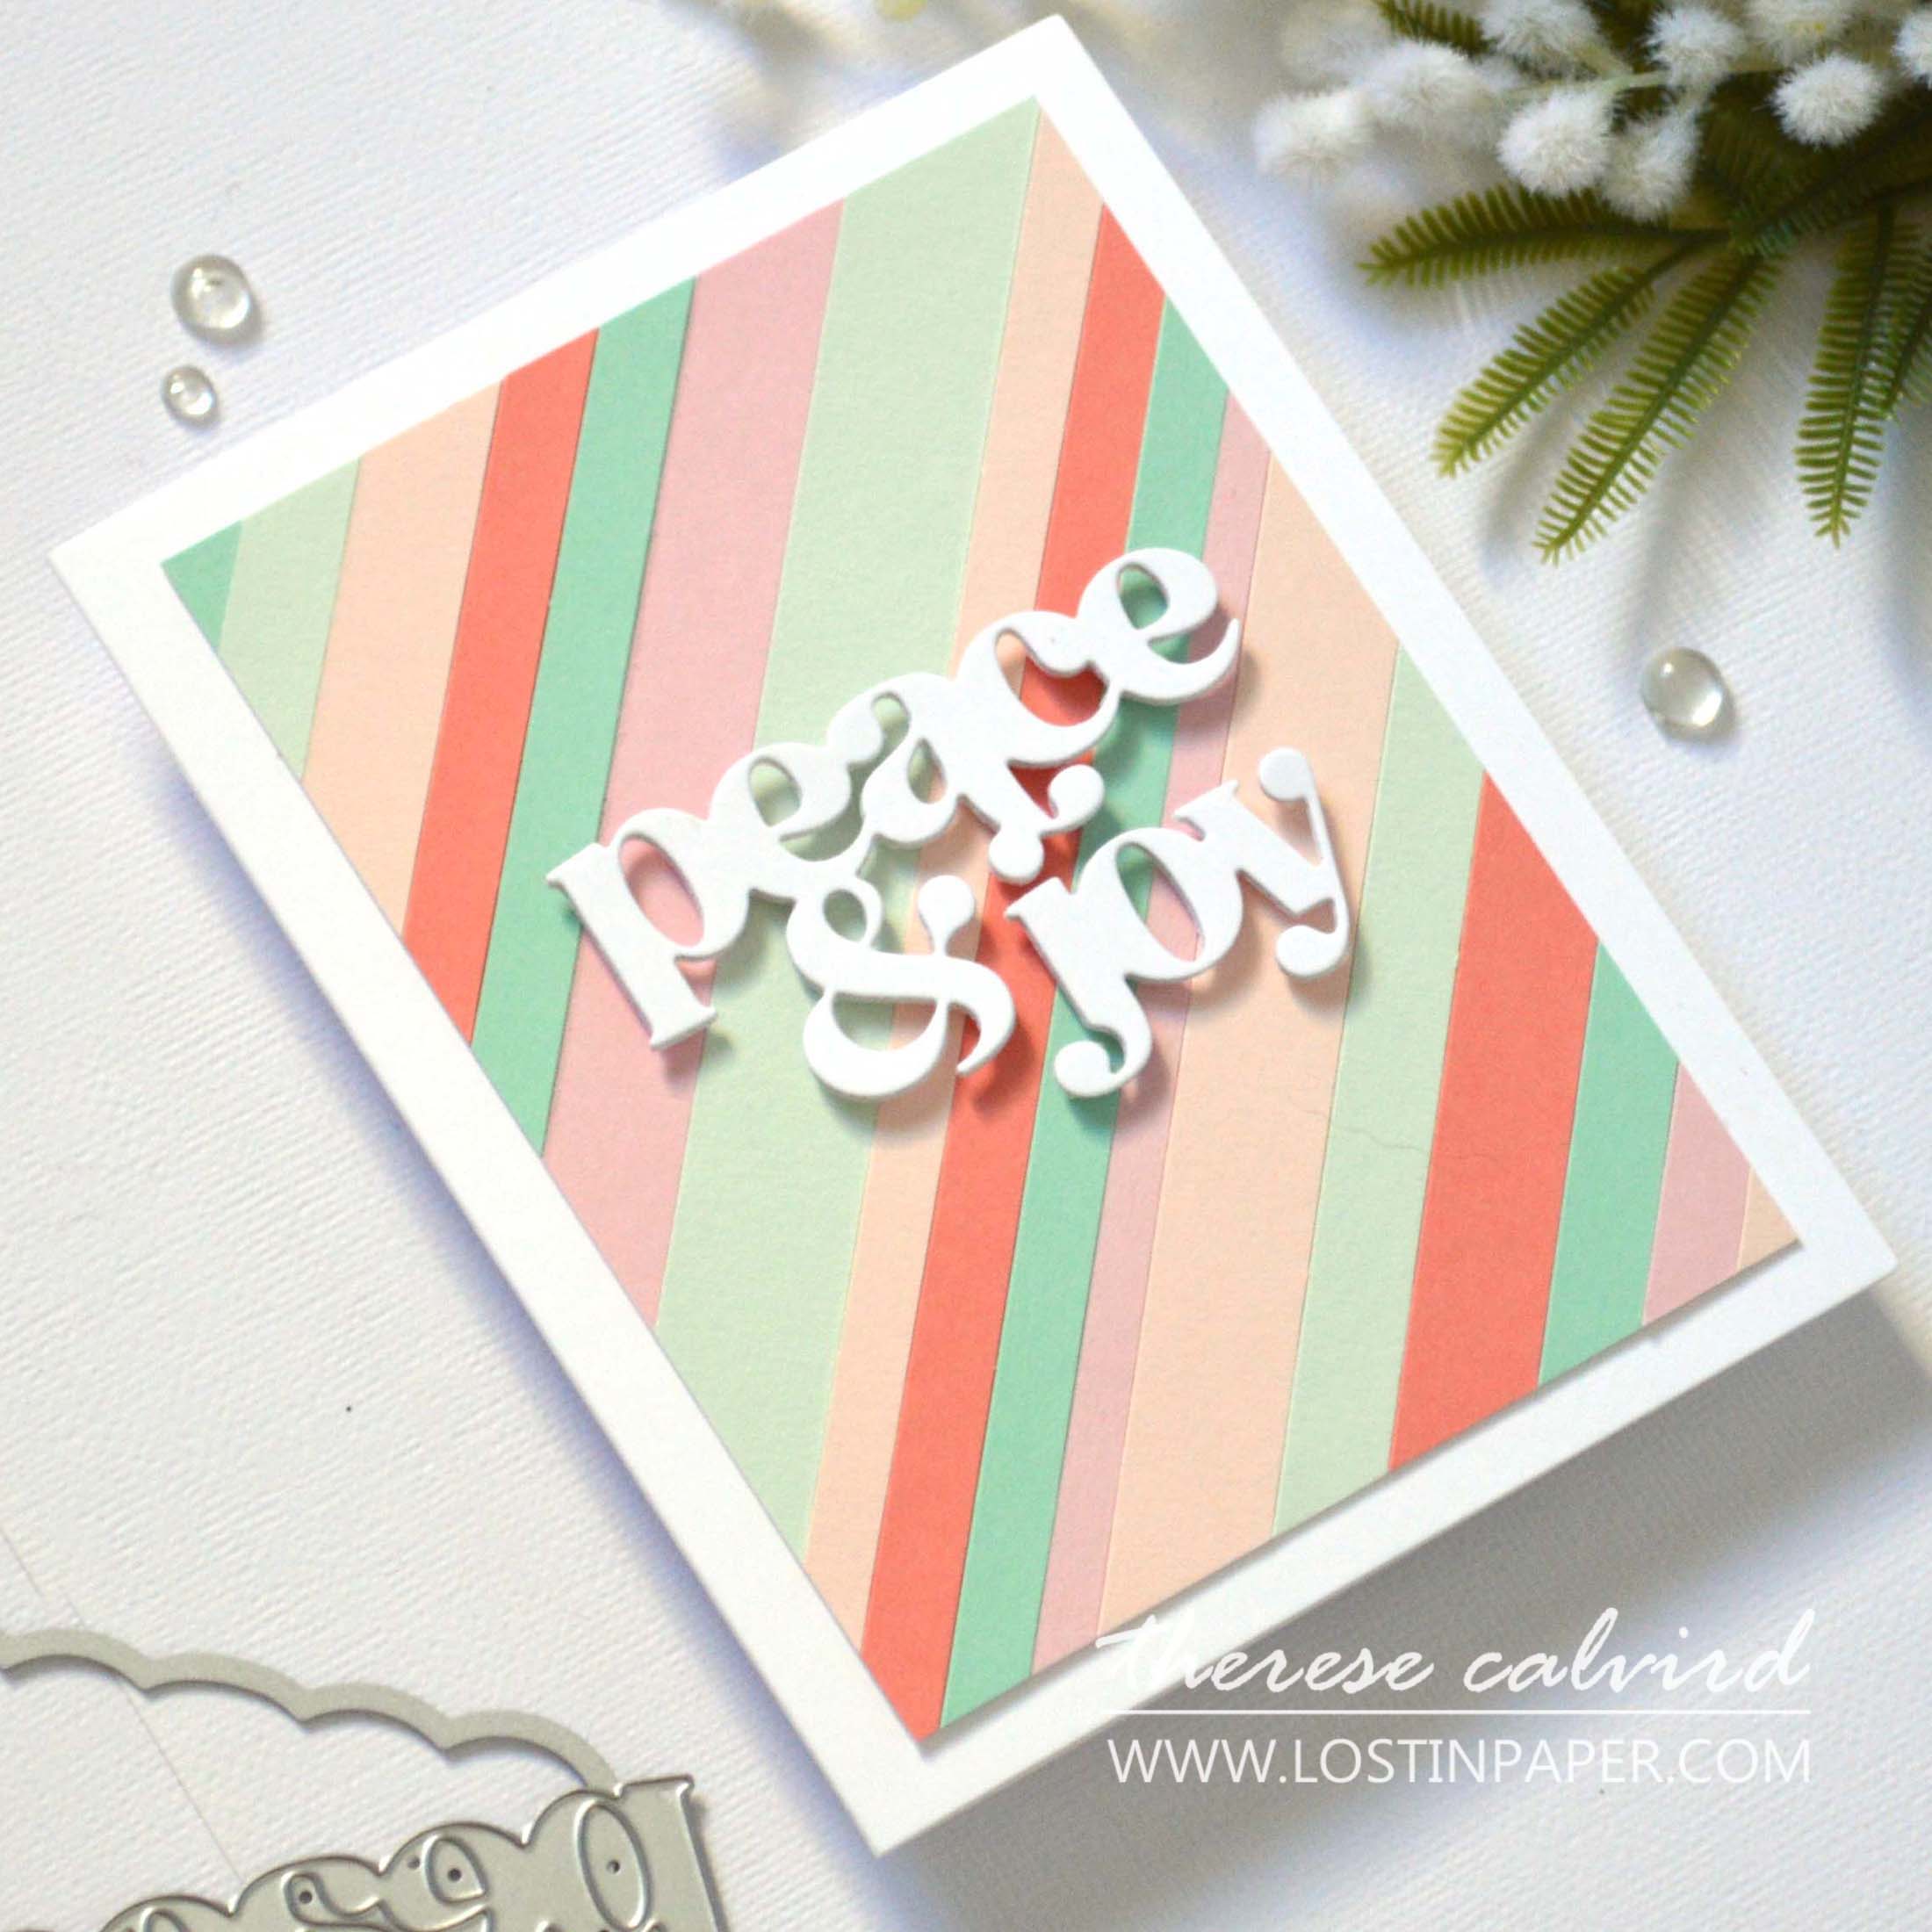
I took it a step further and added a little dimension, if you are going to be posting your designs another option is to cut multiple layers of the sentiment and adhere them together to make it like a chipboard word, this will decrease the chances of it being crushed in the post.
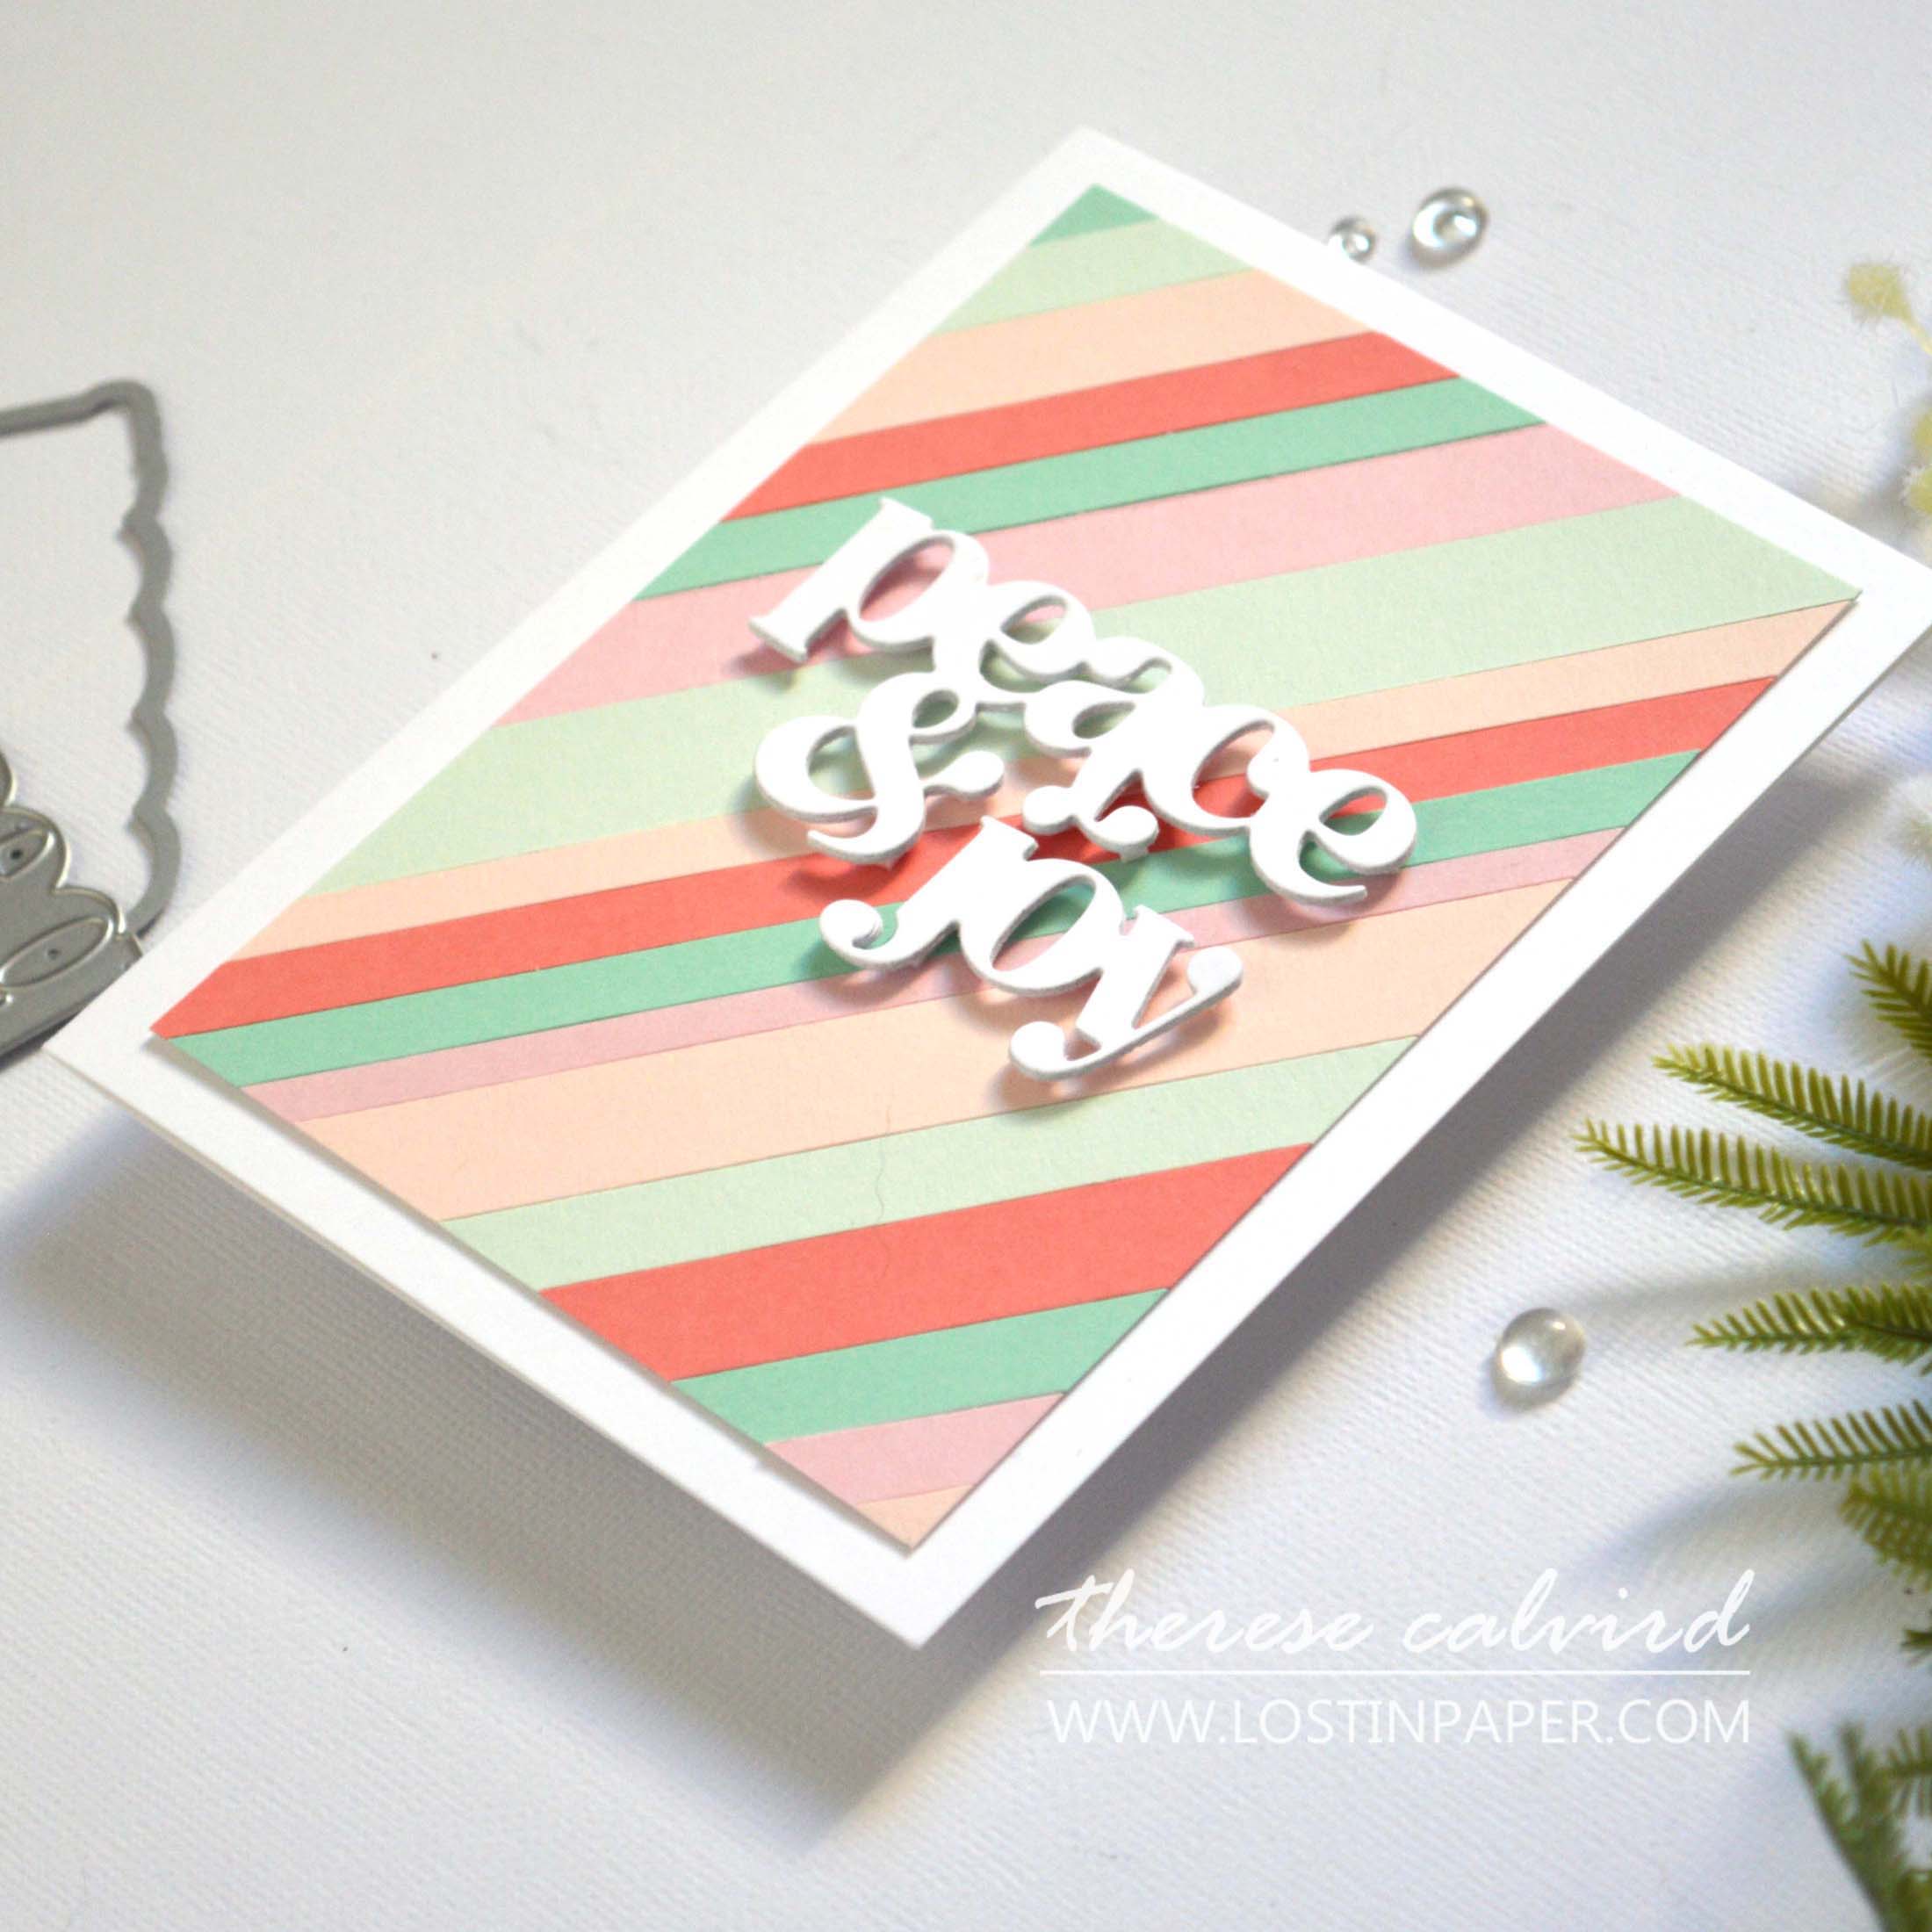
OR, you can simply adhere the sentiment directly to the card front to keep postage costs down.
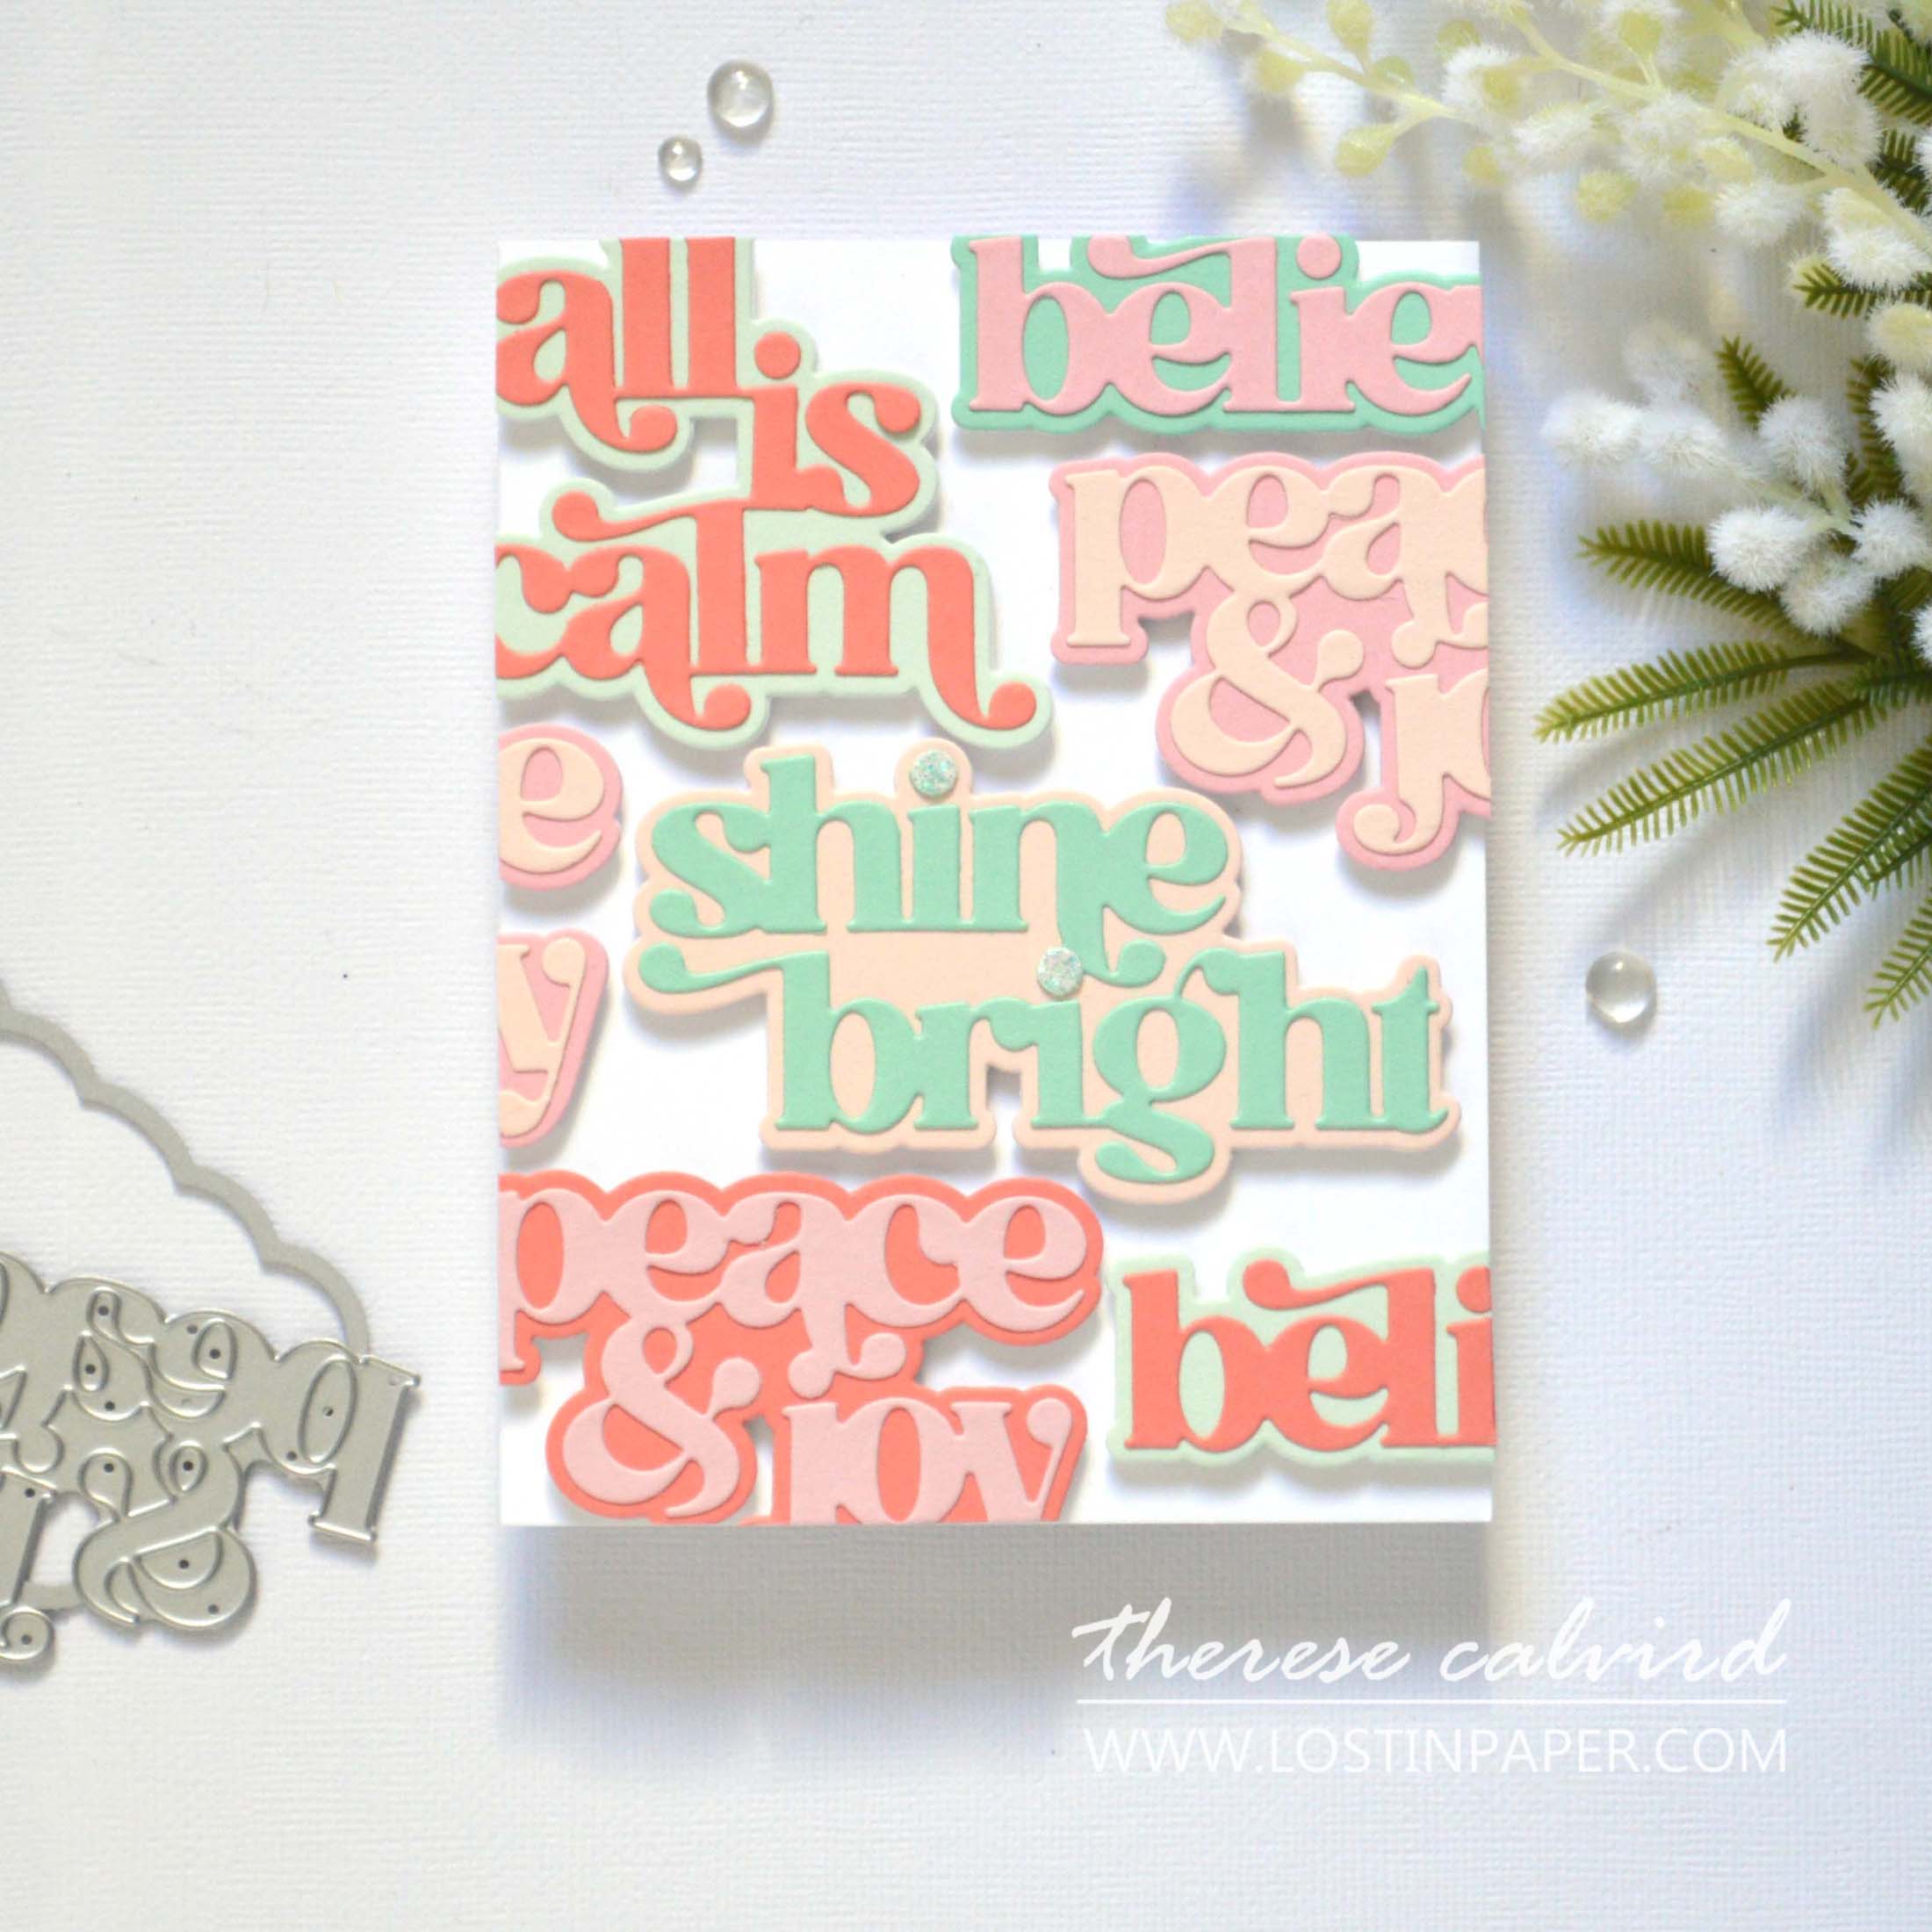
Idea #2 – Word Background
You may already know that I love to create my own backgrounds using die cuts… and well, I had the cardstock out and this is what happened. It’s easy to create repeat die cut backgrounds and words are fun to mix and match. I do like to make sure that I have a ‘whole’ word on the panel, but this is not essential (especially if the dies are large), as long as you can make out what the words will say.
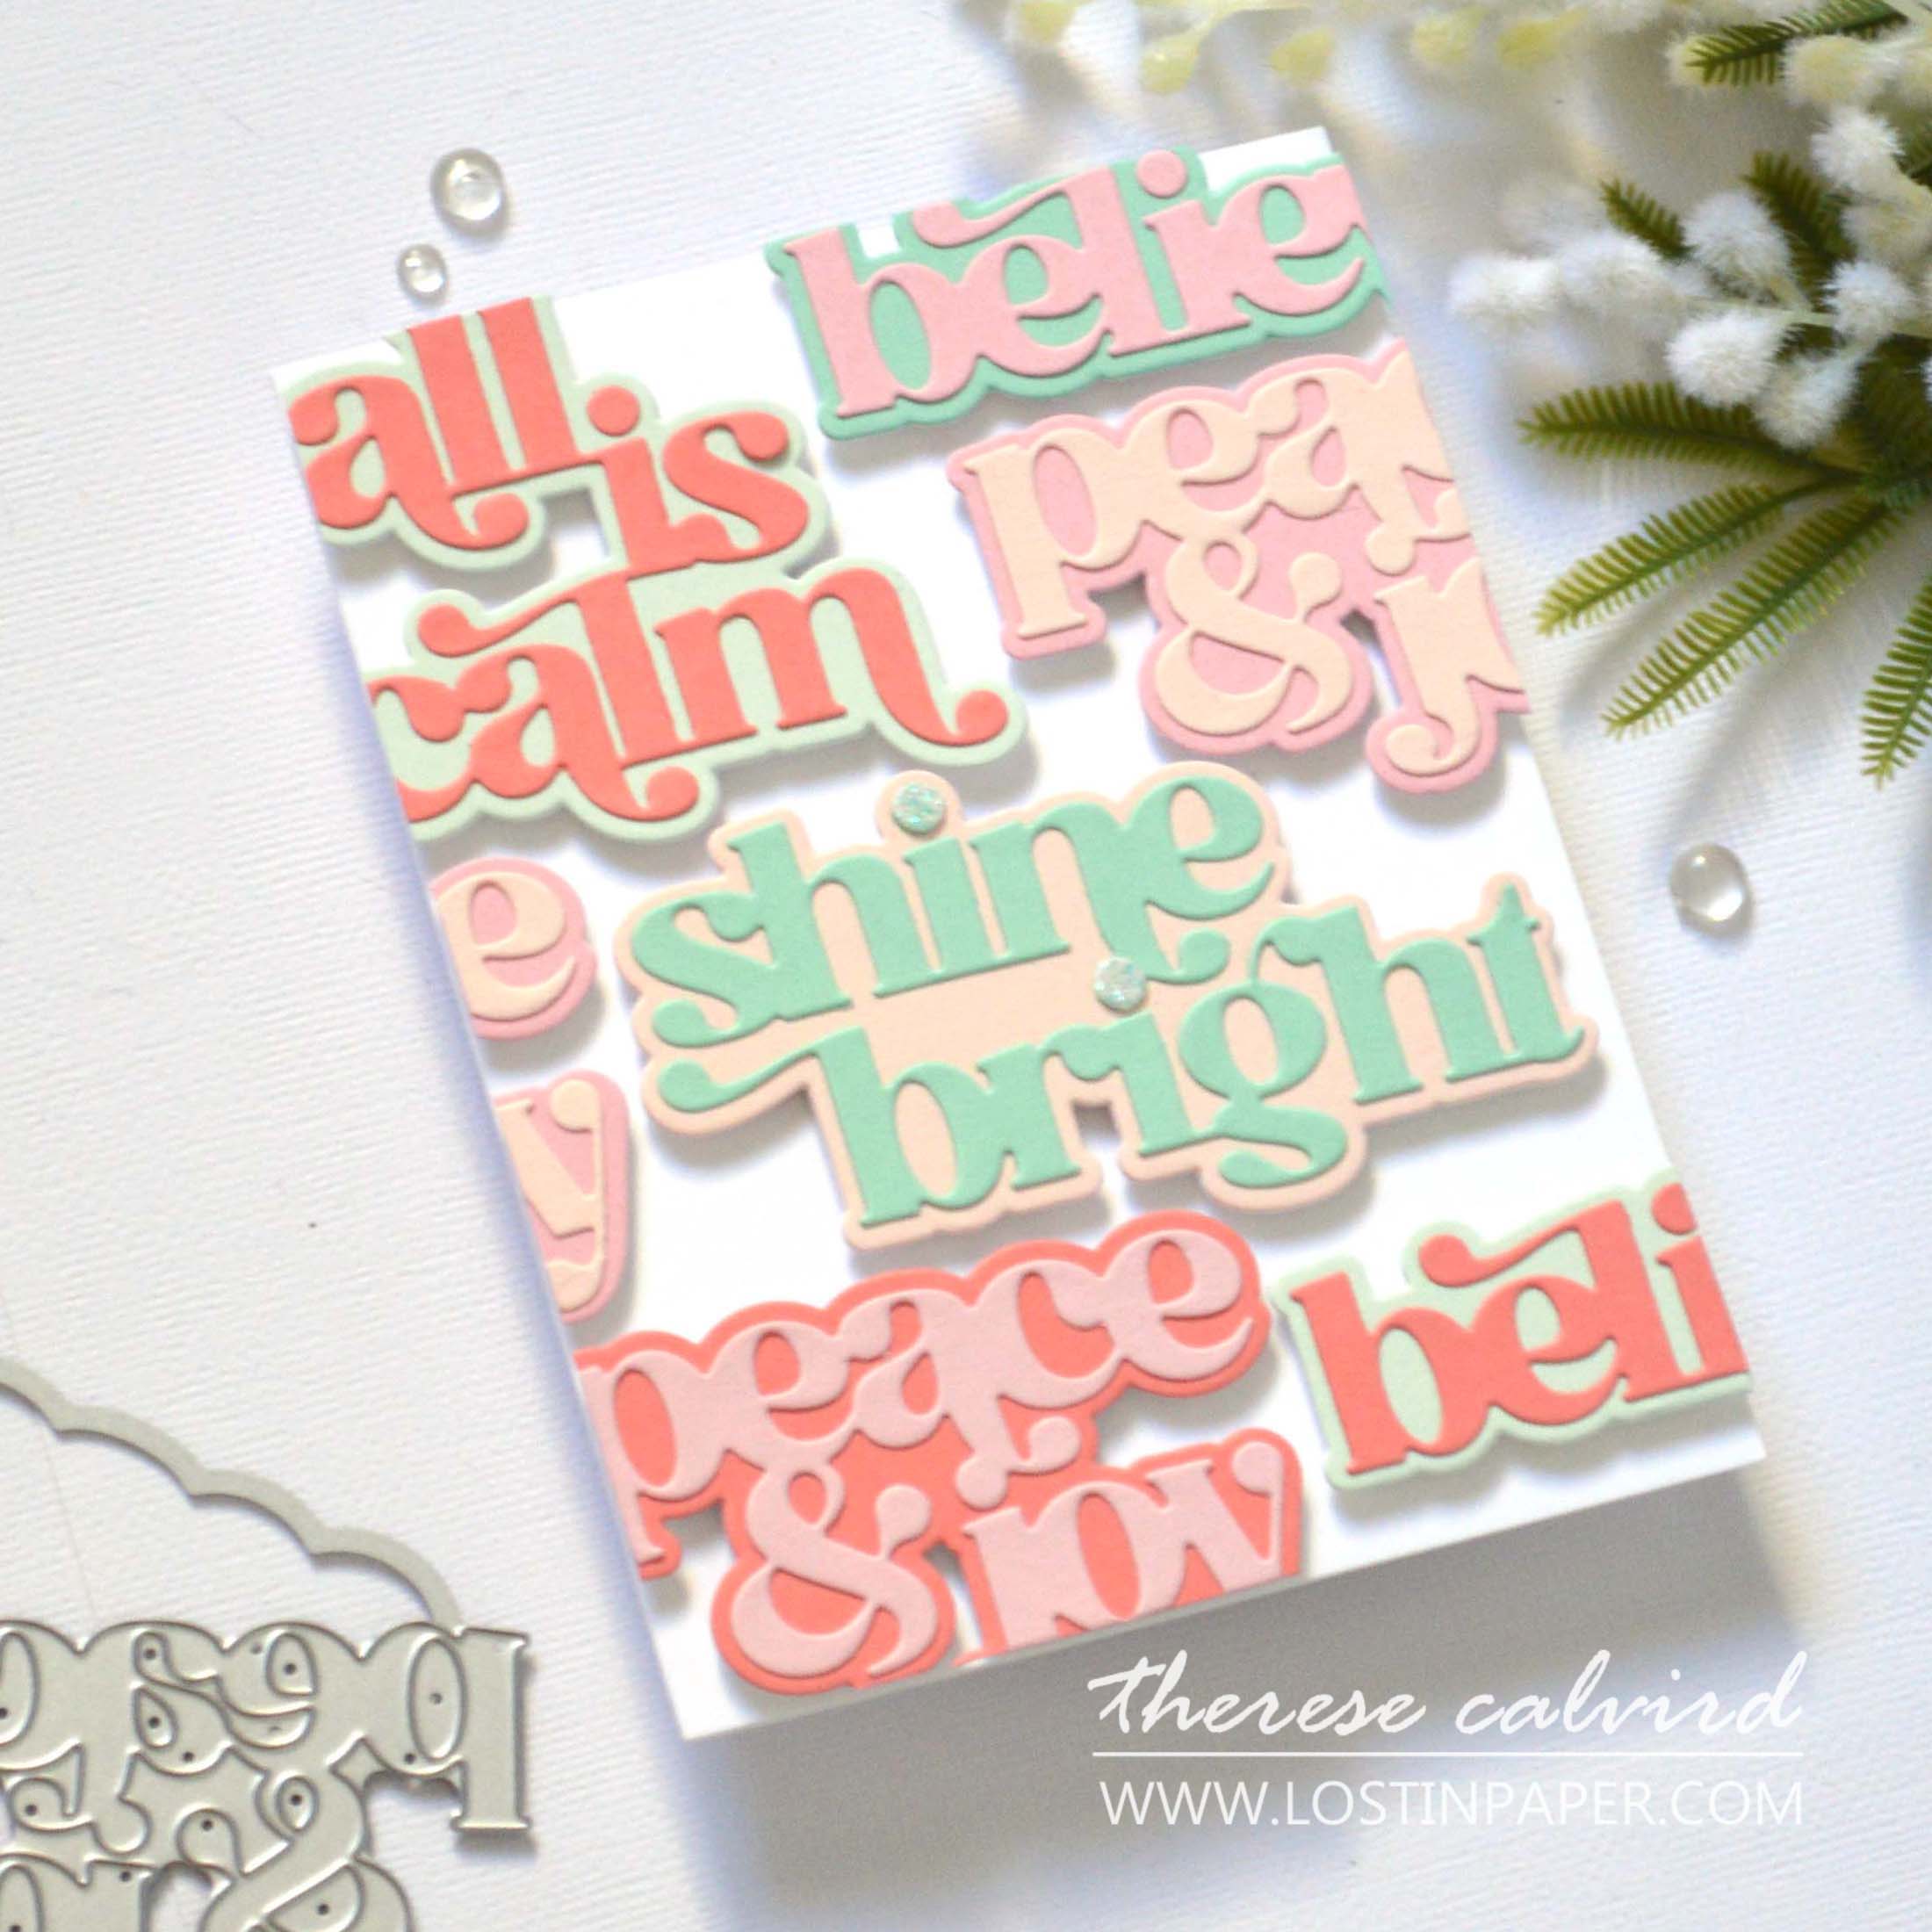
Another option would be to repeat the same word over and over.
I mixed and matched the colours, but this would also look great using metallic, or even black and white cardstock! I added a little glitter, but a holly leaf, or a couple of bells would be fun too.
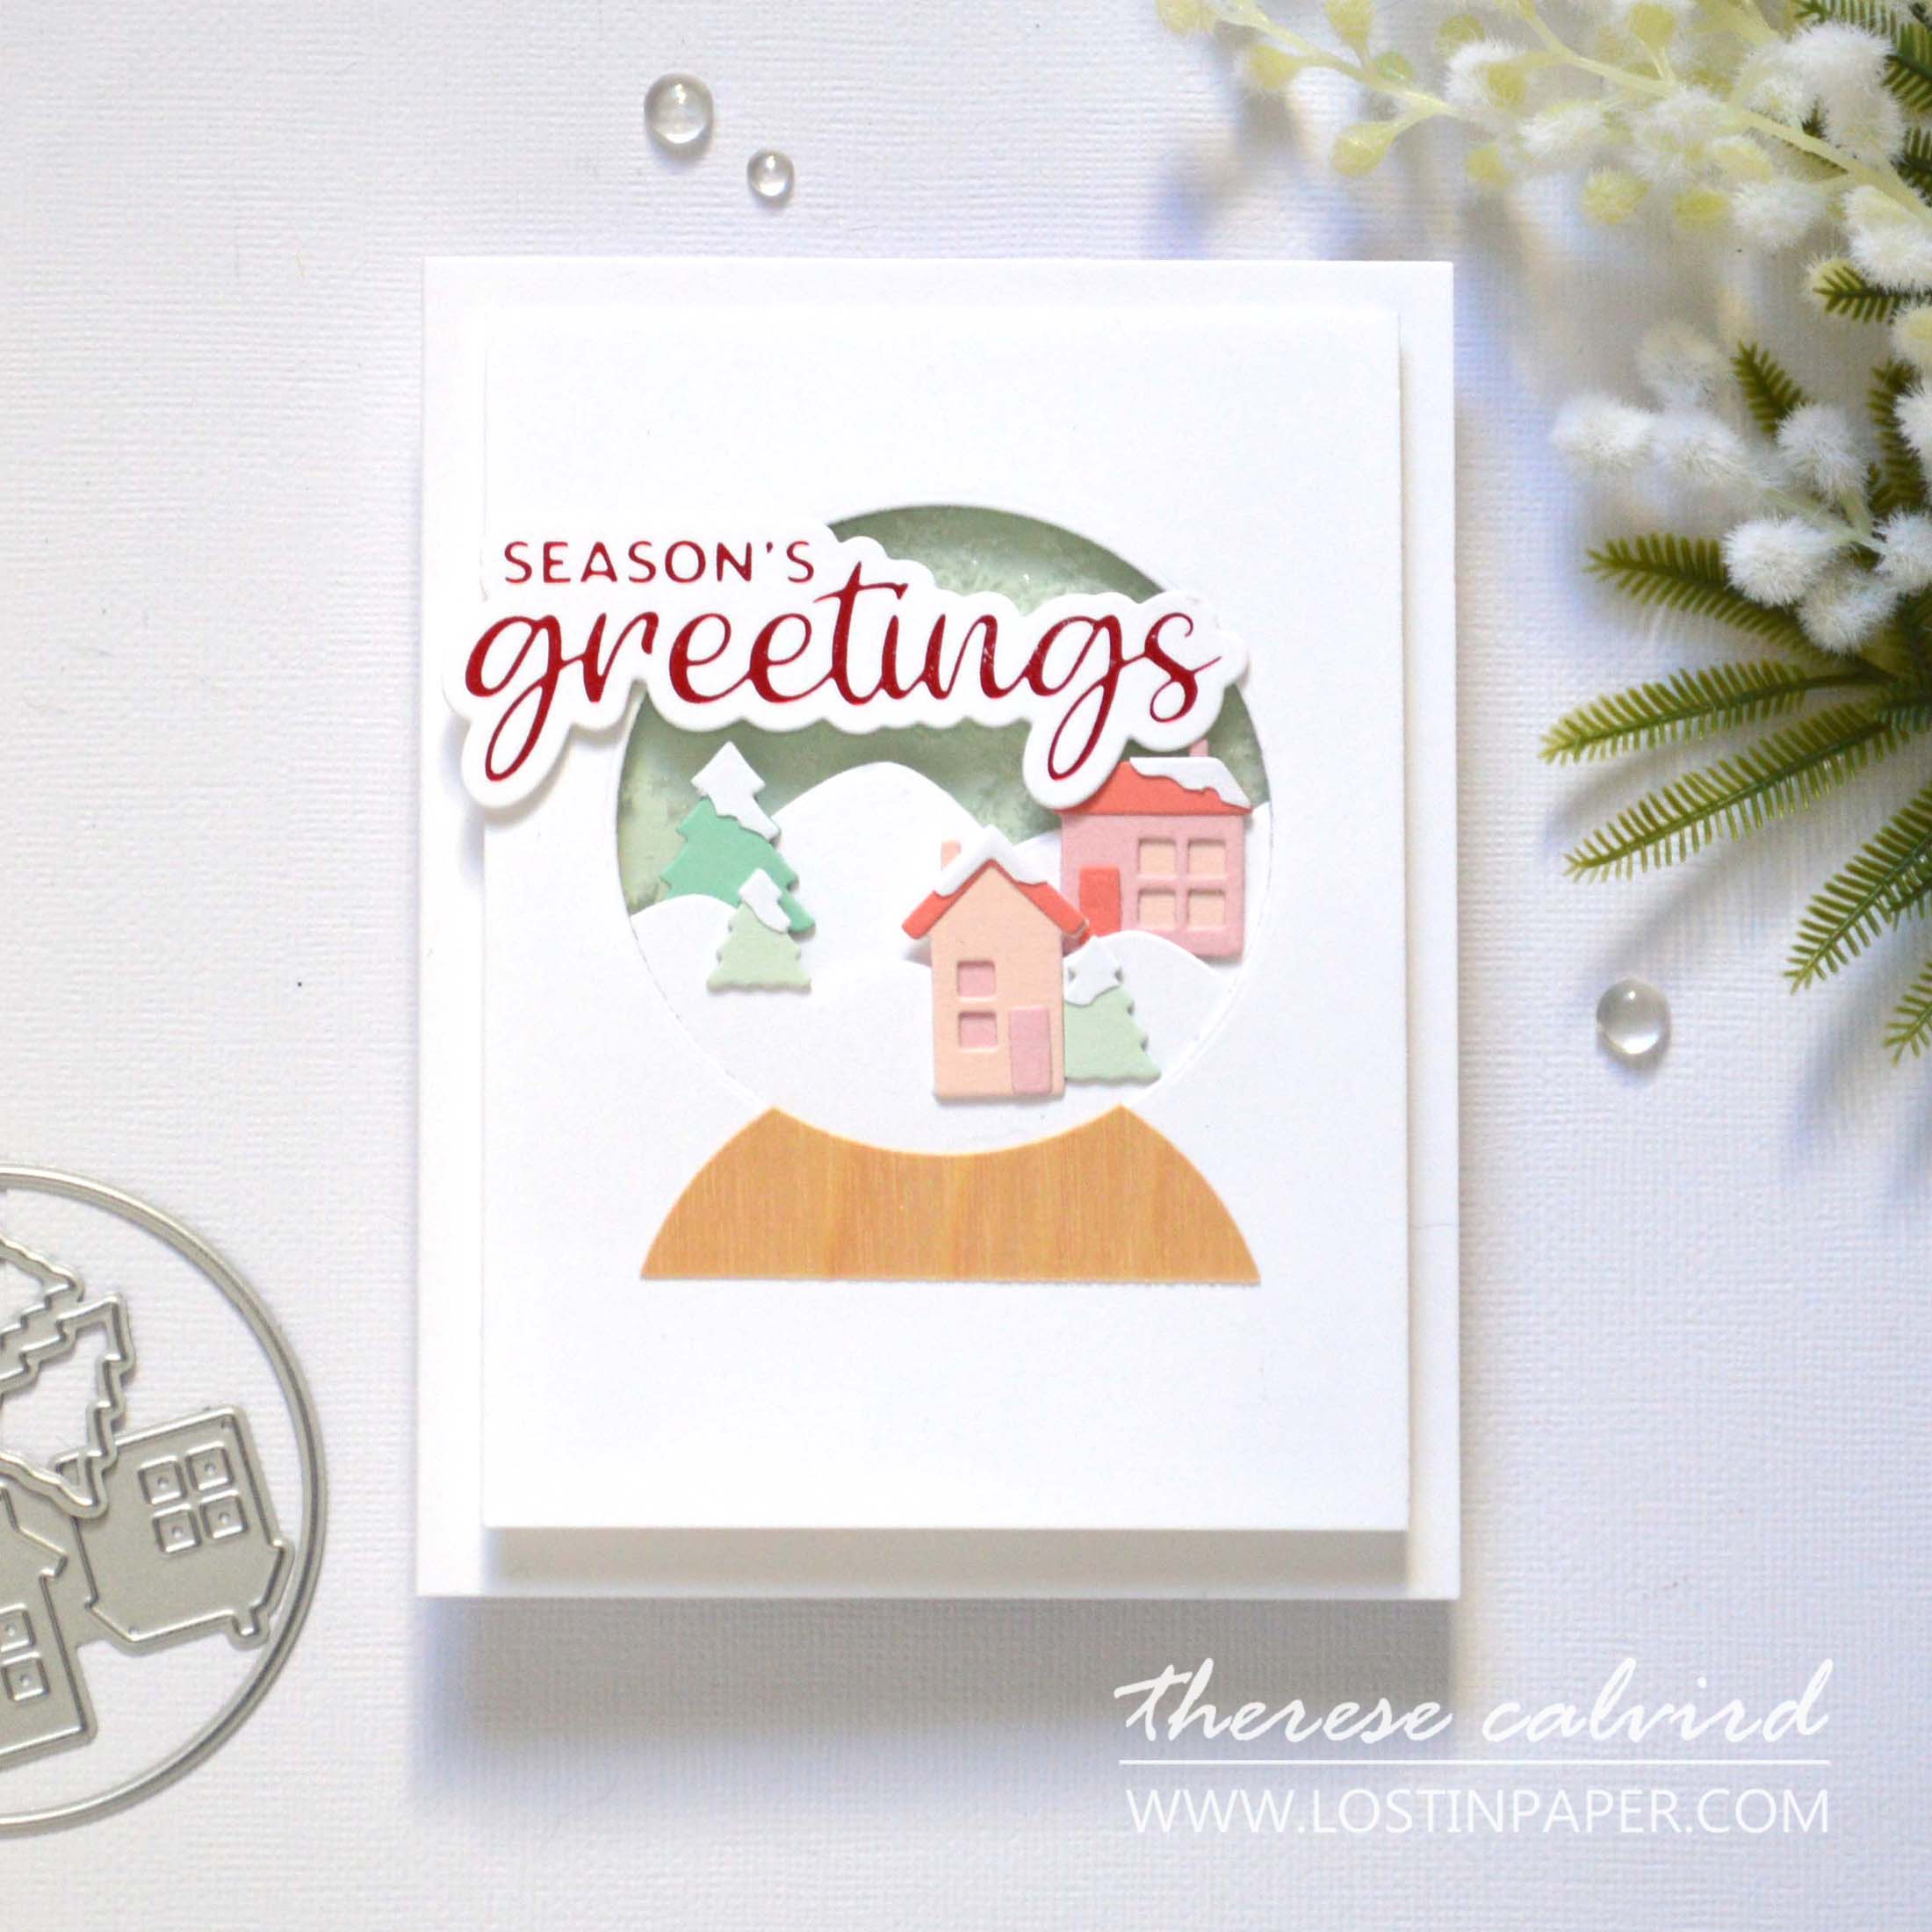
Idea #3 – Make a Statement
I created a snow globe scene here and normally would not have added such a large sentiment. But, sometimes a design just needs something bold and shiny and this one is both. So don’t be afraid to try something out of the box, what’s the worst that could happen 😉.
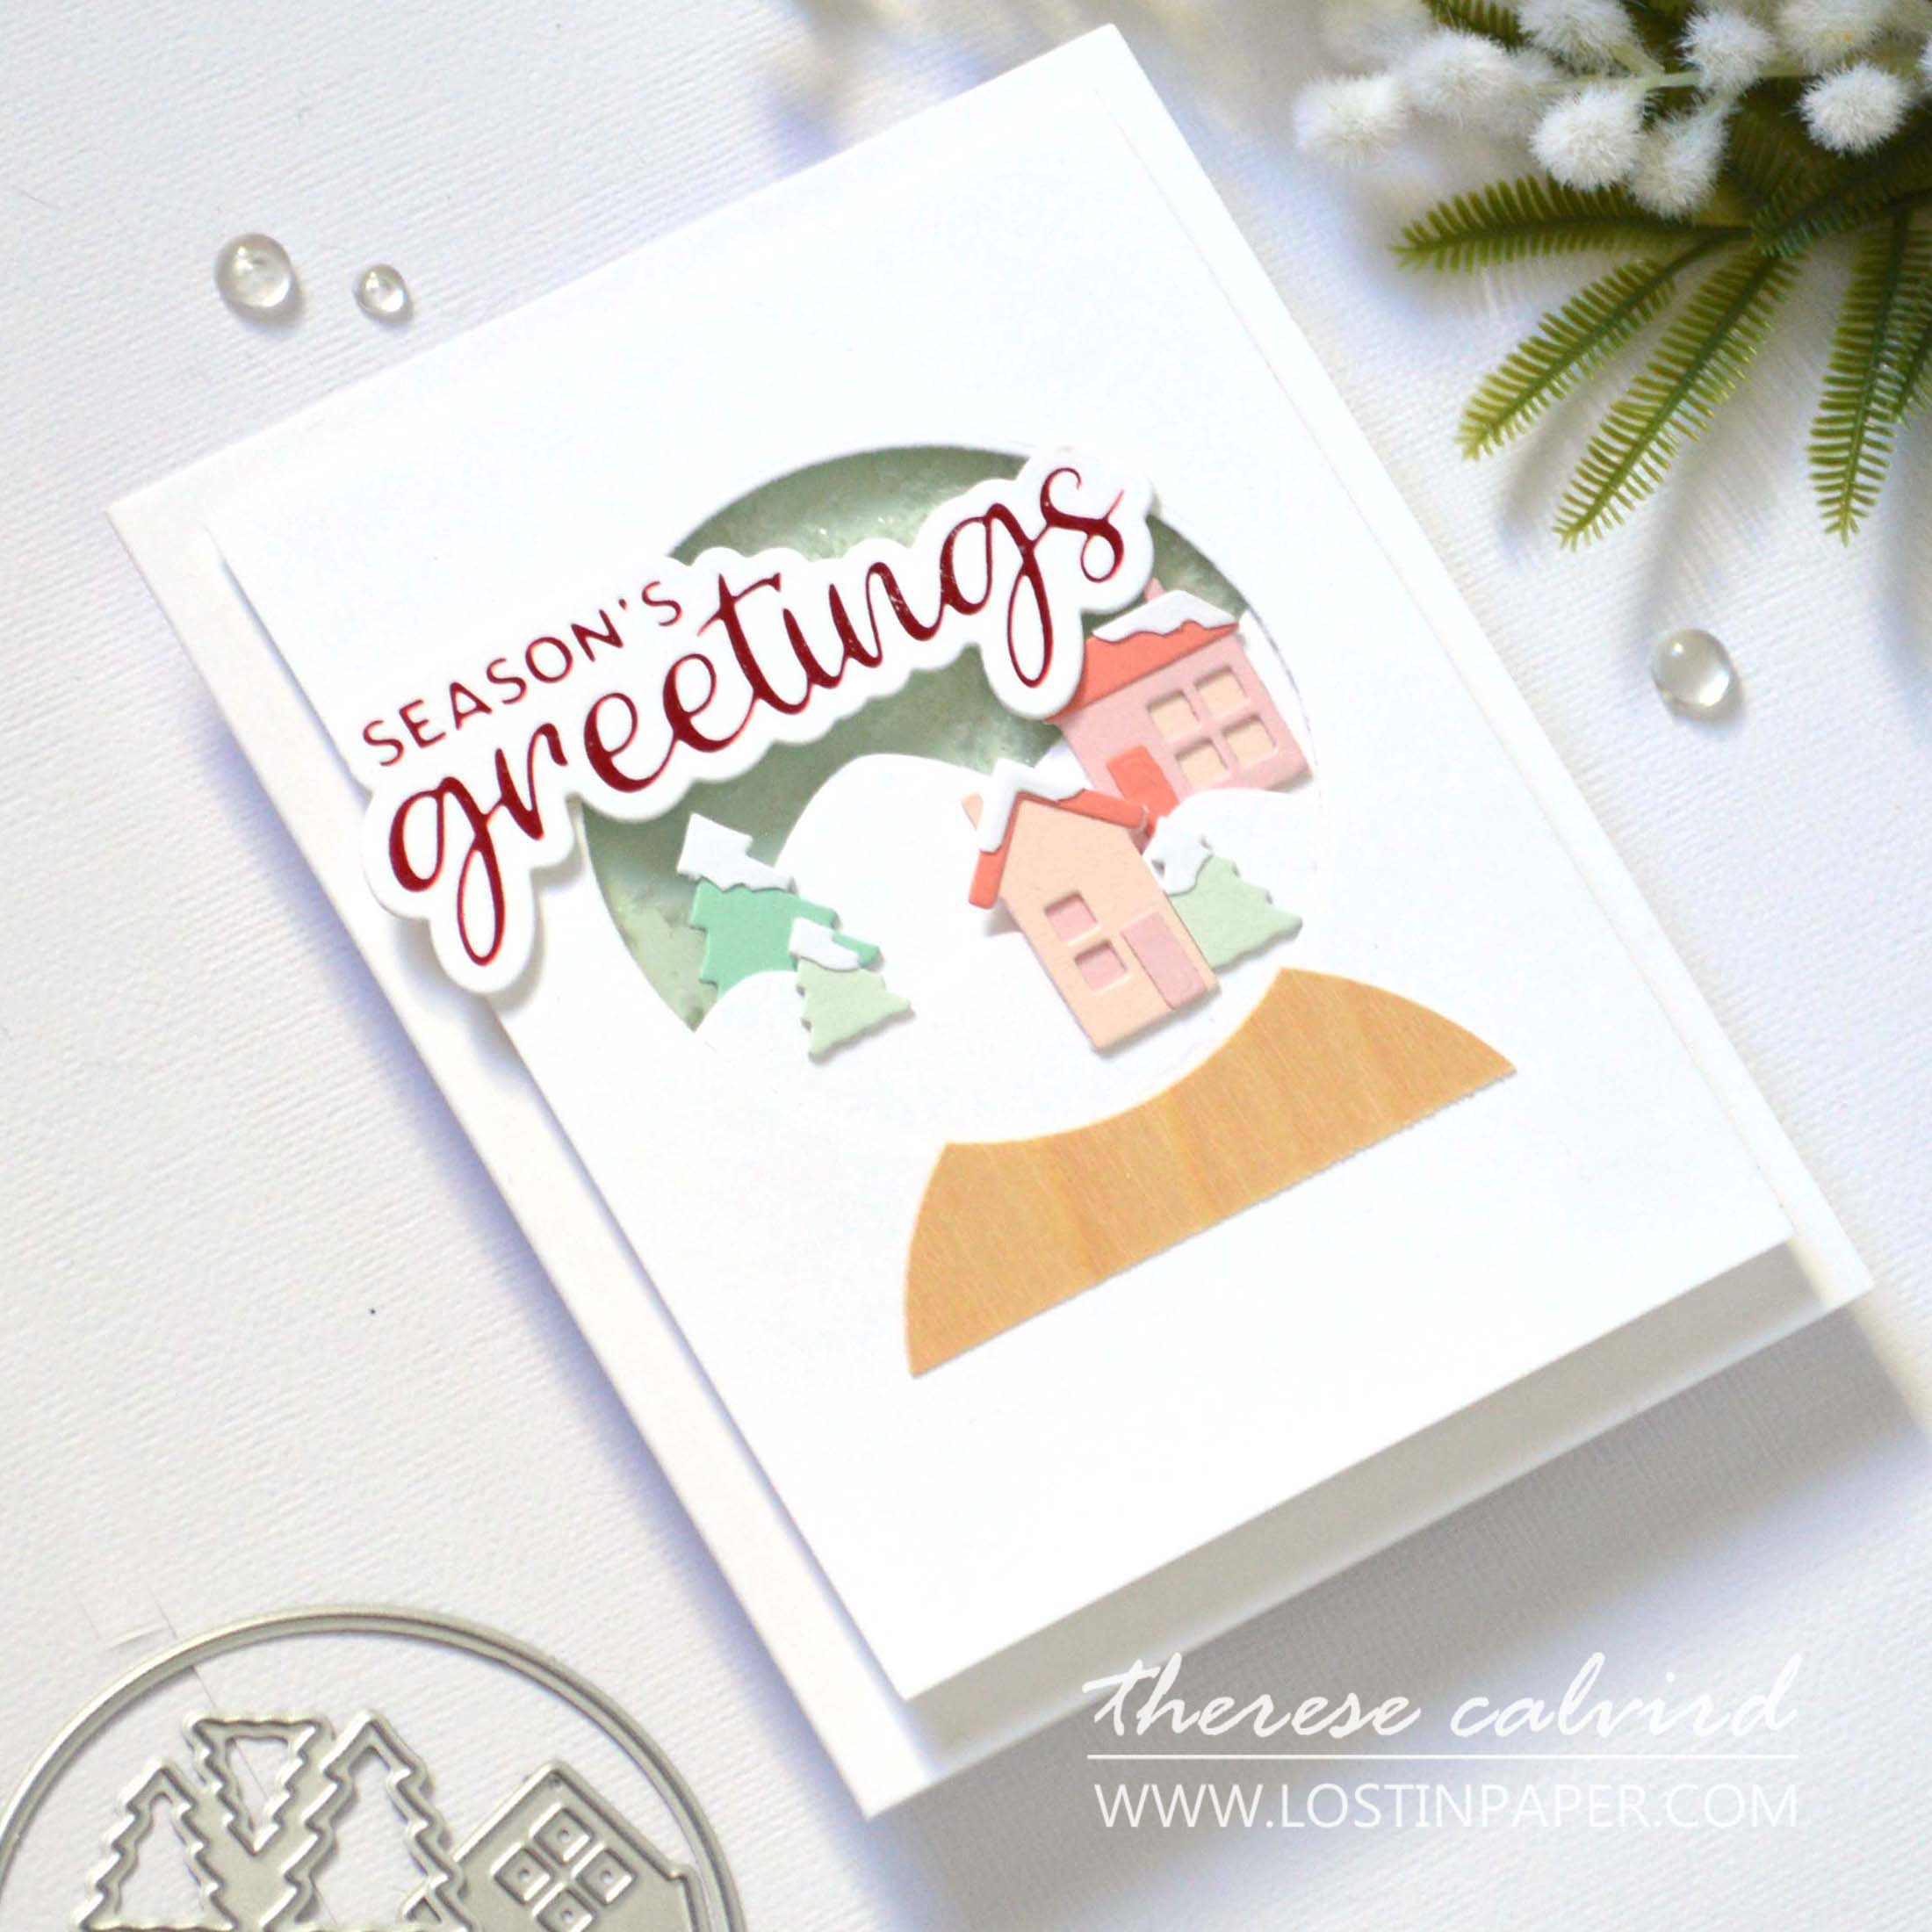
You could also change it up and add a large die cut word (maybe, in a metallic cardstock) with a stamped sub sentiment.
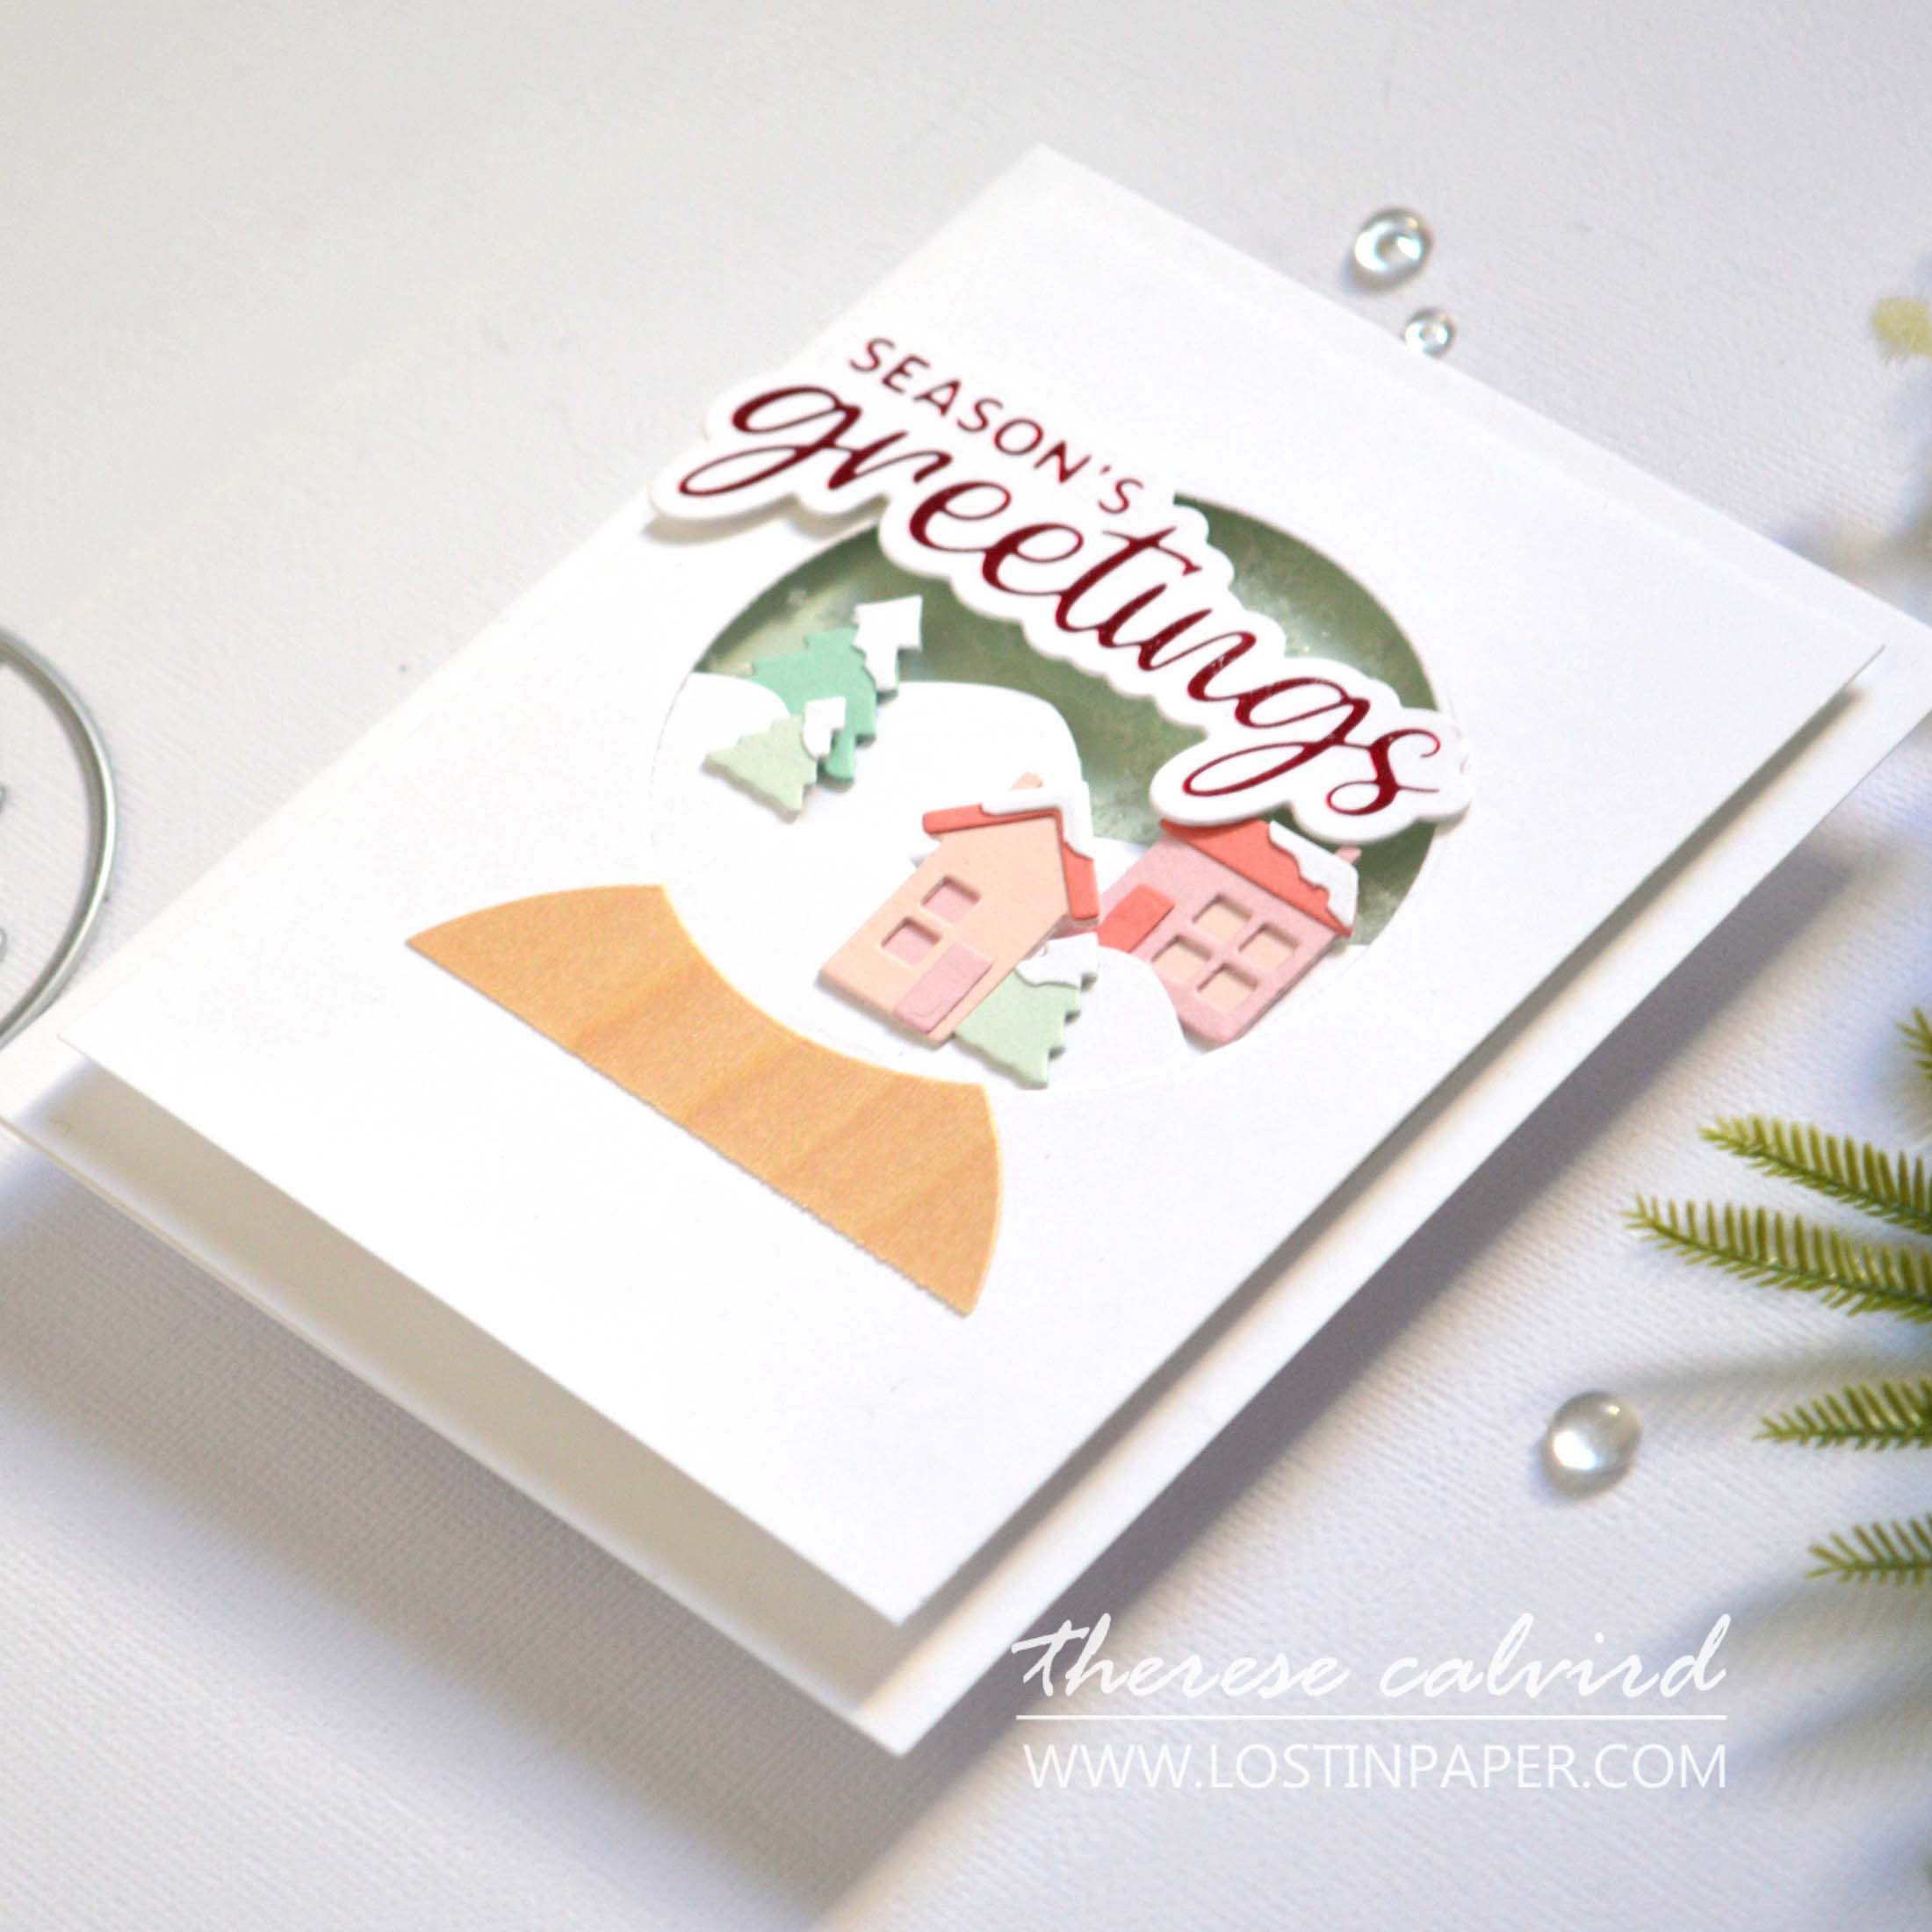
And did you see the sneaky shaker? Yes, it’s actually behind the scene and between the front of the card.
Want to see MORE ways to use BIG SENTIMENTS? Then check out my VIDEO HERE 🥰.
Are you up for the challenge? Are you inspired to use those BIG sentiments, if so don’t forget to share with me on Social Media, I’d love to see!
Crafty Hugs,

Other Supplies:
Altenew Cardstock: Blush | Pink Diamond | Rouge | Mountain Mist | Volcano Lake | Shimmering Shore Glitter Cardstock – Sparkling Water.
 Timeless Sentiments 3 Dies ALT |  Winter Village Die ALT |  Holiday Greetings Die ALT | SSS |  Holiday Greetings Hot Foil ALT | SSS |
 Berry Red Hot Foil ALT |  Altenew Cardstock ALT |  Birch Wood ALT |  Neenah Solar 110 AMZ | SSS |
Neenah Solar 80 AMZ | SSS |  Poppy Heat resistant Acetate AMZ |  Tweezers ALT | SSS |  Fine Blade Scissors ALT | SSS |
 Bone Folder Altenew ALT |  Score Board ALT | SSS | 9″ Fiskars Paper Trimmer AMZ | SSS |  Mini Blossom ALT |
 Bigshot SSS |  Go Press N Foil OTH | Bearly Art Glue AMZ | SSS |  Foam Tape ALT | SSS |
 Satin Masking Tape ALT | SSS |  Adhesive Sheets ALT | SSS |
I have to admit, I wouldn’t have chosen a large sentiment for your last, beautiful card, but it works wonderfully! Love all three cards!
They are all so wonderful. I love the second one the most!!!
I like big sentiments, they really pop!
Great cards. The colours are fun and I like the wood in the last one and the glitter in the second. Great choices
Love all of your cards! You always have such great tips and tricks. Would love to see a video on your snow globe card.
Your cards are wonderful as always. I will definitely start stacking and gluing my sentiments – such a great look.
Love these cards!
Fun post! I enjoyed your layouts and sentiment use! Thank you!
Great ideas for large sentiments! Gorgeous cards!
The bold sentiments are my favorite! You did great with them!!!
Fabulous, all three! I’m loving the colors on the first two. So pretty and unexpected for holiday cards!
I love all of your CAS cards! Thank you for sharing the details and fun tip and suggestions! Truly inspiring!!
Love the simply sneaky shaker! And the fabulous word play card!
I love all 3 of your cards. You always give me inspiration and get my brain spinning!
What beautiful cards, Therese. I love those. 💜
I love the color palette – so different for holiday cards. I am currently trying to use my paper scraps by doing strip designs like your first card and I love how simple it can be with just a large sentiment. Thank you for inspiring
Beautiful cards… I love the clean designs.
I love what you’ve done here. I feel like I always learn something from you. I especially like the idea of a word background. I guess it never occurred to me to do that. I’ll definitely try it now though. Thanks!!
I love your mass of sentiments–the colors are wonderful, and I LOVE the font
Great winter cards! And I love your choice of colors with the big beautiful die cut sentiments and their shadows.
Wonderful cards! I love the big sentiments and your pretty color combos! Love the peaceful snow globe scene!
Forgot to add my name to this comment above!
Denise Bryant
Yay! Hello Denise x
i love the home winter scene
So Festive! Love your soft tones, very pretty, very subtle! Merry Merry!
Fantastic cards, and love the unexpected colours, especially on the second card. I have no idea where your creativity comes from, it is phenomenal!
I love the soft color palette you used on each of your darling cards.
Very creative use of sentiments for all of your card designs!
Fabulous cards Therese! I really love the first two using the big sentiments! I don’t often use big sentiments as a focal point but what a great idea…I shall do that more often!
All three are great, but I like the idea of the surprise shaker. All three great ideas.
Always enjoy seeing your creative ideas, Therese! I adore the last card!
Love your color selection…..so subdued and pastel-ey! The second one with all the many sentiments is my fav.
Priya
Awesome cards, love the inspiration you provide. The second cards is fabulous and the sneaky shaker would be so good in so many projects!
Fabulous cards Therese, love the pastel tones. Thanks for the inspiration!
Thanks for the reminder that sentiments can be the star! I love the soft colors you chose.
Love the BIG sentiments and the different take on Christmas colours. Great cards as always Therese!!
Beautiful cards and great tips! Love your choice of colours!
Love the uniqueness of the word background card and love the snow globe card. Beautiful.
Beautiful cards. Love the color combo that you used!!
so amazing
Fabulous cards! I love the word background technique.
Great cards Therese! I’ve got to dig into my stash to see what big words I have to make my own version of you cool card!
Fantastic designs to make these sentiments the star of the card.
Love the large sentiments, my favorite card is the last one, that snow globe is awesome!
Love your 2nd and third cards!! Beautiful
Fantastic cards! Your snow globe is fabulous – love the sentiment!
I always love the cards you create!
Thanks so much Jenni
love all of them. I have never used a big sentiment. You are making me question my thoughts.
I like the color combination idea used for the different designs. Nice way to create a stunning set for a pack.
Hi Therese. I love your cards. I really like the color combos. They are nice for masculine cards too. I am happy Altenew has released these big sentiments because I make 5×7 cards and sometimes sentiment are just too small. Thanks for the great ideas.
Hi Therese. Your cards are beautiful. I think they will make great masculine cards too. I am happy Altenew release these BIG sentiments. I make 5×7 cards and sometimes it is hard to make a sentiment stand out with A4 sentiments. I love the color combo too.
Wonderful color combination! Very festive! Inspirational!